The Mount Fremont Fire Lookout hike was our introduction to Mount Rainier National Park and what a great first impression!! Without spending much effort, you get awesome views of Mount Rainier for most of the hike, not to mention stunning views over the Sunrise side of the park.
If you are looking for a hike that’s not too long, not too difficult, and offers beautiful views of Mount Rainier, the Mount Fremont Fire Lookout is one to put on your to-do list.
Mount Fremont Lookout Trail Hiking Stats
Distance: 6.0 miles round-trip
Total Ascent: 1,236 feet
Starting Elevation: 6,400 feet
Elevation at the Lookout: 7,160 feet
Difficulty: Easy to moderate
Length of Time: 2.5 to 5 hours
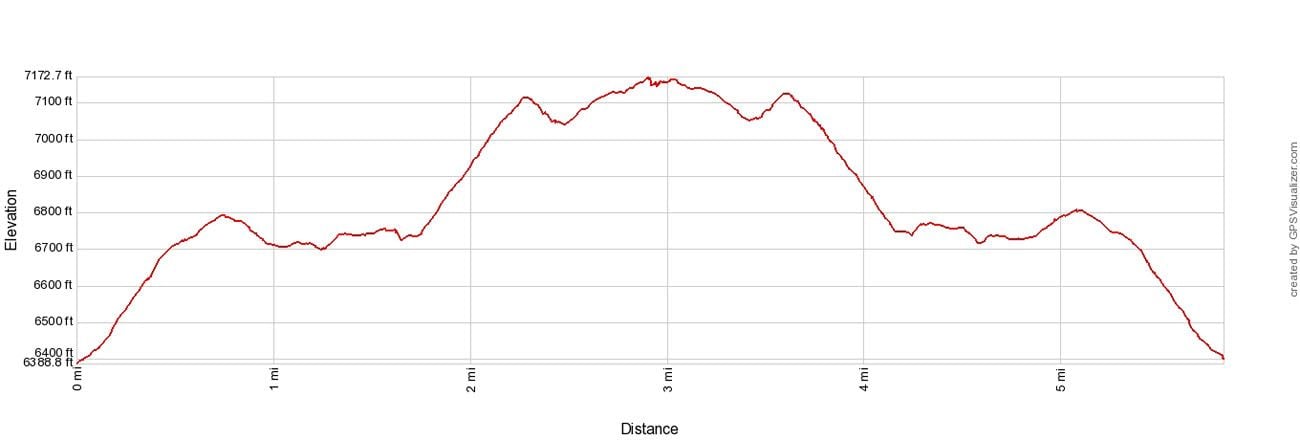
Mount Fremont Elevation Profile
Please practice the seven principles of Leave No Trace: plan ahead, stay on the trail, pack out what you bring to the hiking trail, leave areas as you found them, minimize campfire impacts, be considerate of other hikers, and do not approach or feed wildlife.
How to Hike the Mount Fremont Trail
Step-By-Step Trail Guide
The Trailhead
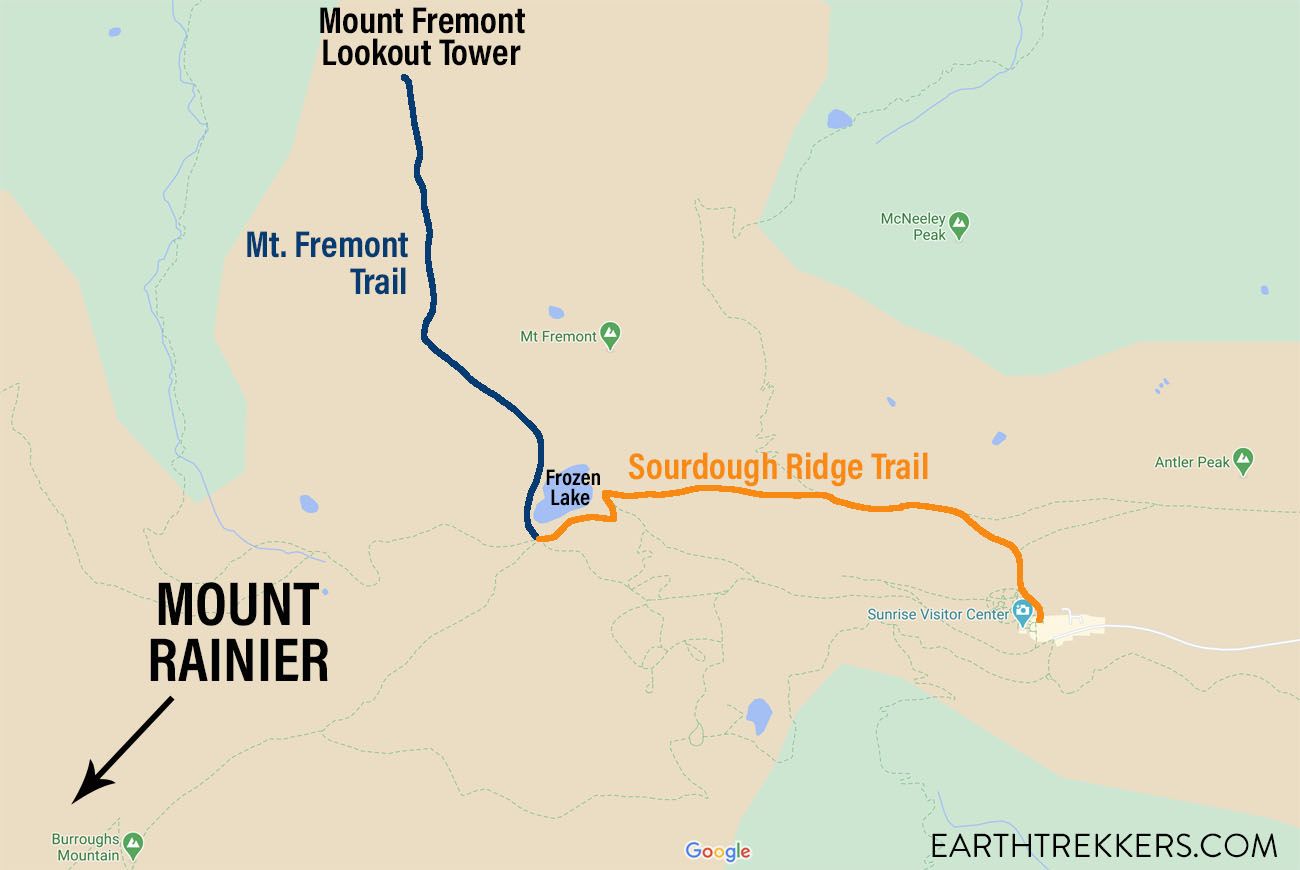
The Mount Fremont hike starts near the Sunrise visitor center.
Park in the large parking lot. The trail starts near the northwest corner of the parking lot, between the visitor center and the Sunrise Day Lodge.
Sourdough Ridge Trail
For the first part of the hike you will walk on the Sourdough Ridge Trail.
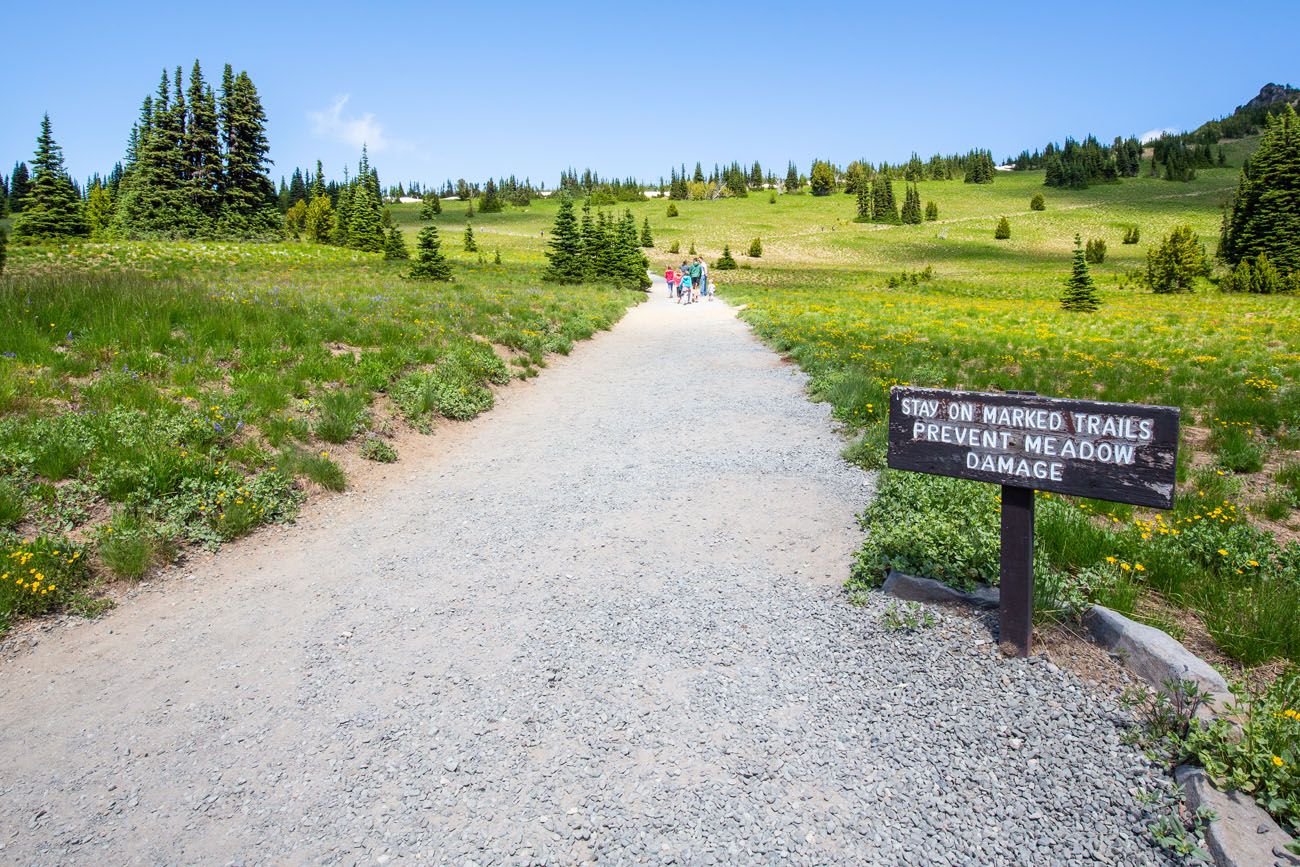
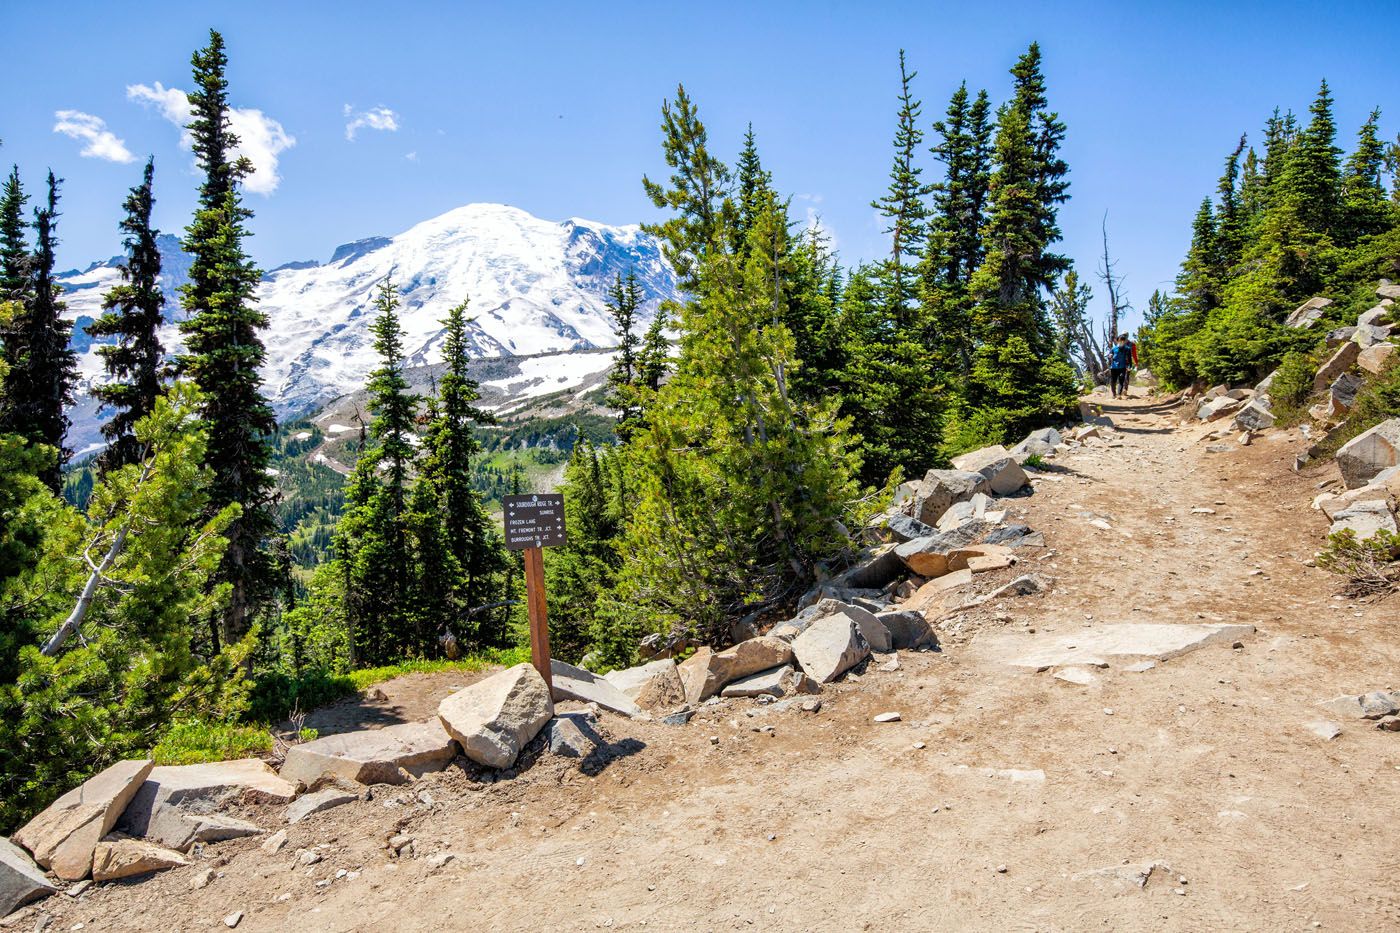
To get on the Sourdough Ridge Trail, follow the wide, paved trail uphill. It becomes a gravel travel and then splits. At the split, stay to the left and continue the uphill walk. At the top of the ridge, you will join the Sourdough Ridge Trail. Turn left to continue to Mount Fremont. There are trail signs at each junction to point you in the right direction (follow signs to Mount Fremont).
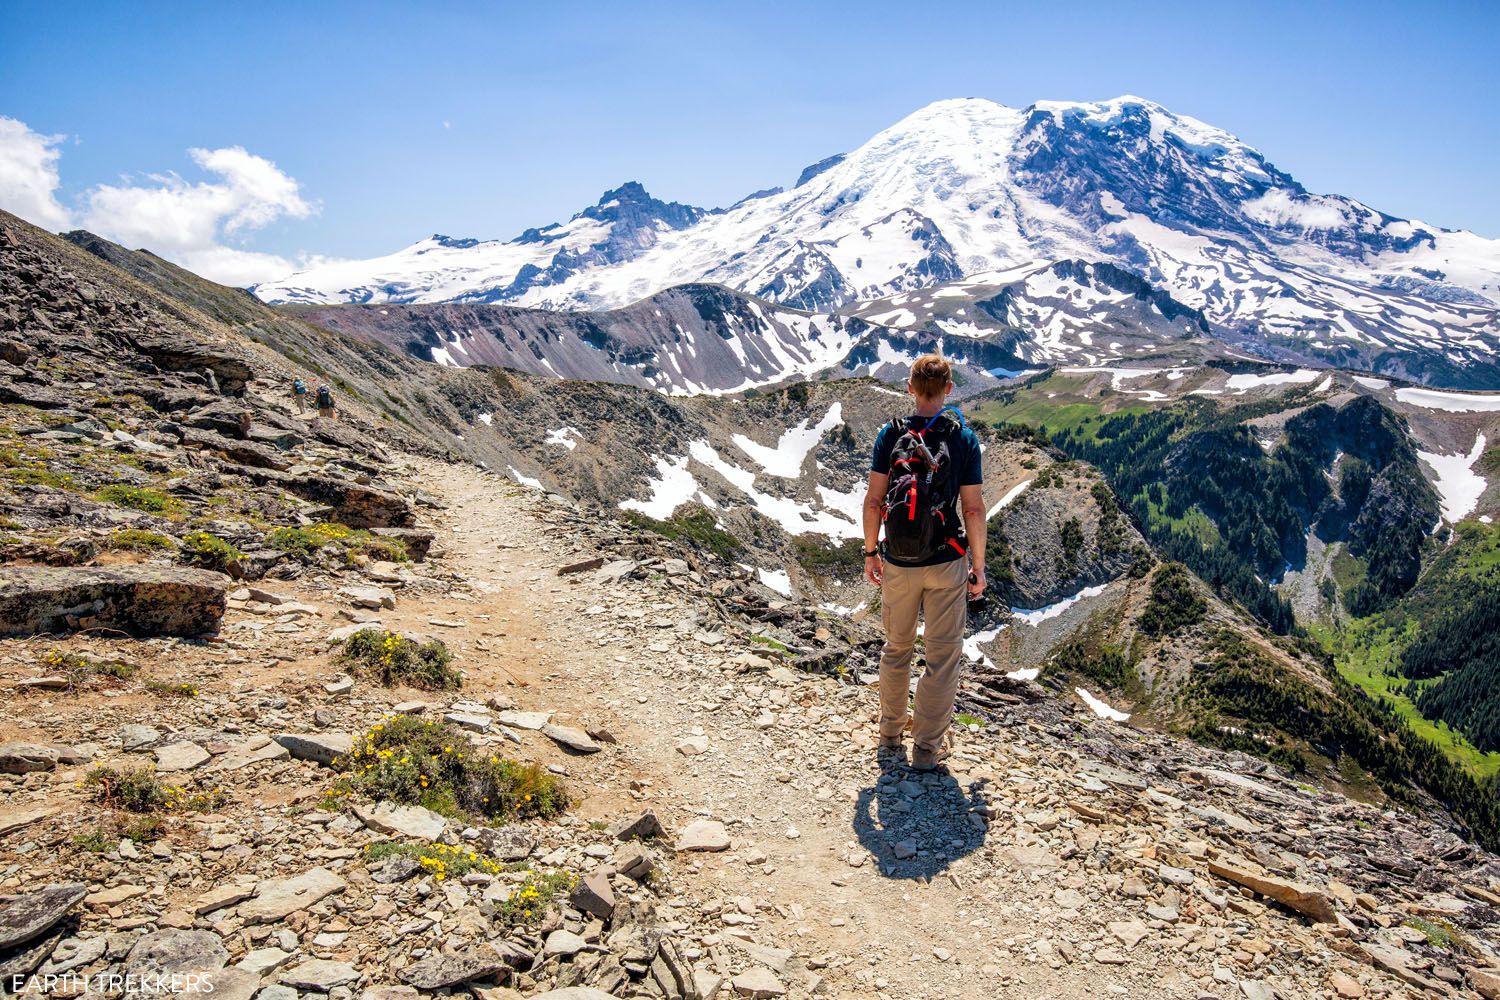
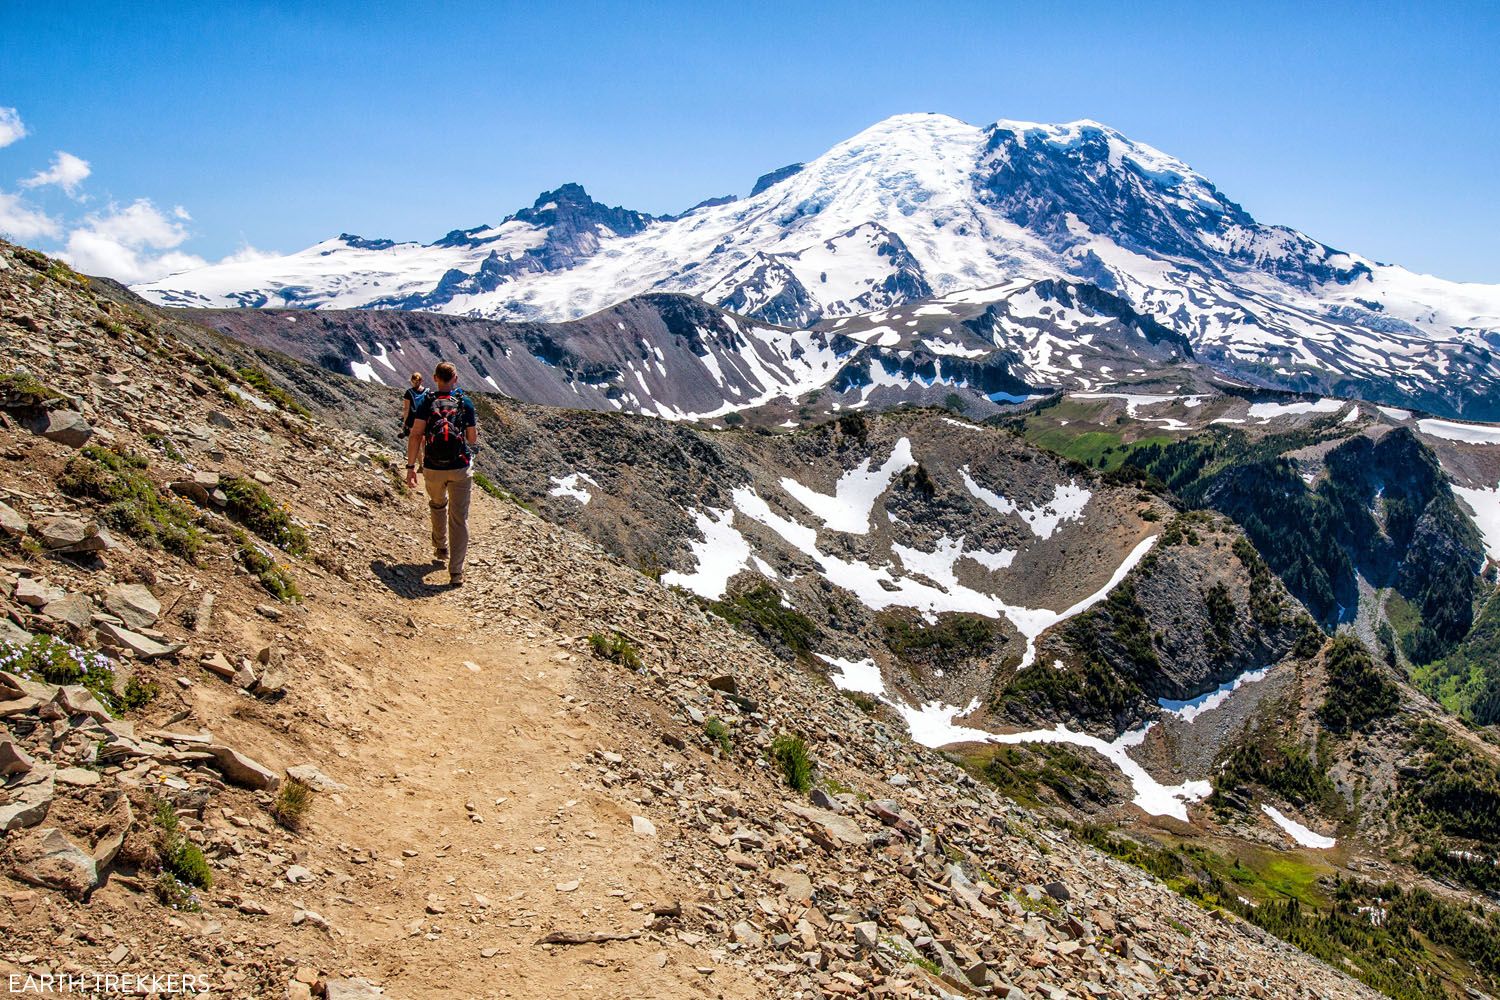
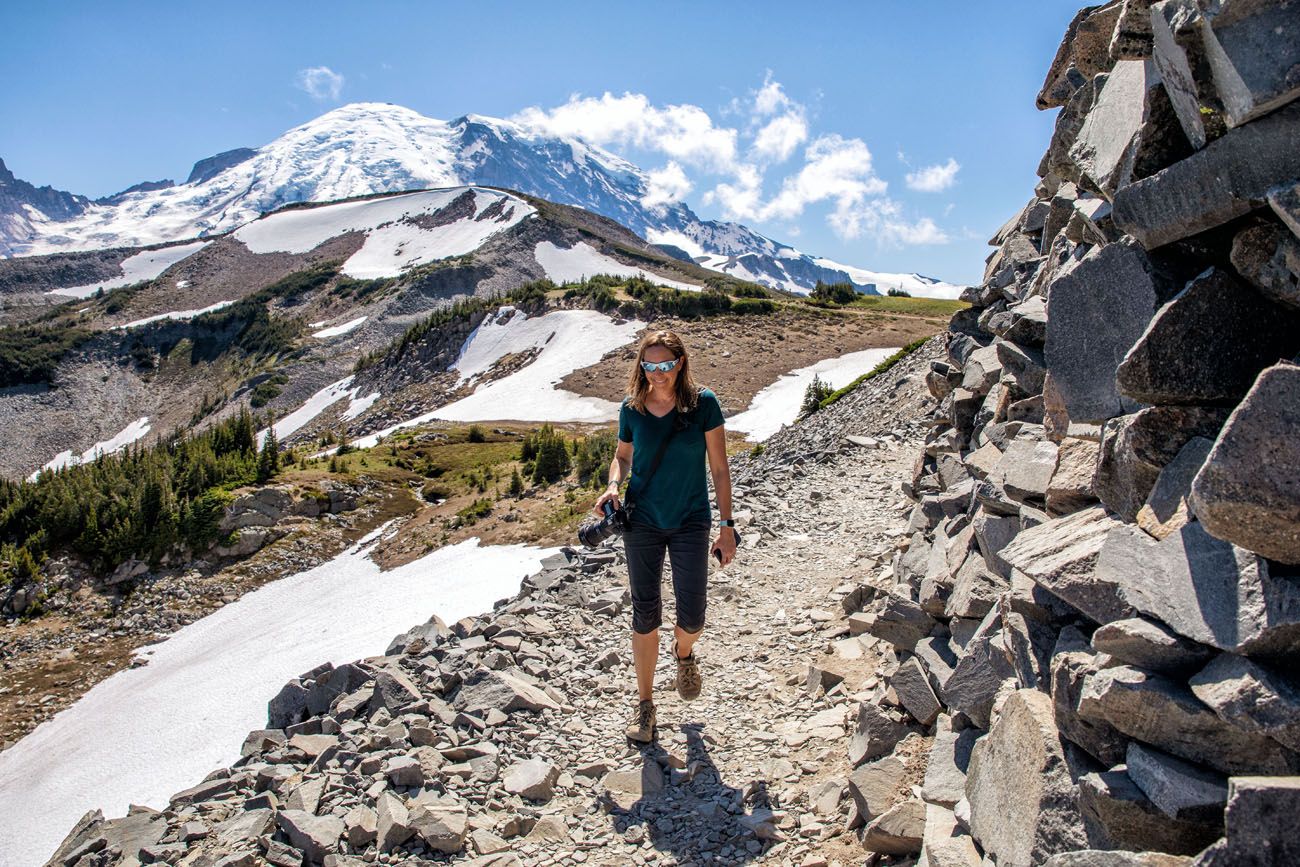
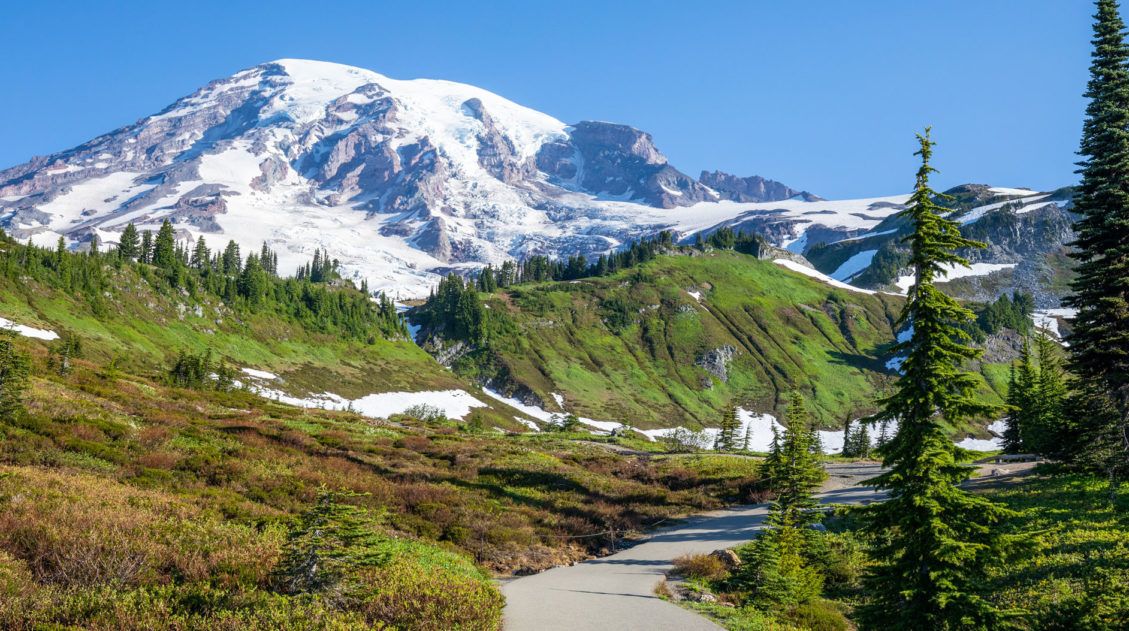
The Sourdough Ridge Trail climbs a little bit and then will crest a hill. Just past this crest, you have an amazing view of Mount Rainier. This awesome view continues as the Sourdough Ridge Trail slowly descends to Frozen Lake. Every 10 to 20 feet we kept stopping to take photos, the view was so good!
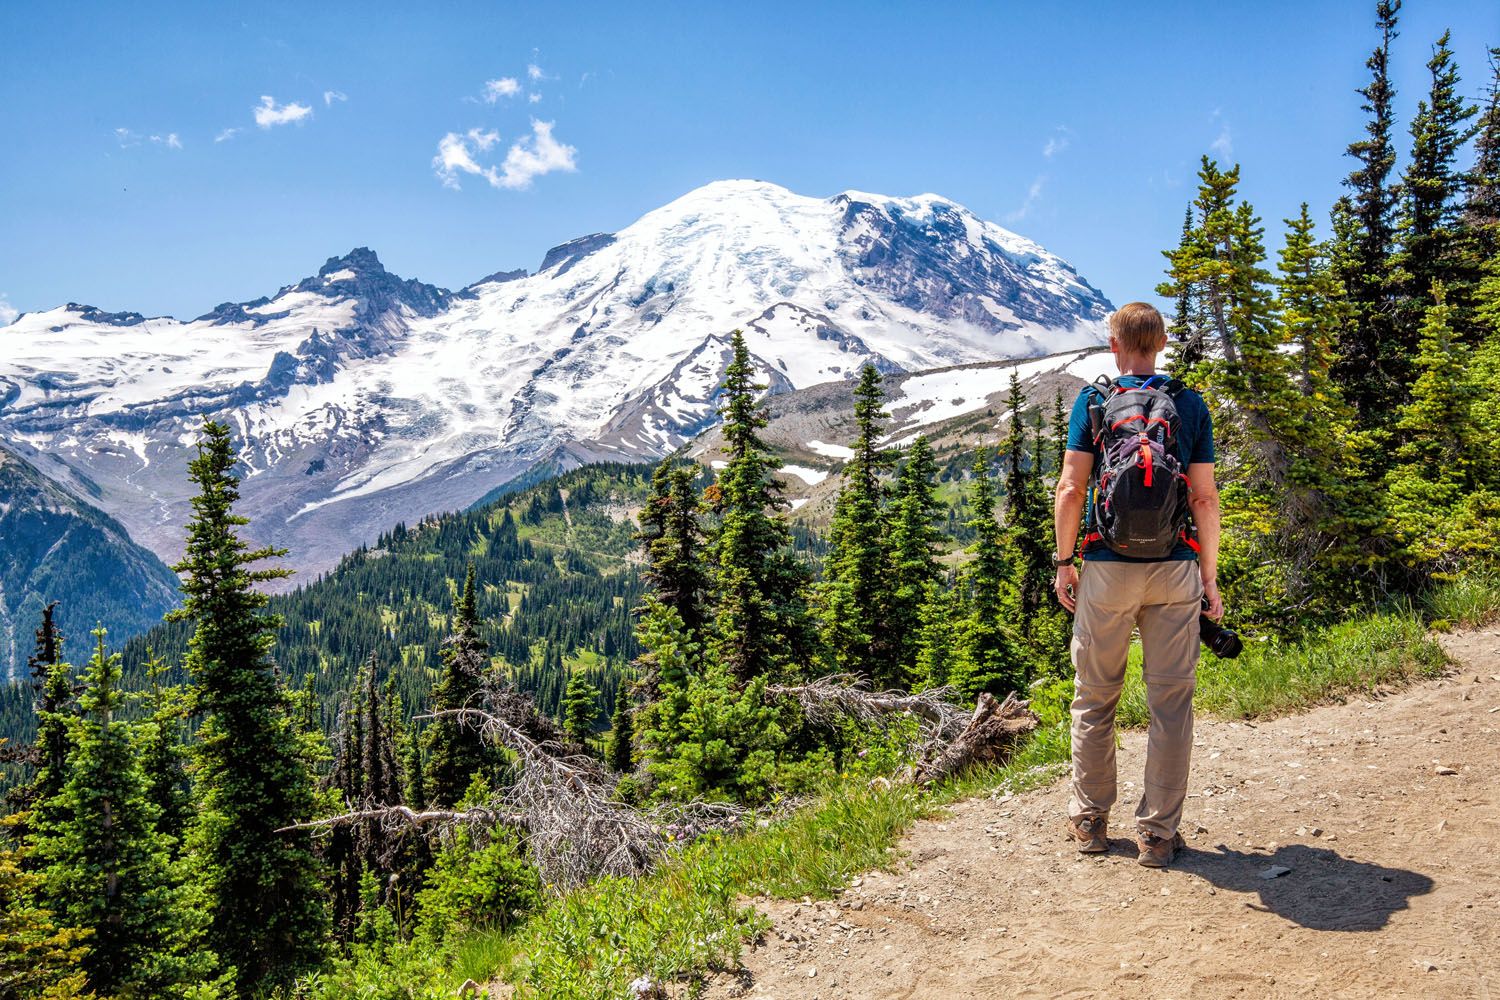
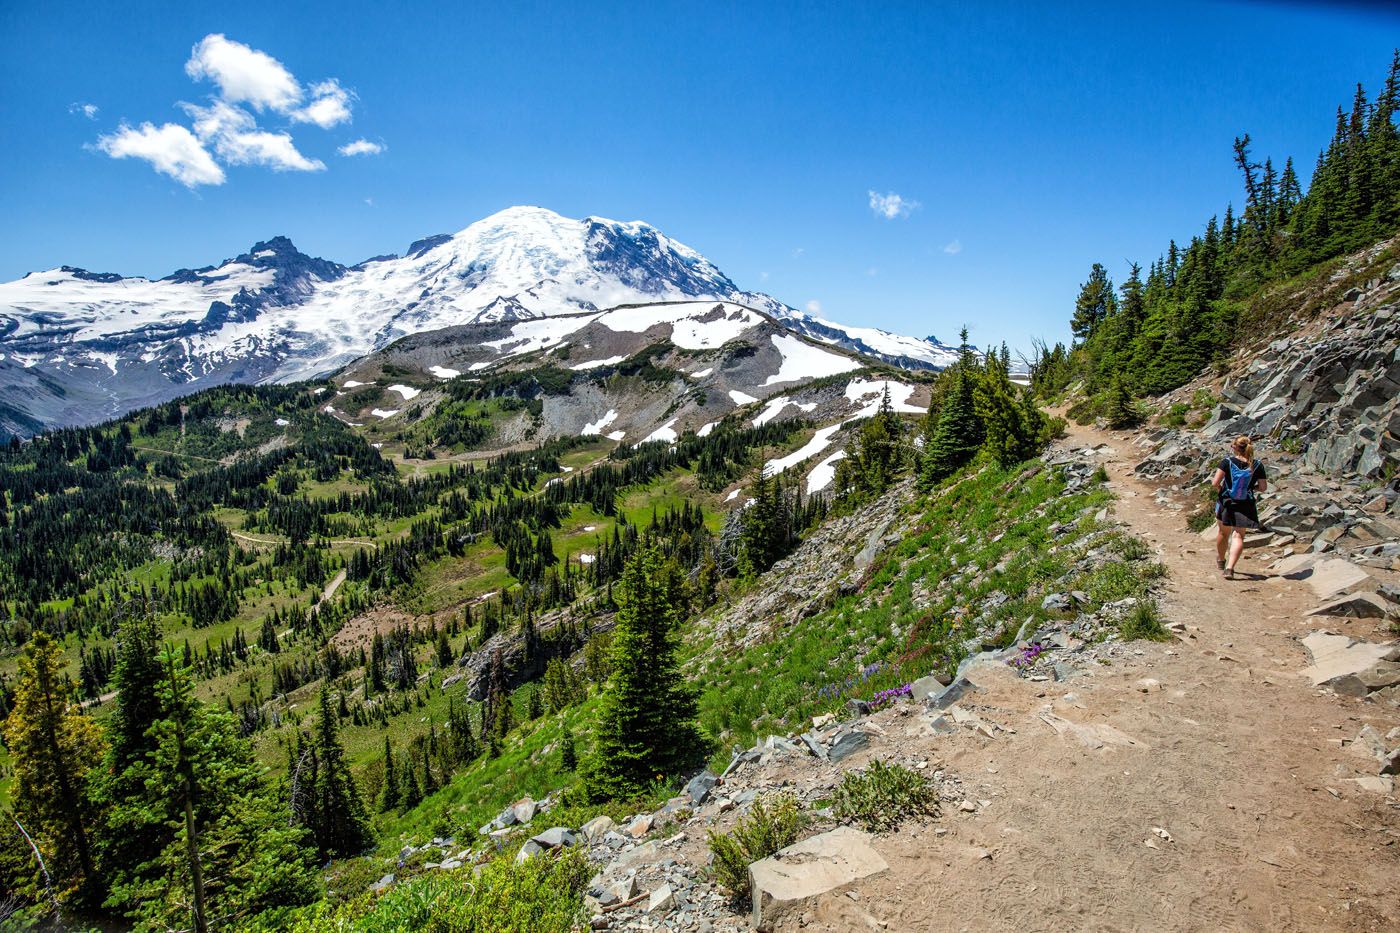
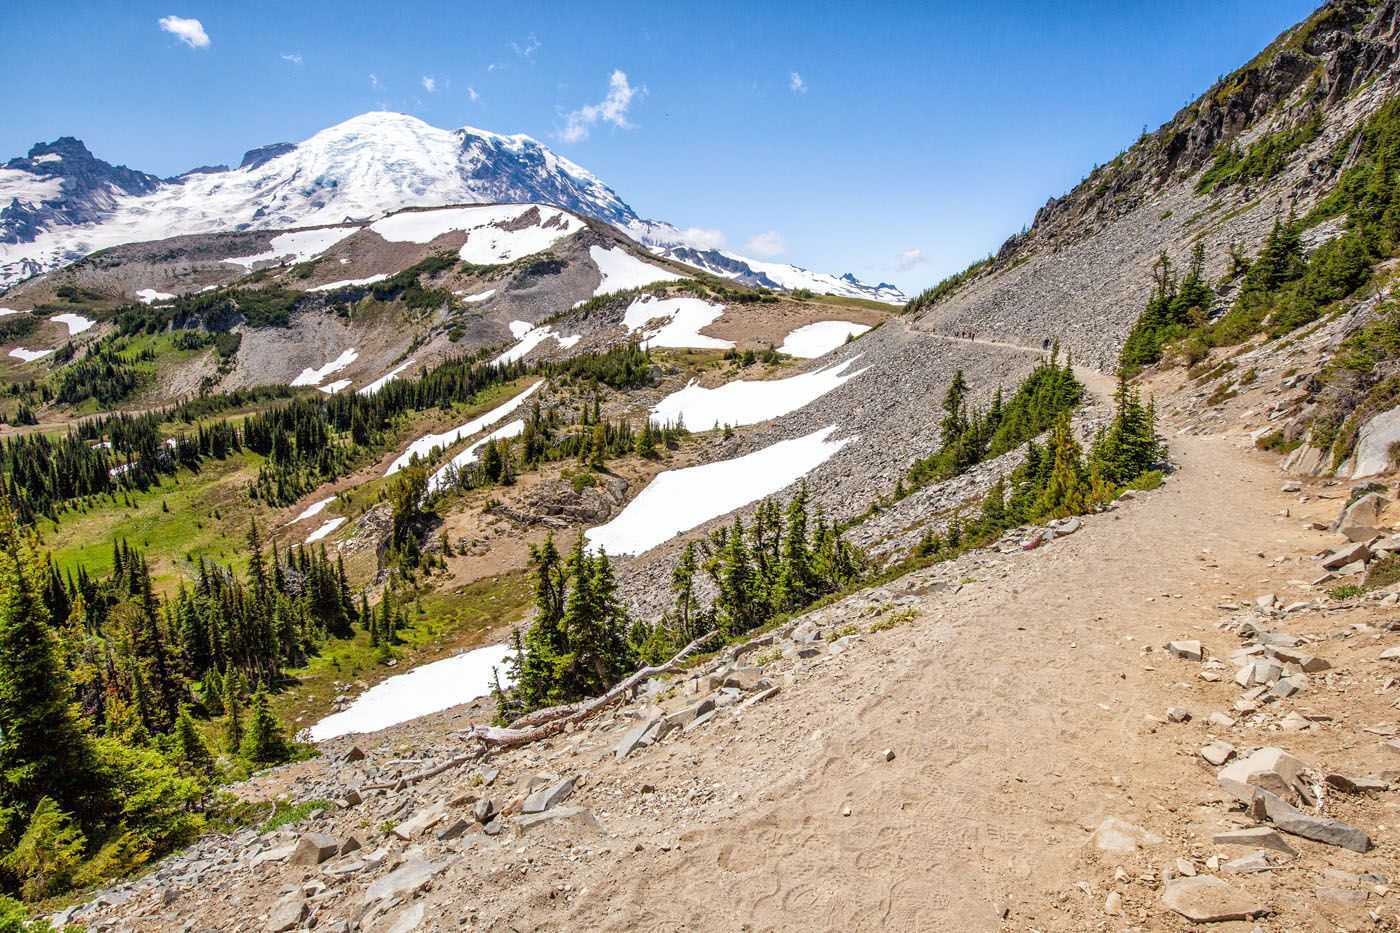
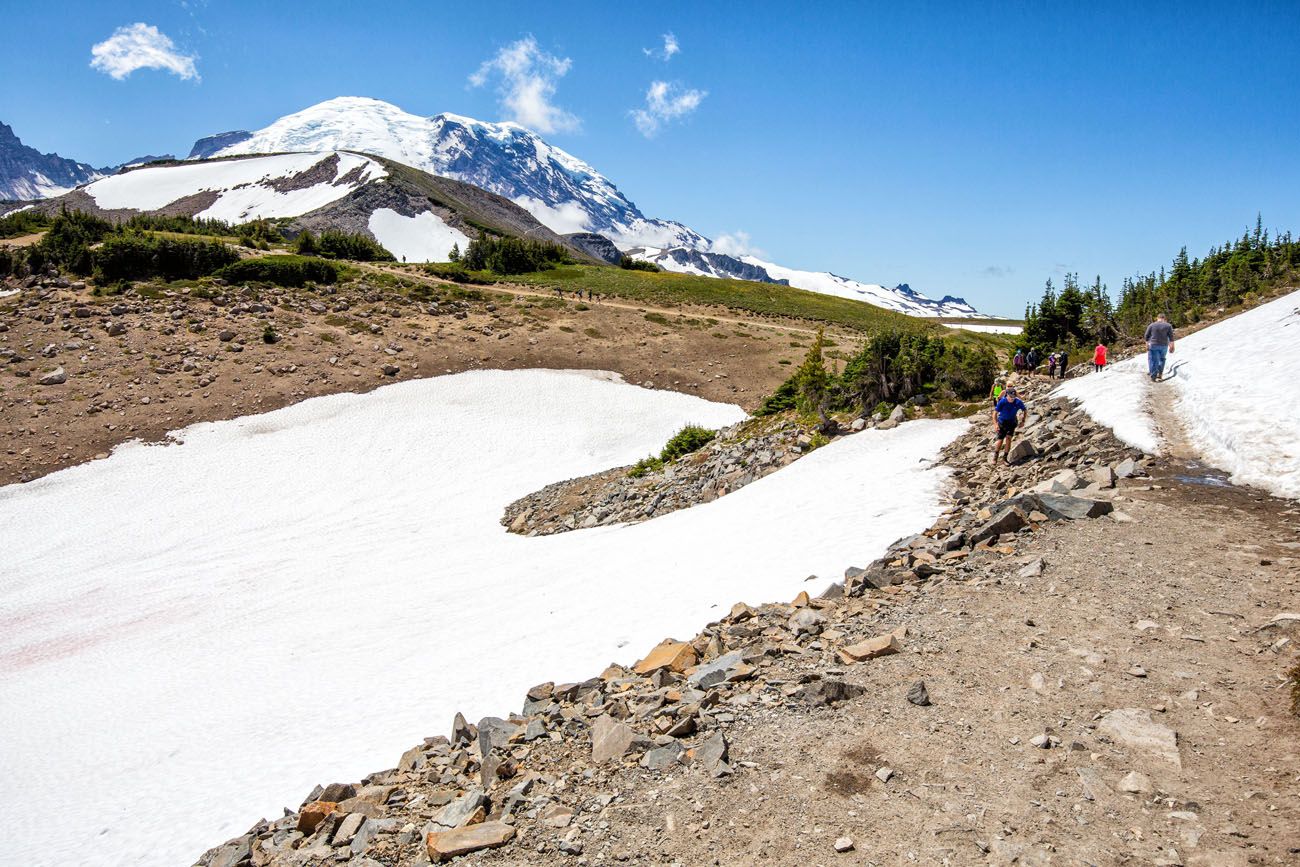
A little bit of snow lingers on the trail late in July.
Mount Fremont Trail
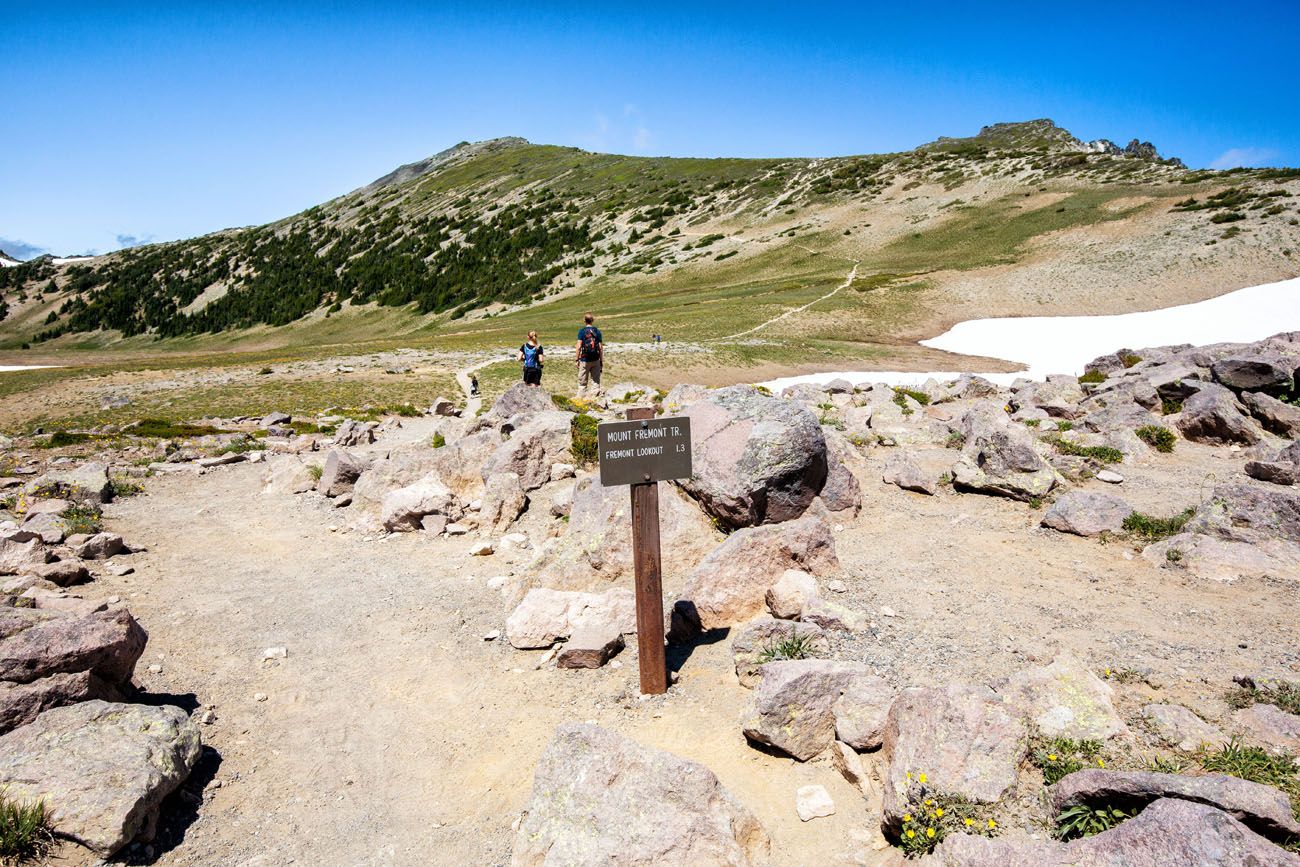
Just past Frozen Lake, you arrive at a huge trail junction. The trail to Mount Fremont leads off to the right. Turn right at this junction, and to make sure that you really are going to the correct place, look for the Mount Fremont Lookout sign.
The Wonderland Trail (an epic multi-day trek around Mount Rainier) and the Burroughs Mountain Trail (another day hike that gets rave reviews and one to consider if you have more time in Mount Rainier) also travel through this spot.
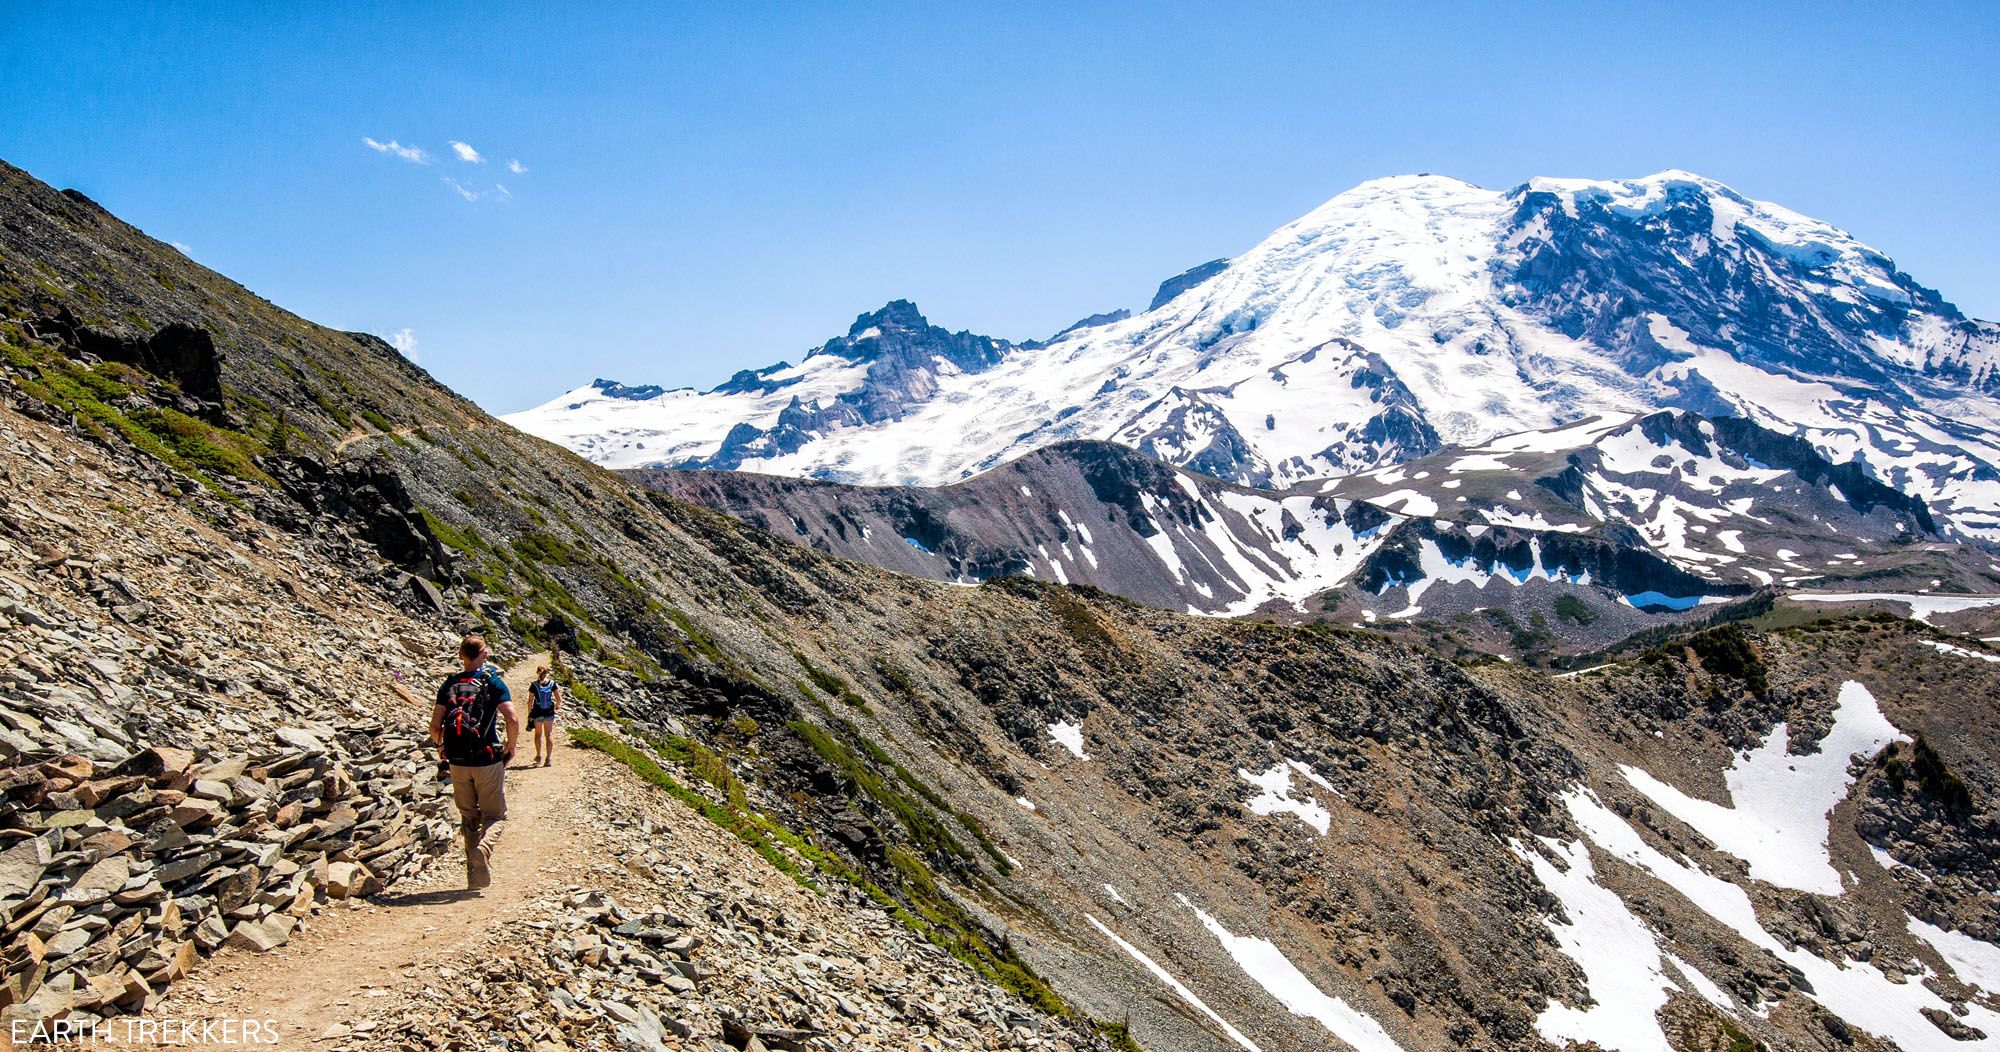
From Frozen Lake, the trail steadily climbs uphill until you reach the Lookout. It’s nothing too strenuous and with the amazing views of Mount Rainier, it takes your mind off of the climb. Keep an eye for mountain goats because they are sometimes spotted in this area.
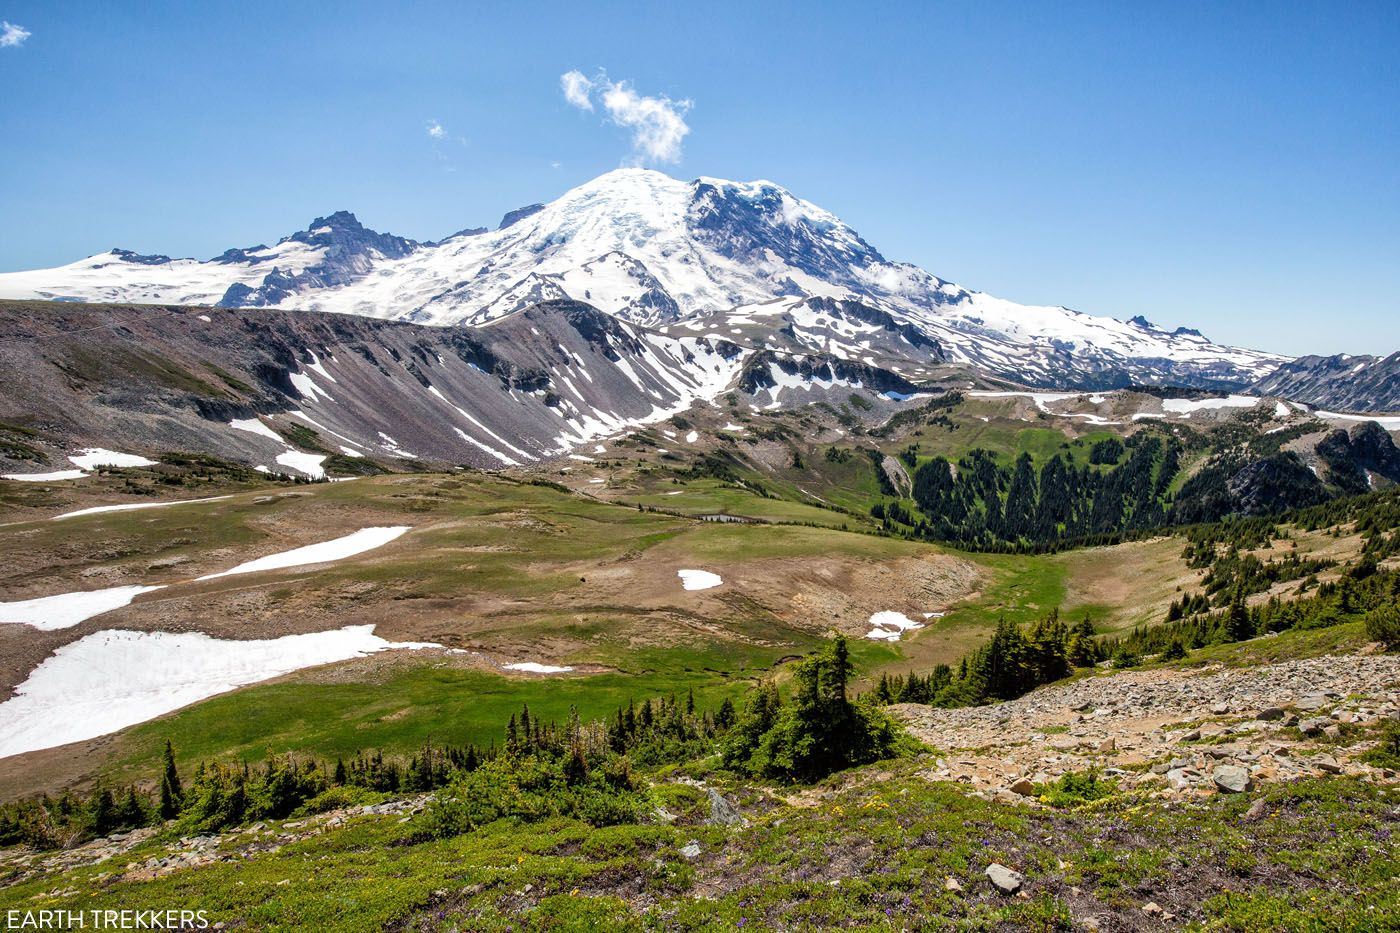
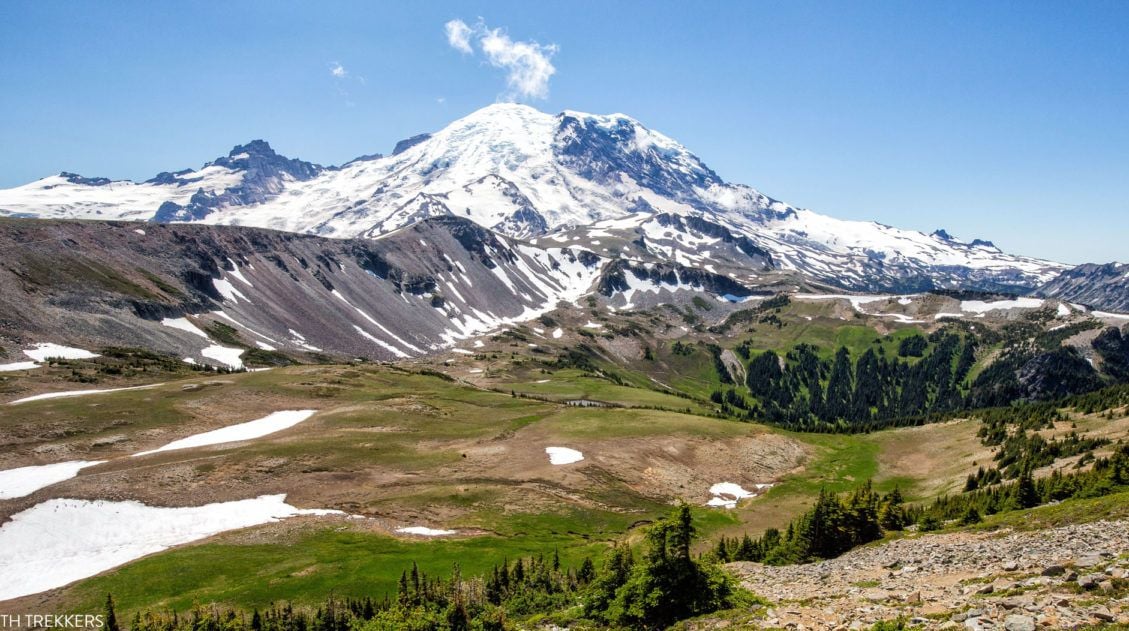
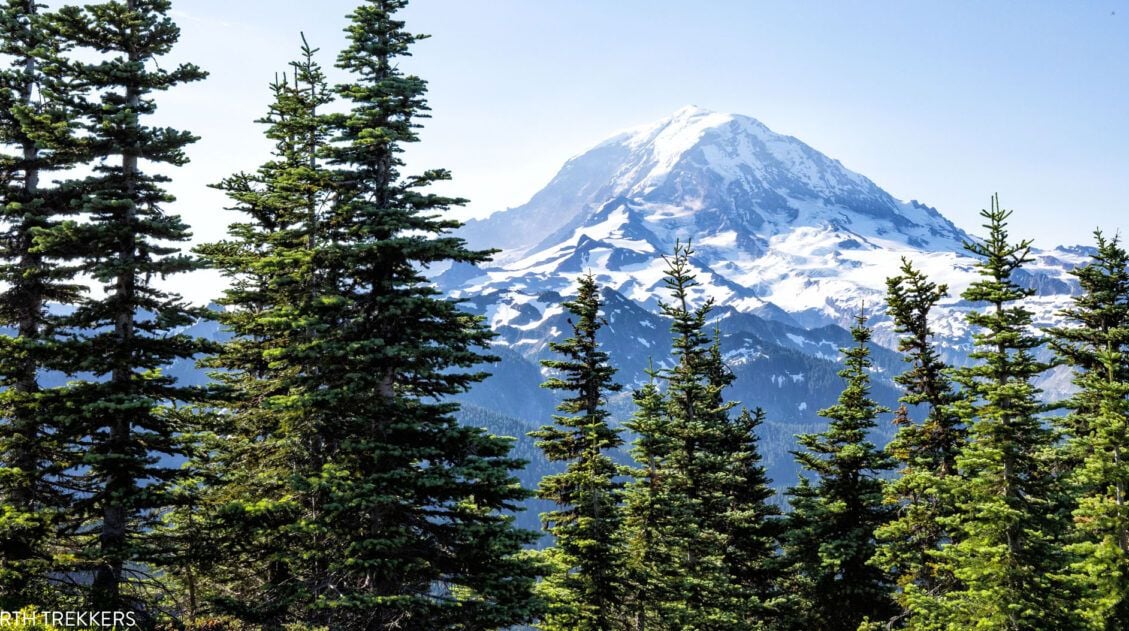
The view of Mount Rainier from this part of the trail
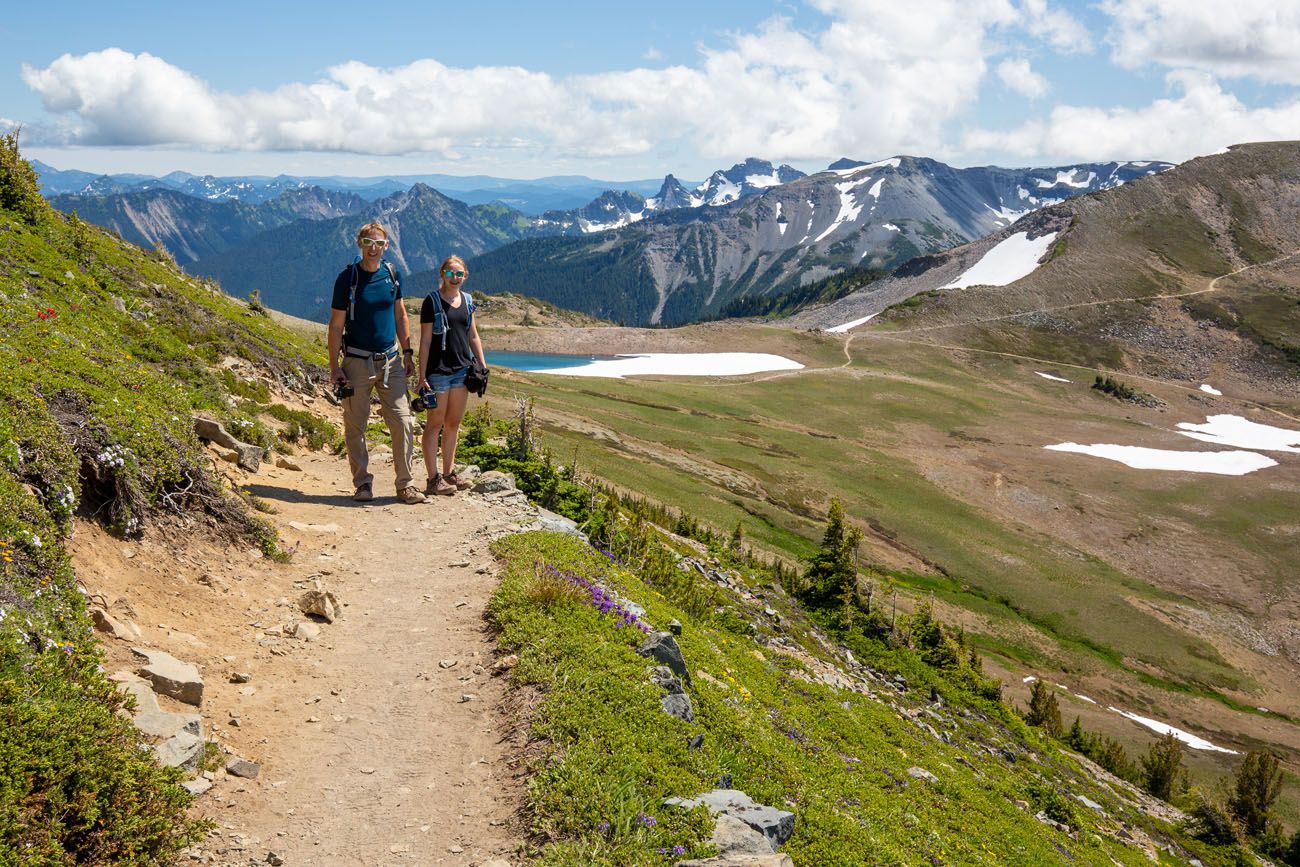
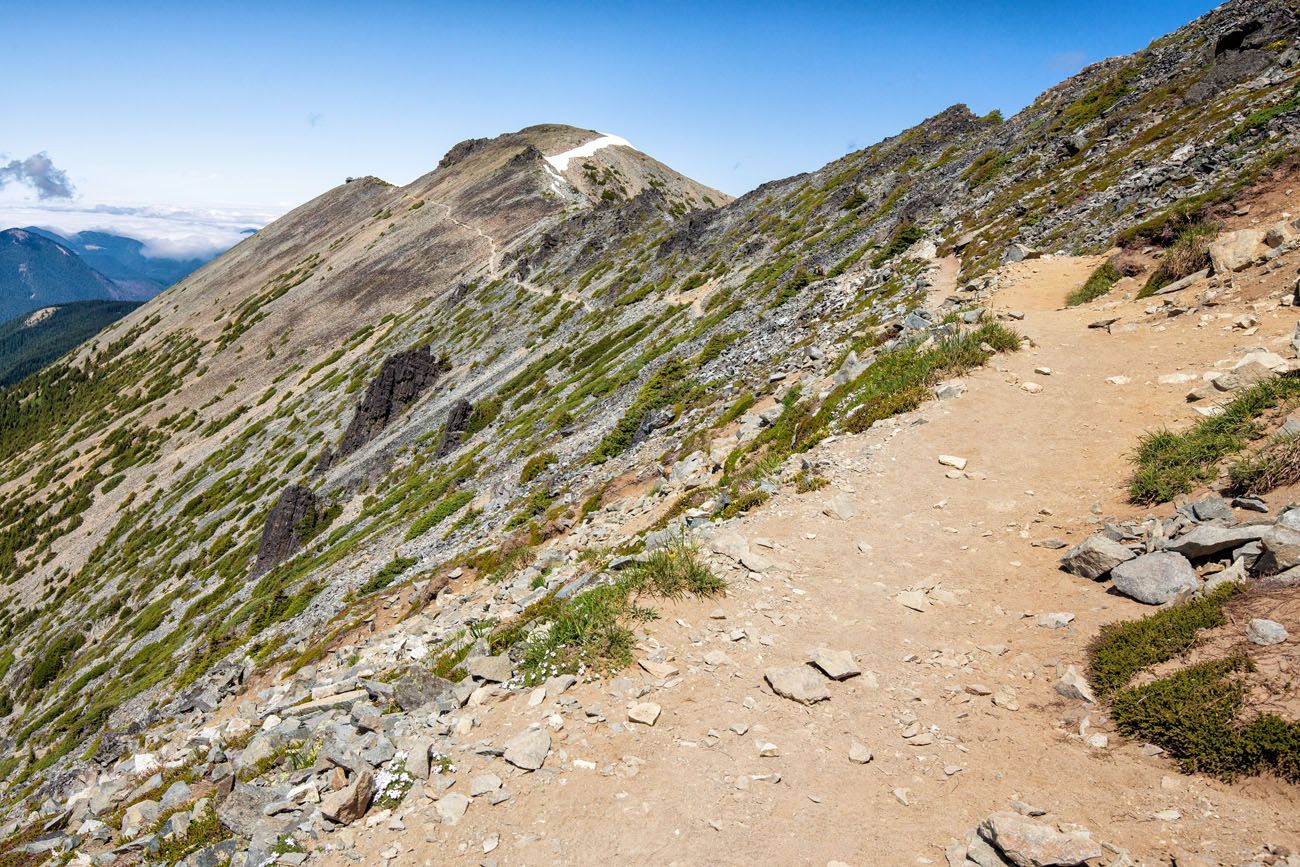
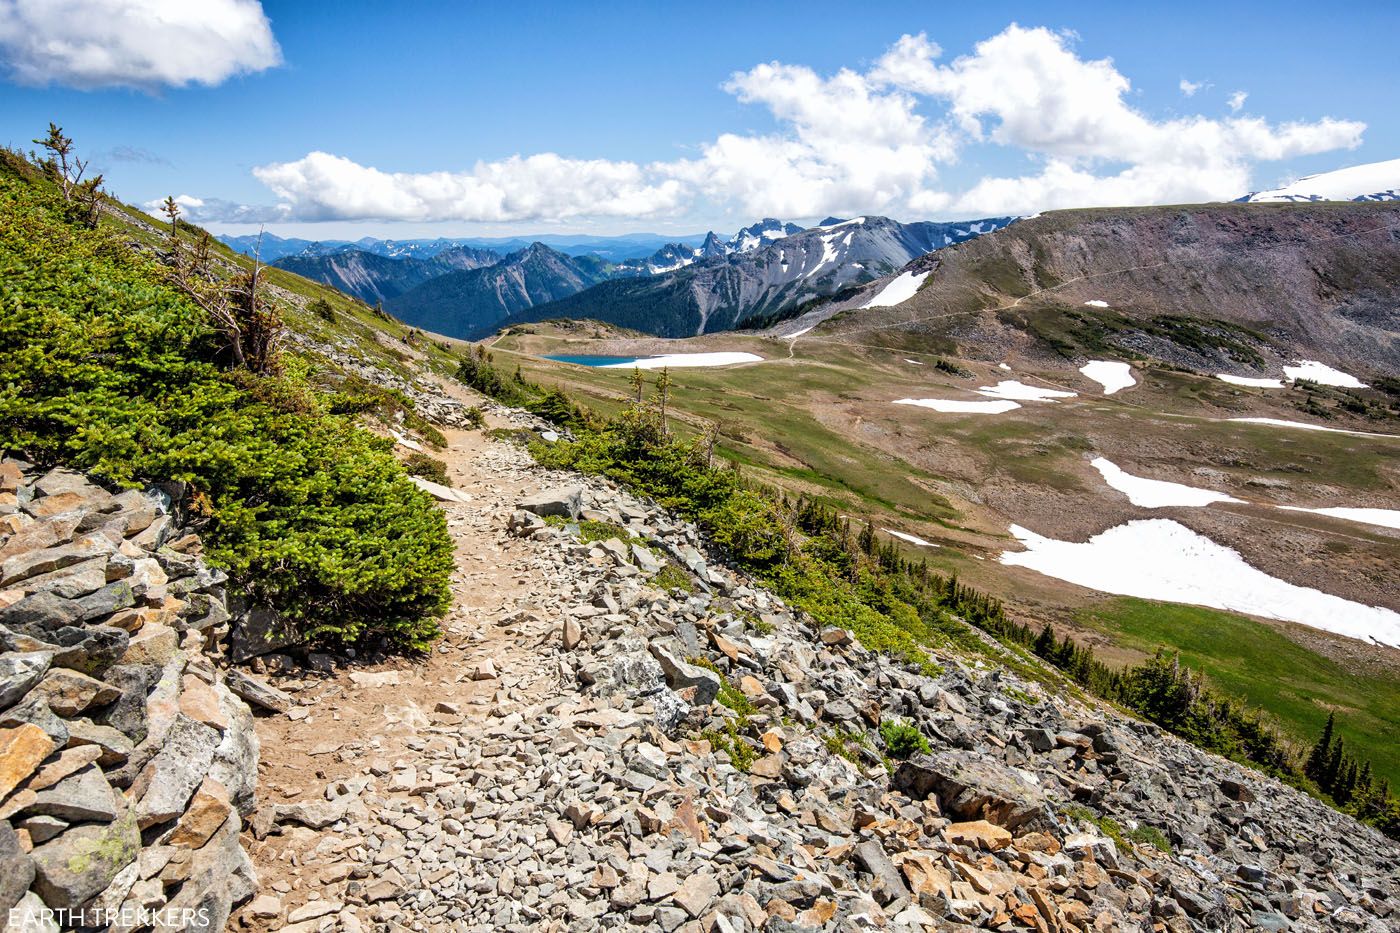
The higher you go, the rockier the trail becomes.
After one final bend in the trail, you can see the lookout building off in the distance.
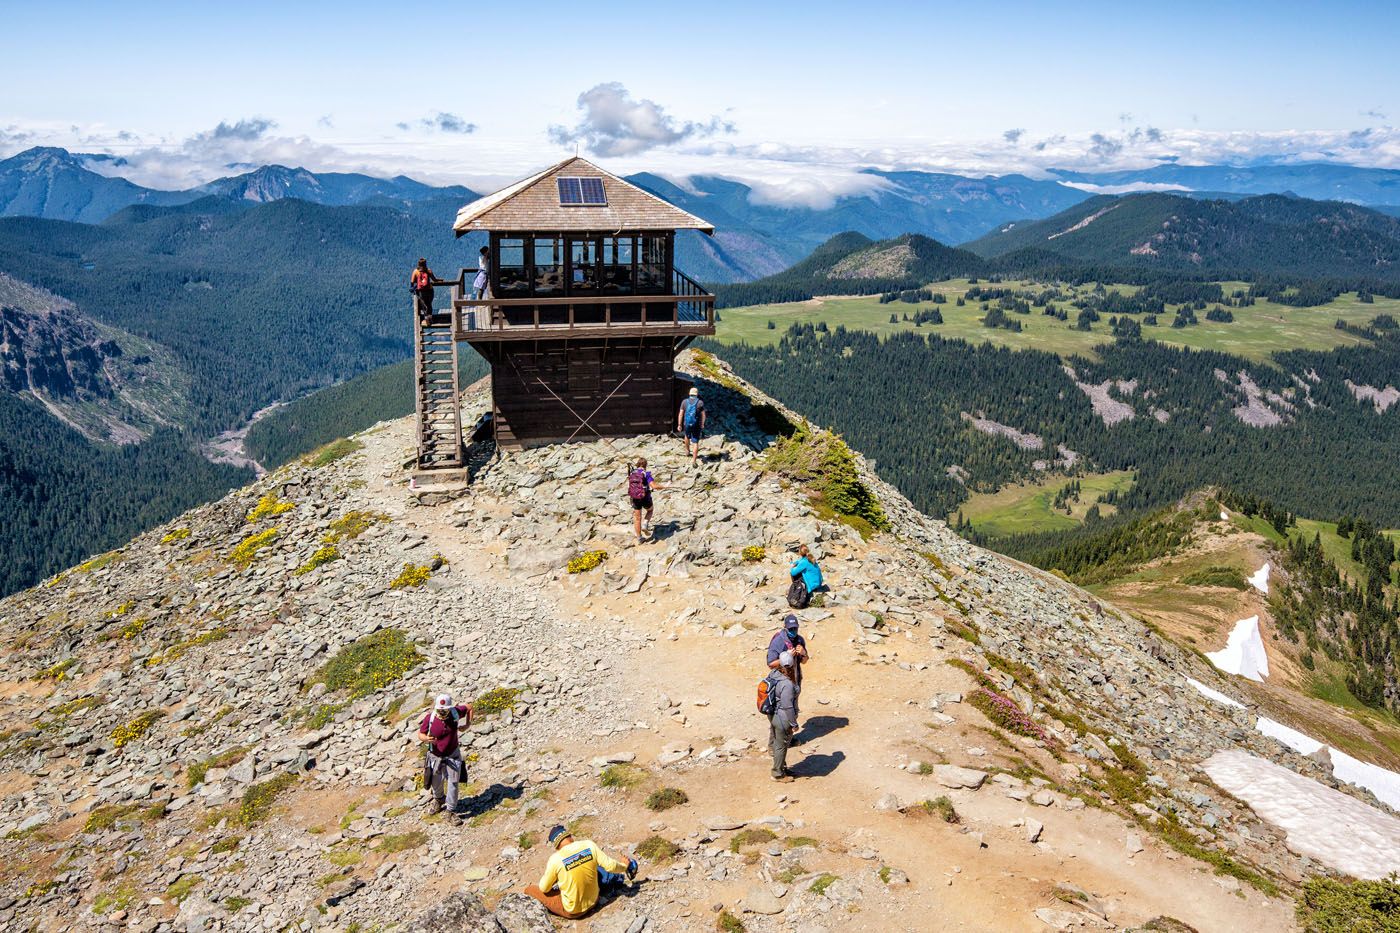
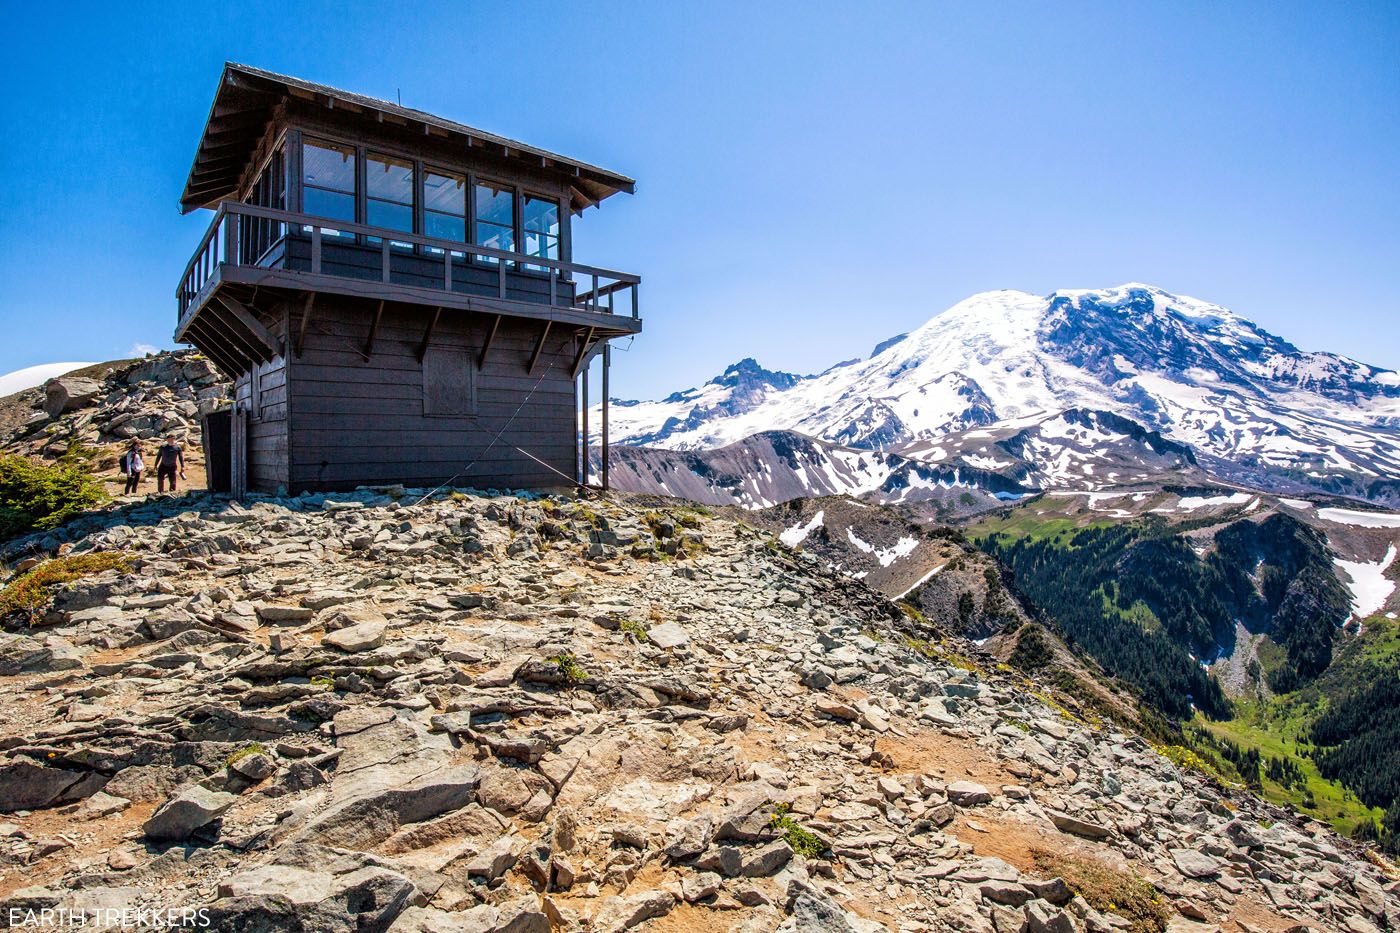
From the Mount Fremont Lookout, the view back to Mount Rainier is beautiful. You are permitted to climb the tower if you like. Many people sit on the rocky hill right before you get to the lookout tower.
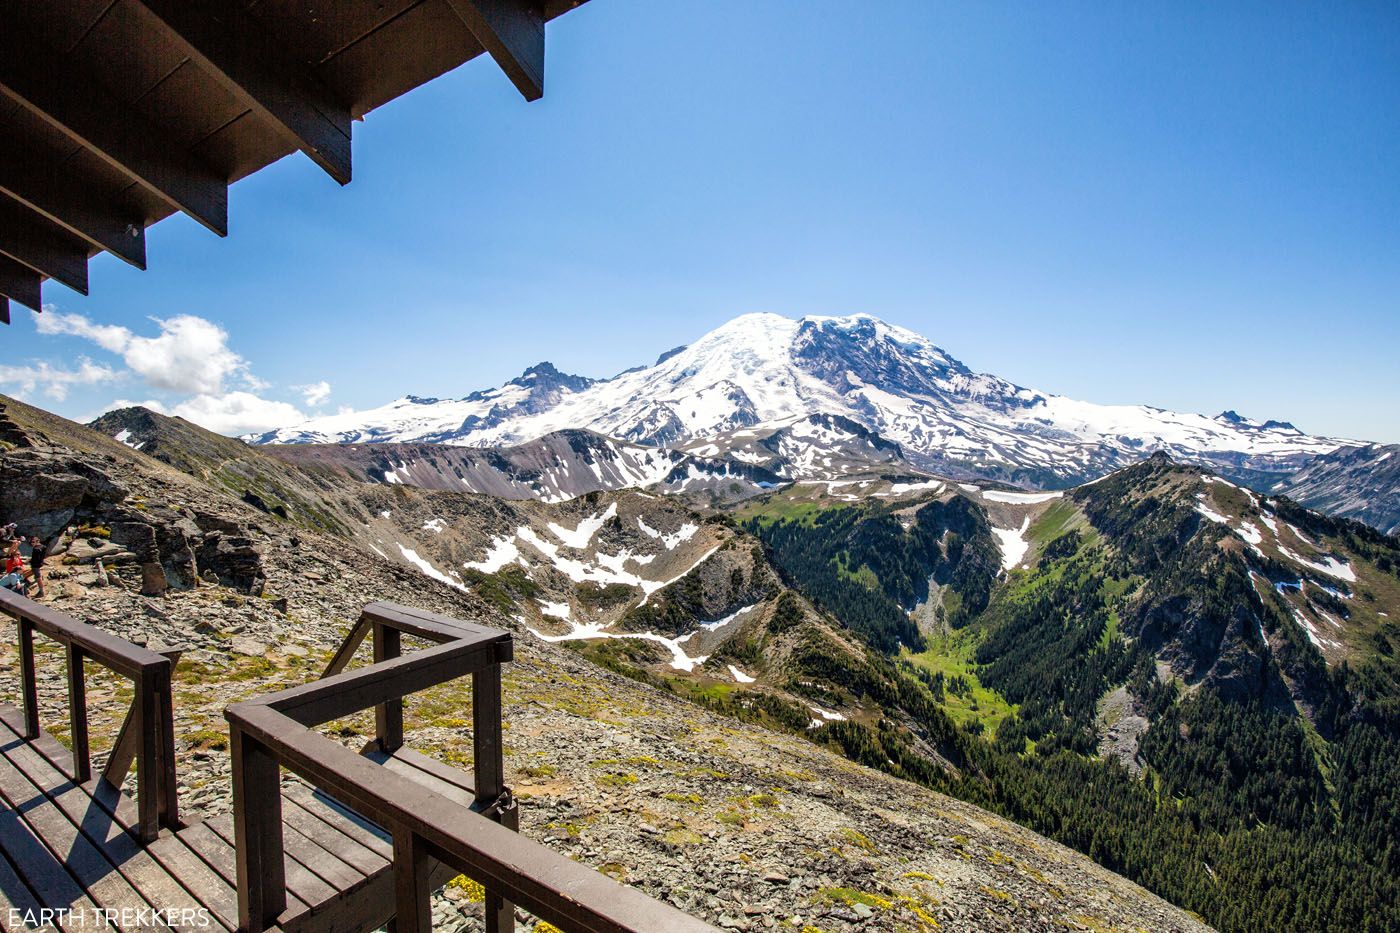
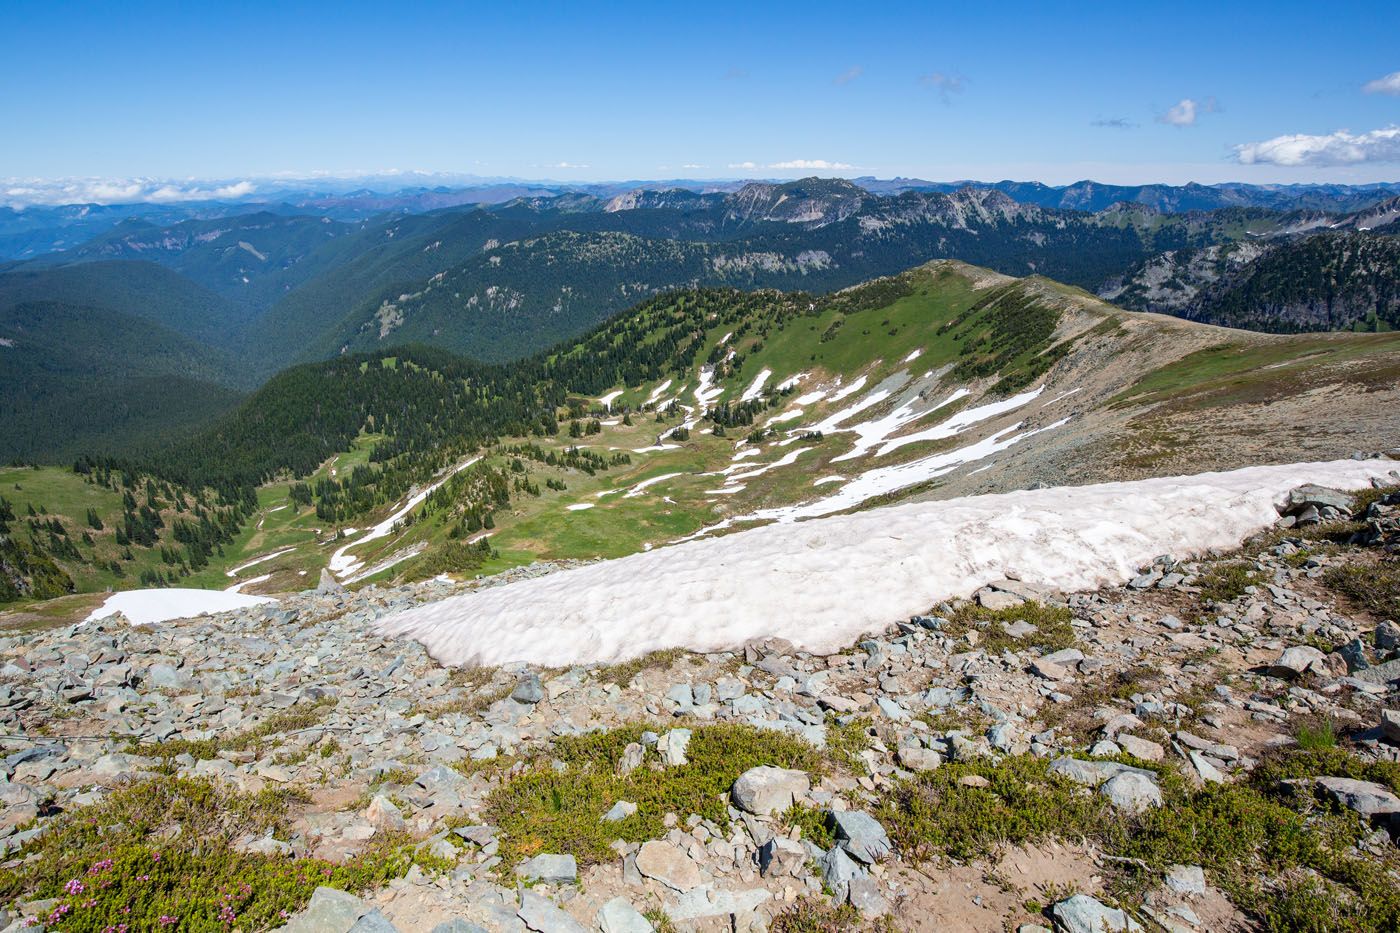
Another view over Mount Rainier National Park
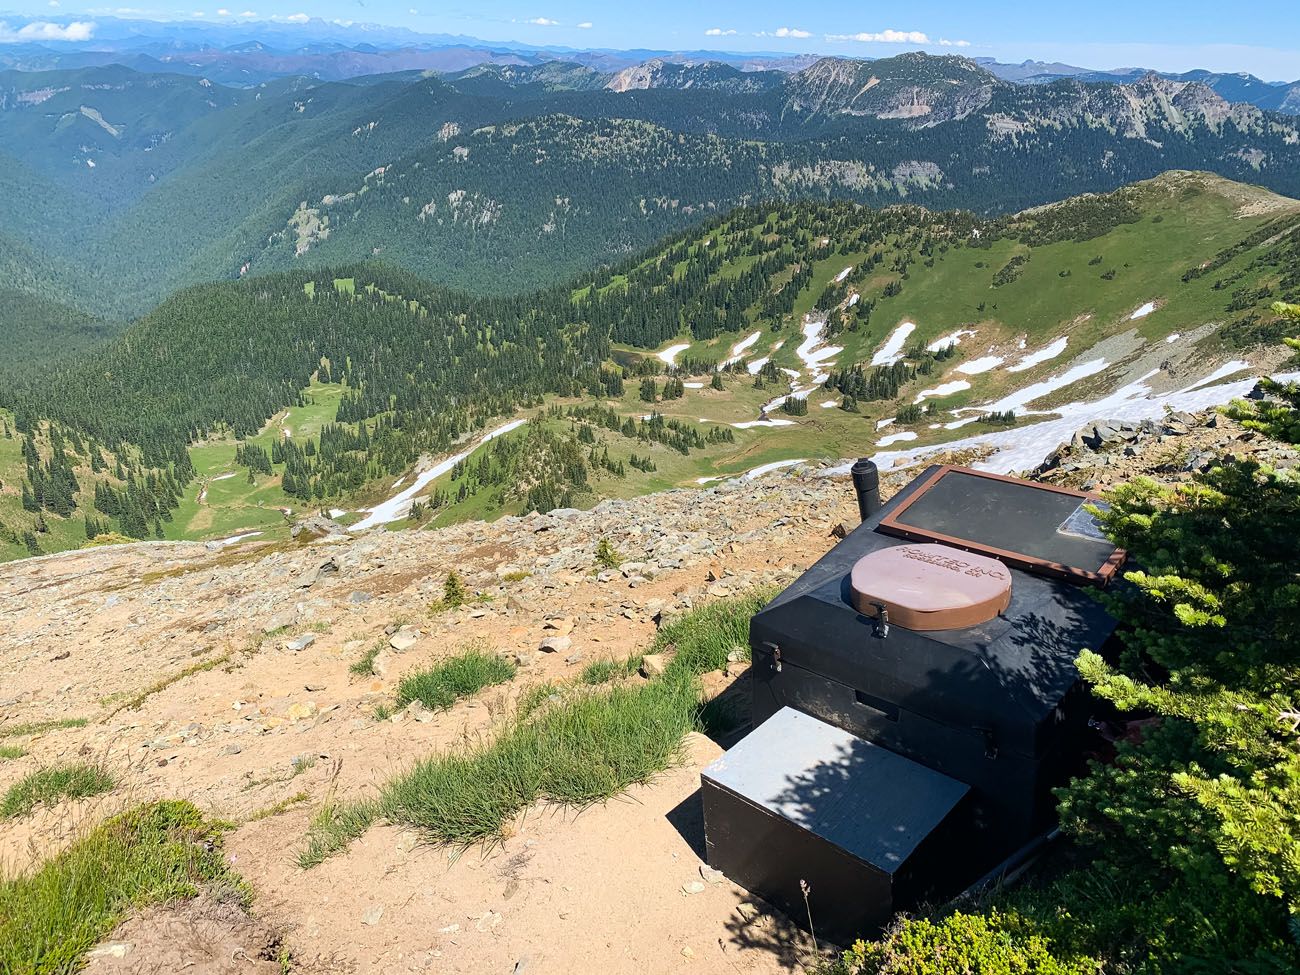
If you need to use a toilet, there is an open-air toilet just down the hill from the lookout tower. Take the faint, steep, rocky trail downhill. Once past the small shrubs and trees, you will see this pit toilet, just barely hidden away in the brush. It just may be one of the most unique bathroom experiences you have.
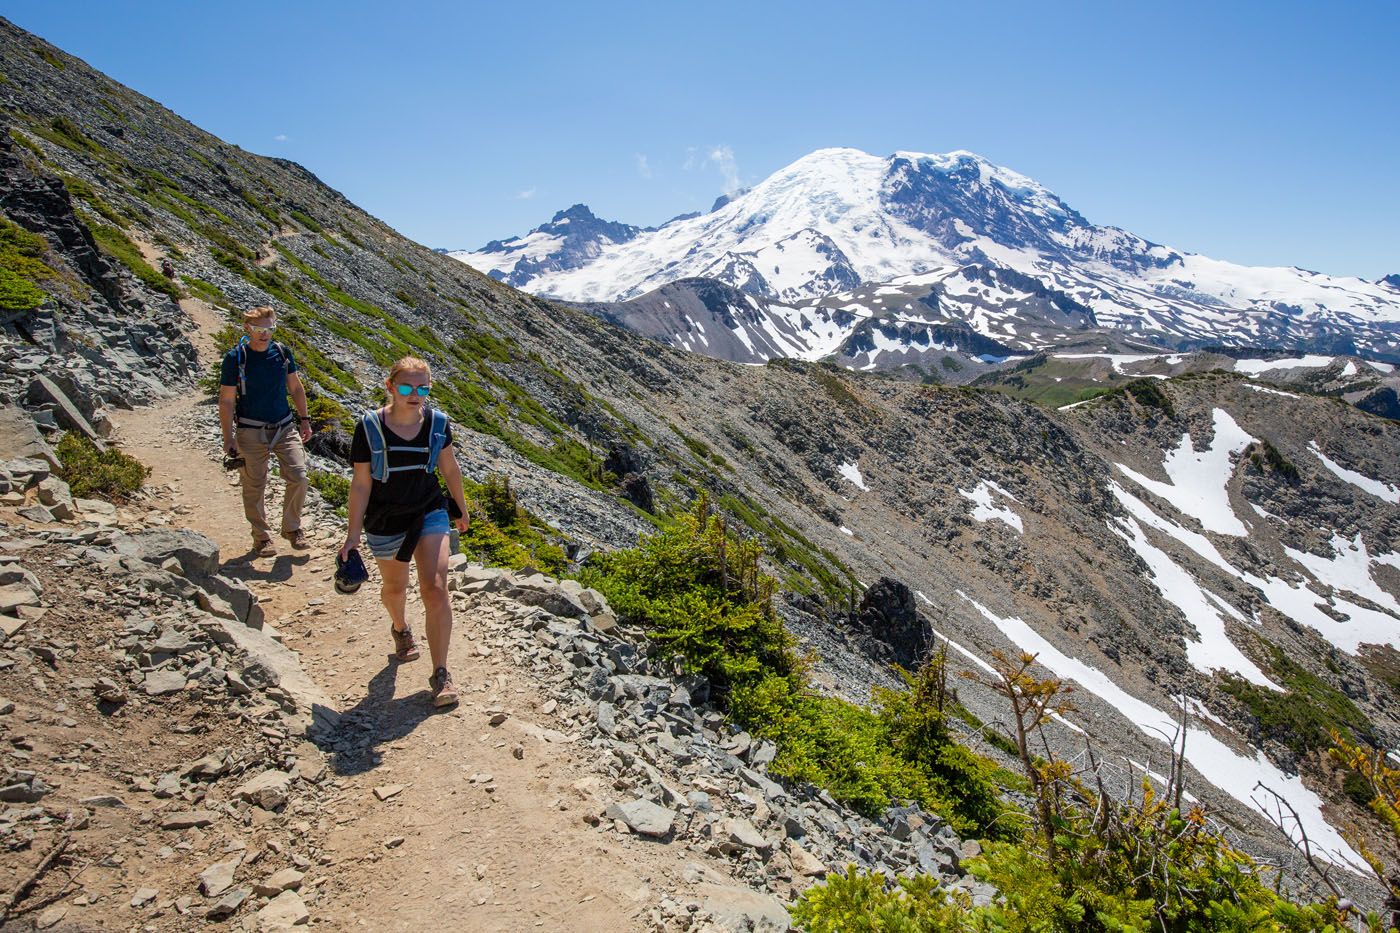
To finish the hike, retrace your steps back to Sunrise. For the first part of the return hike the views are amazing, with Mount Rainier smack in front of you. Here are a few photos on the return hike.
Tips to Have the Best Experience
Get updates on the road status and trail closures on the official National Park Service website before you go.
Leave no trace. When you are in the park, practice the seven principles of Leave No Trace. This includes packing out what you bring into the park, be considerate of other hikers, stay on the trail, and do not remove anything from the park.
Do not expect your cell phone to work. We had minimal cellular service on this hike. Don’t depend on your phone to call for help, talk to friends, or to send photos to friends and family.
What to Bring on the Hike
Hiking shoes. Hiking shoes are ideal but you can also do fine in running shoes or a sturdy pair of walking shoes.
Hiking poles. Hiking poles take the stress off of your legs and help to ease leg pain and fatigue. They also help you keep your balance on the snow crossings.
Water and snacks. Around 1 liter of water is sufficient in the summer.
Sunscreen, hat, and sunglasses. For most of this hike you will be exposed to the sun, with very little shade.
Camera. Even a smartphone will do.
Rain jacket or fleece. Be prepared for all weather conditions, even snow in the summer months. Pack a rain jacket and/or fleece and even another layer of clothing.
Essential Hiking Gear: What Should You Bring on a Day Hike?
If you are new to hiking or are curious about what you should bring on a hike, check out our Hiking Gear Guide. Find out what we carry in our day packs and what we wear on the trails.If you have any questions about hiking the Mount Fremont Trail, let us know in the comment section below. Happy hiking!!
More Information for Your Trip to Washington
If this is part of a bigger road trip through the USA, visit our United States Travel Guide and our Washington Travel Guide for more inspiration and travel planning tips.

Comments 4