The Kīlauea Iki Trail is a great experience to add to your Hawai’i Volcanoes National Park to-do list. On this relatively short hike, walk through a rainforest, cross a solidified lava lake, and gaze out at the crater from the rim. You also have the option to add on the Thurston Lava Tube.
This hike was one of our favorite experiences in Hawai’i Volcanoes National Park. Here’s how to do it.
Kīlauea Iki Trail Hiking Stats
Below are the hiking stats for hiking the Kīlauea Iki trail as a loop and adding on the Thurston Lava Tube.
Distance: 3.5 miles (5.7 km) round trip
Total Ascent: 725 feet (221 m)
Difficulty: Moderate
Length of Time: 2 to 3 hours
When to Go: You can do this hike all year
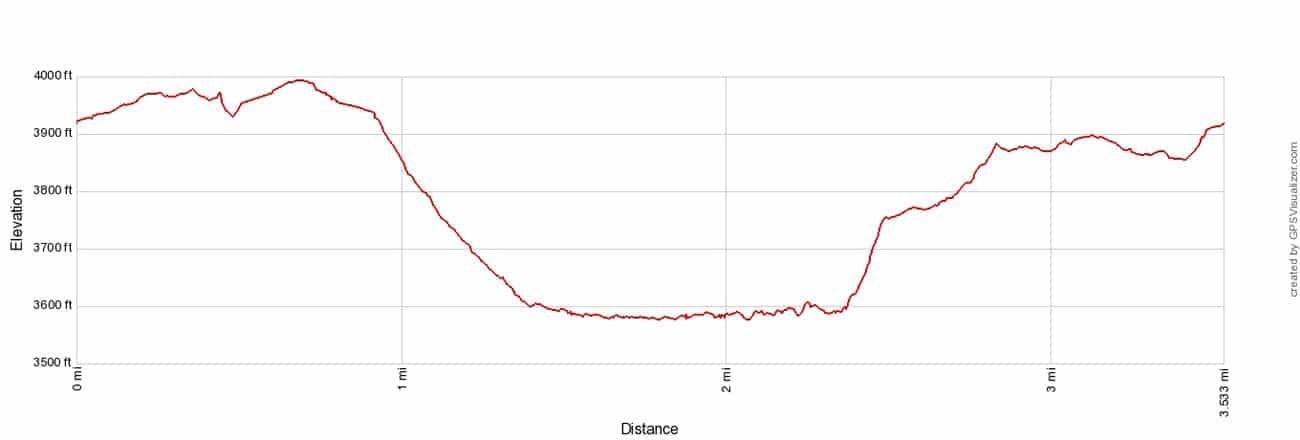
This is the elevation profile starting at the Kilauea Iki Trailhead, hiking through the Thurston Lava Tube, and then hiking clockwise through Kilauea Iki Crater.
Please practice the seven principles of Leave No Trace: plan ahead, stay on the trail, pack out what you bring to the hiking trail, leave areas as you found them, minimize campfire impacts, be considerate of other hikers, and do not approach or feed wildlife.
Hiking the Kīlauea Iki Crater Trail
Route Options
There are several ways that you can do this hike.
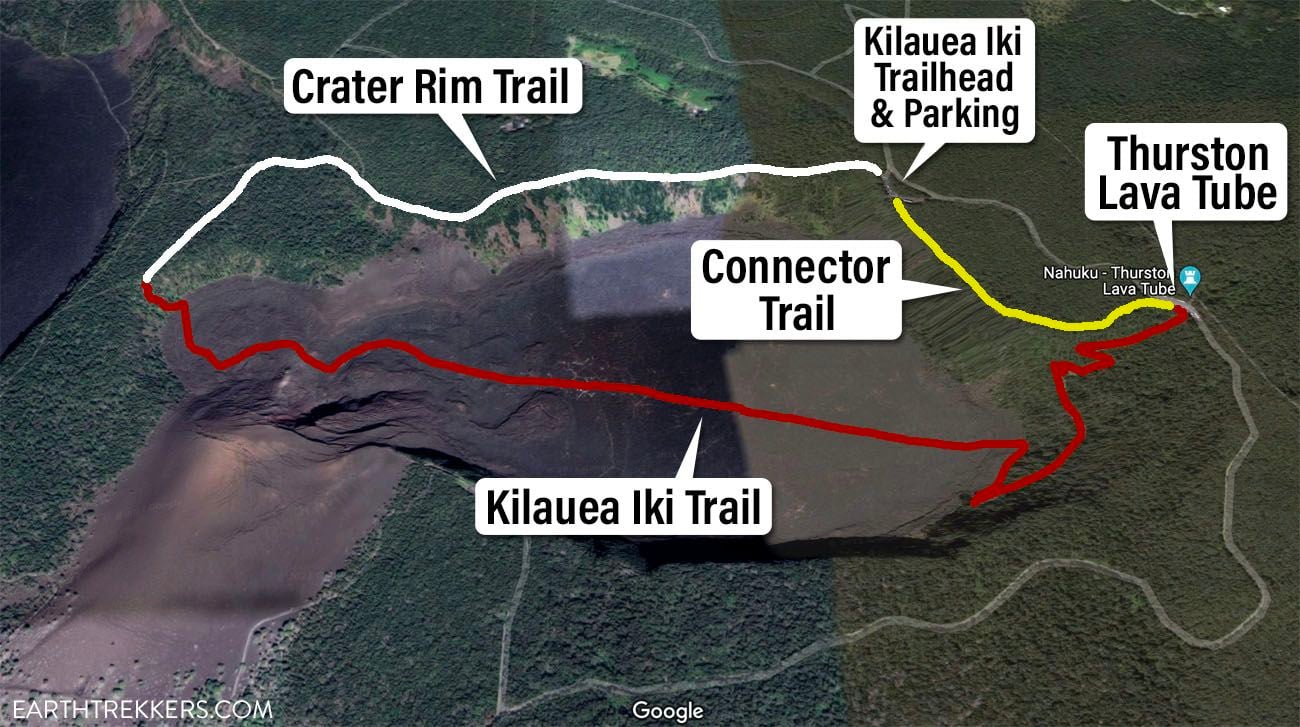
As a Loop with the Thurston Lava Tube
The best way to do this hike, in my opinion, is to do it as a loop and add on the Thurston Lava Tube. The trail runs right next to the Thurston Lava Tube, so adding it on to this hike saves you the hassle of getting a parking spot for the Lava Tube, which can be challenging, since the parking lot is so small.
In this guide, we describe how to hike the Kīlauea Iki Trail as a loop, adding on the Thurston Lava Tube.
As a Loop without the Thurston Lava Tube
If you have no desire to visit the Thurston Lava Tube, you can hike the Kīlauea Iki Trail without adding on the tube. The hike will be 3 miles (4.8 km) round trip and take 1.5 to 2.5 hours.
Out-and-Back
From the Kīlauea Iki Trailhead parking lot, you can hike down into the crater, go as far as you like, and then turn around and retrace your steps to the parking lot. If you do it this way, you will hike between 2 and 3 miles (3.2 to 4.8 km), depending on how far you choose to go.
Getting to the Trailhead
There are two parking areas for this hike.
The Kīlauea Iki Trailhead parking lot (also called the Kīlauea Iki Overlook on the national park map) is the best place to park. The parking lot is large and there are restrooms here.
There is also a small parking lot located next to the Thurston Lava Tube. This lot is very small so you have to be extremely lucky to get a spot here. Parking here does not shorten the loop hike, but if you only plan on hiking down into the crater as an out-and-back hike, this parking lot will save you some steps, since you don’t have to hike the connector trail along the crater rim (see the map above for clarification).
PRO TRAVEL TIP: Both of these parking lots, even the larger lot at the Kīlauea Iki Trailhead, fill up early in the day. I recommend doing this hike first thing, so you get a parking space.
Which Direction Should You Go?
Since this is a loop hike, you can go in either direction.
The National Park Service has an excellent guide for this hike. You can download it before you go, since cellular service is limited inside the park.
Along the trail are numbered markers which correspond to information provided in the guide. If you follow this guide, you will hike the loop in a counter-clockwise direction, starting on Crater Rim Trail and then crossing the crater on the return walk to your car. Once you hike up the rim, you can cross the street and visit the Thurston Lava Tube. Then take the trail back to the parking lot.
We did this in a clockwise direction, since we did not know about the National Park Service’s hiking guide until I wrote this guide. We hiked the connector trail, visited the Thurston Lava Tube, then crossed the crater and hiked back to our car on the Crater Rim Trail. I really liked doing it this way, since I think the views across the crater are better in this direction. You can still follow the guide, since there are numbers along the trail that correspond with info in the guide.
Both directions work great, but if you want to follow the NPS Trail Guide, you will do this hike in a counter-clockwise direction.
Below is the Kīlauea Iki Trail loop, described in a clockwise direction, starting at the Kīlauea Iki Trailhead.
Connector Trail
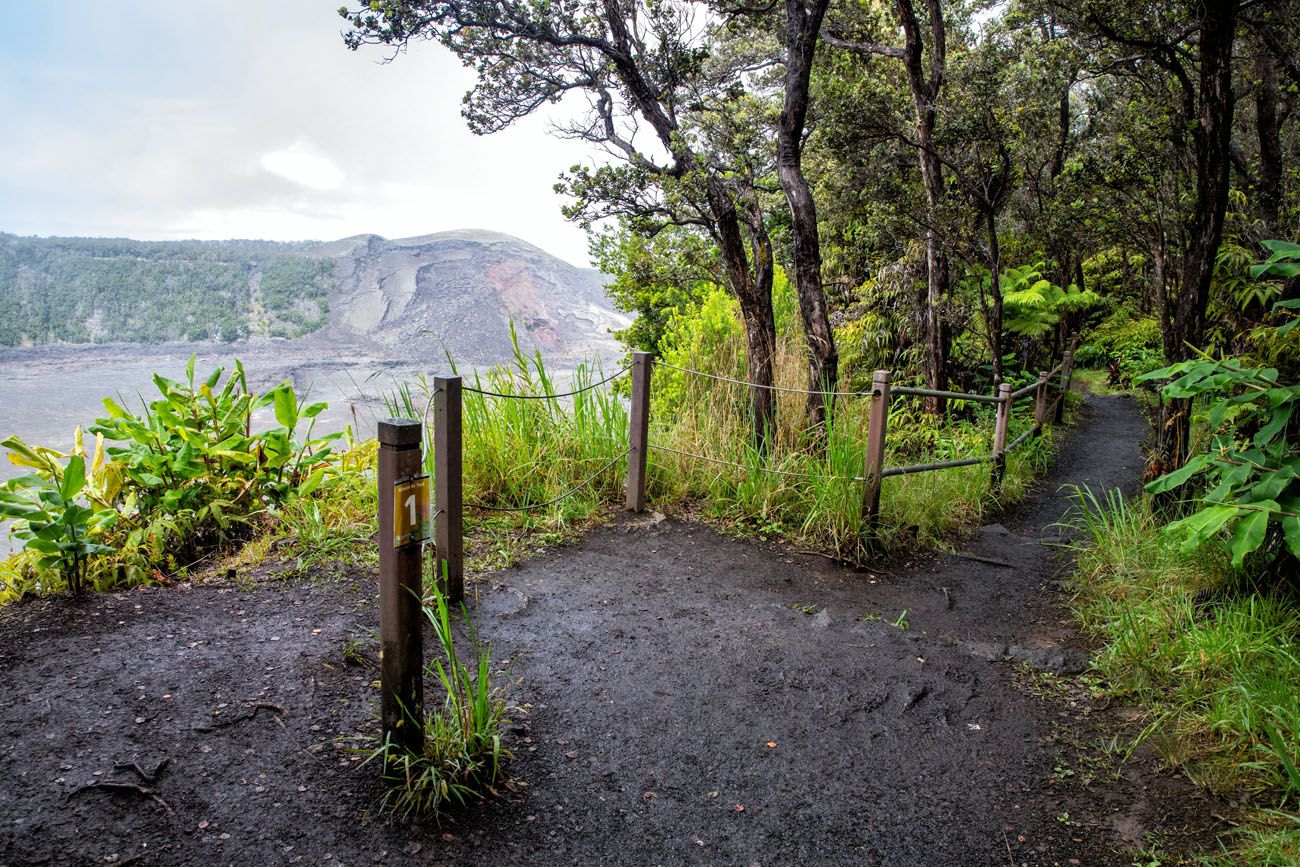
This trail is 0.4 miles long, flat, and runs along the rim of the Kīlauea Iki Crater. It is shady for its entire distance and it can be muddy if it has recently rained. From the trail, there are some openings in the trees that offer great views of the Kīlauea Iki crater.
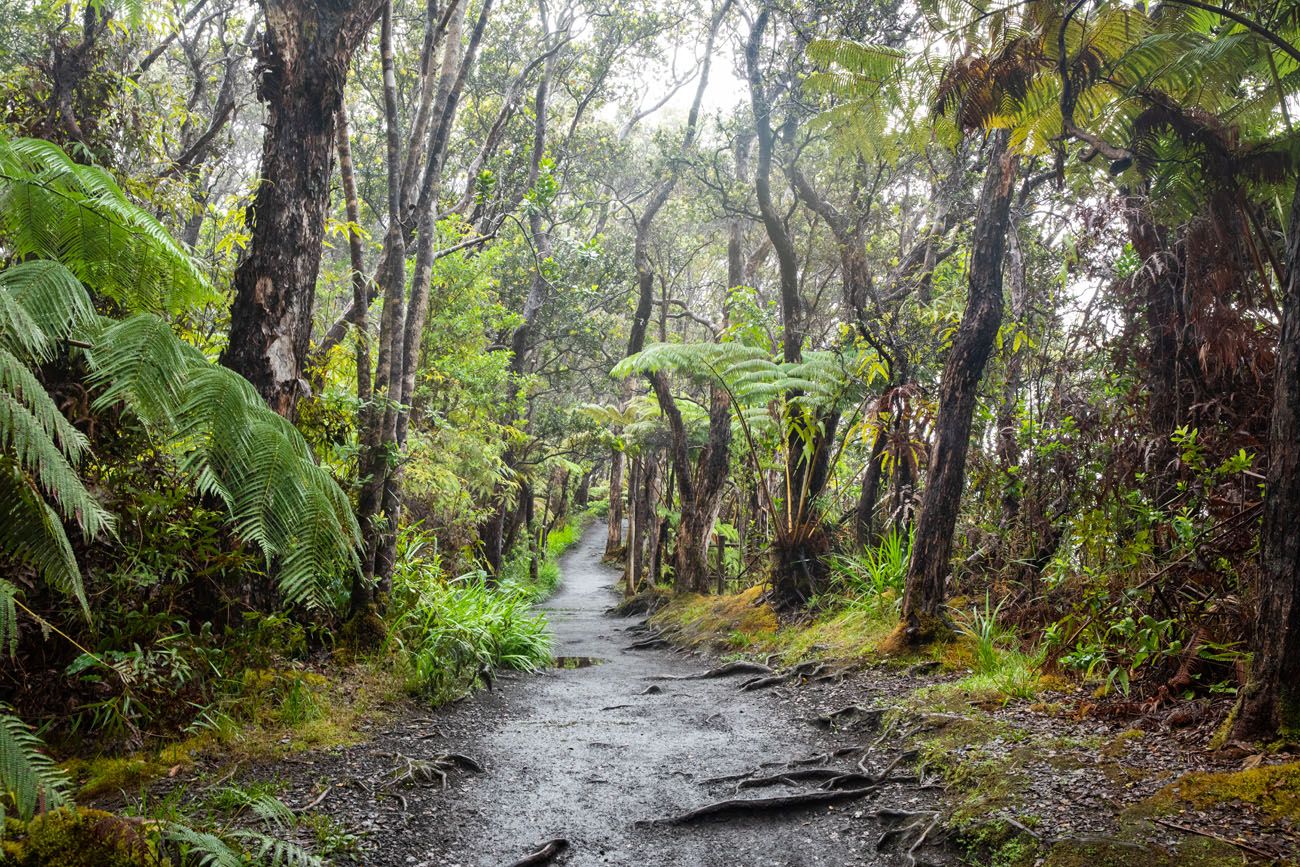
Connector Trail
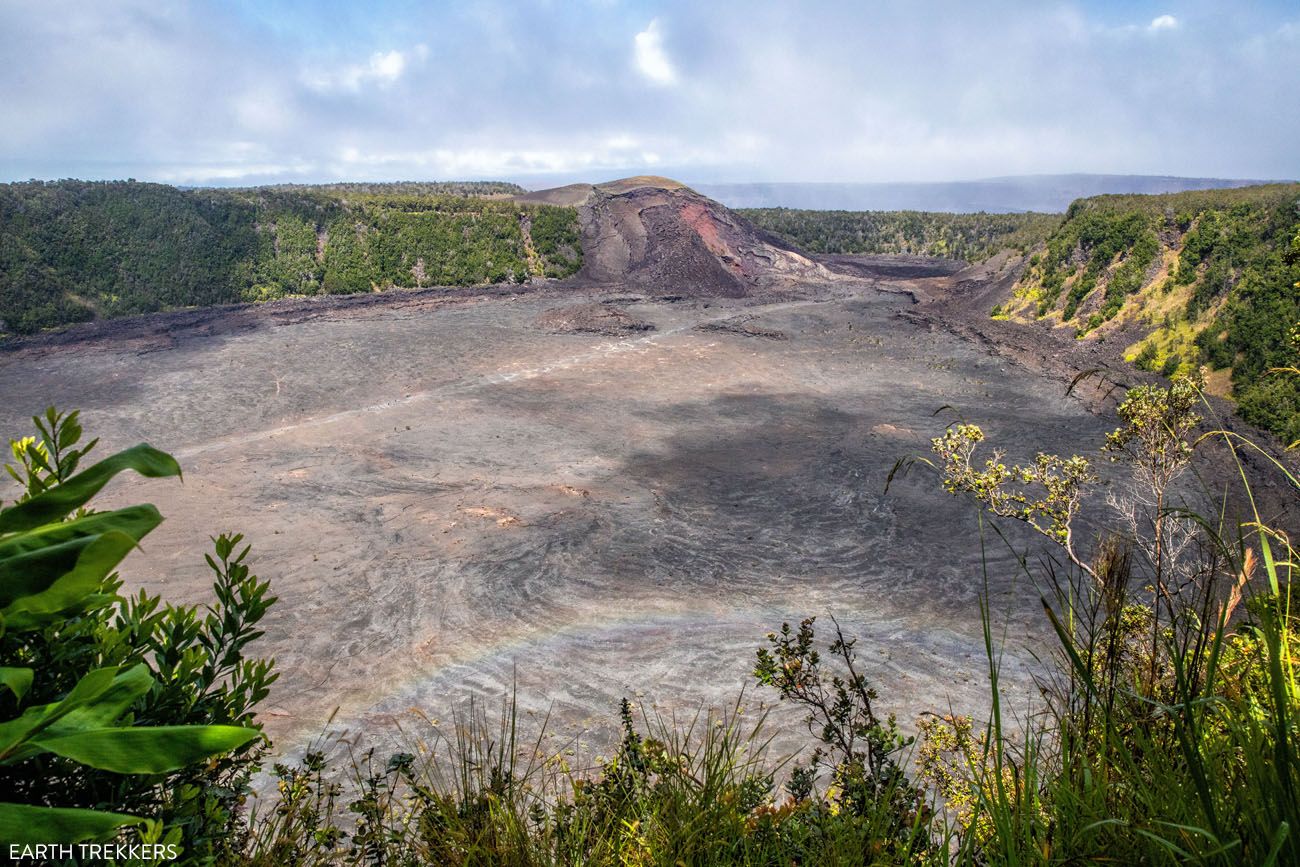
View of the Kilauea Iki Crater from the Connector Trail.
Thurston Lava Tube
The Connector Trail ends at Crater Rim Drive and the smaller parking lot for the Thurston Lava Tube. To visit the Lava Tube, cross the street and follow the short loop trail into the tube.
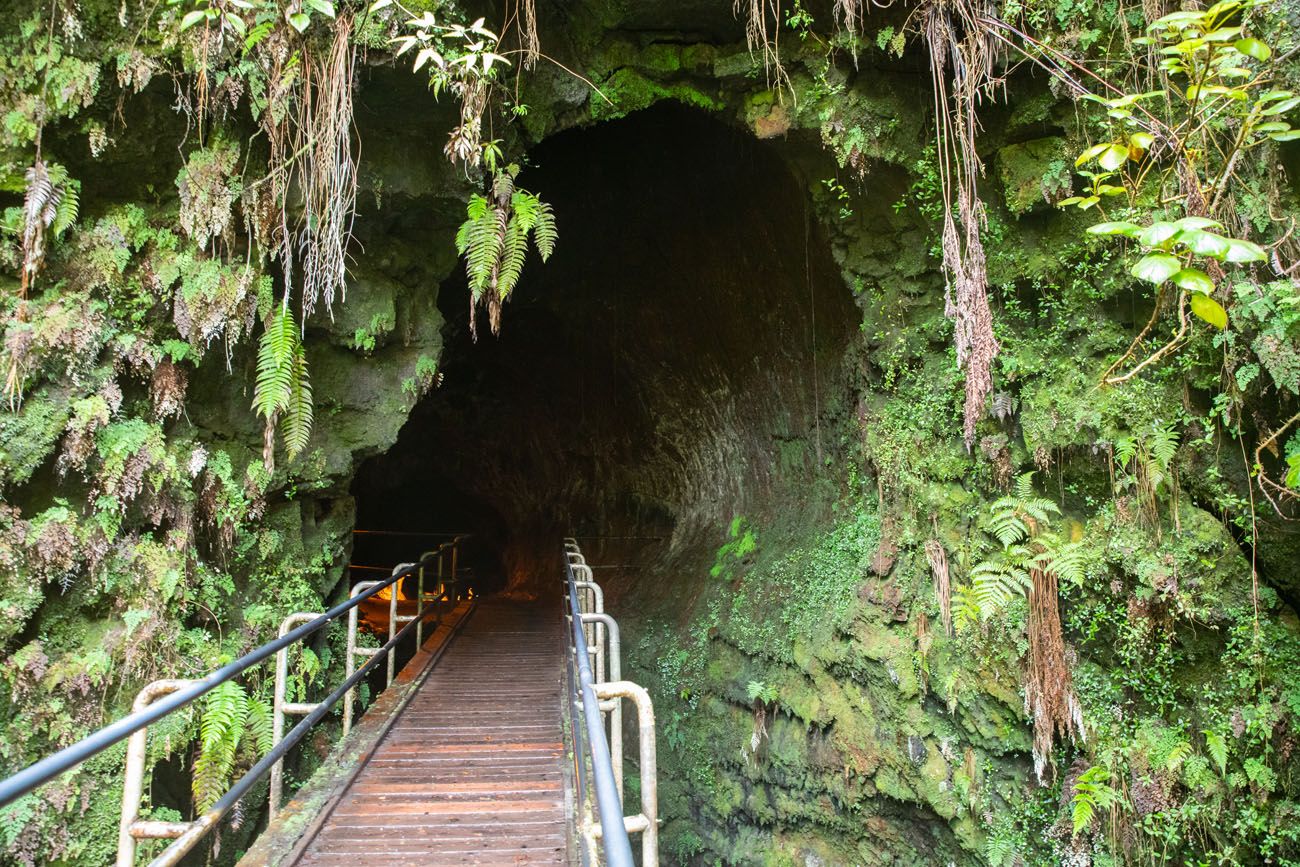
Thurston Lava Tube
Once finished at the Thurston Lava Tube, cross the street and look for the Kīlauea Iki Trail sign. It is to the far left of the parking lot and the trail heads downhill into the trees.
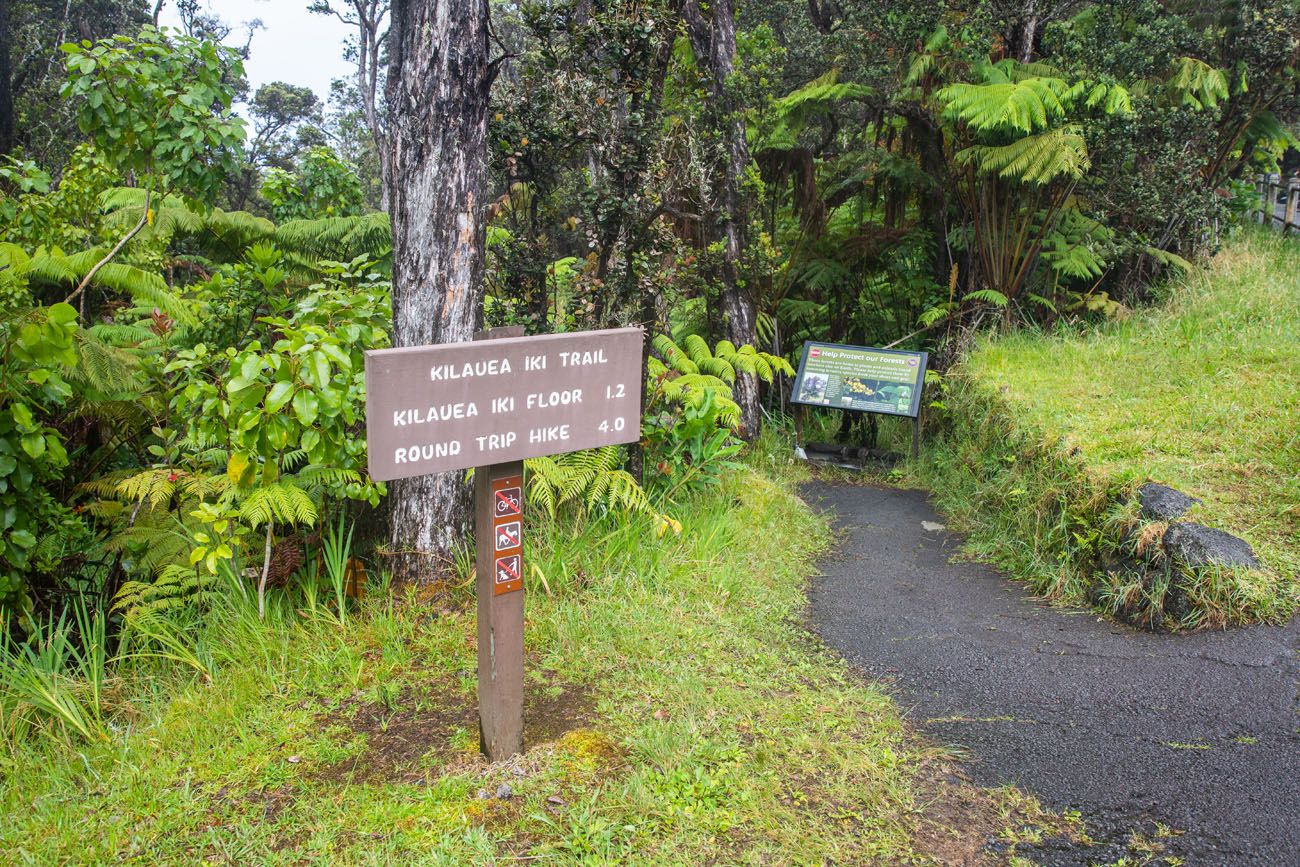
IMPORTANT: Clean off your shoes before starting this hike.
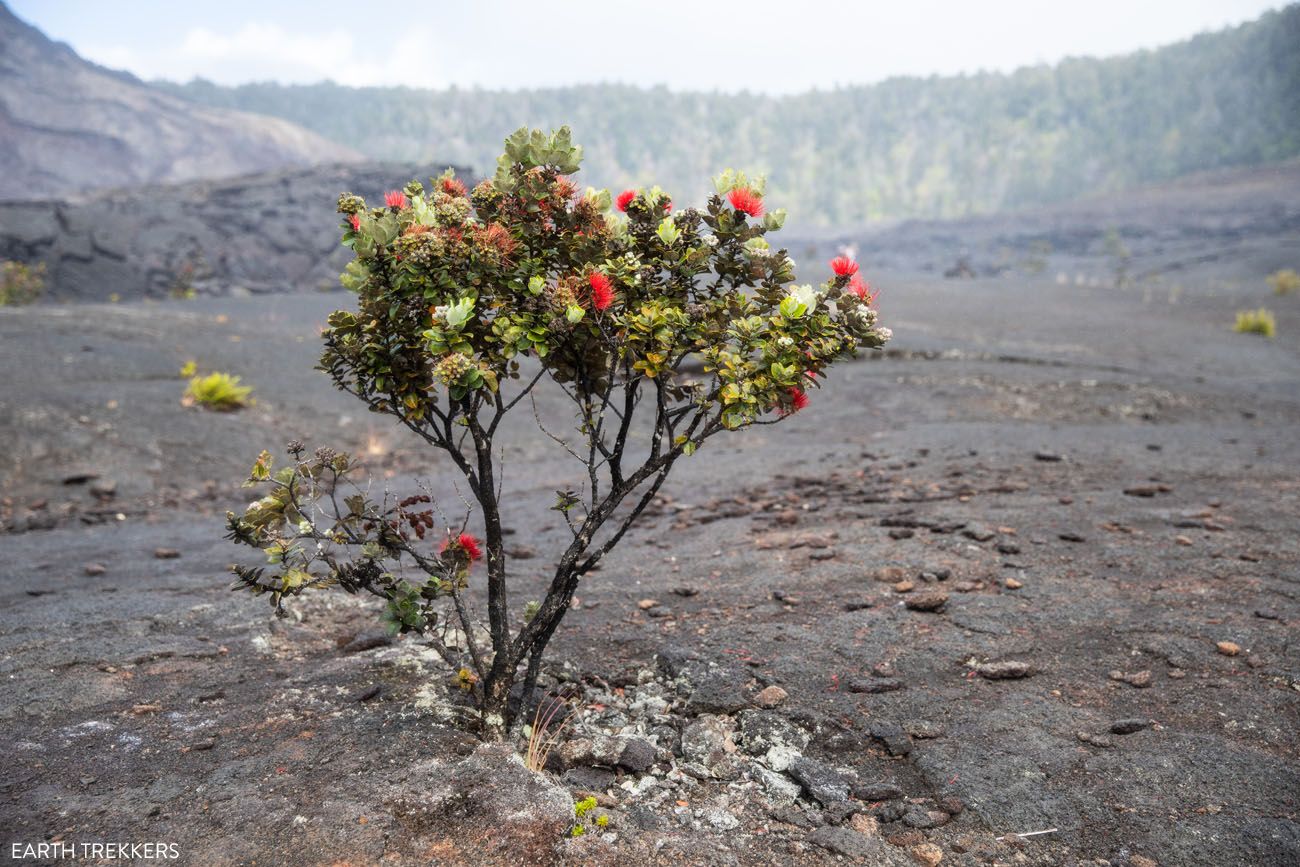
ʻŌhiʻa trees are beautiful trees that are endemic to Hawaii. They are one of the first plants to colonize lava beds so they are essential in starting the growth of new forests. In recent years, a fungus is infecting these trees, killing them. Called Rapid ʻŌhiʻa Death (ROD), there are things you can do as a visitor to Hawaii to help prevent the spread of this fungus. Don’t touch the trees, clean your hiking boots and clothes after hiking in areas with ʻŌhiʻa trees, and report diseased trees to the National Park Service. Learn more here.
Crossing the Kīlauea Iki Crater
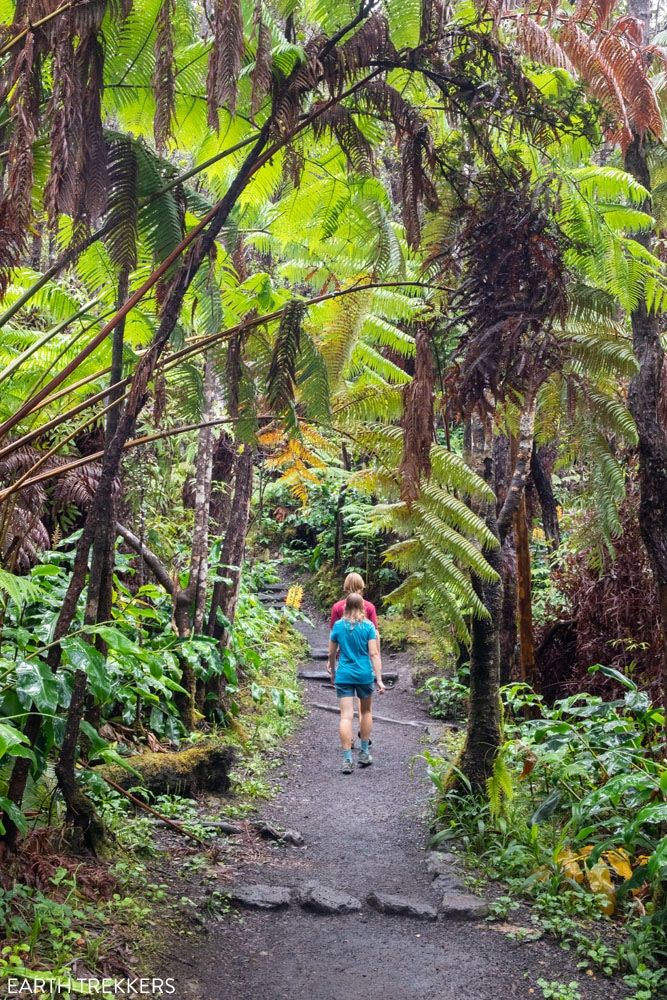
The Kīlauea Iki Trail rapidly descends down the rim to get to the crater floor. There are a few switchbacks along the way. This first part of the trail takes you through a dense forest. You will be hiking over some rocks and tree roots, and like the connector trail, it can be muddy if it recently rained. By the time we got to the crater floor, my legs were very muddy.
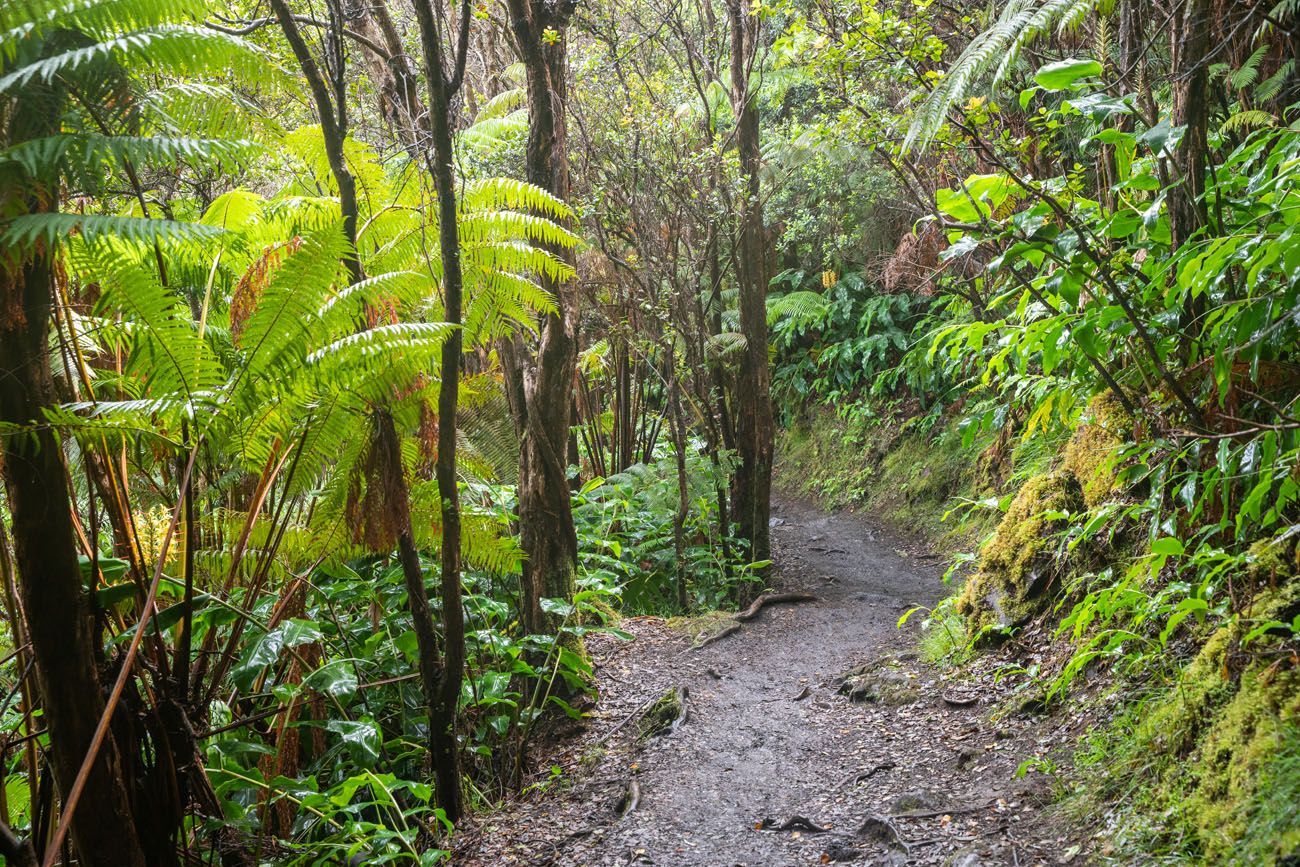
Once you get to the Kīlauea Iki floor, the trail levels out and really gets interesting.
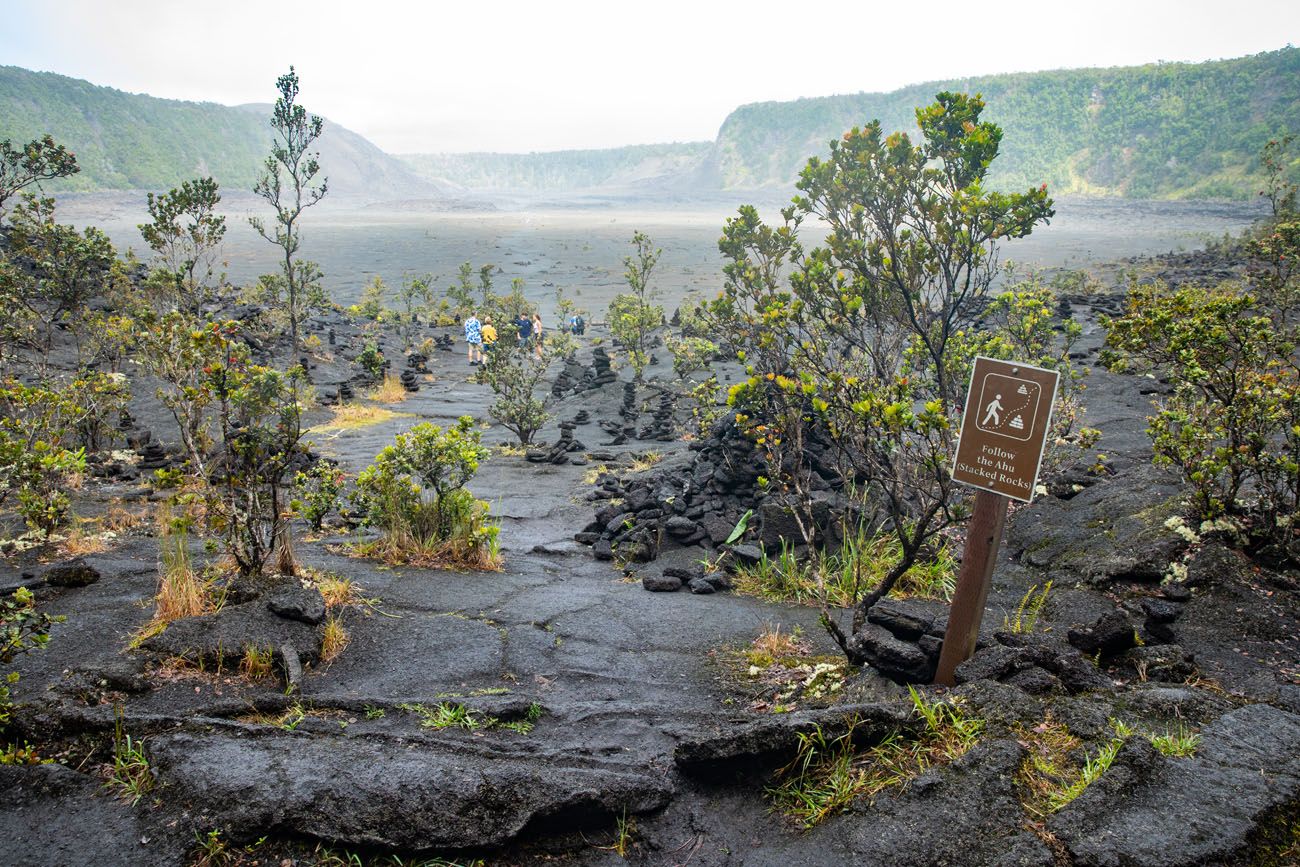
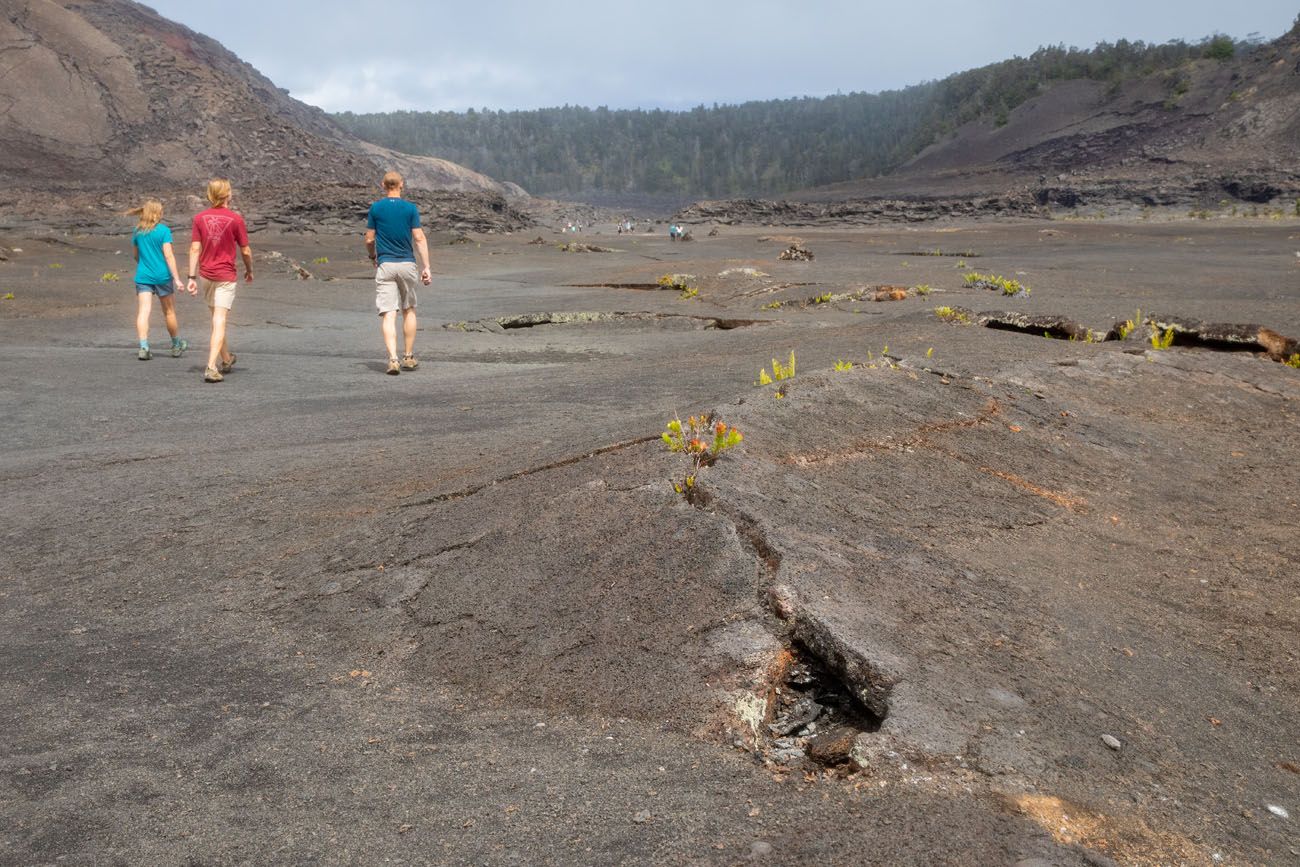
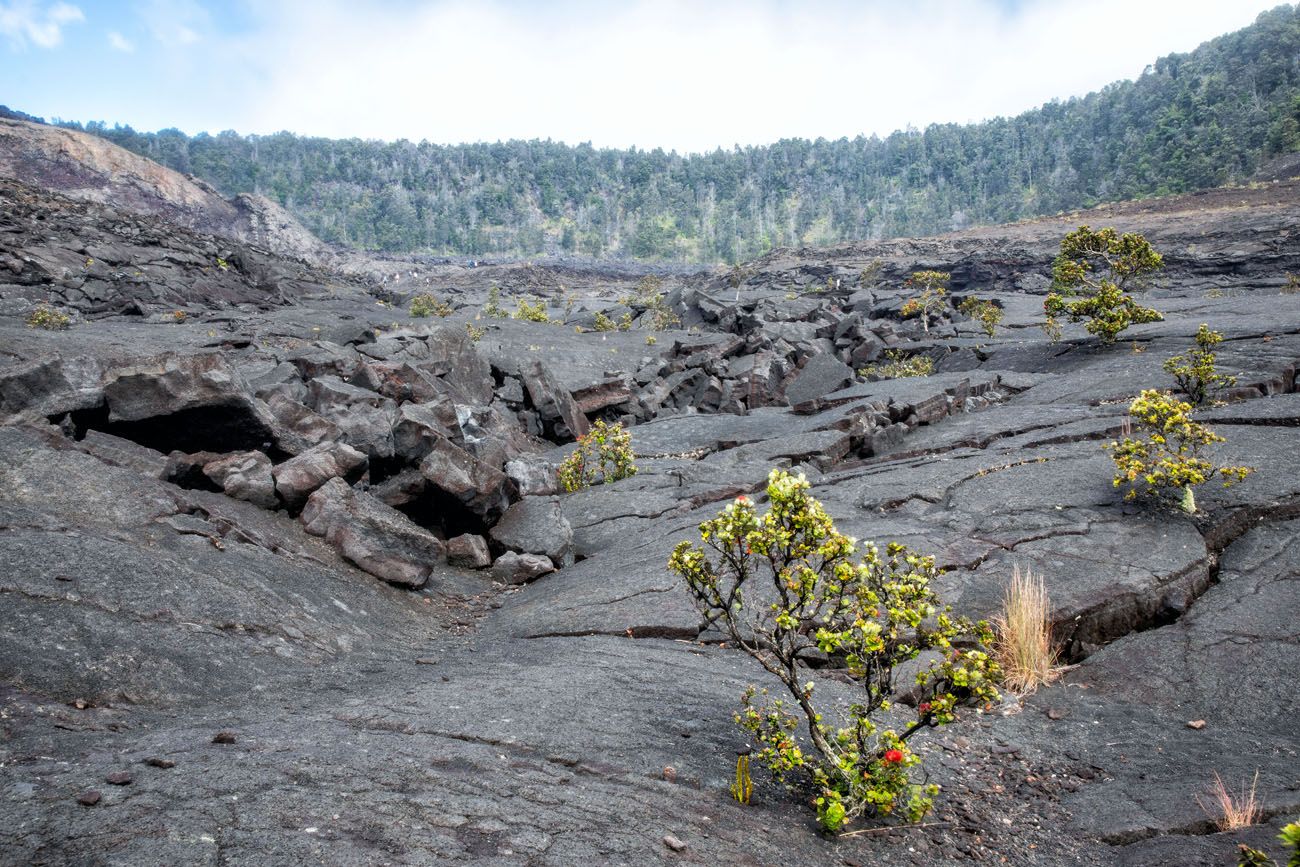
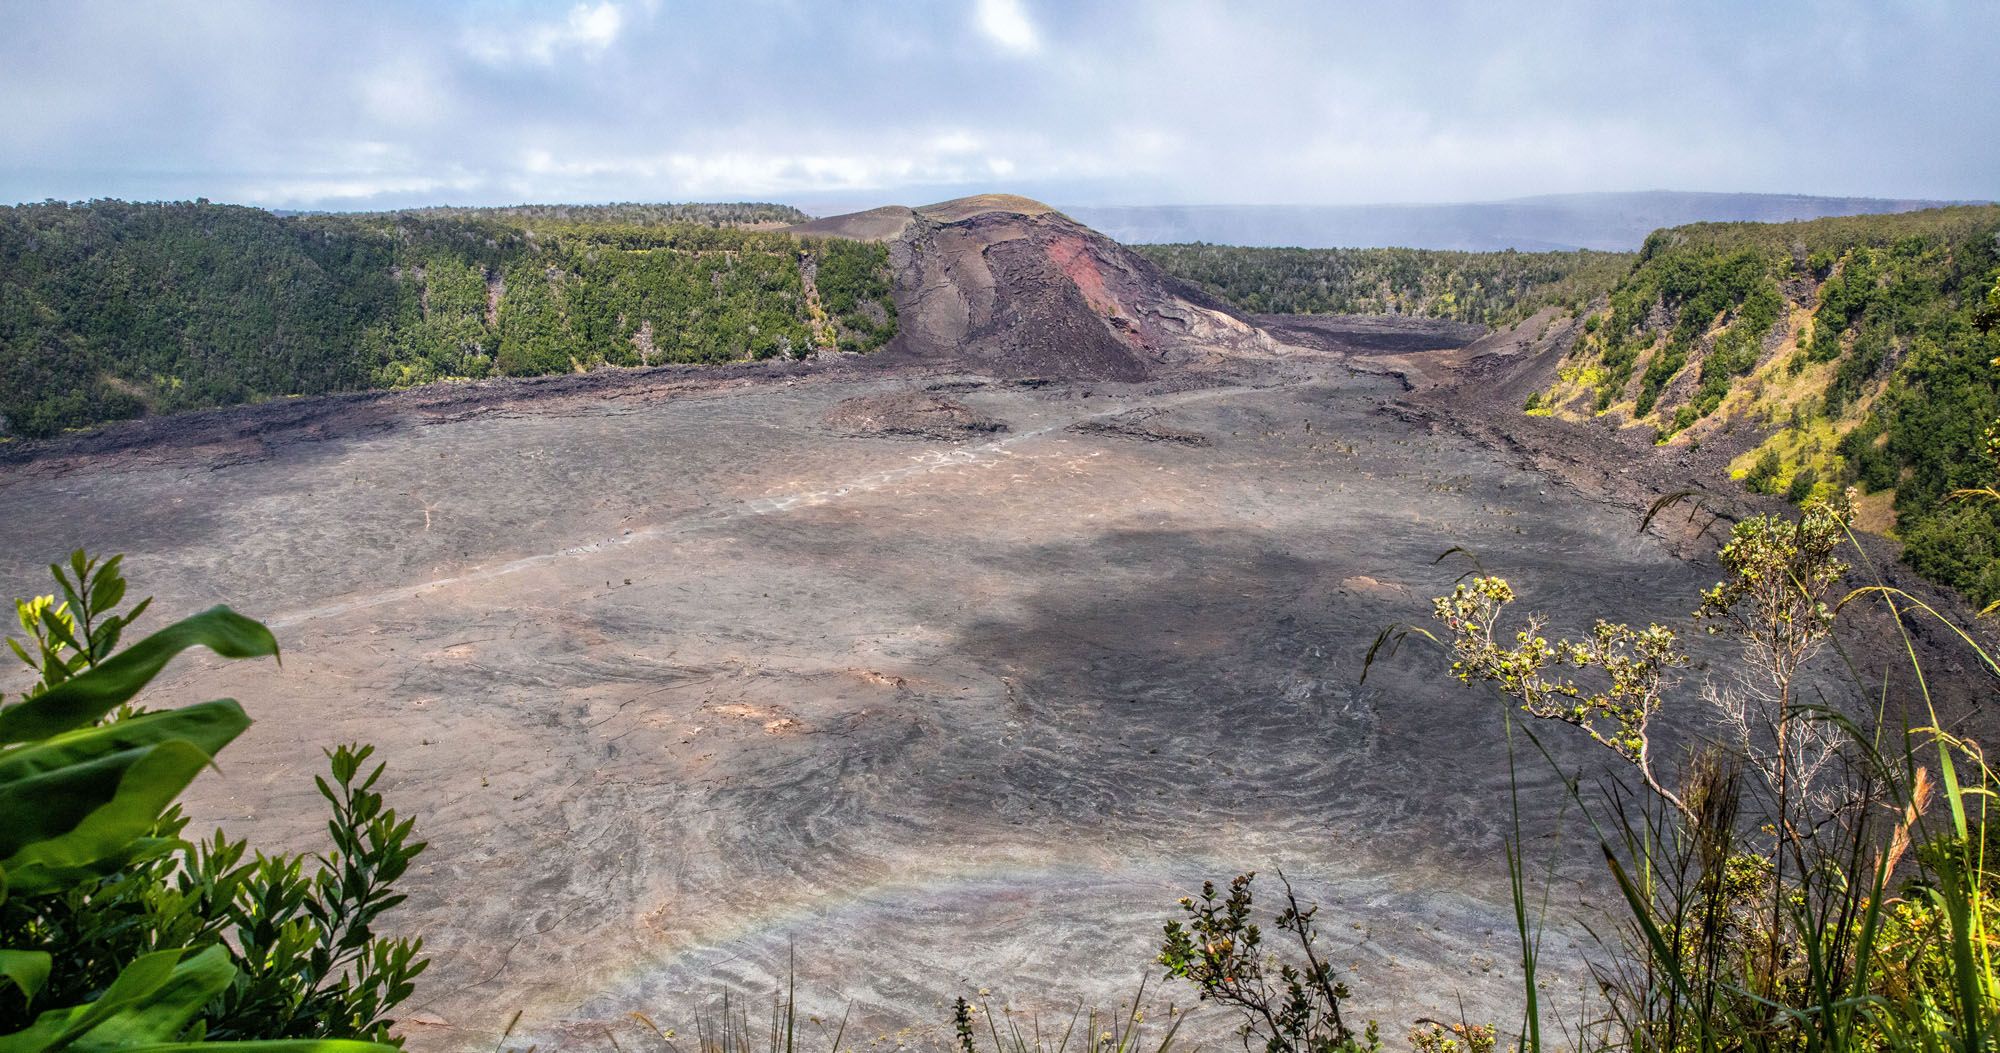
Now, you are crossing a dry lava bed. This was a molten lake of lava in 1959, when Kīlauea erupted. In some places, the lava plates have been broken apart and lifted up. You may see cracks in the ground that still vent steam.
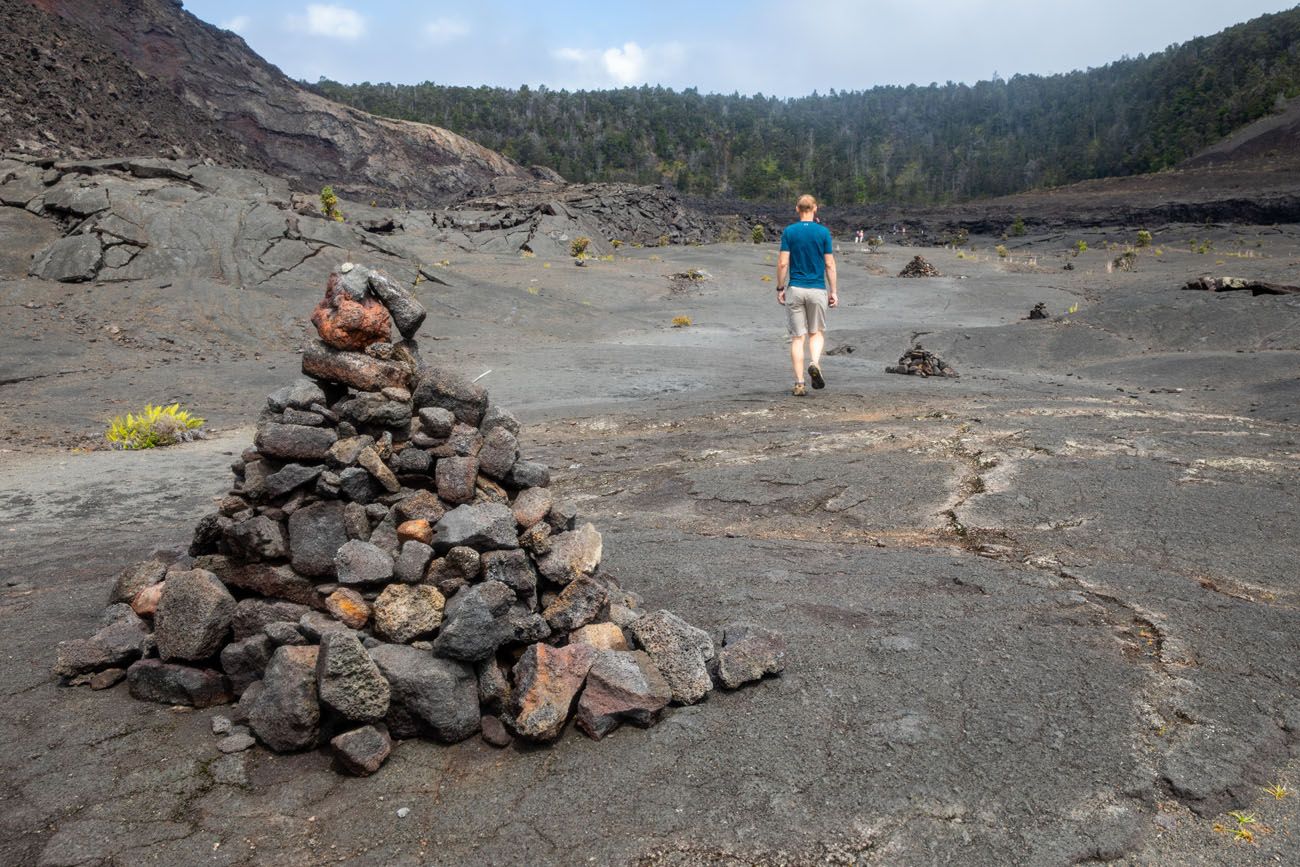
To stay on the trail, follow the ahu (stacked rocks), but do not disturb them or build new ones. You can also follow the numbered trail markers.
ʻŌhiʻa Tree
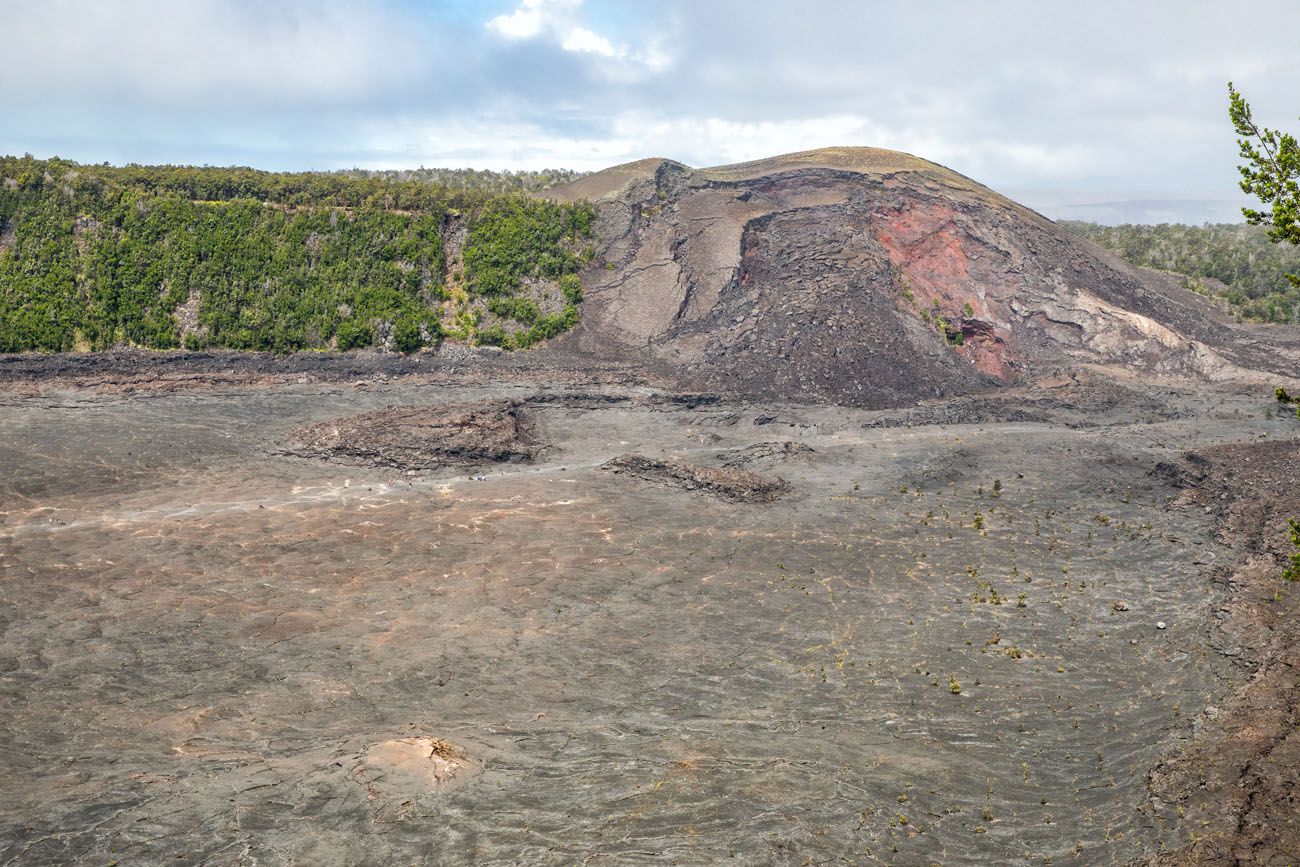
Once you get to the far end of the crater, Pu’u Pua’i will be to your left. This hill was formed during the 1959 eruption and the lava that filled the crater came from the vent at the base of this cinder cone.
As you get near the rim, the lava becomes rough and jagged. This is splattered lava that cooled into these chunks of rock.
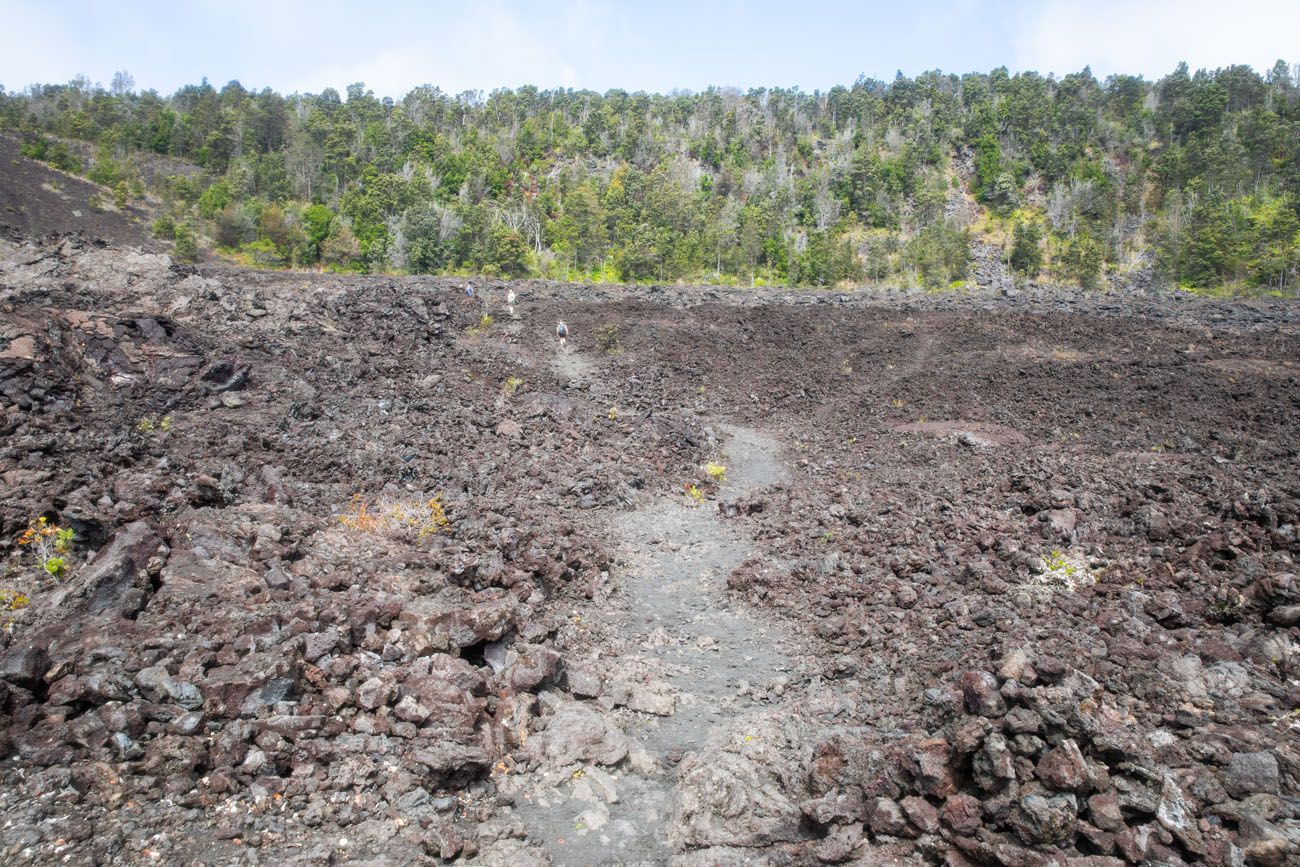
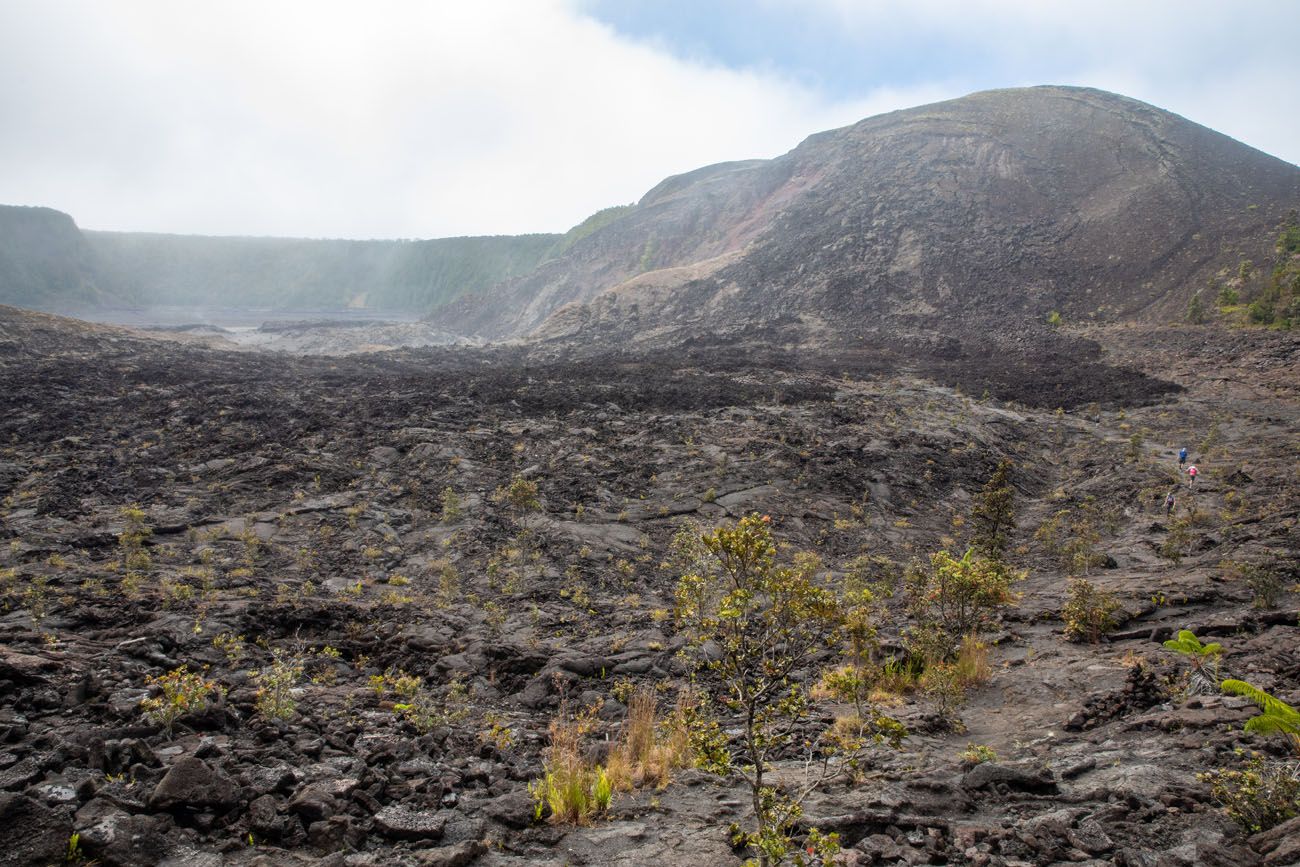
Looking back at the crater and Pu’u Pa’i
From the crater floor, you will hike back up the rim on a steep, short trail with a few sets of stairs.
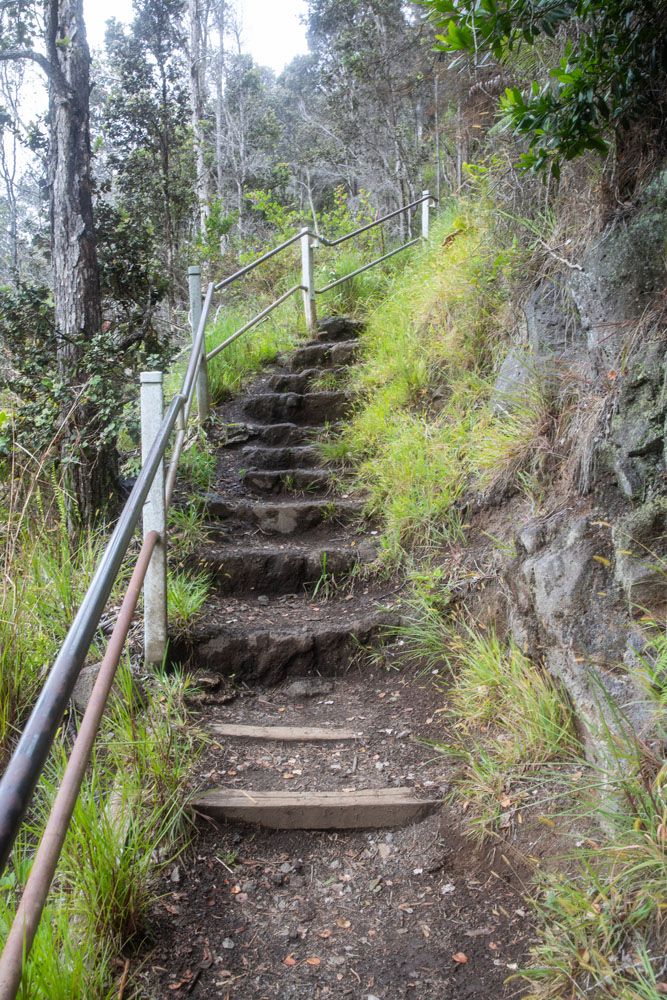
Crater Rim Trail
At the top of the stairs, follow signs for the Crater Rim Trail towards the Thurston Lava Tube. From this point, it is a 0.6 mile walk back to the parking lot.
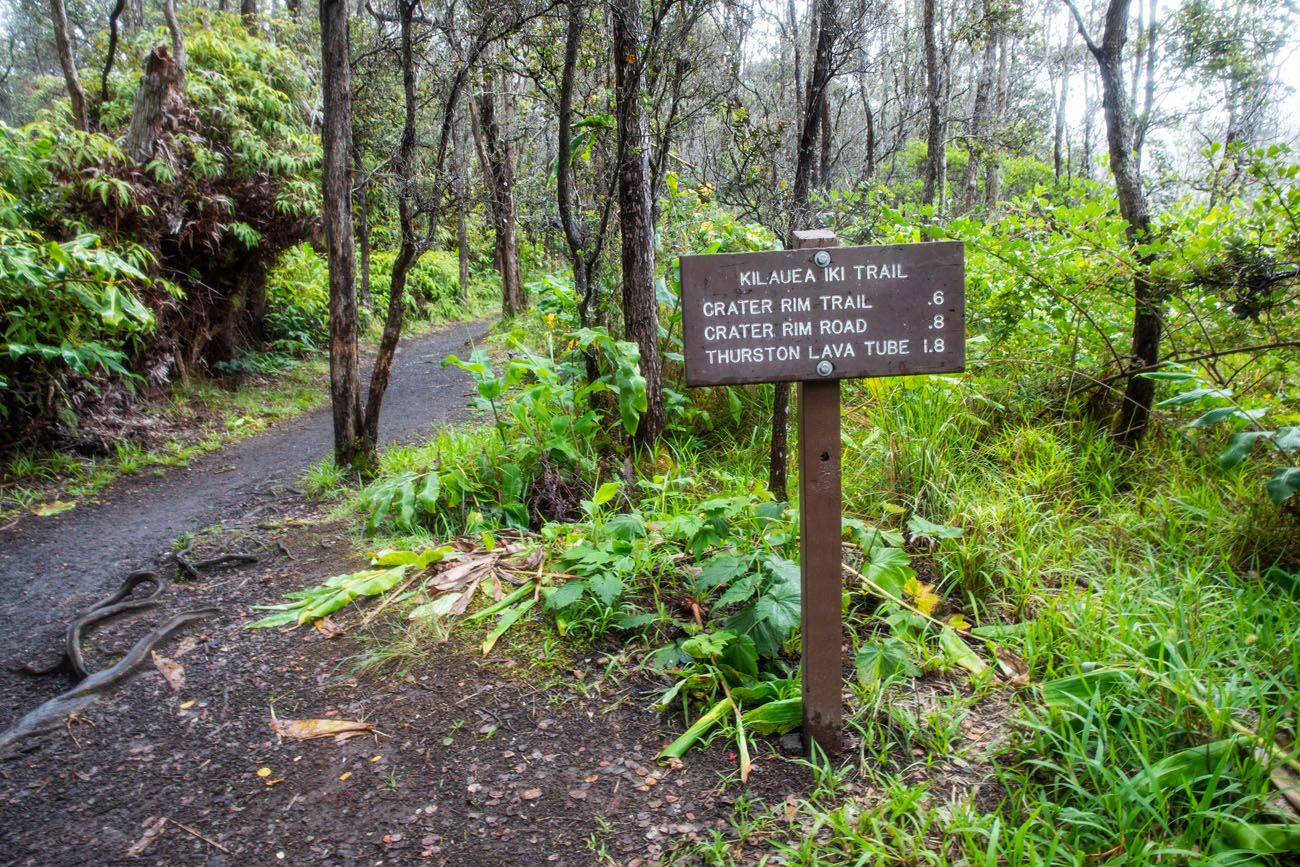
This trail, for the most part is flat, with a few short climbs and descents along the way. It’s a beautiful walk through the forest. There are a few overlooks of the Kīlauea Iki Crater along this part of the hike.
The trail ends at the Kīlauea Iki Trailhead and parking lot.
What to Pack
Hiking shoes. If it has recently rained, the trail will be muddy. Assume that you will be walking through mud, so wear a pair of shoes that you don’t mind getting dirty. Hiking shoes are ideal since they provide a lot of traction but you can also get by with running or walking shoes.
Water. Bring at least one liter of water per person but more is even better. It can get hot on the hike, especially on a sunny day.
Sunblock, sunglasses, and a hat. This trail does have some shade but there are sections where you will be exposed to the sun.
Essential Hiking Gear: What Should You Bring on a Day Hike?
If you are new to hiking or are curious about what you should bring on a hike, check out our Hiking Gear Guide. Find out what we carry in our day packs and what we wear on the trails.If you have any questions about how to hike the Kīlauea Iki Trail, or if you want to share your experience, let us know in the comment section below.
More Information about Hawaii
Read all of our articles about Hawaii in our Hawaii Travel Guide and the United States in our United States Travel Guide.







Leave a Reply