The Highline Trail is one of Glacier National Park’s best day hikes. For almost 12 miles, this trail takes hikers high above Going-to-the-Sun Road, with stunning views of the park and a chance to see glaciers, alpine wildflowers, and wildlife.
Twelve miles may sound like a long way to hike, but these miles tick by fast. With only 800 feet of elevation gain over 12 miles, this hike is relatively flat and fast.
If you want to hike a trail with unbeatable alpine views without having to hike up a massive mountain, you won’t find a better hike than the Highline Trail.
Highline Trail Hiking Stats
These hiking stats are for the Highline Trail, starting at Logan Pass and ending at the Loop, without any detours.
Distance: 11.6 miles one-way
Elevation Gain: 800 feet
Elevation Loss: 3000 feet
Difficulty: Moderate
Length of Time: 5 to 7 hours
When to go: This hike is open when Going-to-the-Sun Road is open, usually late June/early July to the middle of October. Check the status here.
If you will be visiting the park during the summer season, you may need a timed entry ticket to drive Going-to-the-Sun Road. Learn more here.
The Highline Trail is a point-to-point hike. Take advantage of the free park shuttle to get back to your car.
This hike can be done in either direction. Most people start at Logan Pass and end at the Loop. Doing it in this direction makes it a more enjoyable, overall downhill hike.
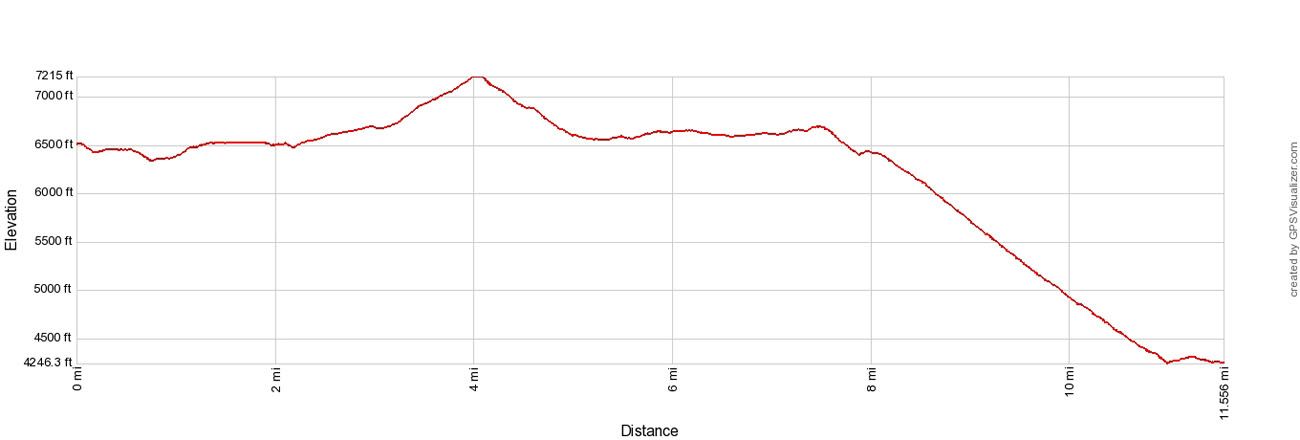
Highline Trail Elevation Profile
IMPORTANT: The trail can close due to grizzly bear activity in the area. Check the status of the trail before you go.
Hiking the Highline Trail Out-and-Back: You can do this hike out-and-back from Logan Pass, saving yourself a trip on the park shuttle. I recommend turning around at or before you reach Glacier Park Chalet. If you turn around at Glacier Park Chalet, this becomes almost 16 miles in length. However, you can turn around whenever you like.
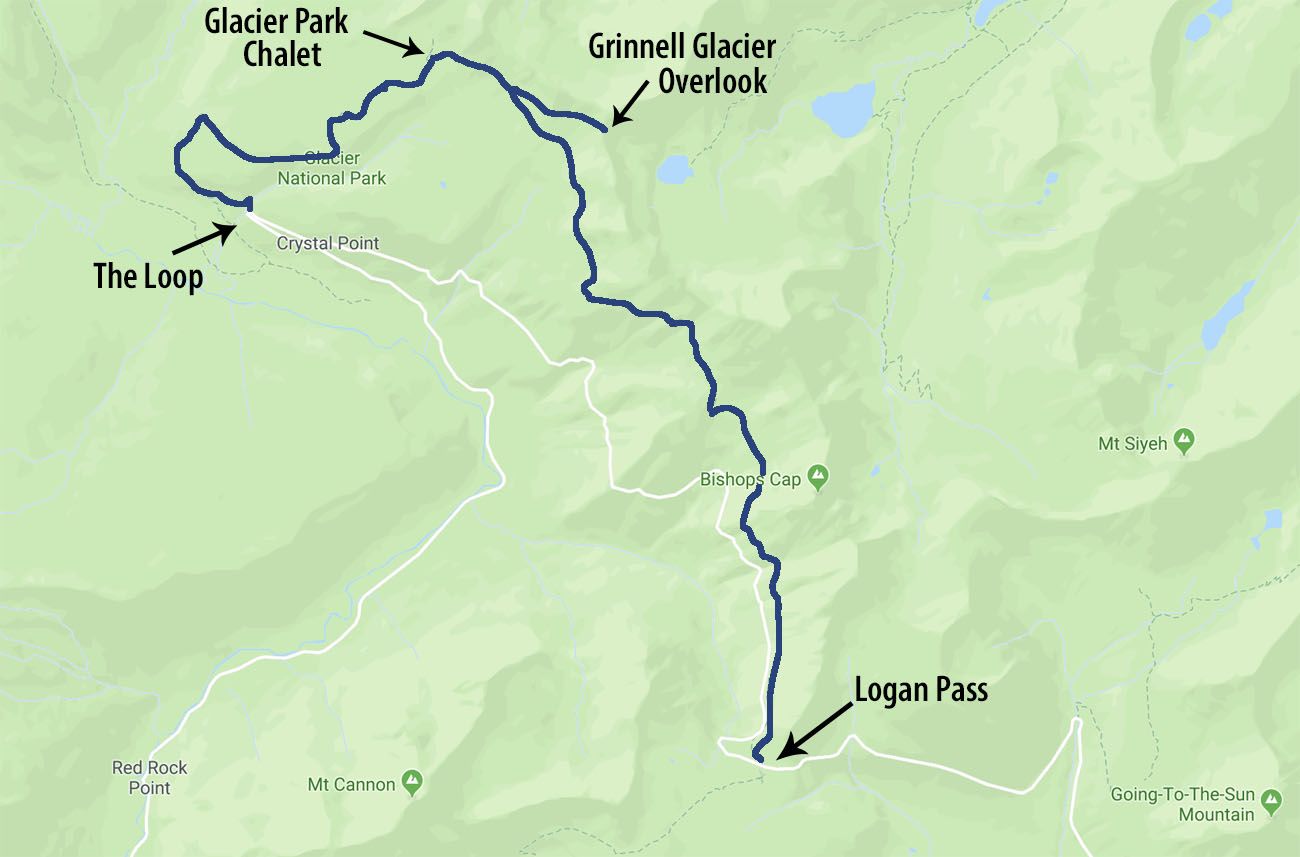
Map of the Highline Trail. The hiking trail is in blue and Going-to-the-Sun Road is white.
Please practice the seven principles of Leave No Trace: plan ahead, stay on the trail, pack out what you bring to the hiking trail, leave areas as you found them, minimize campfire impacts, be considerate of other hikers, and do not approach or feed wildlife.
How to Hike the Highline Trail
Where to Park
This is one of the biggest decisions of the day. You can park at either Logan Pass or the Loop. Each place has its advantages.
Logan Pass
Logan Pass has a very large parking lot, a visitor center, a water fountain, and restrooms. The Highline Trail starts just across Going-to-the-Sun Road from the parking lot.
If you park here, you will hike to the Loop and then take the shuttle back to your car at Logan Pass.
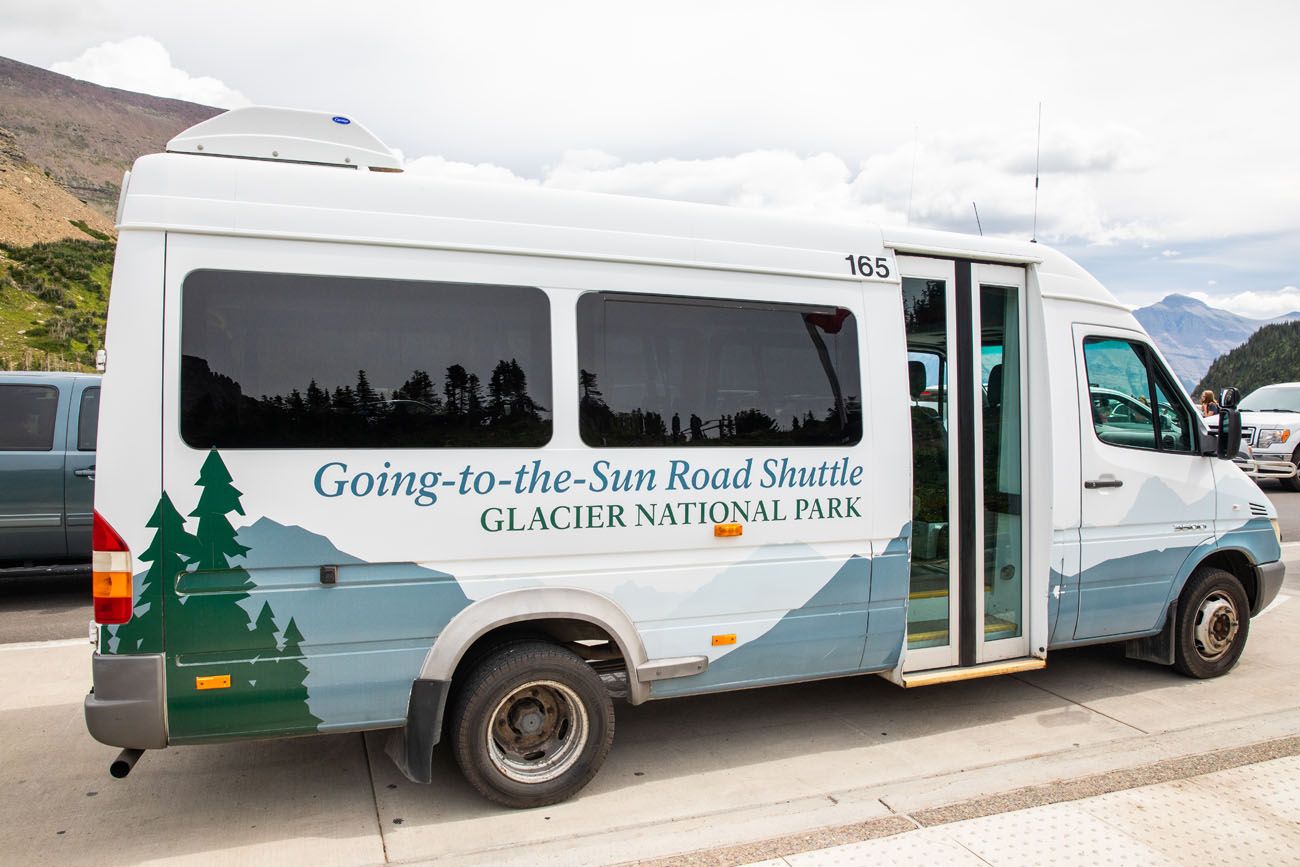
The shuttle runs every 15 to 30 minutes. The shuttles are small and they generally leave one or two available seats for people getting on at the Loop. The line can be long so expect to wait for a spot on the shuttle. This wait can be as long as one hour during peak times (midday to early afternoon).
PRO TRAVEL TIP: Visitors without timed entry reservations are entering the park before the first timed entry time slot. Because of this, parking lots are filling much earlier than past years. So, even if you have an early timed entry slot, you might want to enter the park early to make sure you get a parking spot.
The Loop
The Loop has a smaller parking lot that can accommodate roughly 20 cars. To get a parking spot, you will need to arrive early (before 7:30 am). However, the first shuttle does not arrive at the Loop until roughly 8:30 or 8:45 am, so you will have to wait quite some time to get to Logan Pass. The drive takes about 15 minutes to get to Logan Pass, so the earliest you will start the hike will be just after 9 am.
However, the advantage of parking here is that once you are done your hike, you do not have to wait for the shuttle to take you back to your car.
There are no bathrooms or potable water at the Loop.
What We Did
We parked at Logan Pass, hiked to the Loop, and took the shuttle back to Logan Pass.
We arrived at Logan Pass at 7:45 am (we did this hike in 2019, before timed entry reservations were necessary, so we did not have to arrive super early in the morning to get a parking space at Logan Pass). Even at this relatively early hour, there were only a handful of parking spaces still available. At first, the hiking trail was a crowded. But Kara and I hike fast, so within a few miles, we passed many of the hikers and were almost on our own. Since we finished earlier than the main crowd, we did not have to wait in line for the shuttle to Logan Pass.
Highline Trail: Step-By-Step Guide
This is an extremely popular trail in Glacier National Park. Expect high traffic here, especially on the first section, all day long. Some people hike just the first few miles for the views over Going-to-the-Sun Road, which will create two-way traffic on the first cliff section of the hike.
To get to the trailhead from the Logan Pass parking lot, cross Going-to-the-Sun Road. There is a sign here marking the trail.
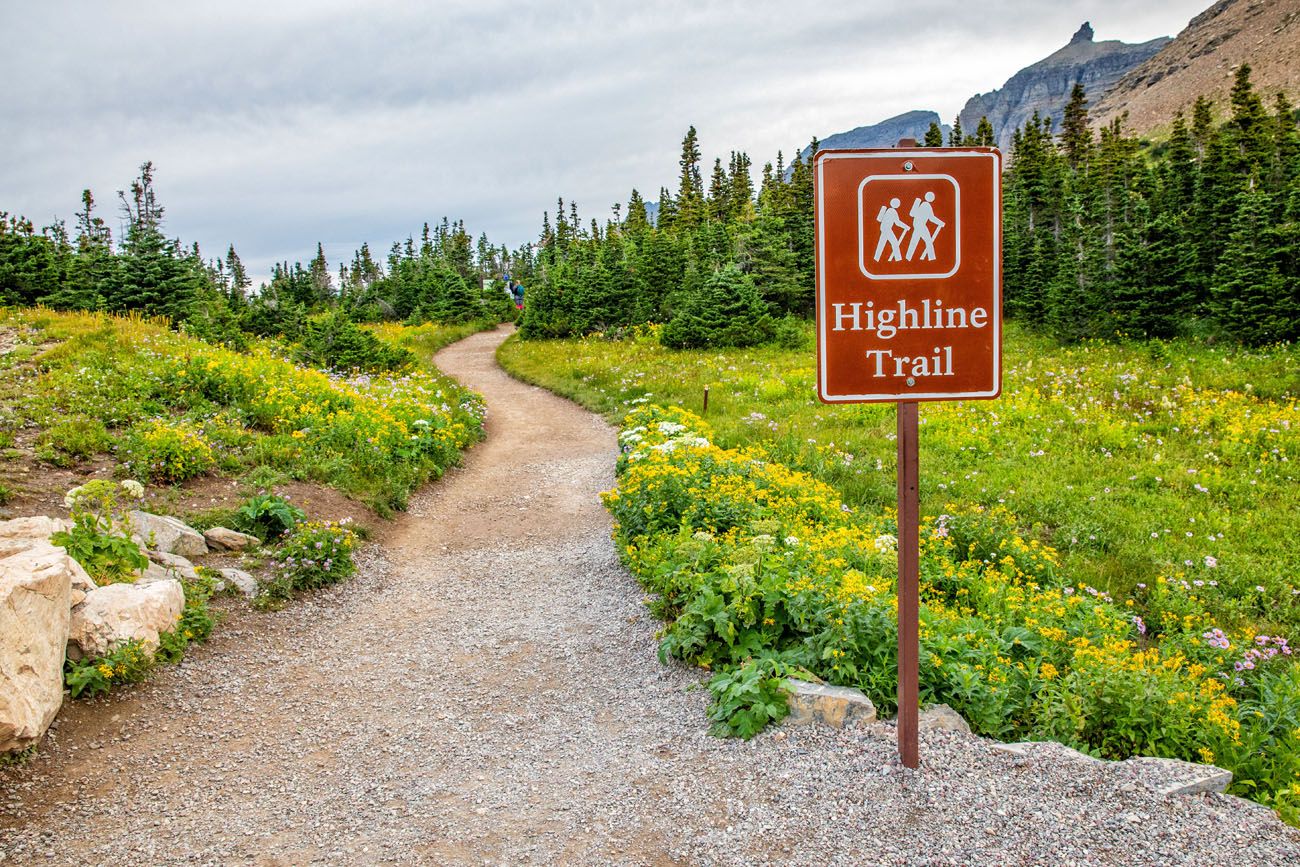
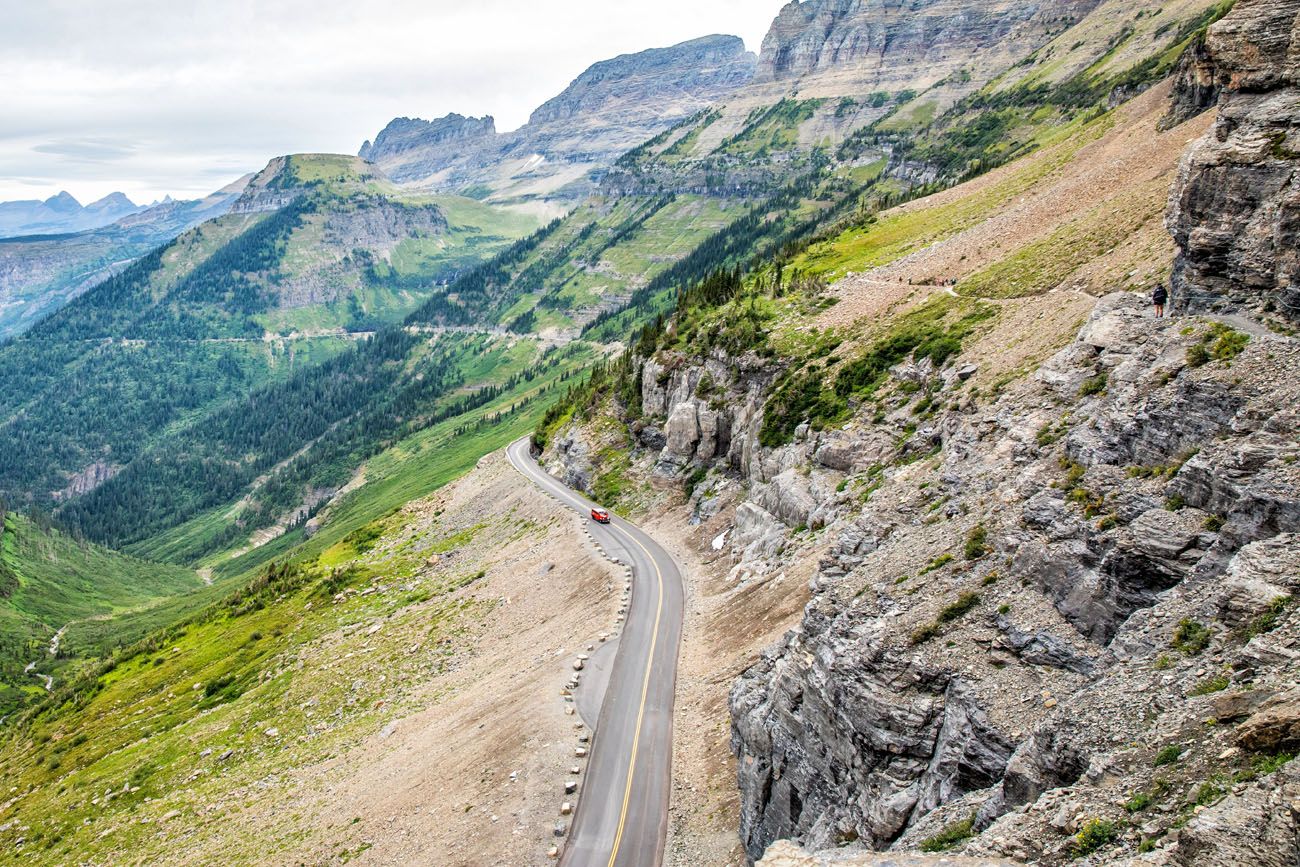
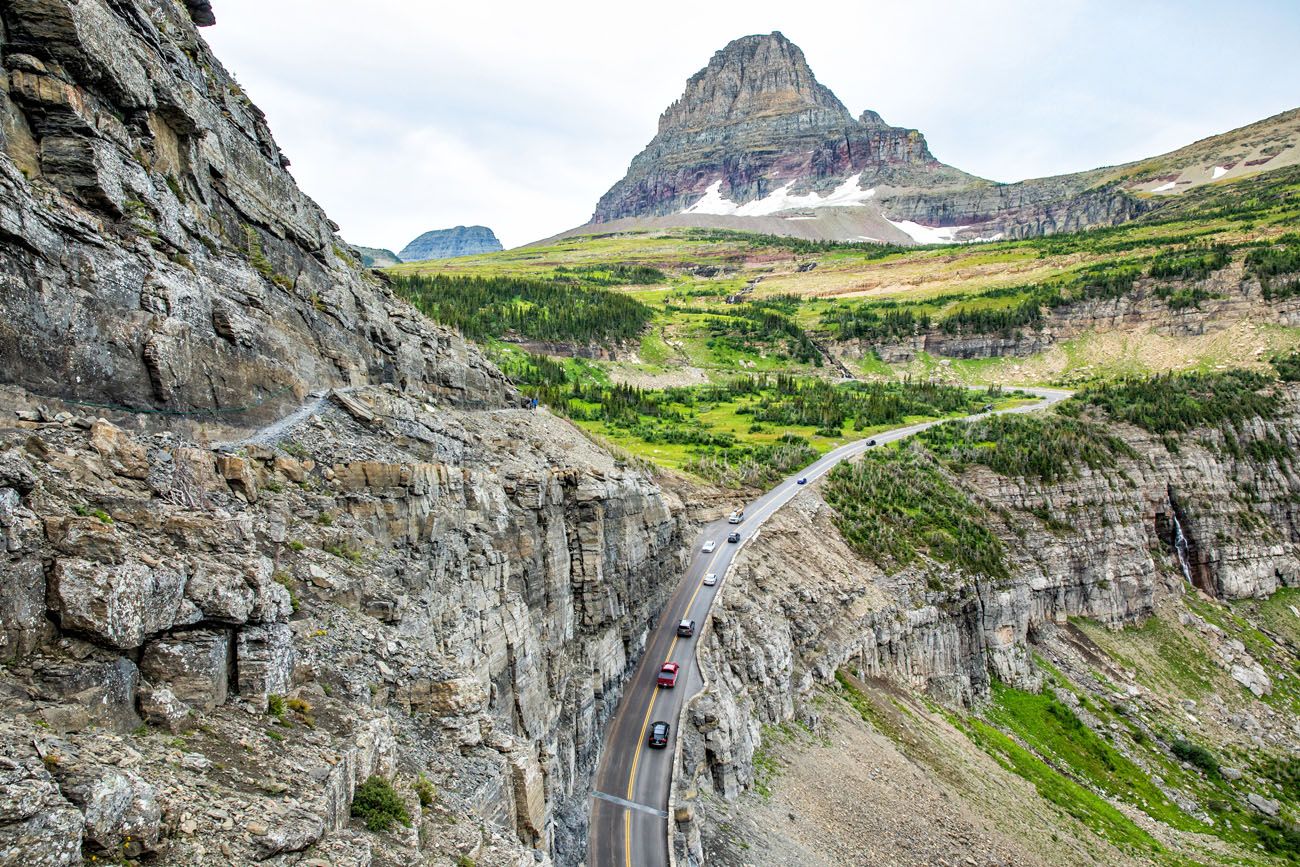
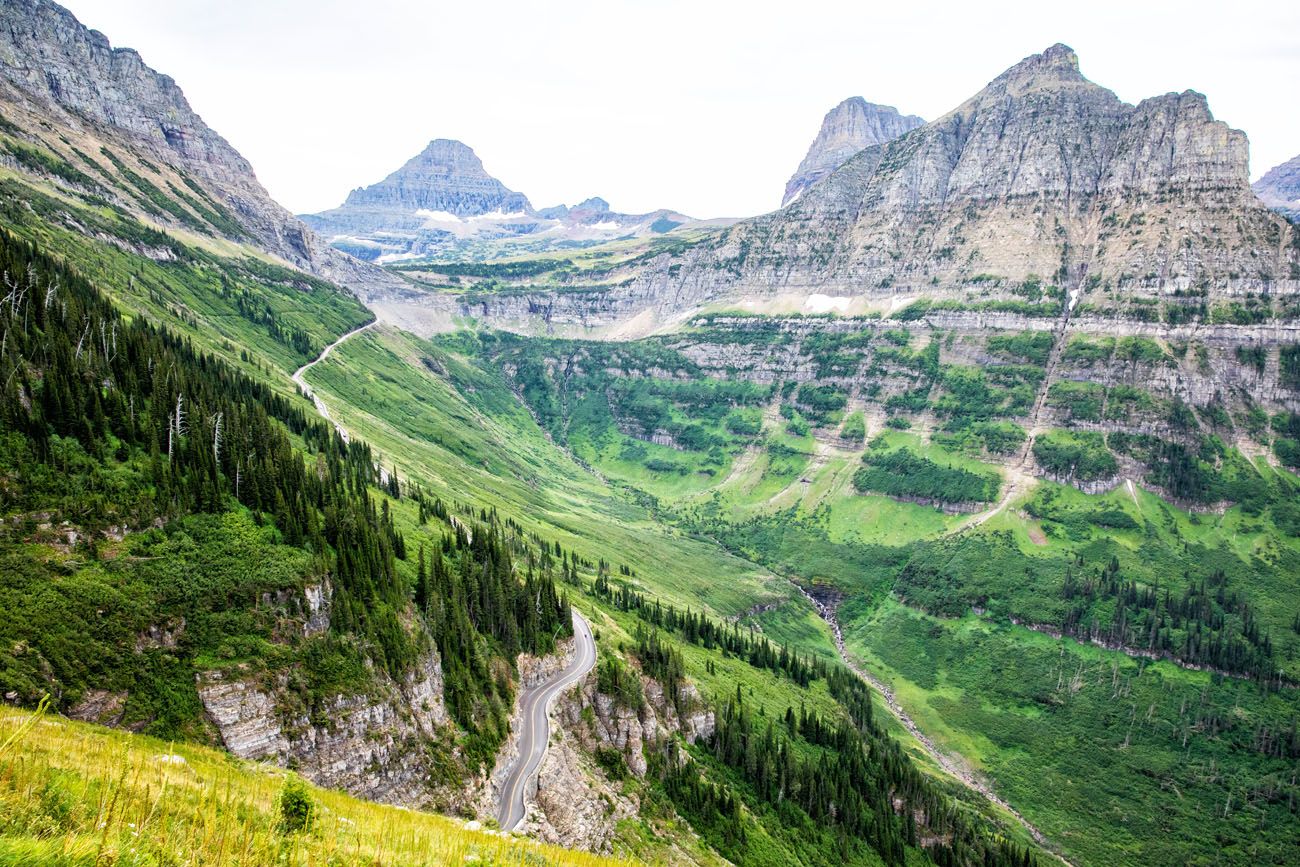
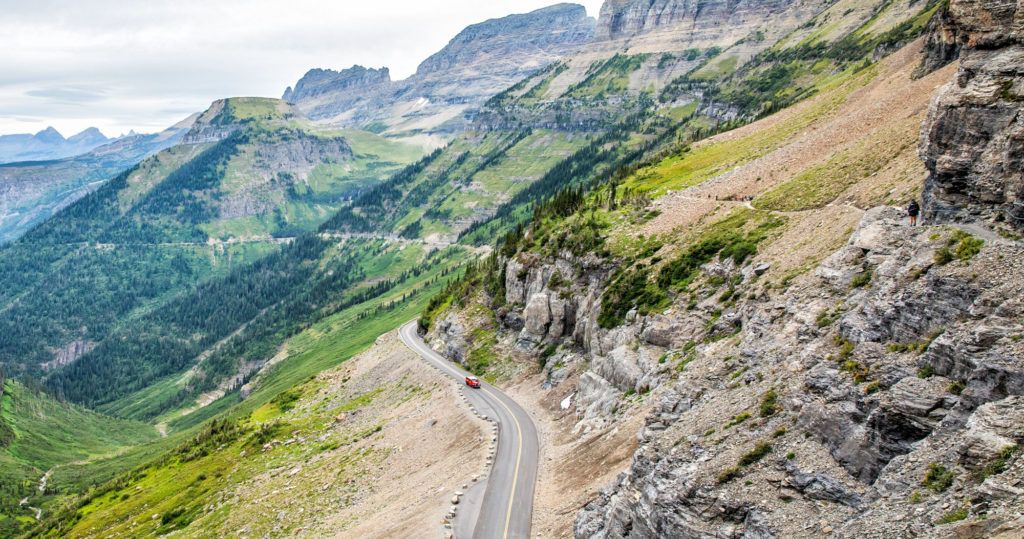
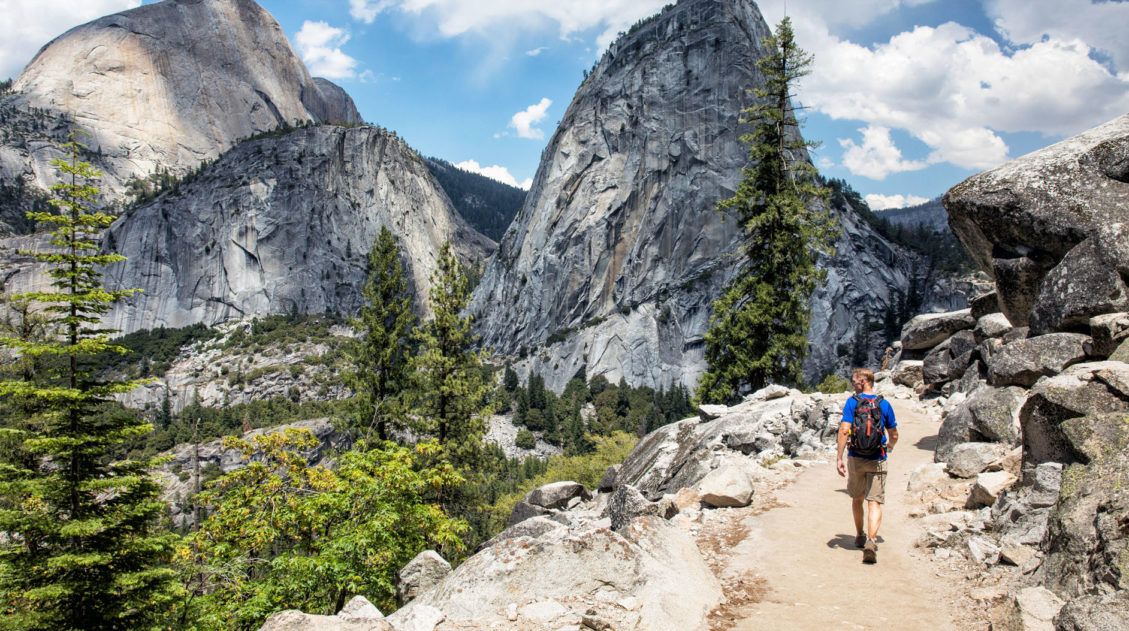
This first mile is one of the best parts of Highline Trail. Carved out from the cliffs that tower over Going-to-the-Sun road is a narrow path. On the right side is a cable attached to the rock wall, there to assist you if you feel like you need something to hold onto. On the left side is a drop-off to Going-to-the-Sun Road.
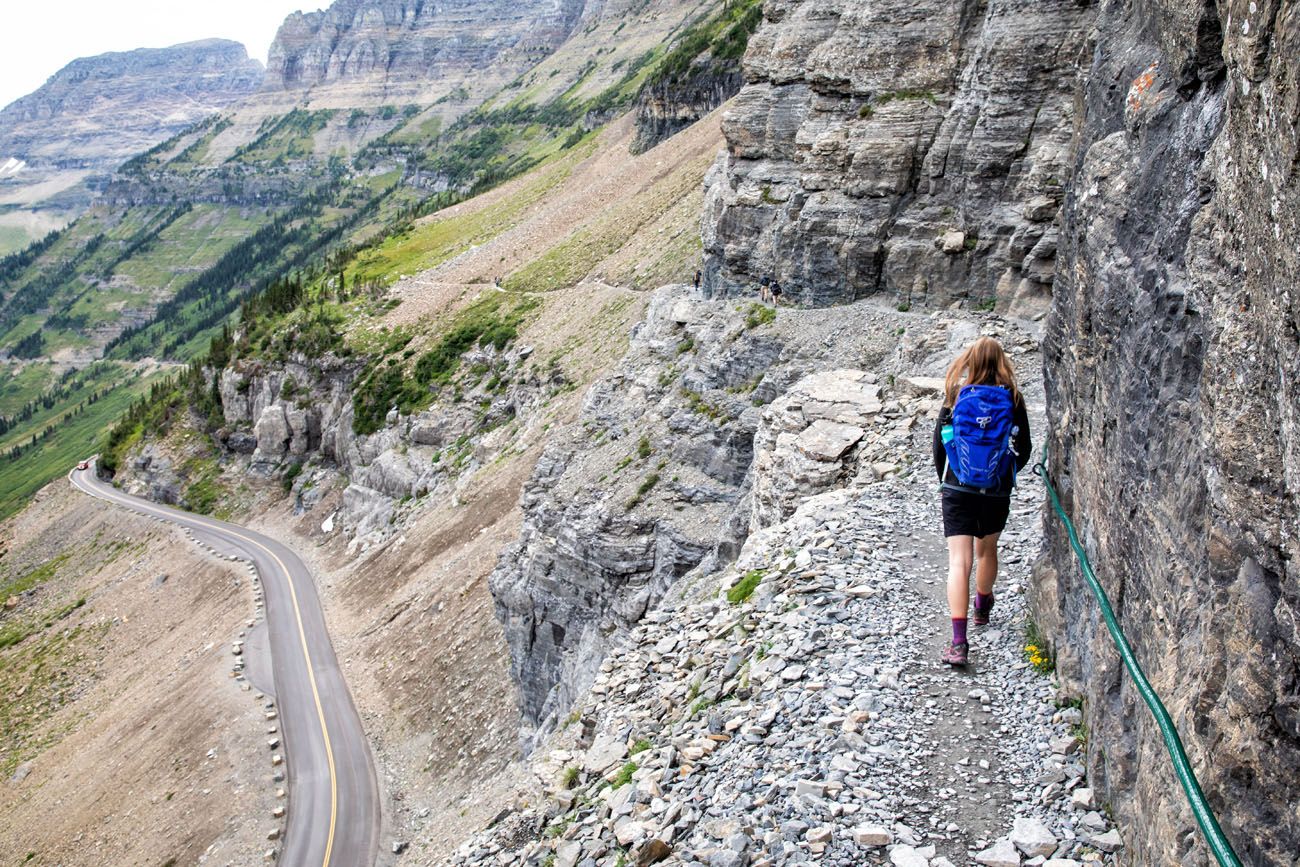
If you have a fear of heights, this first section could be very challenging. In some spots, the trail is only 4 to 6 feet wide. This section of the Highline Trail has the most exposure, so if you can do this, you should be fine on the remainder of the hike. Later in the hike there is a brief cliff section very similar to this, but it does have quite the same dramatic drop-off to the road below.
The views are incredible and some of my favorites of the day.
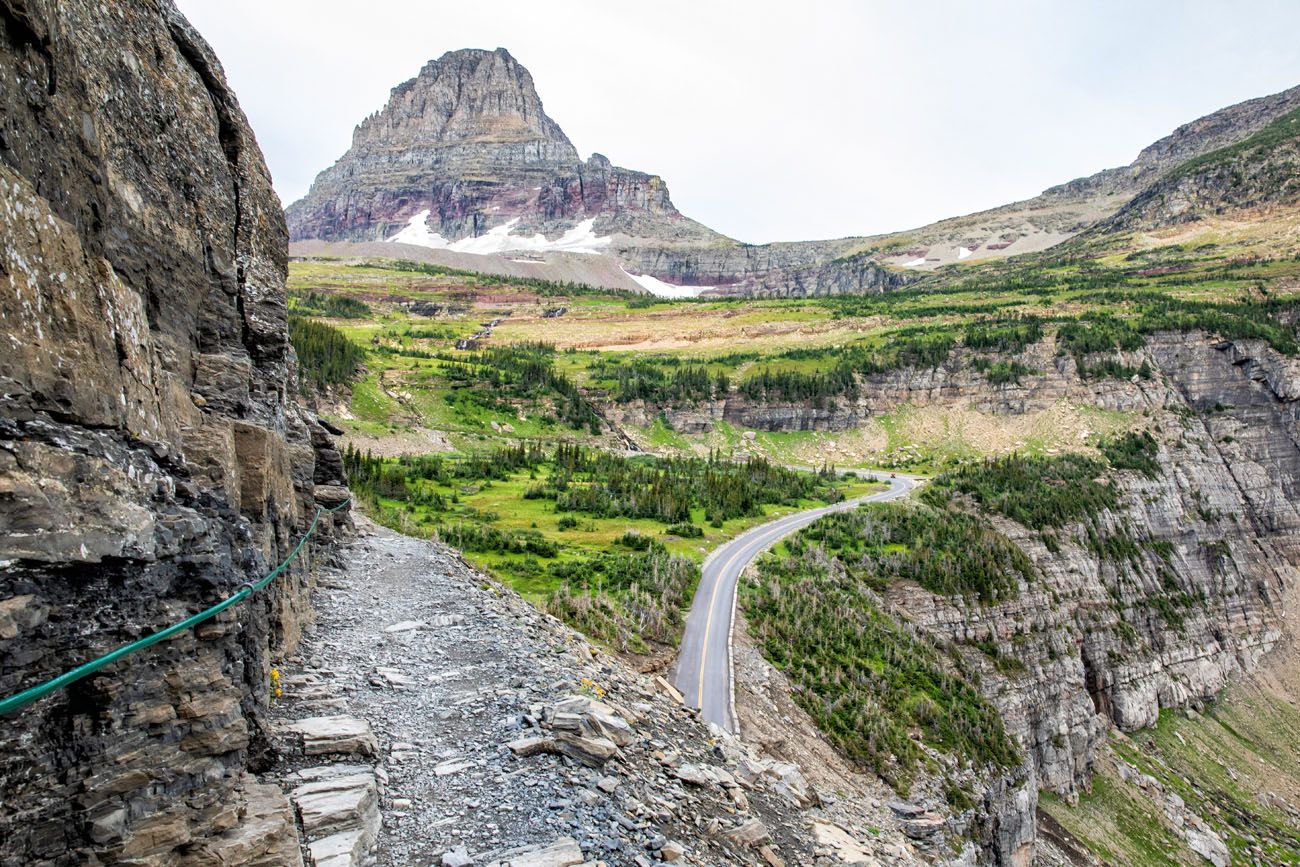
Looking back at Logan Pass from the Highline Trail.
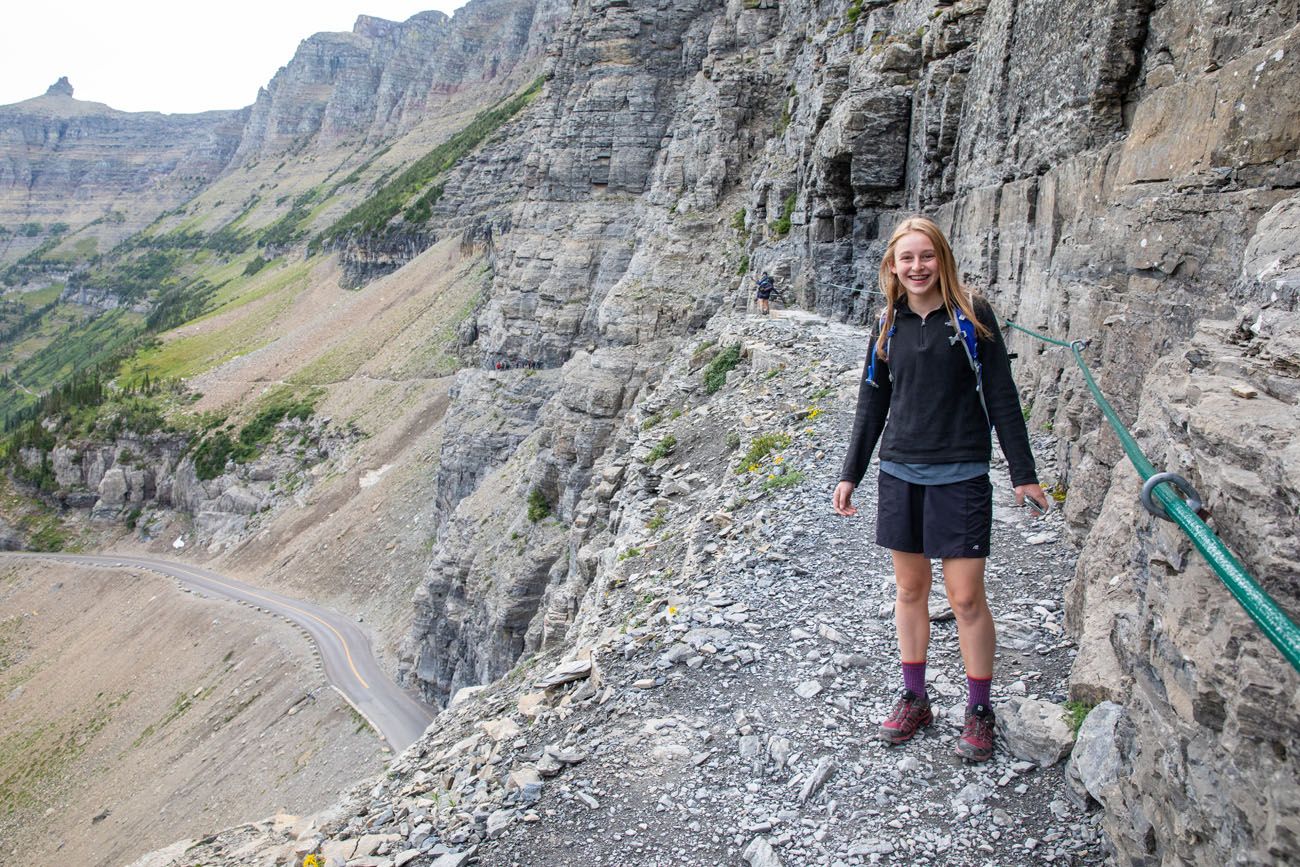
Along the Garden Wall
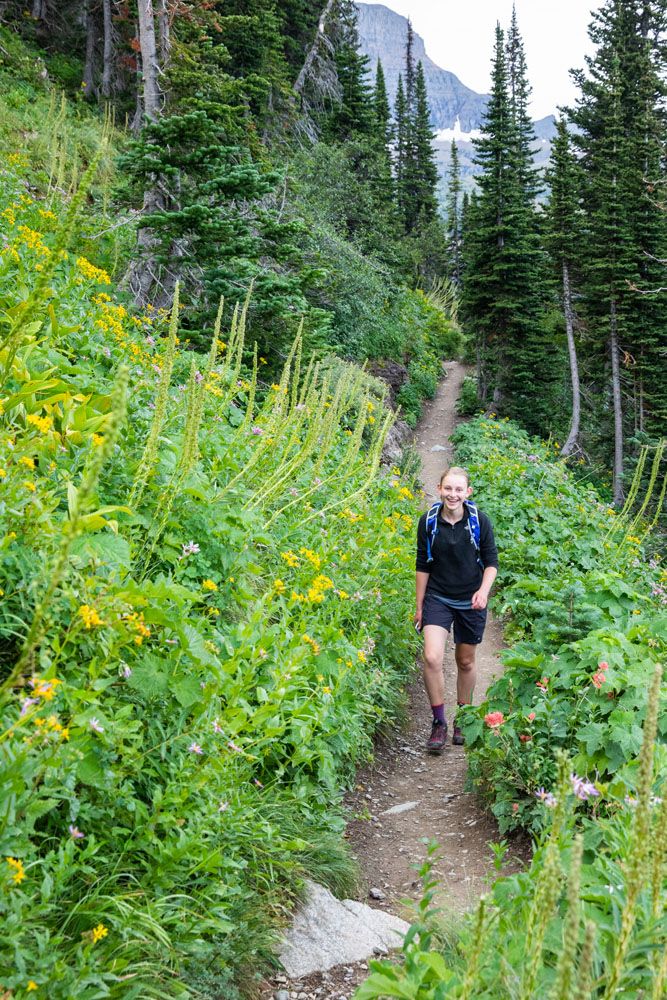
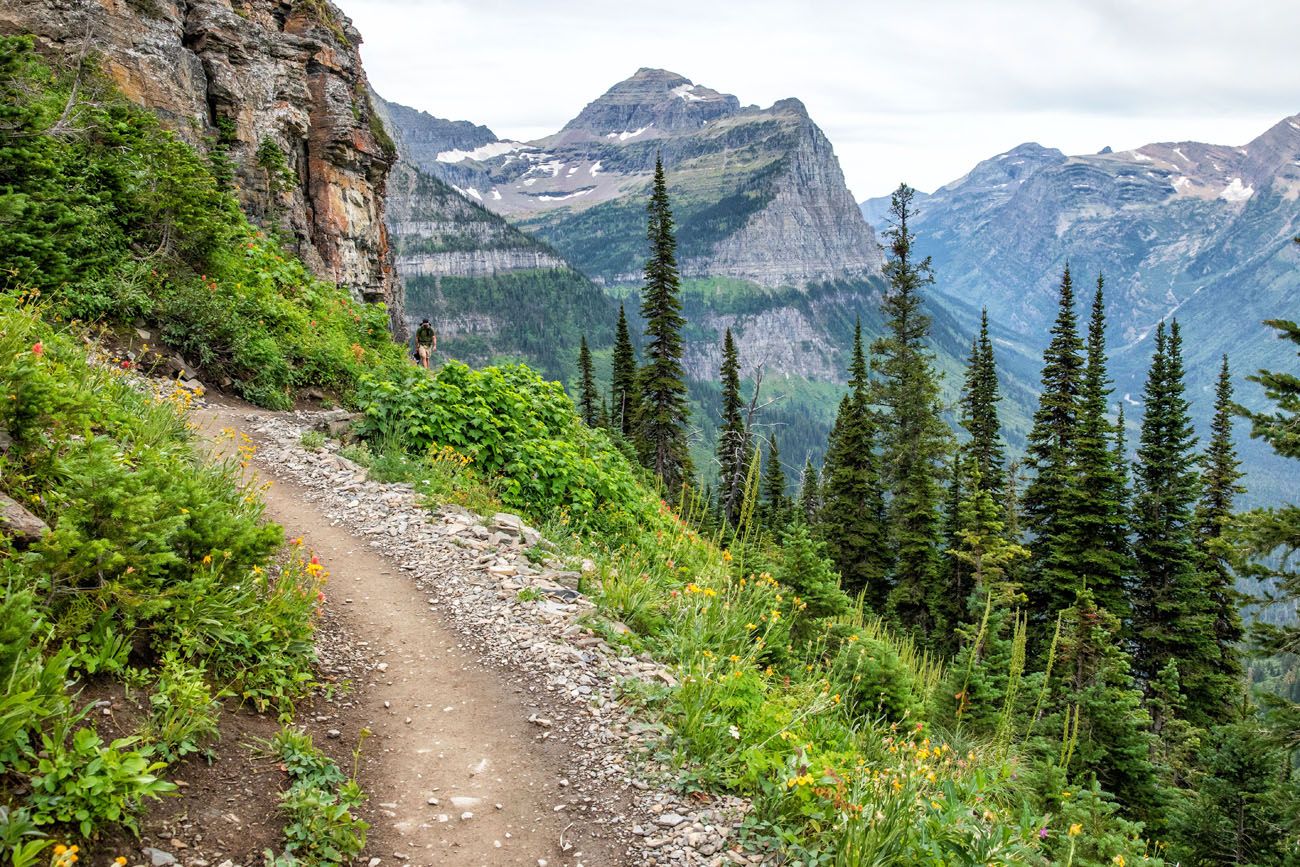
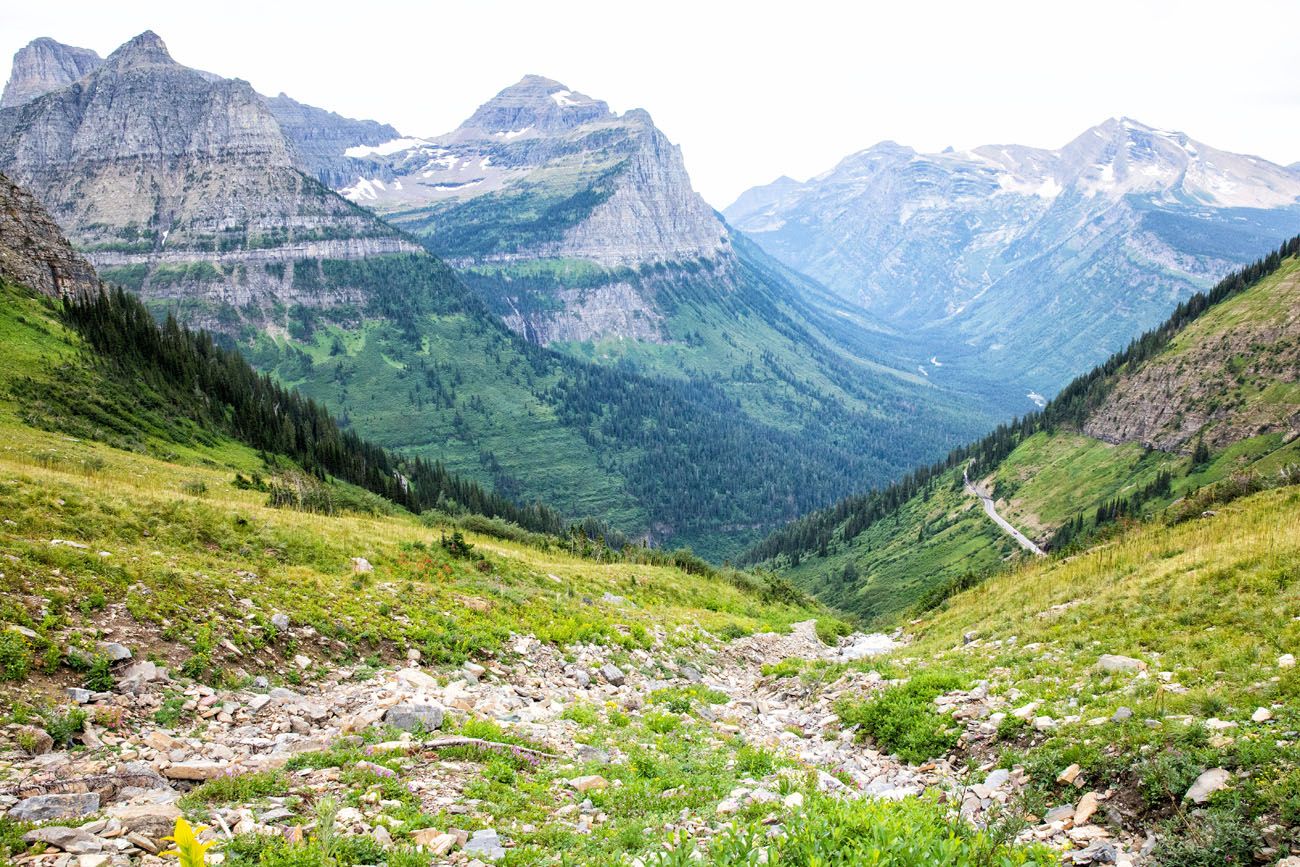
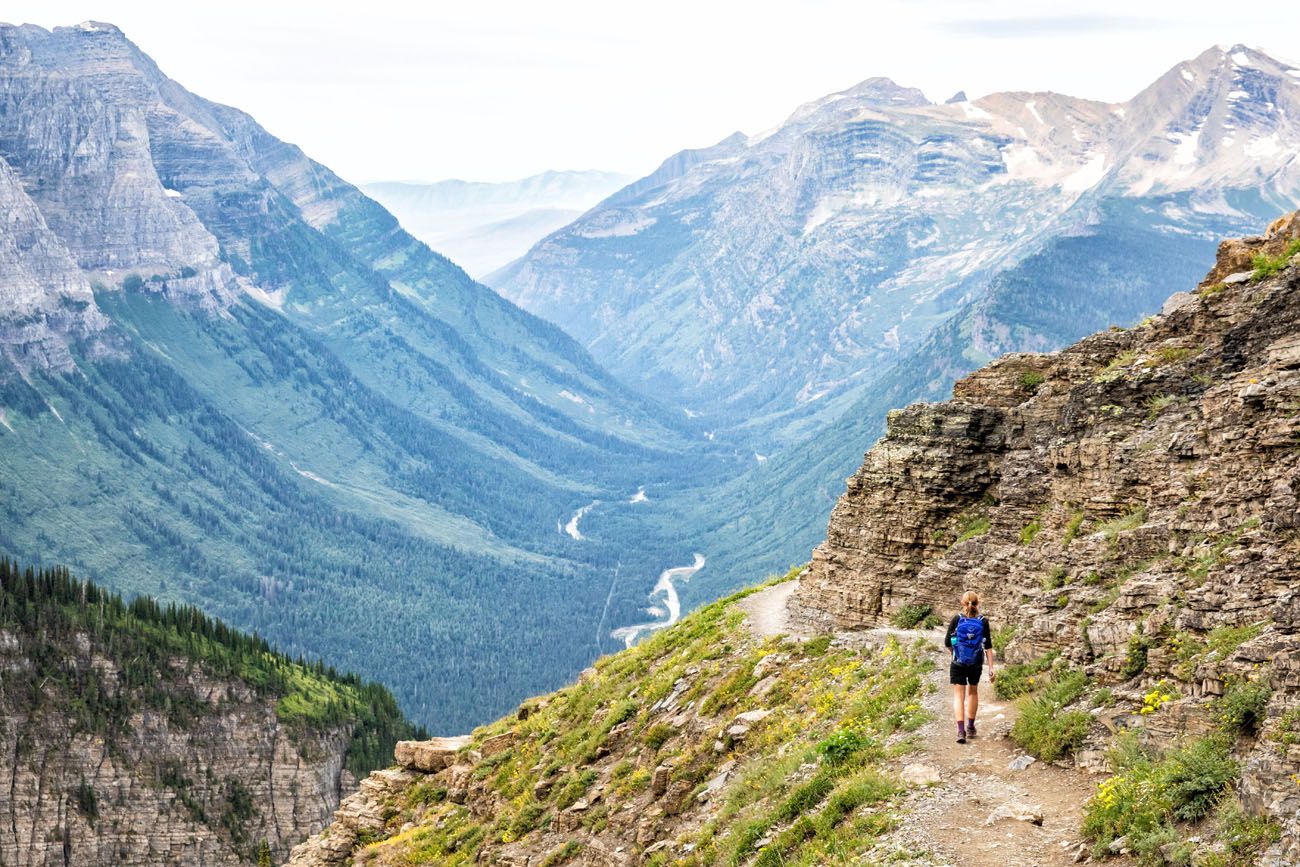
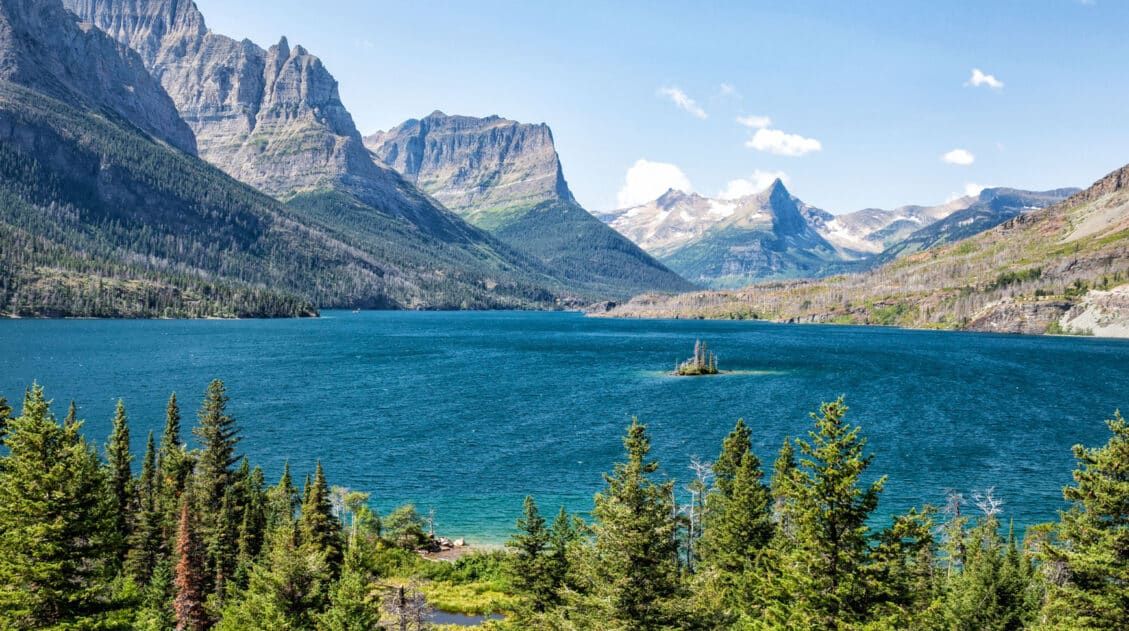
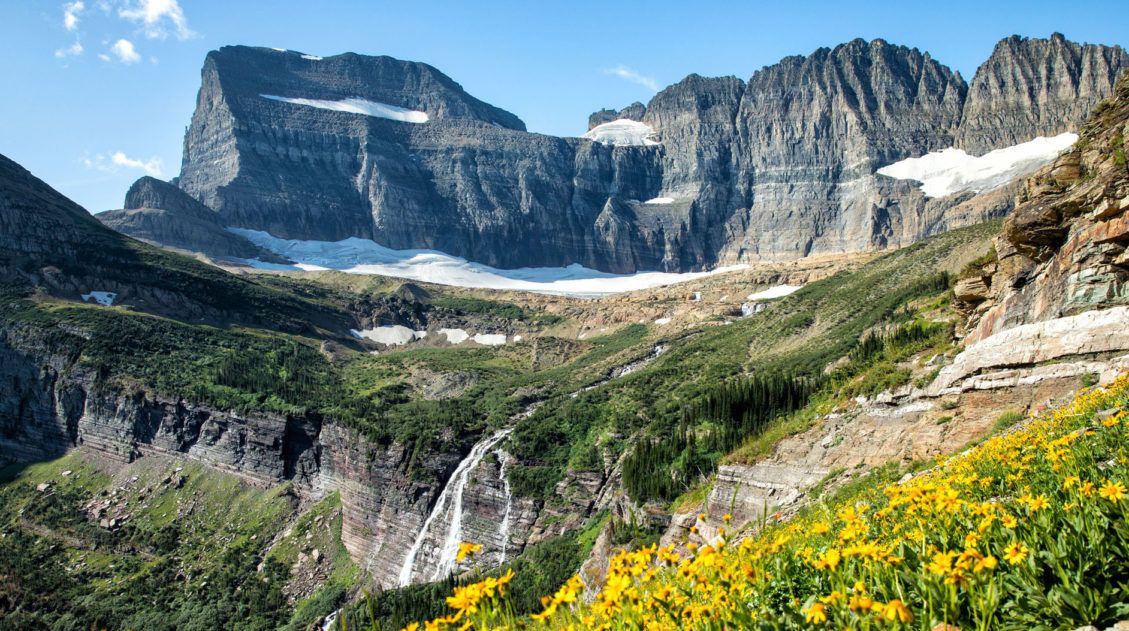
For the next several miles, the trail weaves in and out of small forests, through fields of wildflowers, and across scree slopes. You’ll pass small waterfalls along the way. The views across Glacier National Park are spectacular.
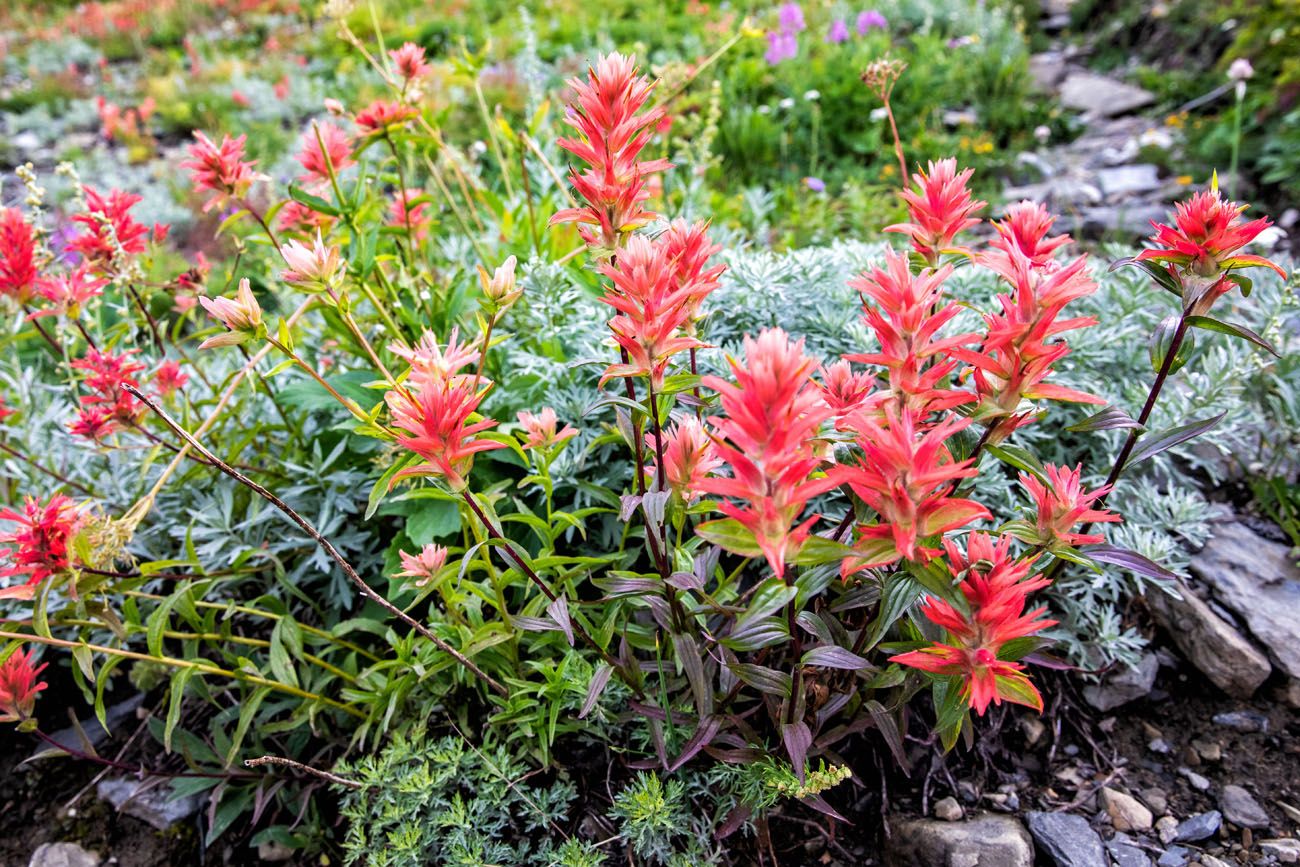
This part of the hike is also called the Garden Wall. With fields of colorful wildflowers, it’s easy to see how it gets this name.
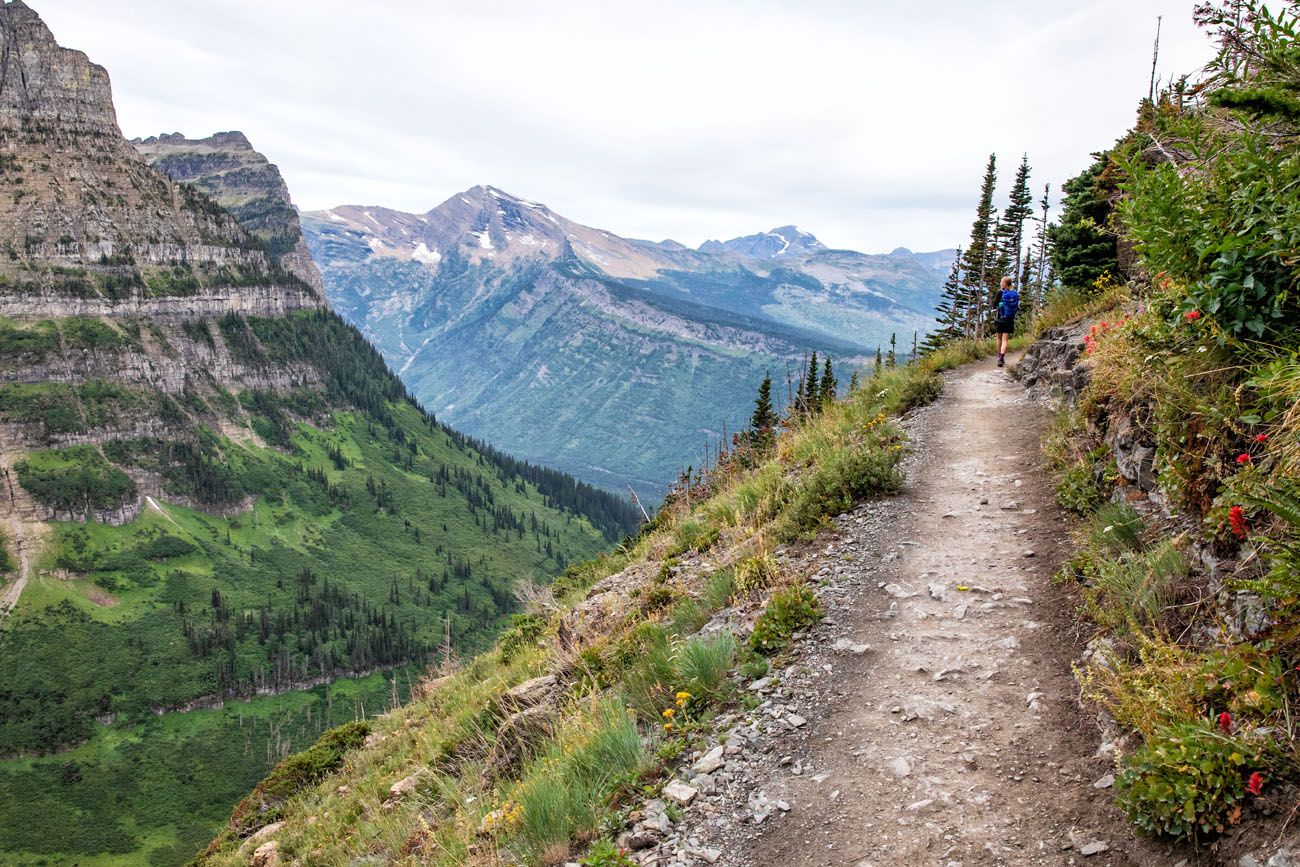
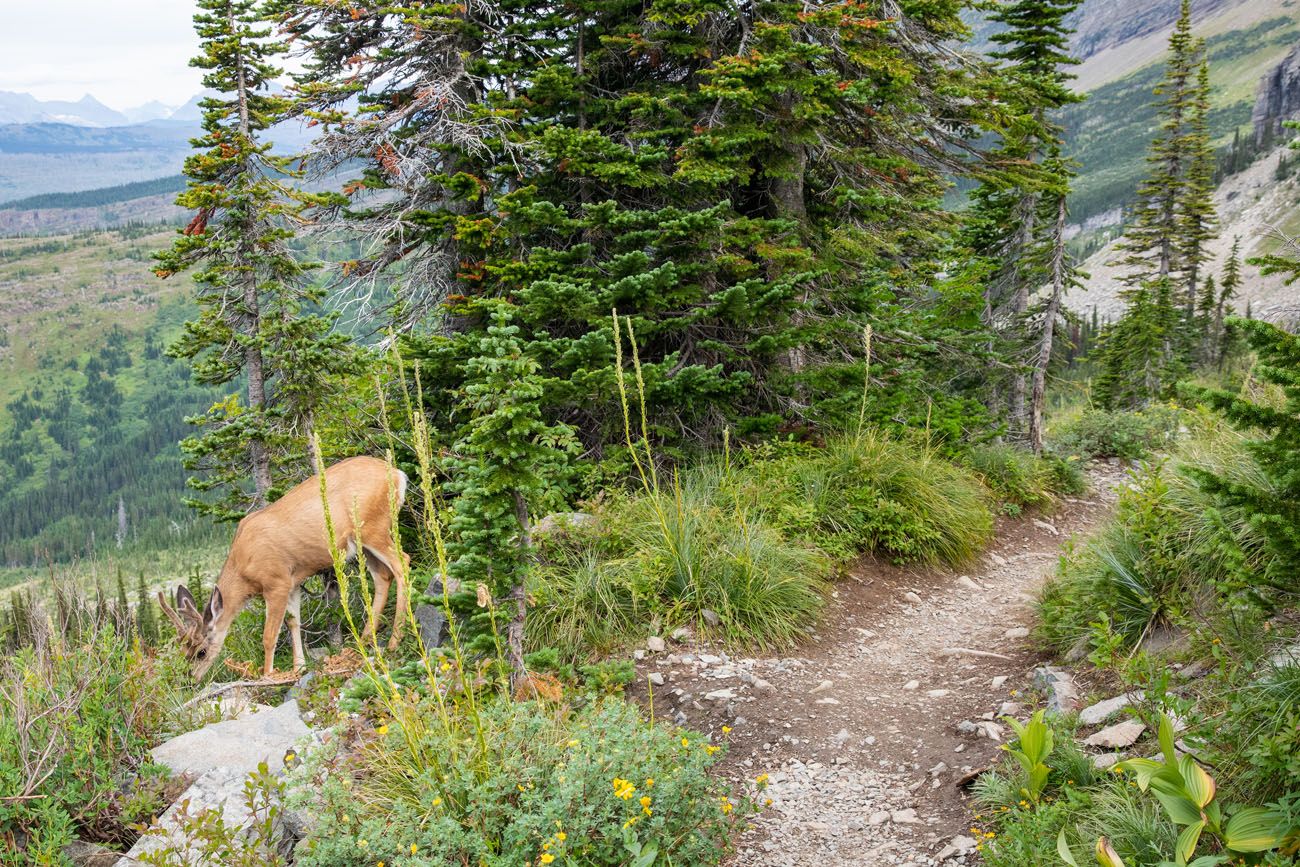
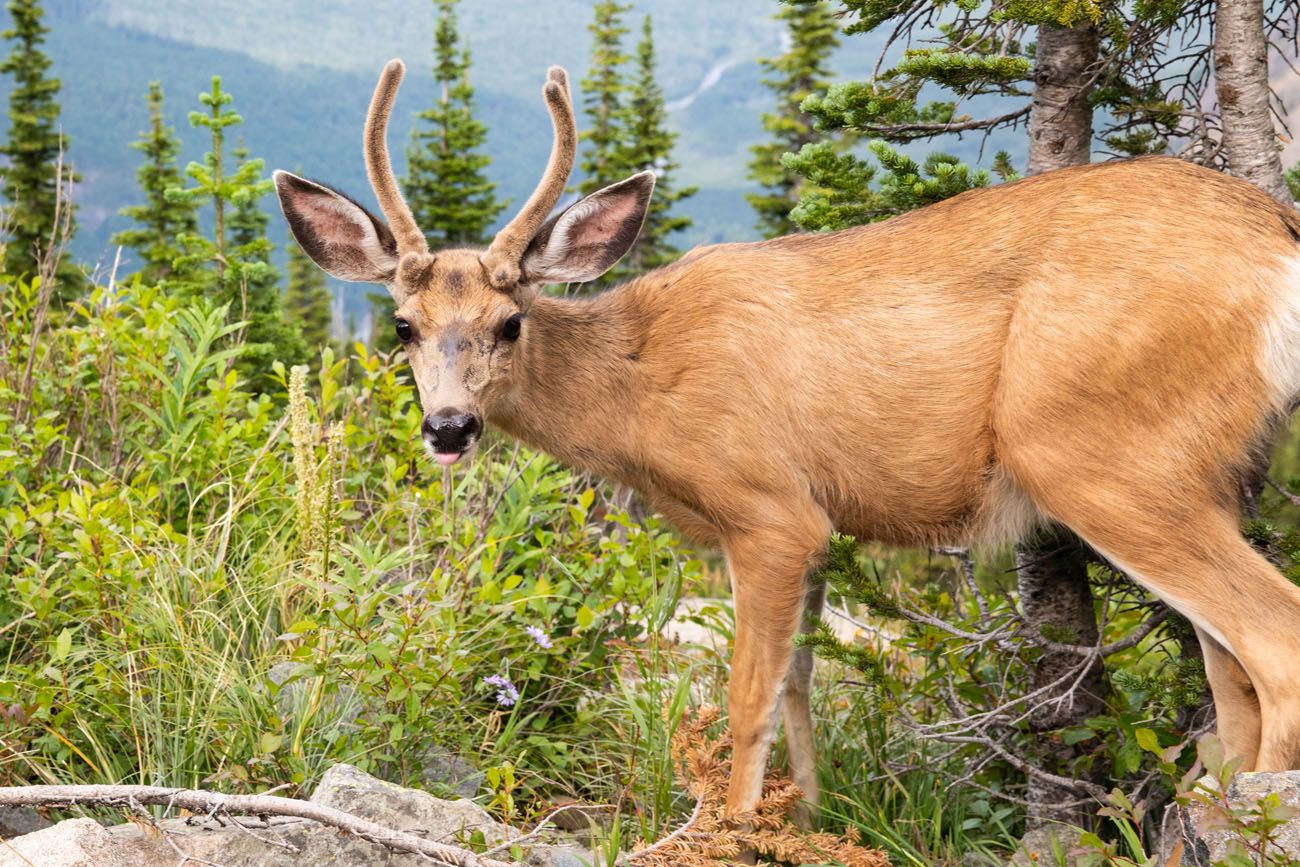
If you are lucky, you can spot deer, mountain goats, and Bighorn sheep. We weren’t lucky enough to spot any mountain goats or Bighorn sheep, but several deer made an appearance during our hike. And they are not afraid of humans. They stood just a few feet from the trail, happily munching away, and didn’t seem to mind how close we were as we passed them.
It’s also possible to see black bear or grizzly bear. A black bear crossed the trail in front of us (keep reading to learn more) and several other hikers told us that they spotted a grizzly bear. Both of these bear sightings were between Granite Park Chalet and the Loop. Carry bear spray and keep a conversation going with fellow hikers in order to alert bear of your presence.
About those bear bells: We were told by a park ranger to leave those bear bells at home. It’s much safer to use your own voice. In fact, locals call bear bells “dinner bells,” since studies show that they can actually make bears more curious and want to investigate the sound of the bells.
Three miles past Logan Pass, you will come to Haystack Pass. This is the biggest climb of the day, unless you take the detour to the Grinnell Glacier overlook. It’s a short, switchback trail to the top of the pass. Once here, the views are amazing and it’s a mostly downhill walk to Granite Park Chalet.
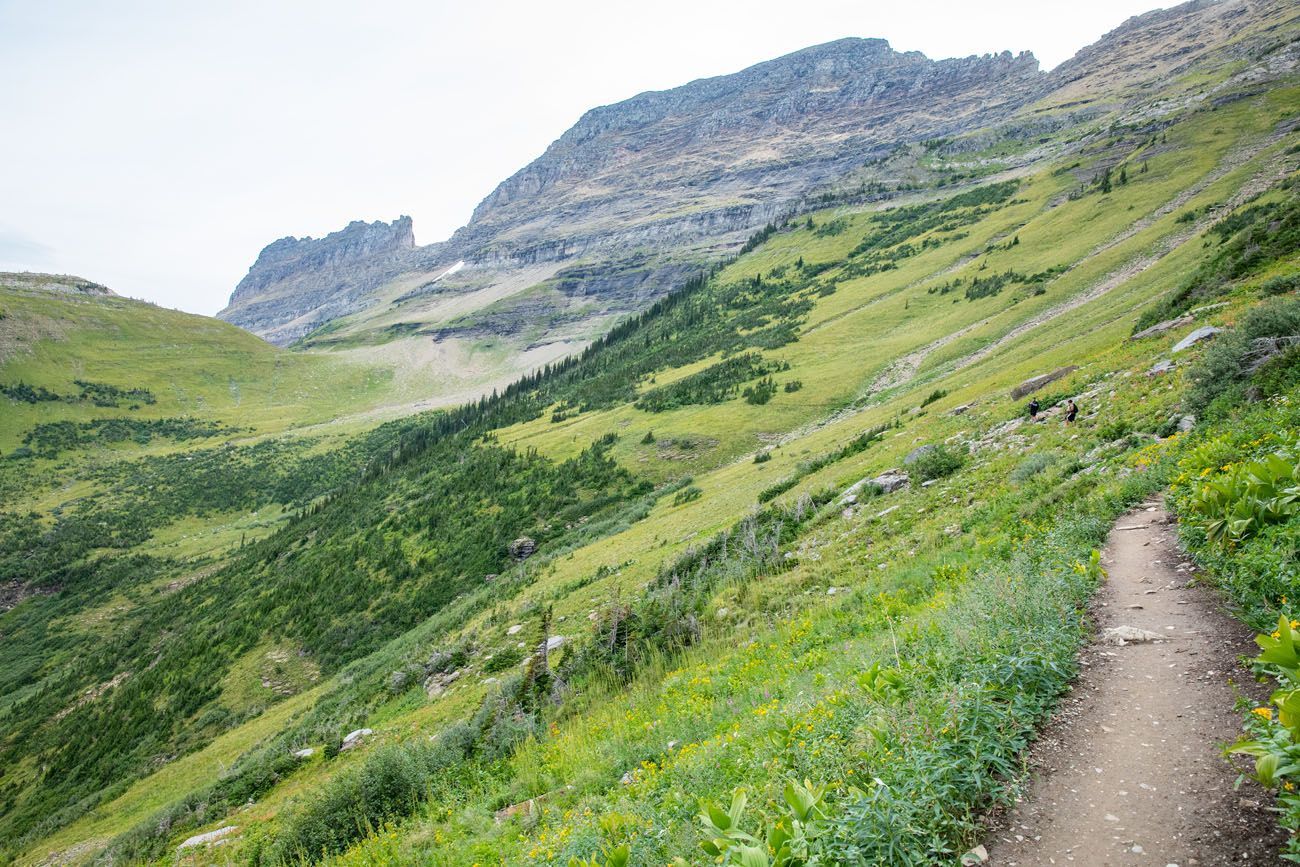
The trail to Haystack Pass, which is off in distance.
Detour to Grinnell Glacier Overlook
Just before arriving at Granite Park Chalet you have the option to take the detour to the Grinnell Glacier Overlook. This detour adds 1.6 miles (round trip) onto the hike with 900 feet of elevation gain. If you choose to do this, it will be the hardest section of the hike but is worthwhile if you don’t have plans to also hike the Grinnell Glacier Trail. Once at the viewpoint, you will be standing on the Continental Divide with panoramic views of Glacier National Park.
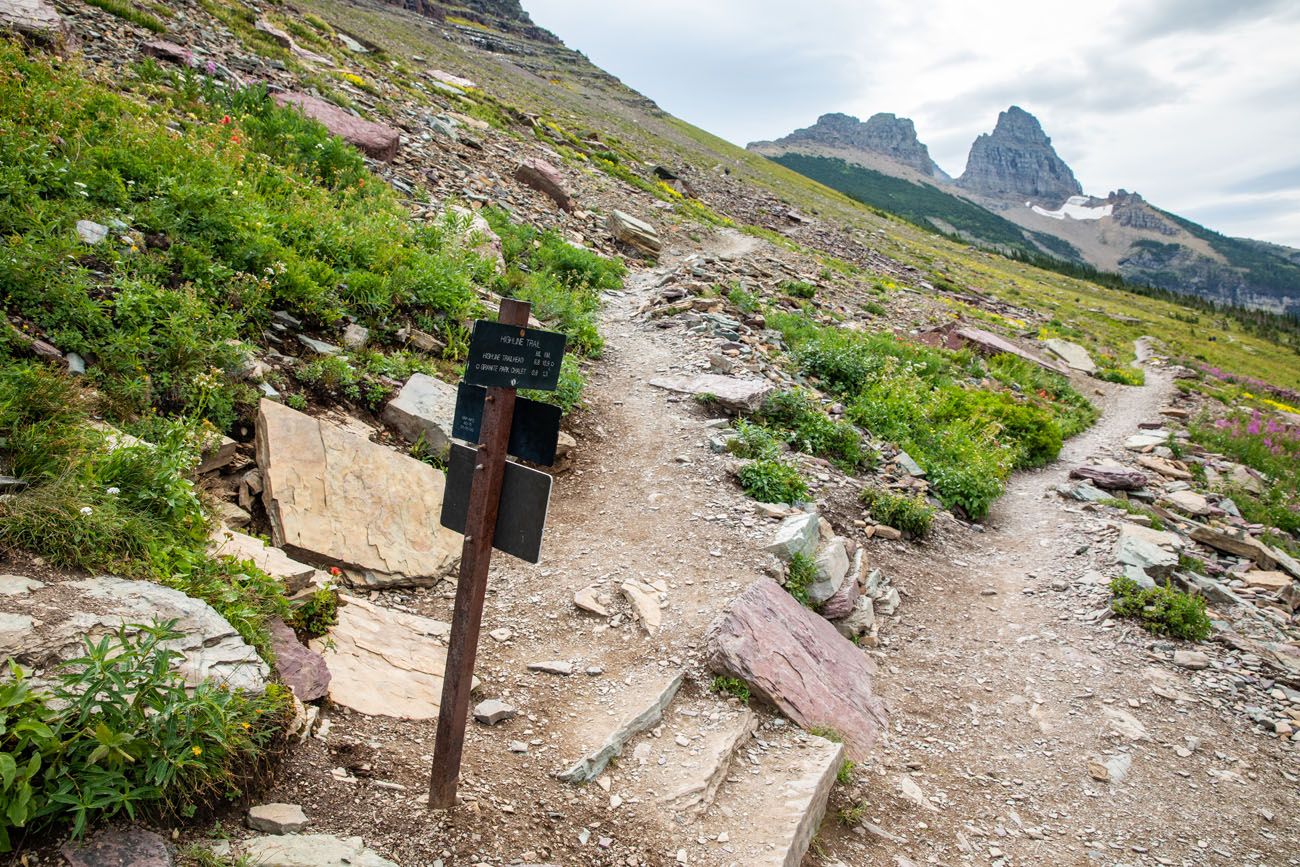
The detour to Grinnell Glacier Overlook is the trail to the left.
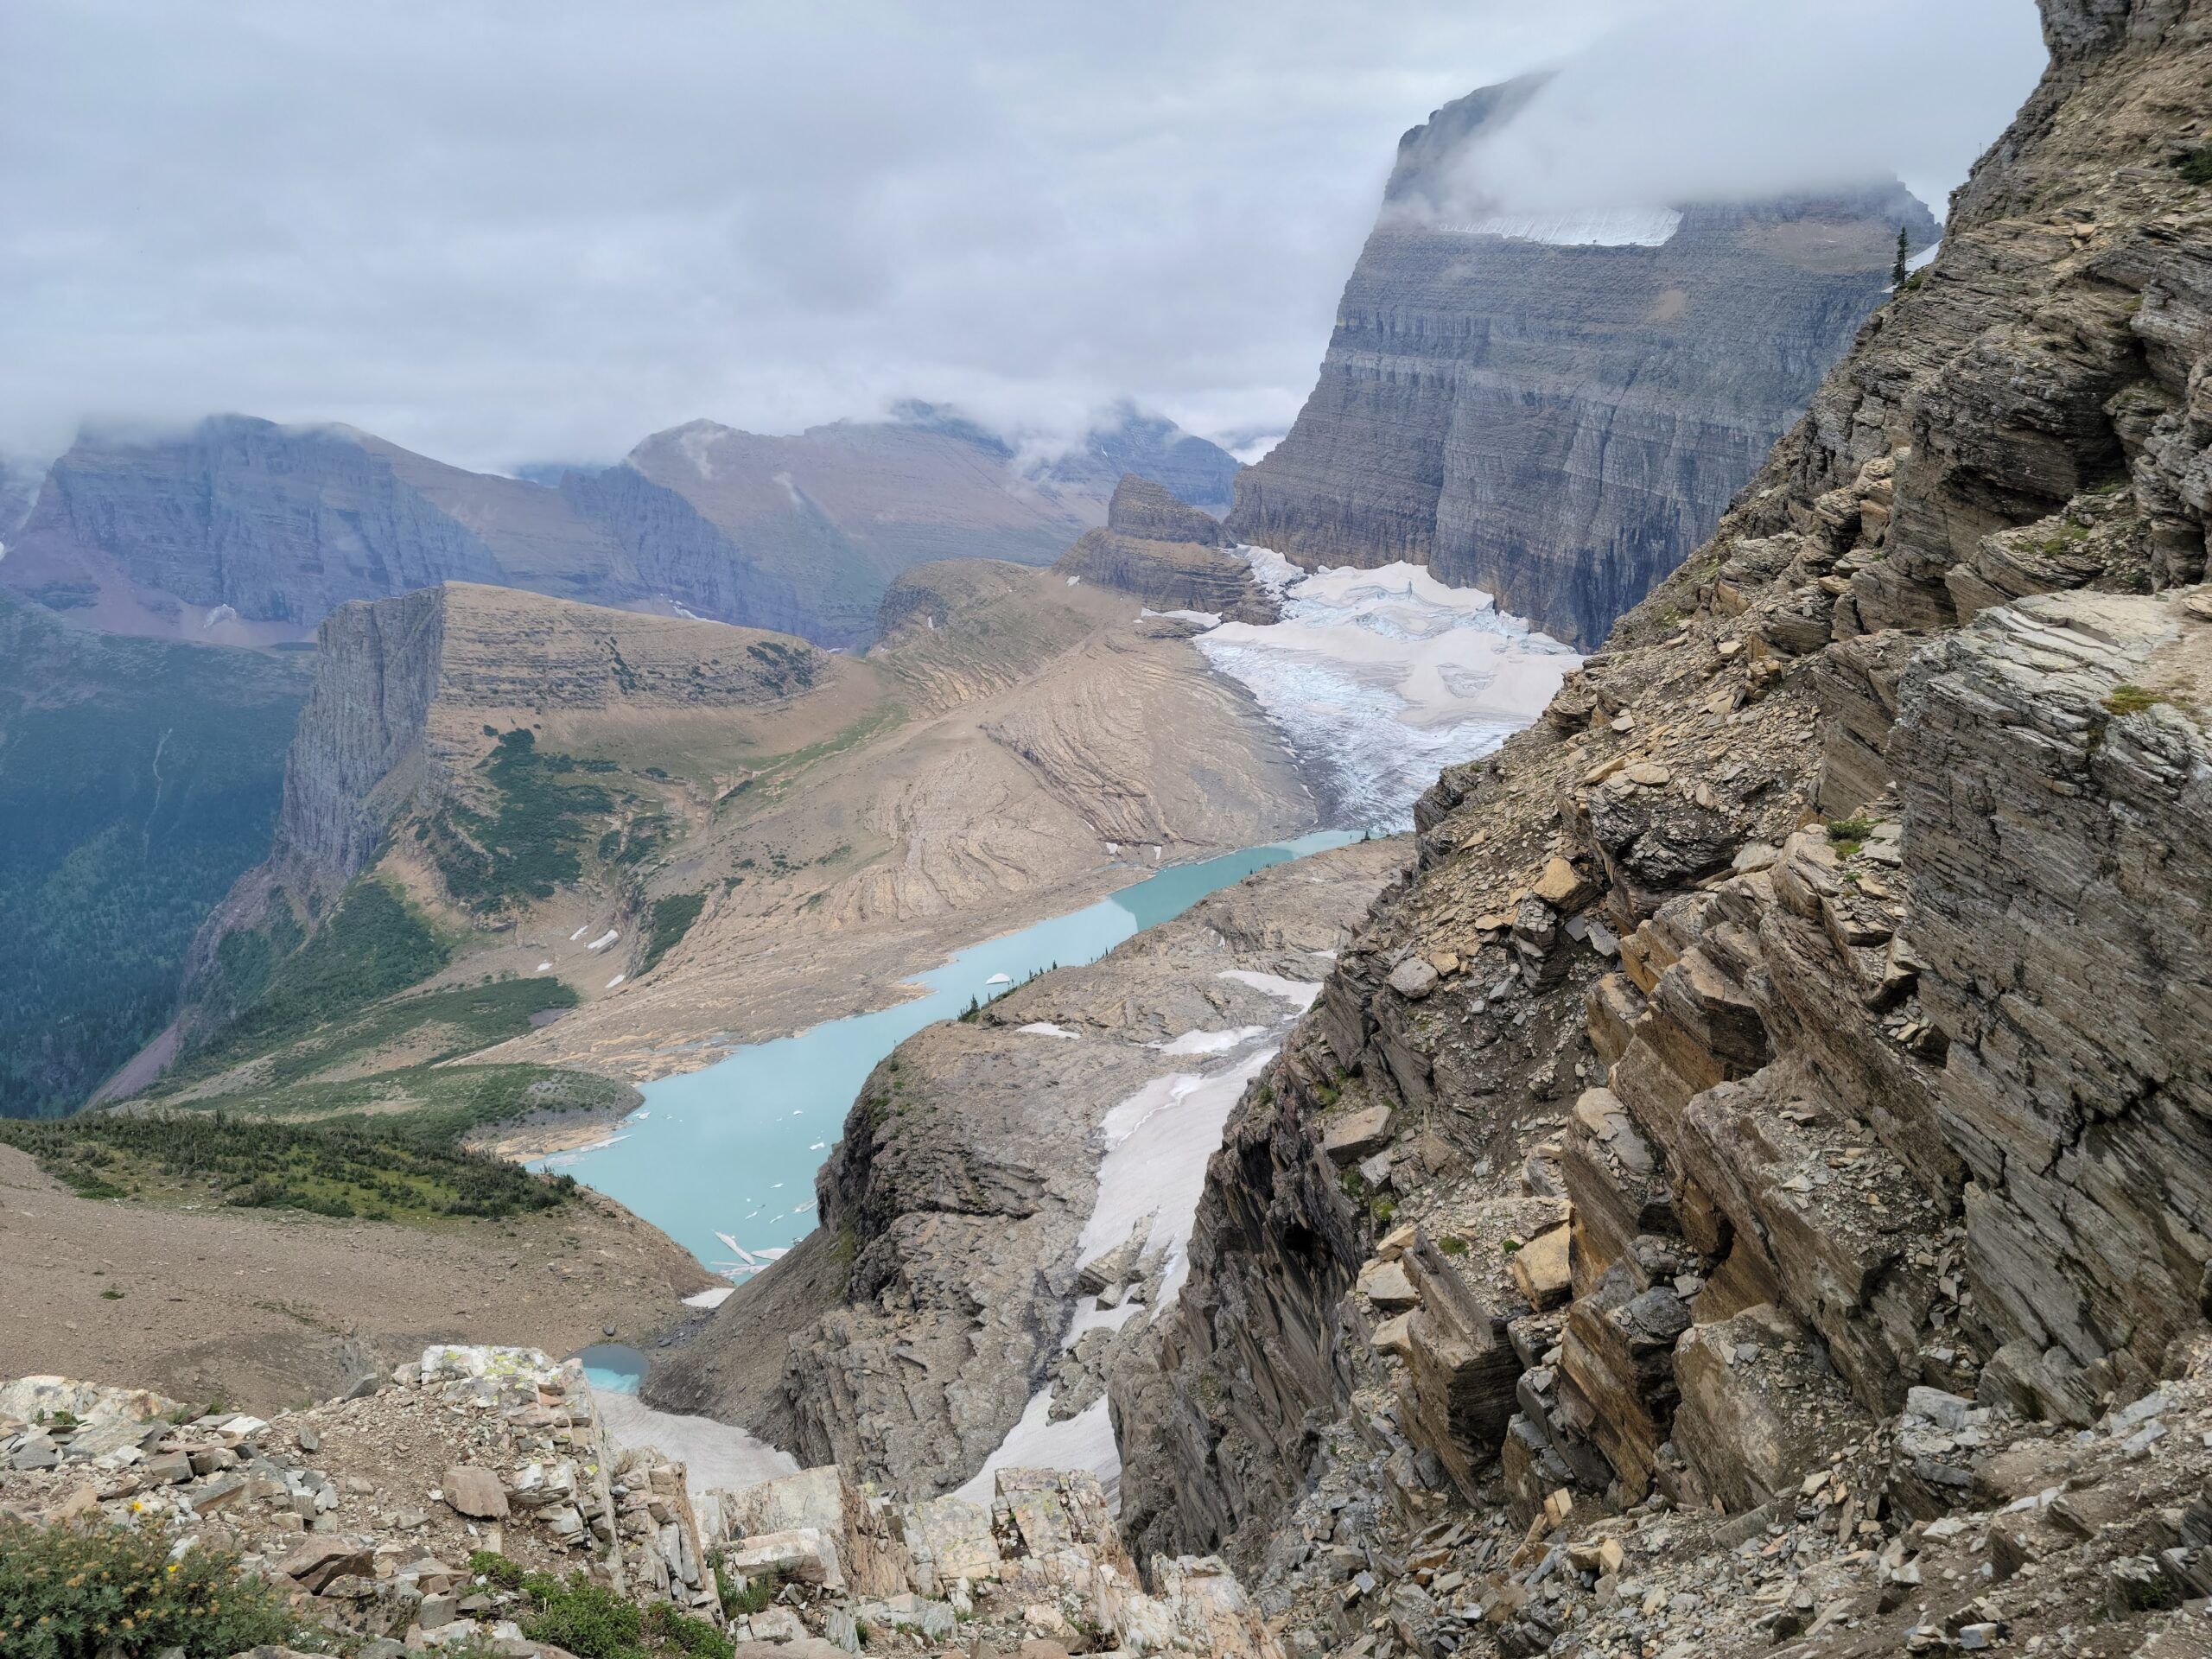
The view from Grinnell Glacier Overlook. Photo credit: Matt Peake
We did not do this, since the day before we hiked to Grinnell Glacier from Many Glacier. If you do not have plans to hike to Grinnell Glacier on a separate day, I recommend adding this detour onto your day.
Granite Park Chalet
From the Grinnell Glacier detour, it’s less than one mile of hiking to get to Granite Park Chalet.
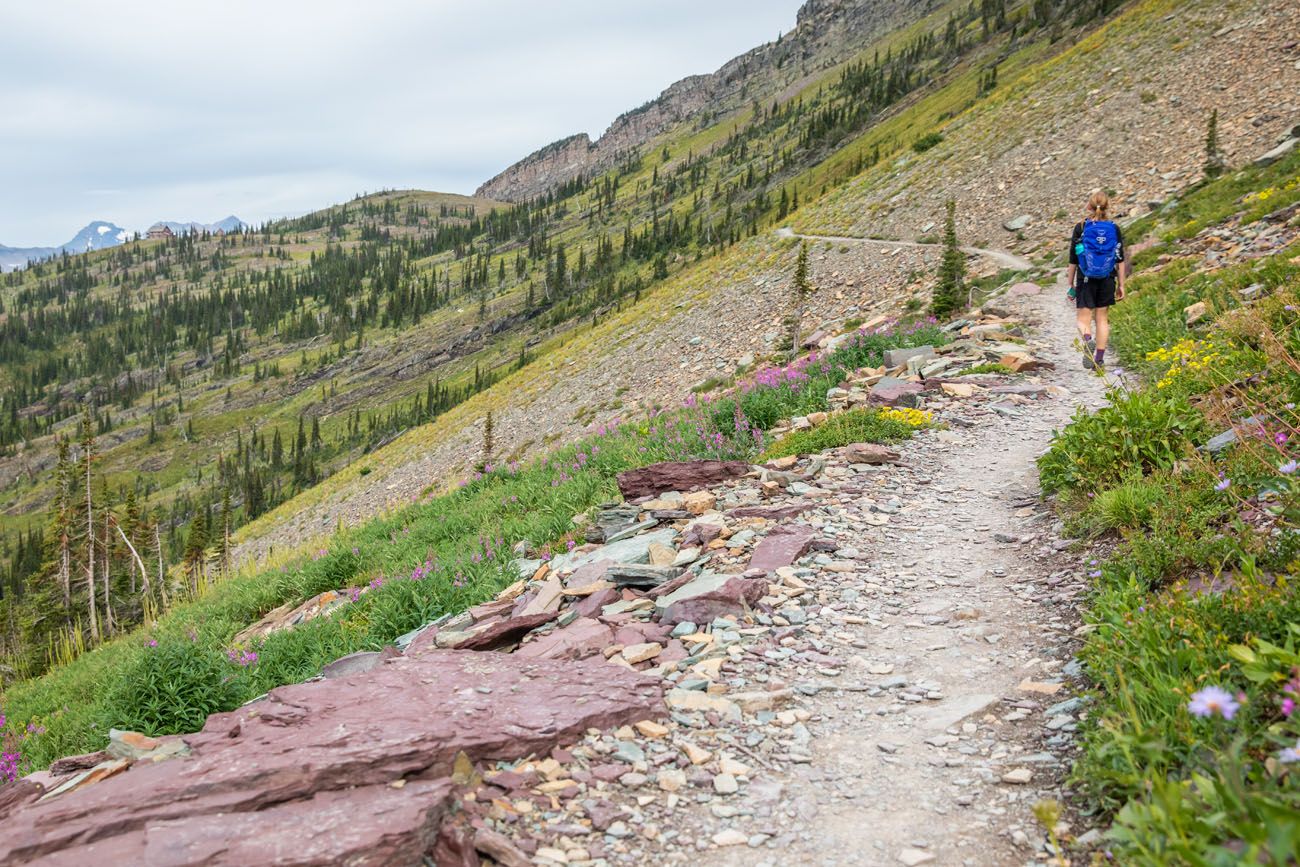
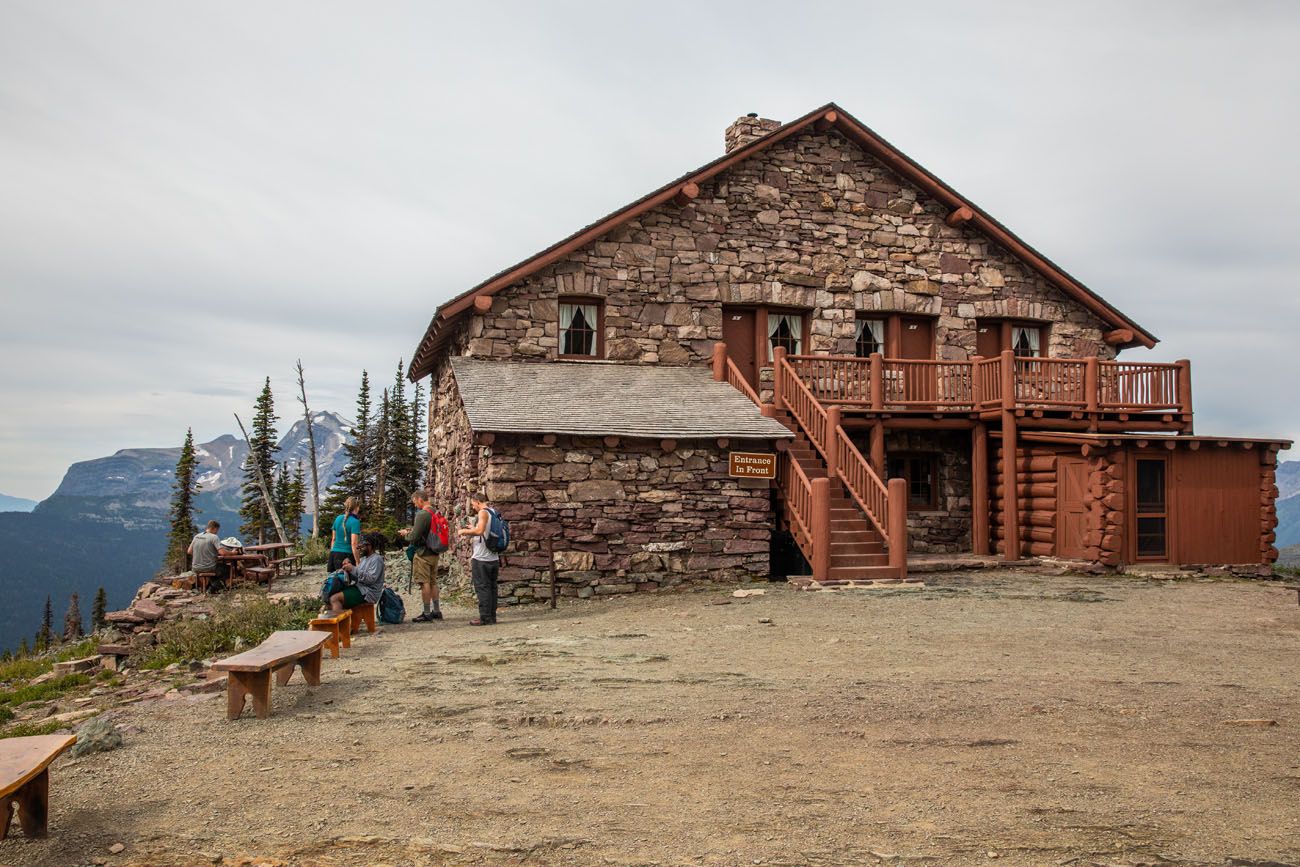
Granite Park Chalet is a national historic landmark. It is possible to spend the night here. Click here to learn more.
This makes a great place to take a break and have lunch. There are pit toilets but no water.
From here, it is an overall downhill walk to the Loop.
Hiking to the Loop
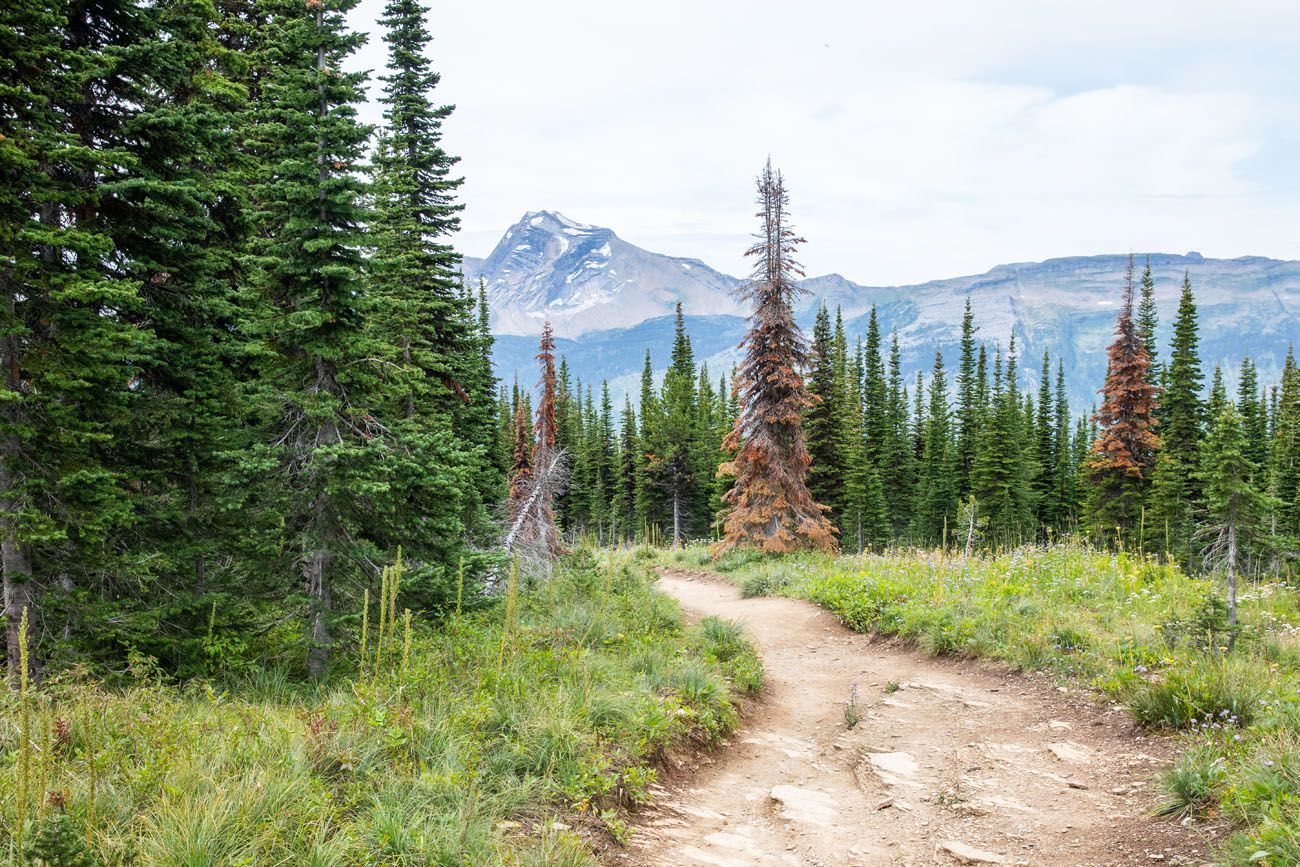
From the Granite Park Chalet, it is a 4-mile hike to get to the Loop. This part of the hike is a steep downhill walk in and out of a forest.
The first part of this trail is through a shady, cool forest. It doesn’t take long until you leave the shade of the trees and enter what remains of an old forest fire. This part of the hike is monotonous and on a sunny day, it can feel very warm.
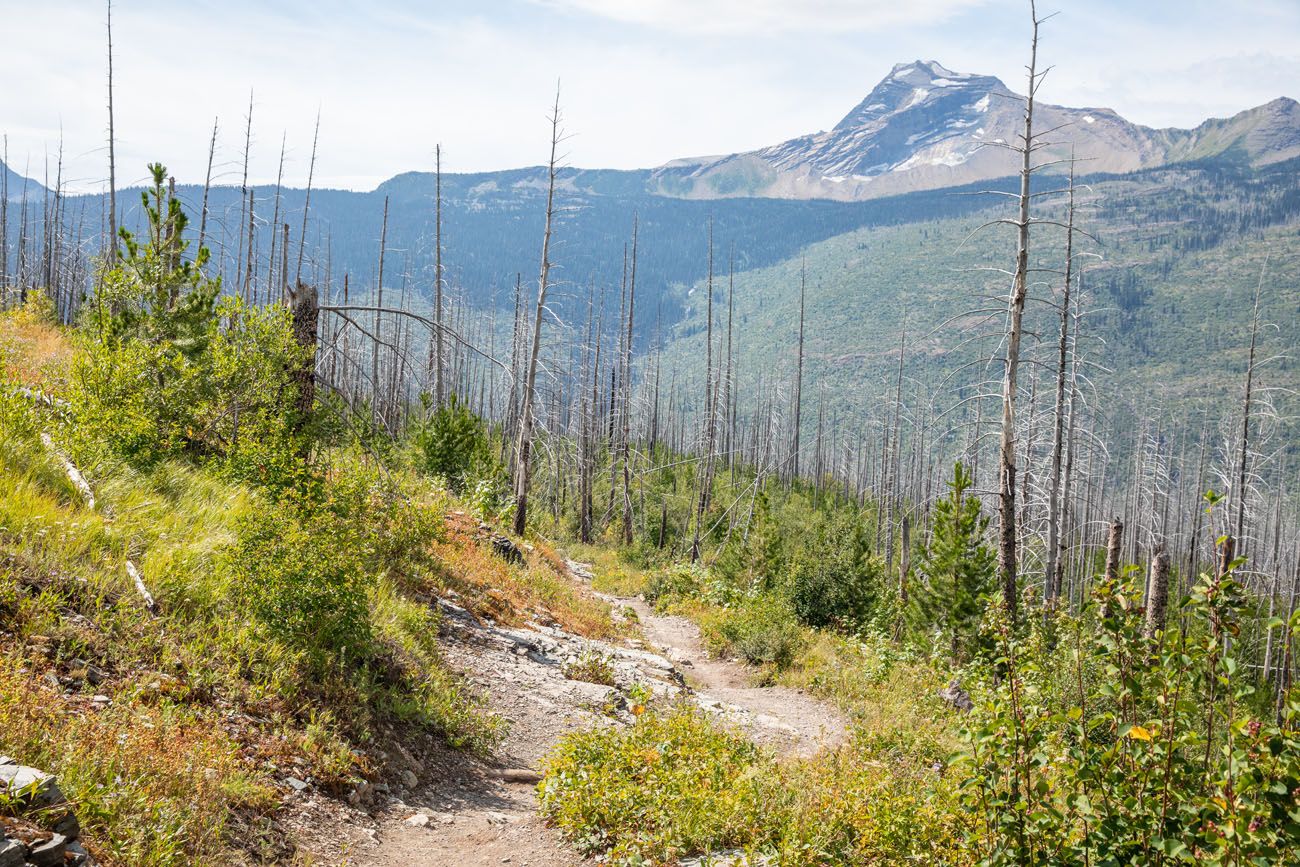
It was at this part of the hike where Kara and I encountered a lone black bear on the trail. We were on our own at this point with no hikers nearby. Kara and I had been keeping up a conversation…we played A LOT of rounds of 20 questions while hiking the Highline trail.
As we came around a bend, I saw a black bear on the trail in front of us. I guess it heard our voices because it ran off the trail and went a few feet into the brush. We came to a stop, I kept talking, calmly voicing my thoughts to Kara, so the bear could hear us and so that Kara knew what I was thinking. At this point, there was about 30 feet between us and the black bear. We did not back up because I did not want to lose sight of it. After waiting about 30 seconds, the bear moved further into the brush. Once it was a good thirty feet away from the trail, Kara and I continued on our way.
You always need to be alert for bear. While hiking, I was constantly scanning not only the trail in front of us, but also the trees and brush along the sides of the trail. This was our second bear encounter in two days in Glacier National Park. And just 3 days after we did this hike, the Highline Trail closed due to increased grizzly bear activity.
The Loop
Other than the bear encounter, it was a monotonous hike from the Granite Park Chalet to the Loop. It felt great to reach Going-to-the-Sun Road.
The shuttle stop is a very short walk from the end of the trail. There are two shuttle stops here: eastbound and westbound. To get back to Logan Pass, get in the line for the eastbound shuttle.
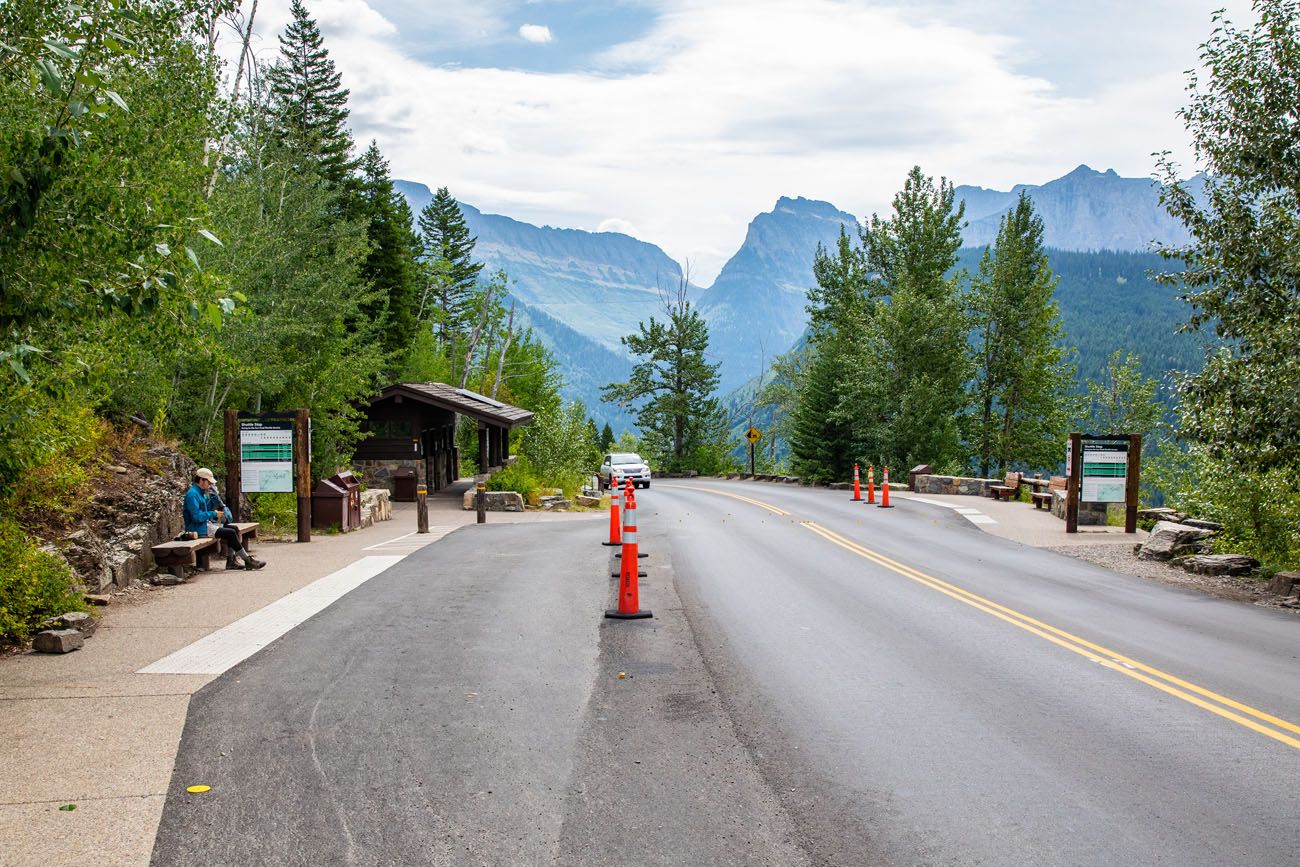
The eastbound shuttle stop is on the left hand side of the road.
What to Bring on the Hike
- Food and water. The national park service recommends 2 liters of water per person.
- Sunscreen. There is very little shade on the trail.
- Bear Spray
Essential Hiking Gear: What Should You Bring on a Day Hike?
If you are new to hiking or are curious about what you should bring on a hike, check out our Hiking Gear Guide. Find out what we carry in our day packs and what we wear on the trails.Before You Go
If you are traveling to Glacier National Park in June, September, or October, check the status of Going-to-the-Sun Road here.
Get updates on trail closures here. The trail occasionally closes due to grizzly bear activity.
If you have any questions about hiking the Highline Trail or if you want to share your experience, comment below!
More Information about Glacier National Park & the USA

Comments 43