
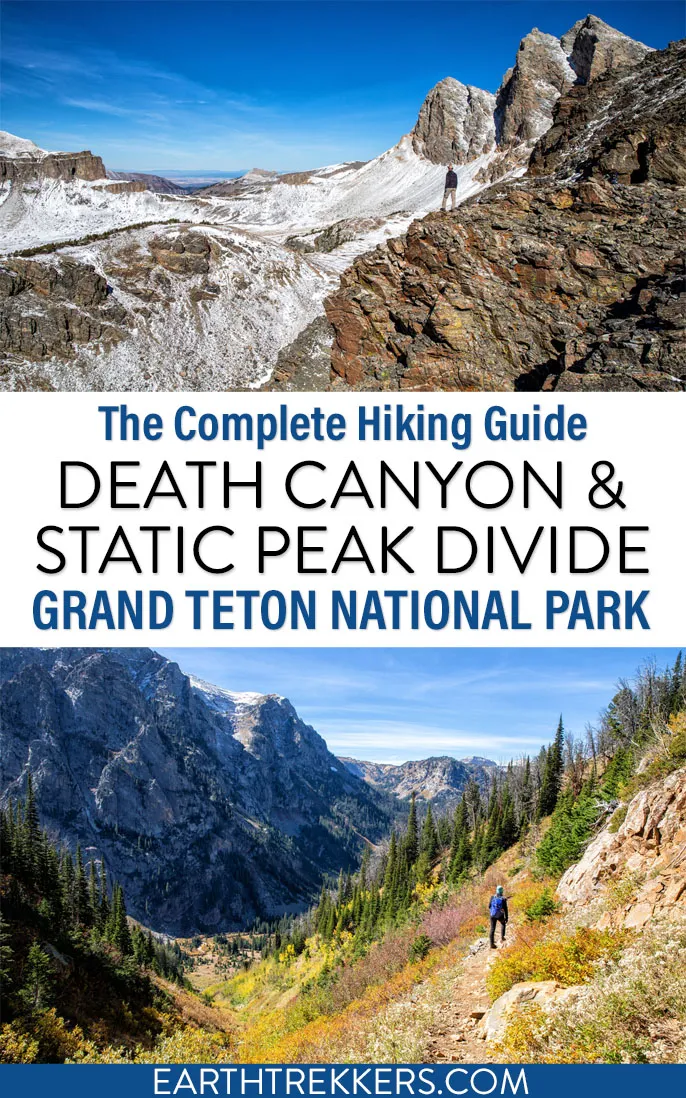
There are several reasons to hike to the Static Peak Divide. Early on in the hike, you have beautiful views over Phelps Lake. The walk through Death Canyon is gorgeous and this is a great place to spot wildlife. Bear and moose are frequently seen here. We didn’t see bear when we did this hike, but we did see several moose. And finally, the real reason for doing this hike is for the panoramic views from Static Peak Divide.
This is a tough hike but it’s one of our favorites in Grand Teton National Park. When we did this, we saw a total of two people and five moose during the entire hike up to the Static Peak Divide. Nice ratio, don’t you think?
Death Canyon is a less-trafficked trail than the other canyons in Grand Teton National Park, such as Canyon and Cascade Canyon, so if you are looking to escape the crowds, this is a nice hike for your list.
Here’s how to do it.
Our Grand Teton Experiences: We hiked to the Static Peak Divide on our third trip to Grand Teton, a dedicated hiking trip. We’re avid hikers and national park enthusiasts (we’ve visited 56 of the 63 US national parks), and this remains one of our quietest, favorite days on trail in the park. All photos in this guide are our own.
August 2026 Update: The Death Canyon Trailhead and access road are closed for construction through 2026, with continued closures into 2027. See Getting to the Trailhead below for the current timeline.
Static Peak Divide Trail Stats
Distance: 16 miles (25.8 km) round trip
Difficulty: Strenuous
Total Elevation Gain: 5,000 feet (1,525 m)
Starting Elevation (Death Canyon Trailhead): 6,800 feet (2,075 m)
Highest Elevation (Static Peak Divide): 10,800 feet (3,300 m)
Length of Time: The National Park Service recommends 10 to 12 hours for this hike, but it can be done much faster. We finished this hike in just under 7 hours.
Note: Due to the high elevation of the Static Peak Divide and the massive amount of elevation gain, this does not make a good first hike in Grand Teton National Park, especially if you are coming from sea level or a low elevation. Plan on spending one to two days in the park, on shorter hikes, to acclimate to the elevation.
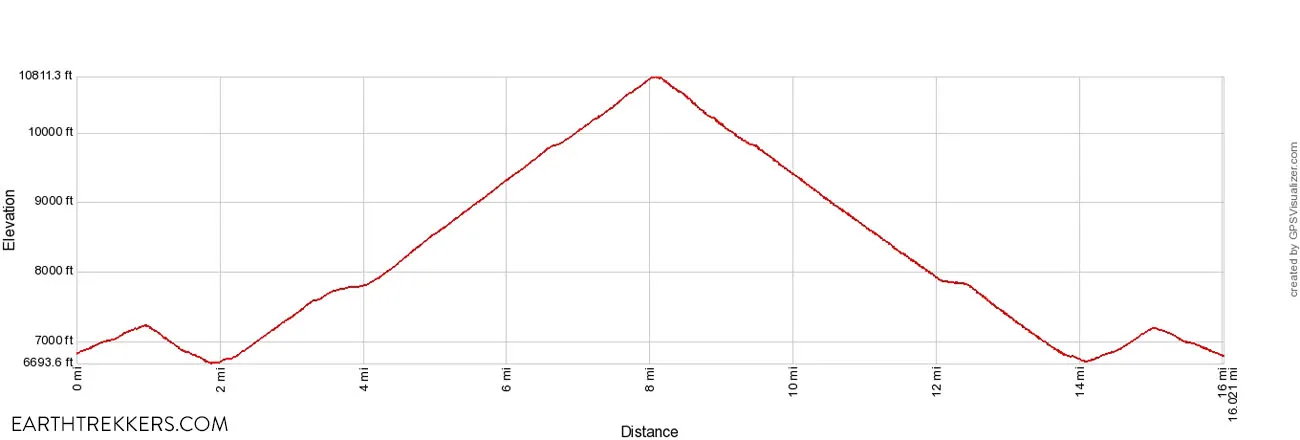
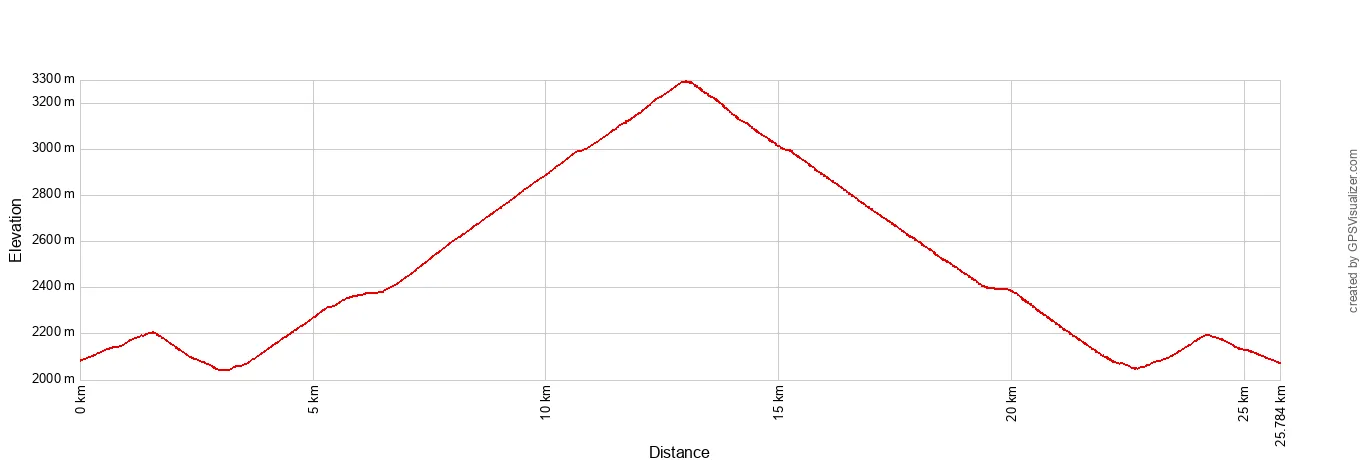
Static Peak Divide Elevation Profile
Please practice the seven principles of Leave No Trace: plan ahead, stay on the trail, pack out what you bring to the hiking trail, leave areas as you found them, minimize campfire impacts, be considerate of other hikers, and do not approach or feed wildlife.
Getting to the Trailhead & Parking
Update: The Death Canyon Trailhead and access road are closed for construction through at least mid-November 2026, with a brief reopening for winter recreation expected at the end of 2026 before closing again from May through June or July 2027. There is currently no way to reach Death Canyon or the Static Peak Divide from this trailhead. Check the NPS road construction page for the latest before planning a trip.
When we hiked to the Static Peak Divide, the trail started at the Death Canyon Trailhead, reached by turning onto Whitegrass Ranch Road and following it 1.6 miles to its end. The first stretch was paved, but the final .7 miles was a rough, unpaved road riddled with enormous potholes. A 4×4 or high-clearance SUV was the way to go, though a couple of standard cars in the lot that day proved it could be done carefully. Near the trailhead was a small parking area with room for about 20 cars, plus a bathroom.
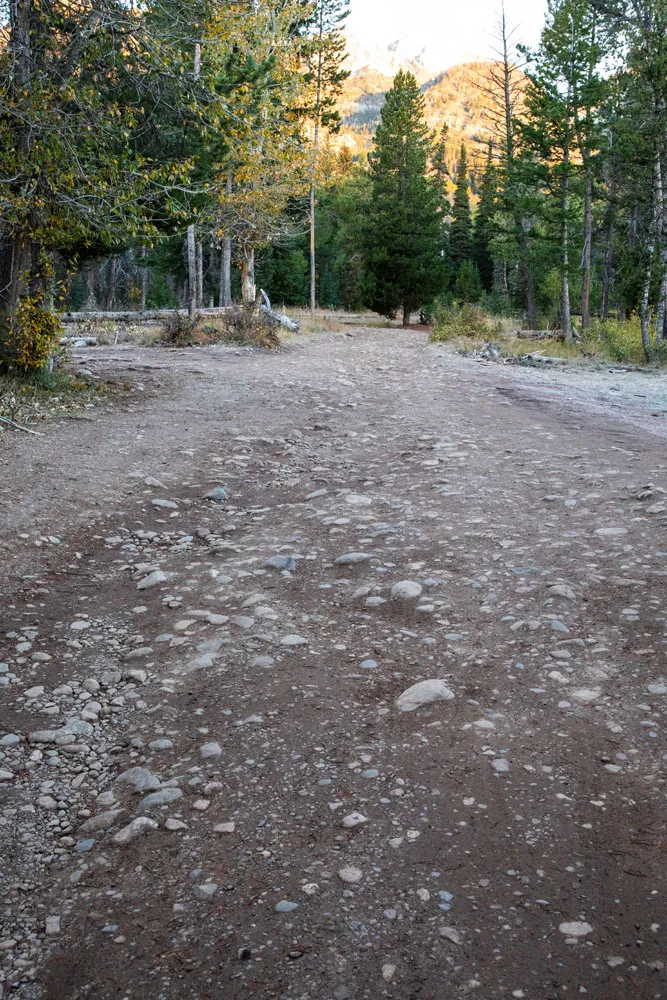
The old road to Death Canyon Trailhead
That trailhead and road are now being replaced. As part of a multi-year Moose-Wilson Road improvement project, the Death Canyon Trailhead is being relocated about a mile from its old spot, with a paved 90-vehicle parking lot, vault toilets, and staging areas for both the Death Canyon and Whitegrass Ranch trails. It’s a big upgrade over the bumpy road and small lot we remember. Once the new trailhead opens, we’ll update this section with current directions and parking details.
Death Canyon to the Static Peak Divide: Step-By-Step Trail Guide
Overview of the Hike
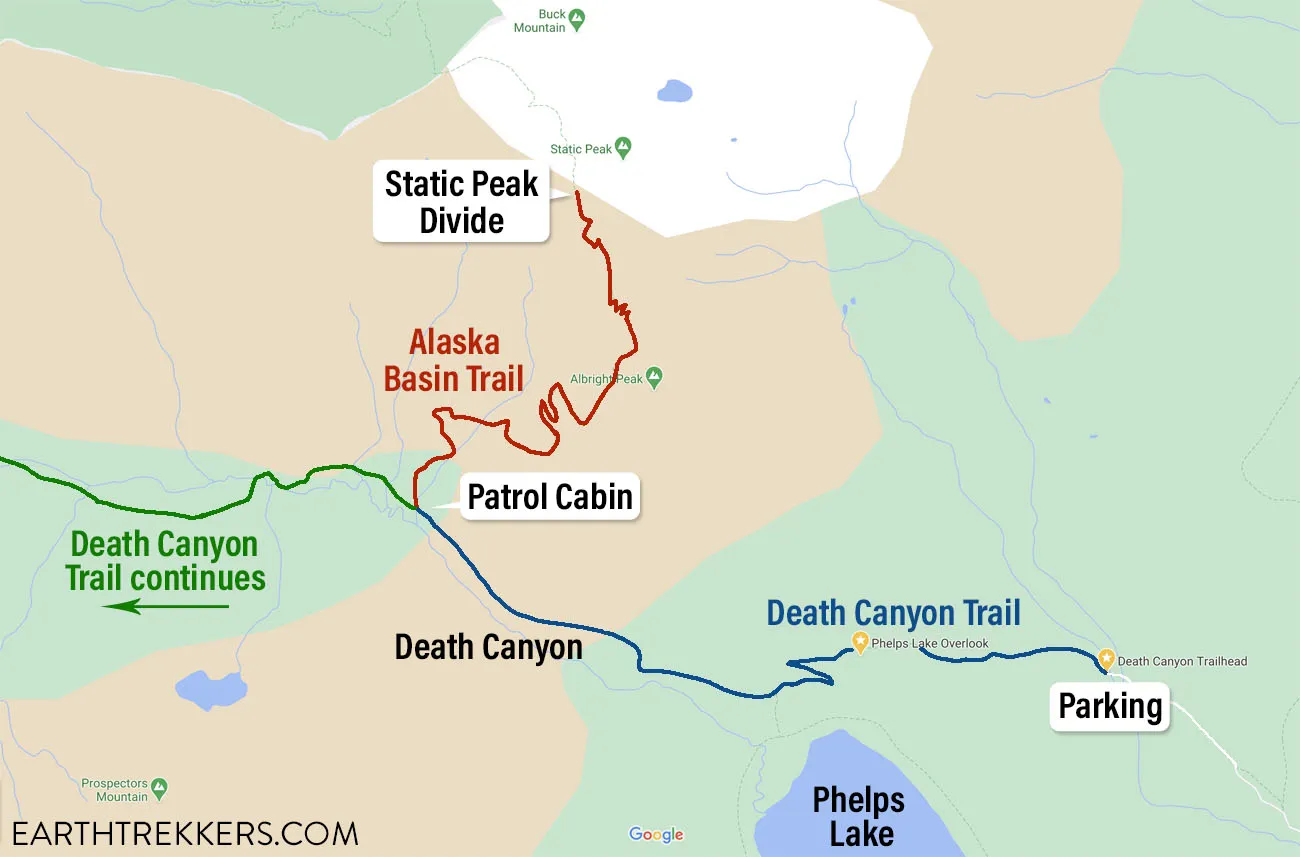
It’s 8 miles from the trailhead to the Static Peak Divide. It’s easiest to think of this hike in three sections: the Phelps Lake Overlook, Death Canyon, and the final climb to the Static Peak Divide.
Hiking to Phelps Lake Overlook
From the trailhead, it is a one-mile, slightly uphill hike to the Phelps Lake Overlook. For this short trail, you will mostly be in the trees, which is gorgeous in the autumn when the leaves have turned yellow.
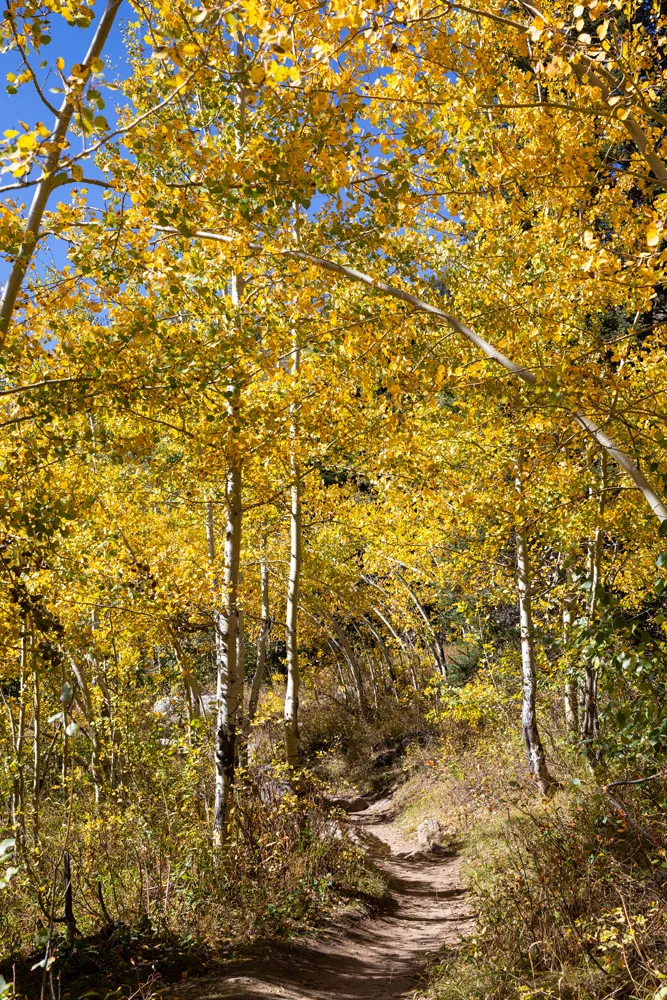
We took this photo of the trail the last week of September
At one mile, you reach the Phelps Lake Overlook. From here, the view is very nice but it actually gets better as you start your descent towards the lake.
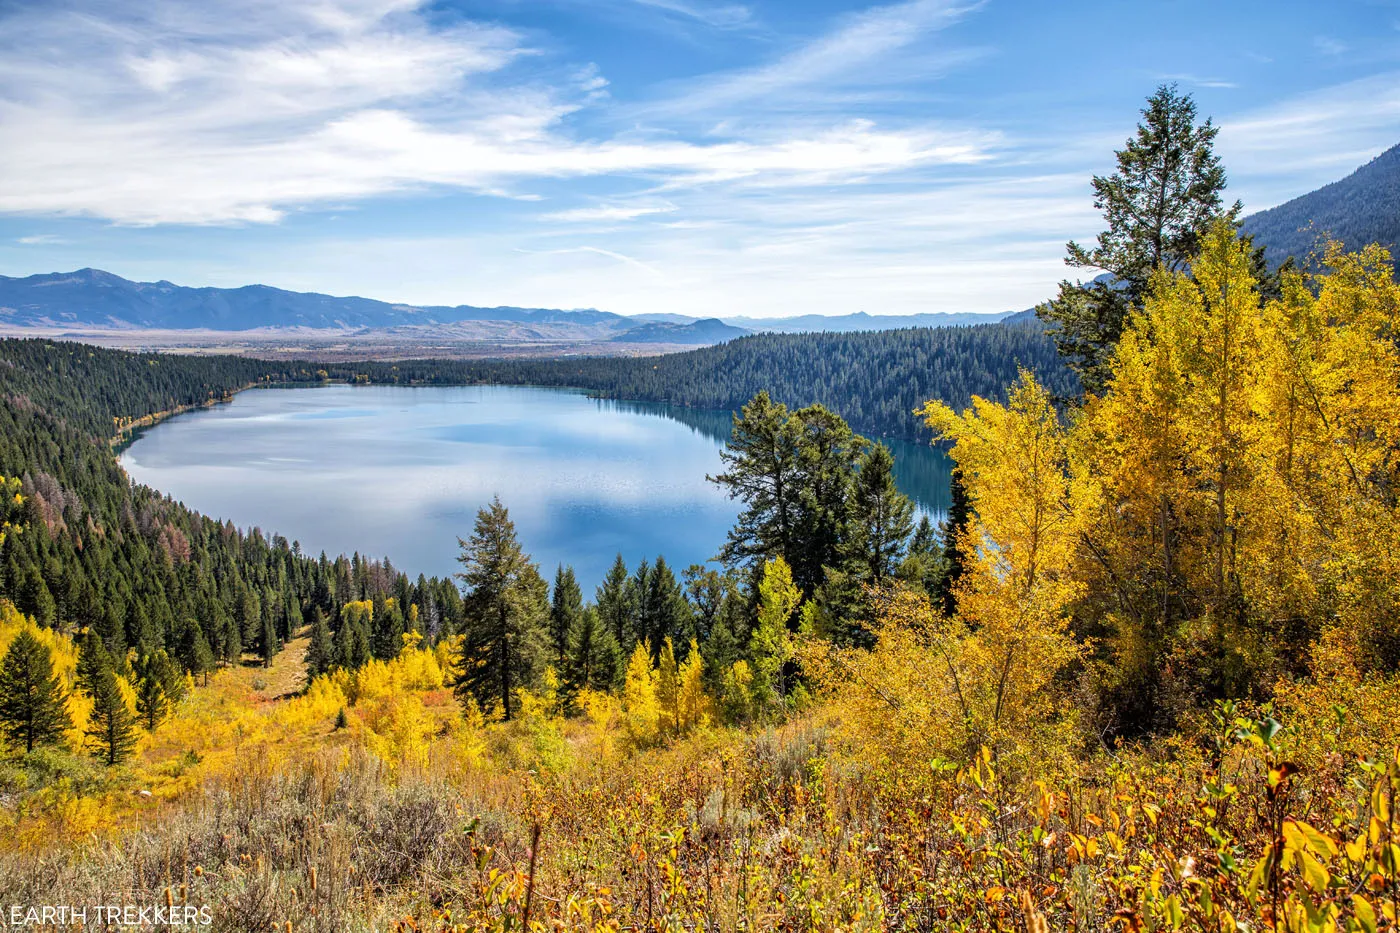
From the Phelps Lake Overlook, it is a moderate descent towards the lake. The trail has two switchbacks and it will continue its downhill nature until you enter Death Canyon. You will hike about 1 mile downhill with almost 500 feet of elevation loss. This part of the hike goes by fast now, but at the end of the hike, when you are feeling more tired, this short, uphill climb can feel exhausting.
Near Phelps Lake, keep an eye out for the trail split. At the Death Canyon junction, take the trail to the right to continue into Death Canyon.
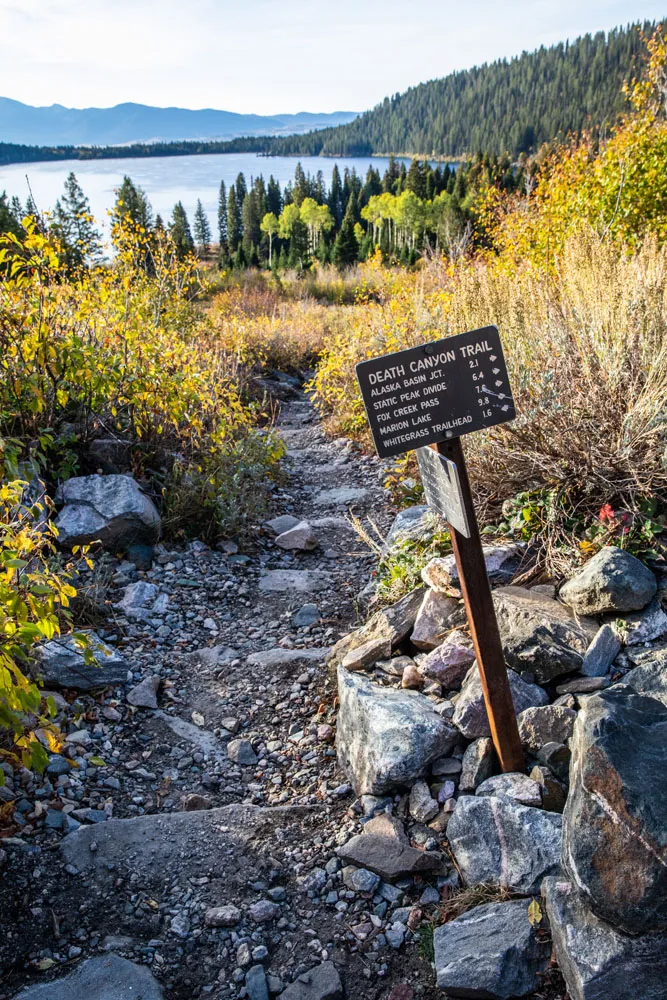
Hiking through Death Canyon
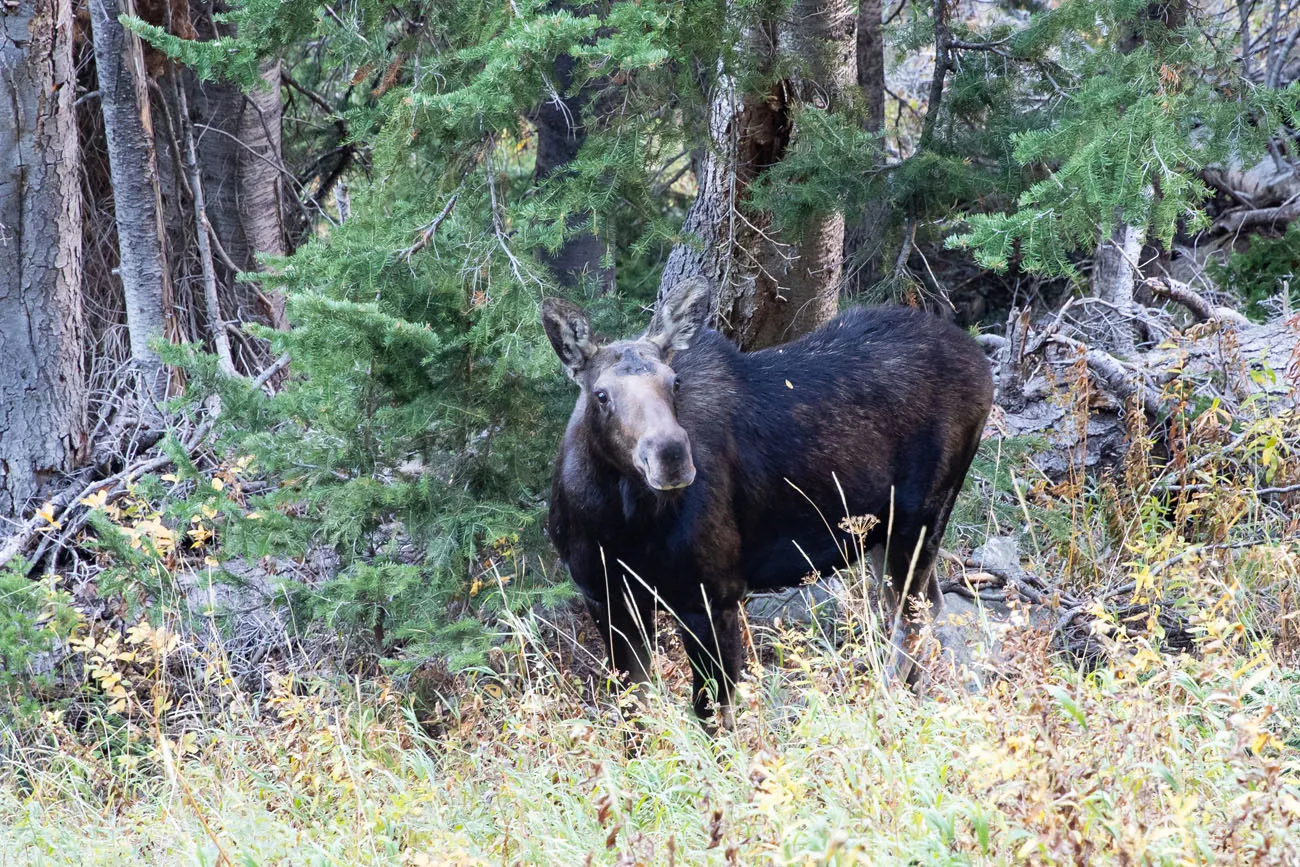
Once you enter Death Canyon, the climbing begins. Just before the trail makes an upward pitch, we came across three moose. To our left, about 50 feet off of the trail, was a bull moose, a cow, and a calf. The bull wandered away, farther into the trees, while the cow and calf stayed put, sitting under the cover of the trees, just hanging out.
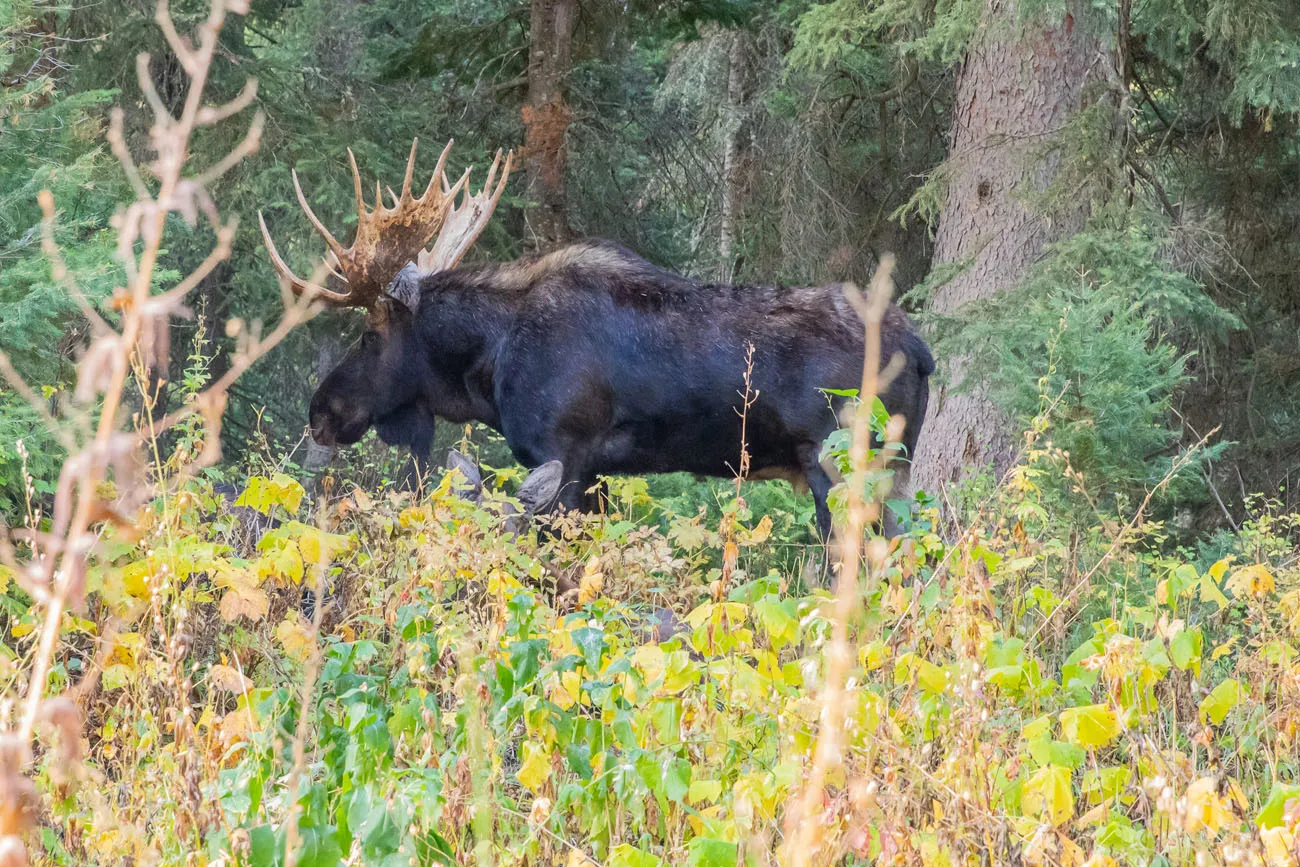
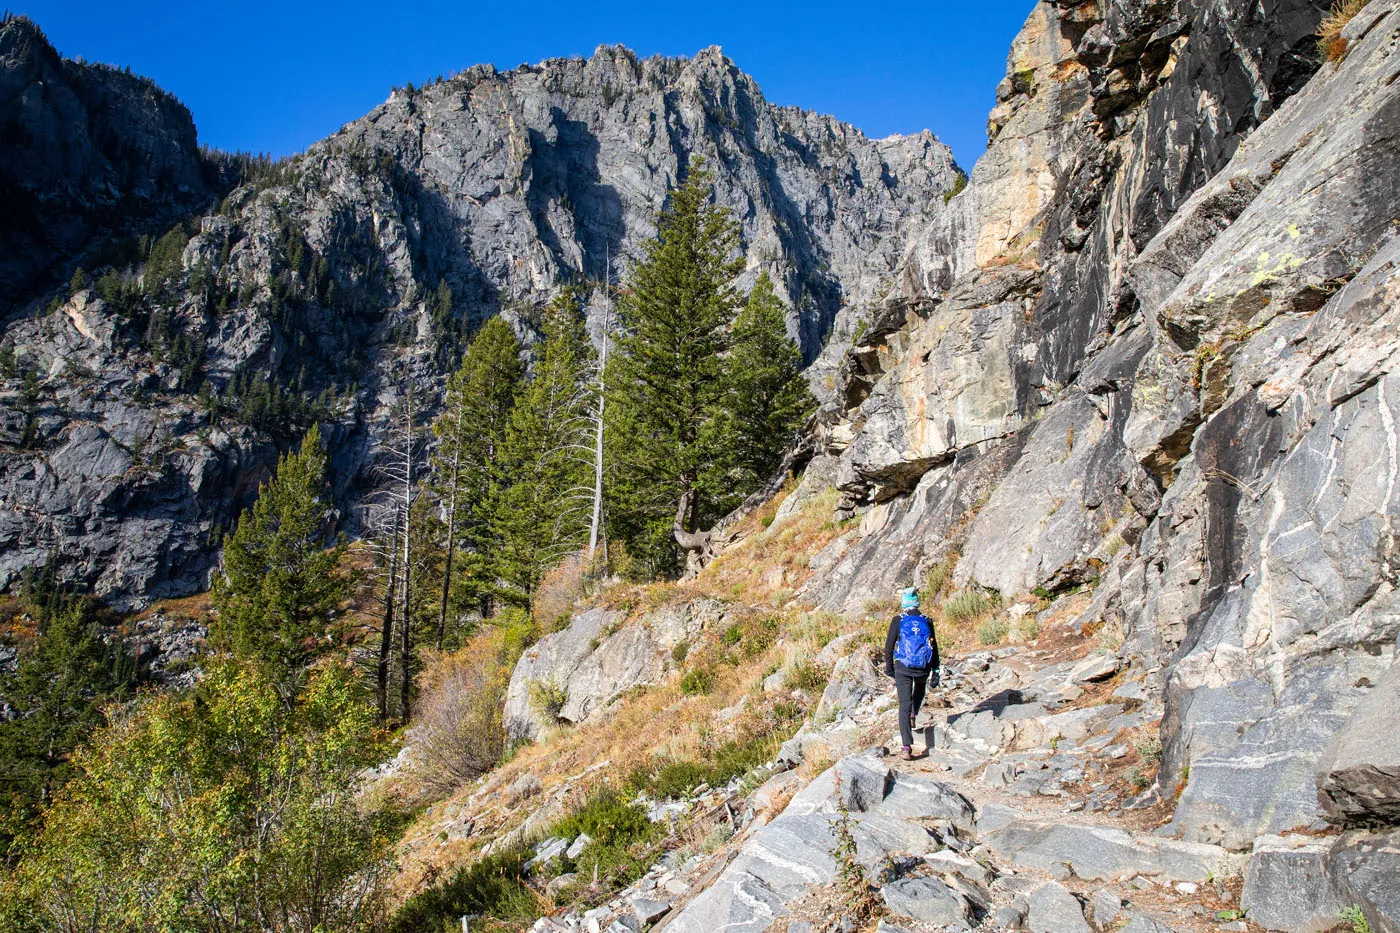
For two miles, it is a moderate ascent through Death Canyon. The trail is rough and rocky in spots with a few switchbacks thrown in here and there. As you get higher up into the canyon, the views begin to open up, and it’s a nice view back down through the canyon to Phelps Lake.
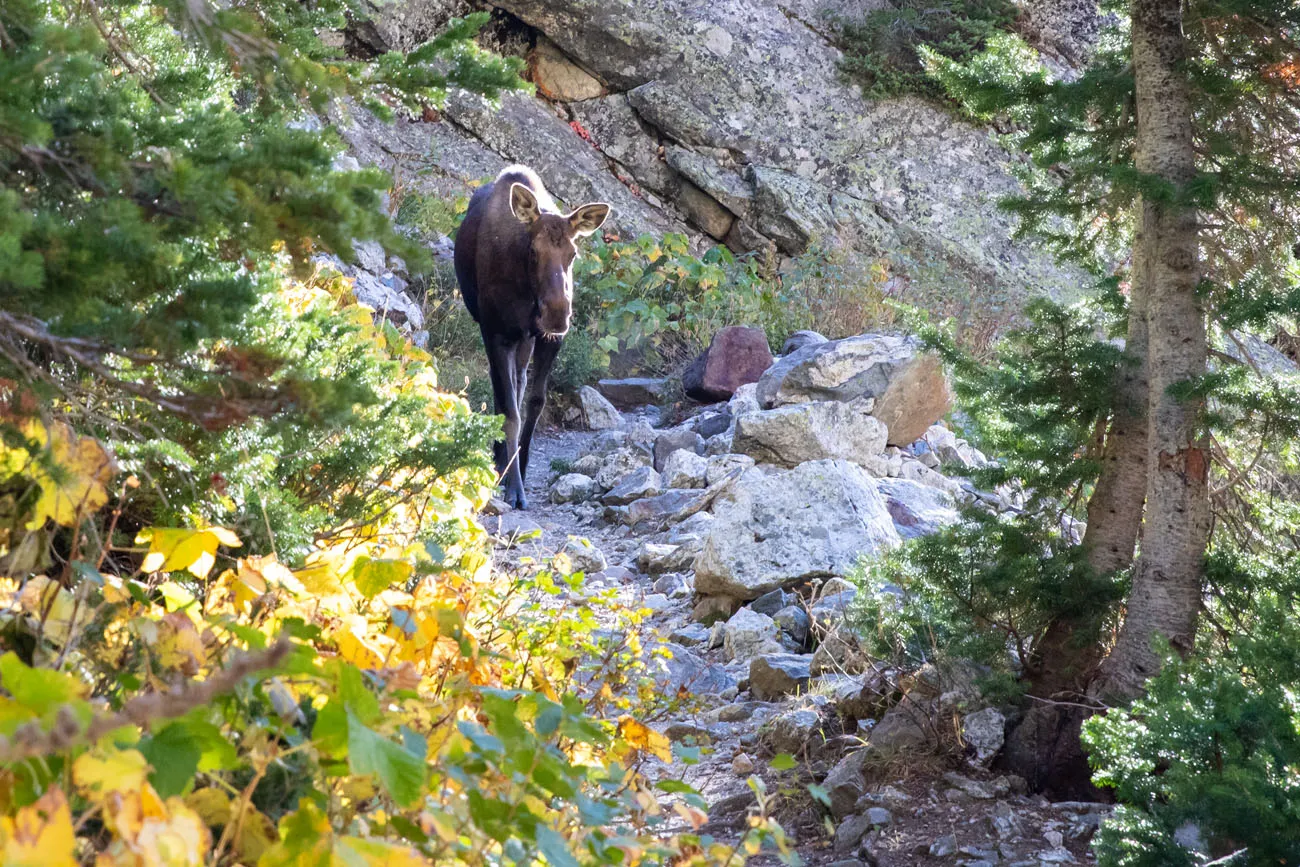
We met a fourth moose on the trail in Death Canyon. She was walking down the trail towards us. When she saw us, she turned around and walked back up the trail. She quickly changed her mind and walked back towards us. As quickly and calmly as we could, we headed back down the trail, to a clearing at a switchback, to let her go by.
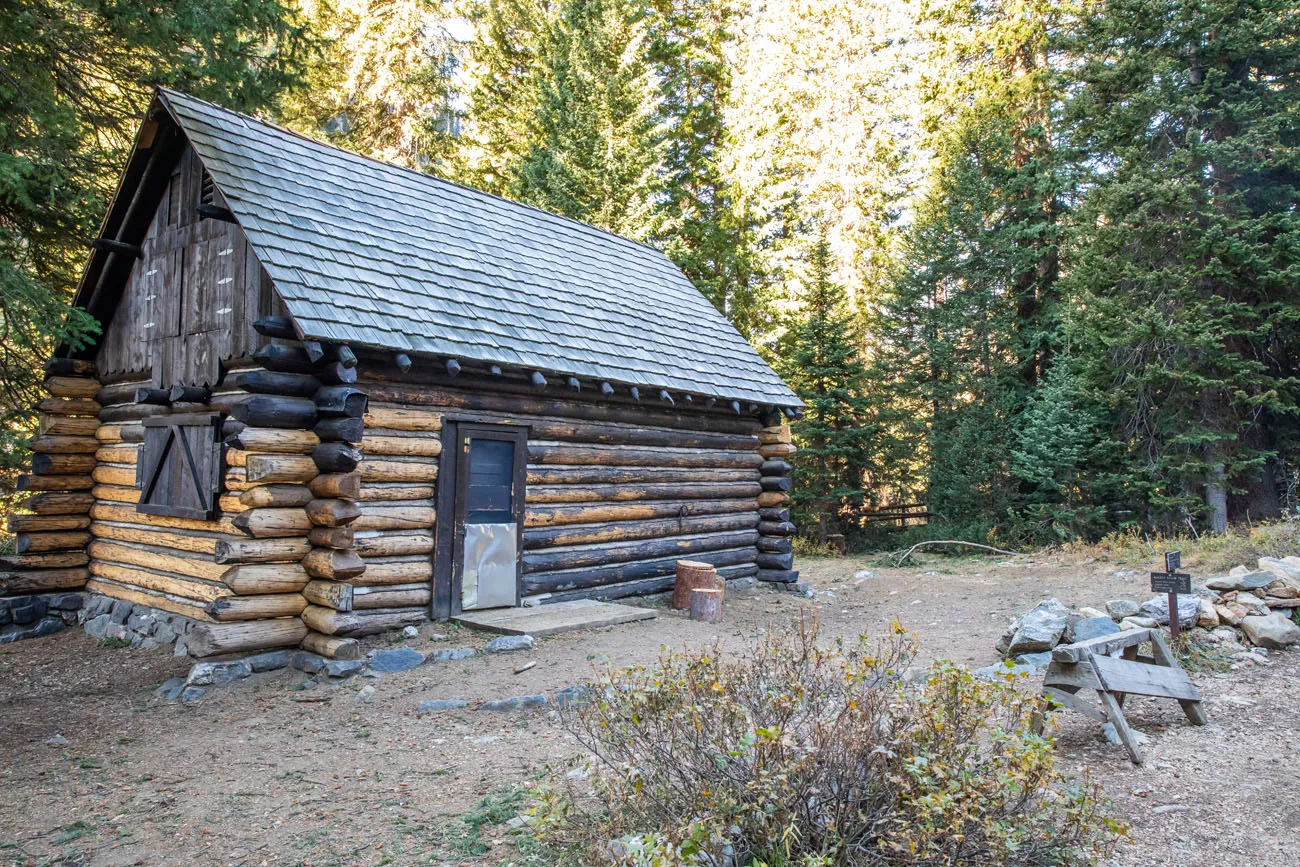
The trail briefly levels out before you arrive at the Patrol Cabin, also called the Death Canyon Barn. This cabin is listed in the National Register of Historic Places. This is where your hike through Death Canyon comes to an end and you start the final hike up to the Static Peak Divide.
PRO TRAVEL TIP: Bears are frequently spotted in Death Canyon, so make sure you carry bear spray and travel in groups. Both black bears and grizzly bears have been spotted in the canyon.
Final Hike up to the Static Peak Divide
At the Patrol Cabin, turn right onto the Alaska Basin Trail to continue up to the Static Peak Divide.
For the next four miles, it is a relentless, moderate climb until you get to the Divide. It’s not overly steep, but because it just keeps climbing and climbing, it can be exhausting.
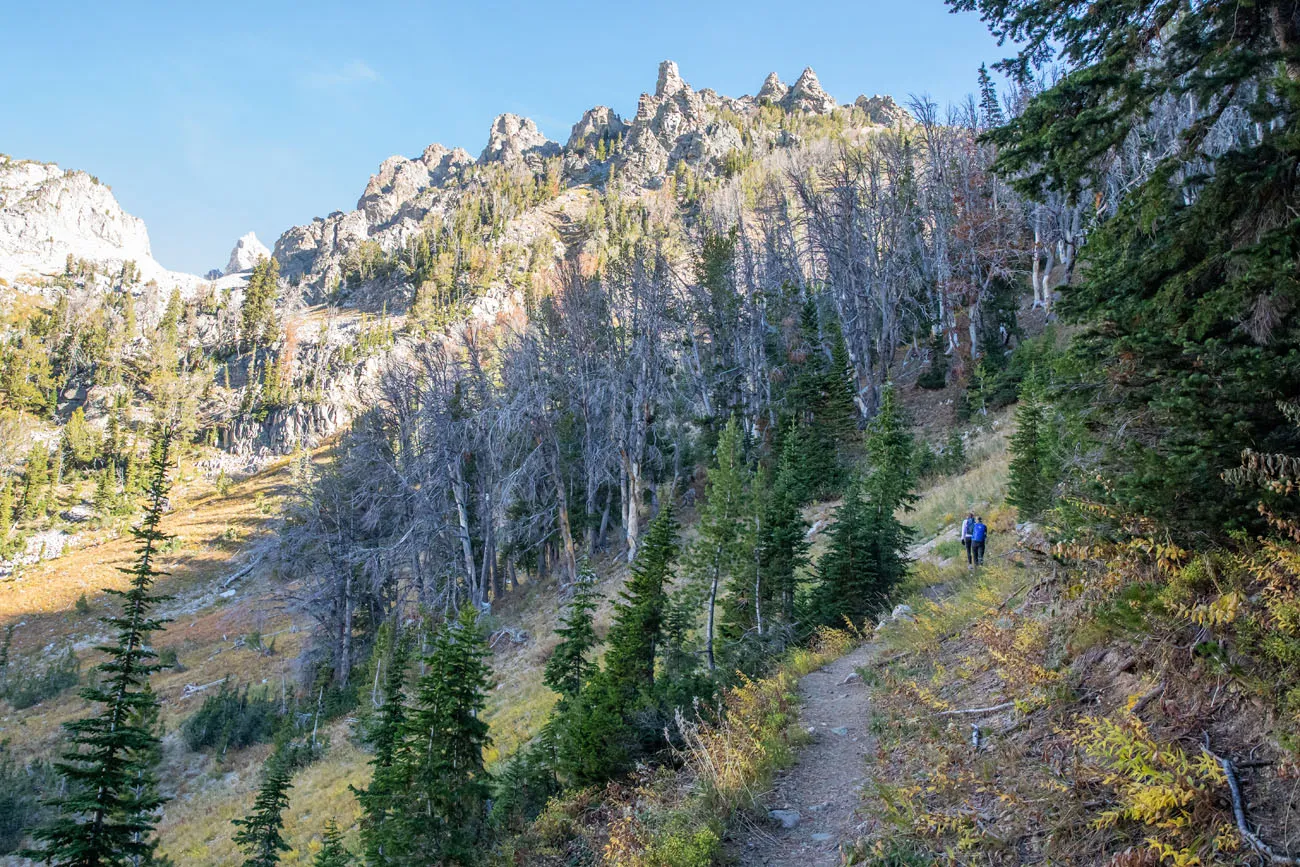
For the first two miles, the trail switchbacks up the side of Albright Peak. When we did this, the trail was totally in the shade, which will be nice in the summer months, but at the end of September, it was very cold and all of the plant life was covered in a thick frost.
It was during this section of trail that we met our fifth moose, a female munching on the trees near the edge of the trail.
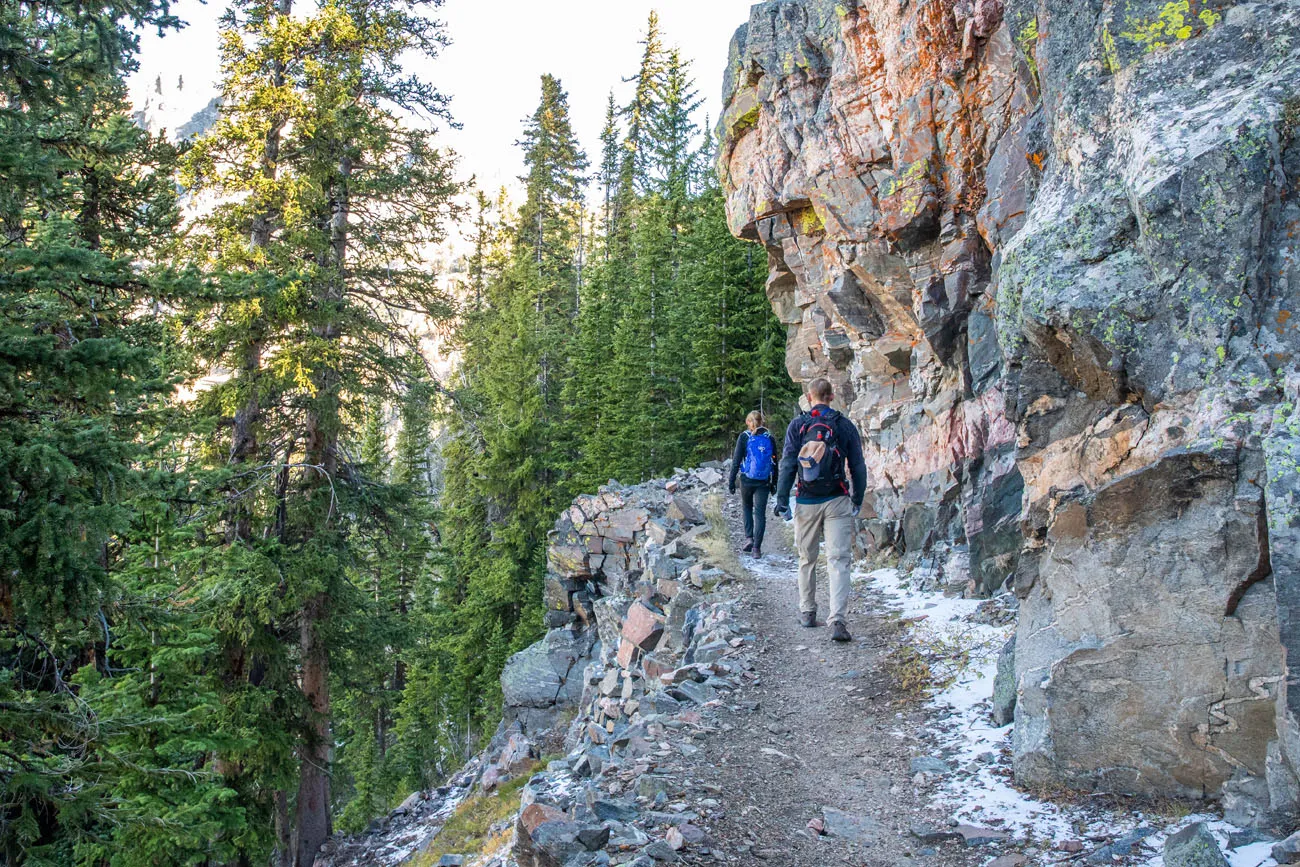
Another view of the trail before you reach the clearing at the higher elevation.
Halfway up this climb, the trail reaches a clearing and you finally have views east, out over the eastern side of Grand Teton National Park and the Gros Ventre Mountains off in the distance. You will also have a great view over Death Canyon.
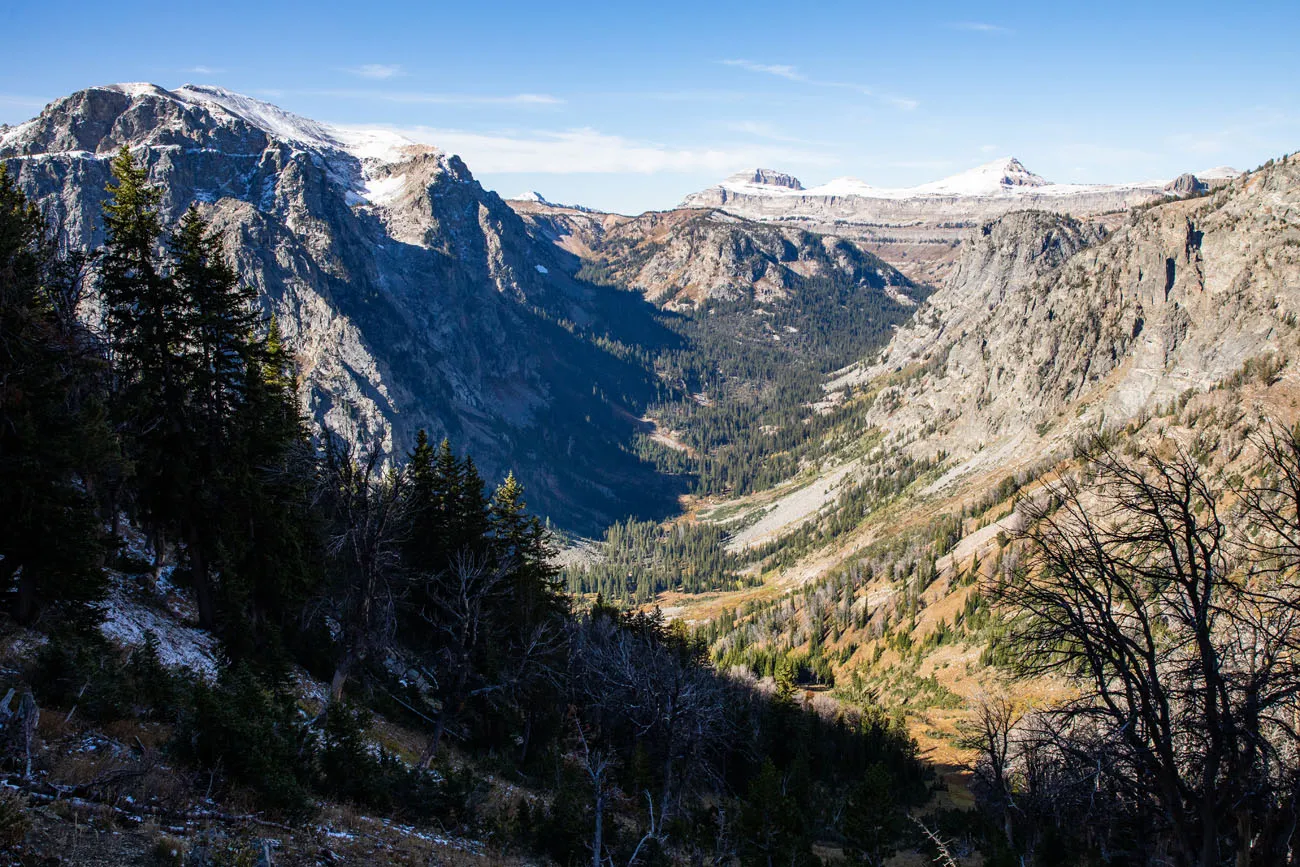
Death Canyon
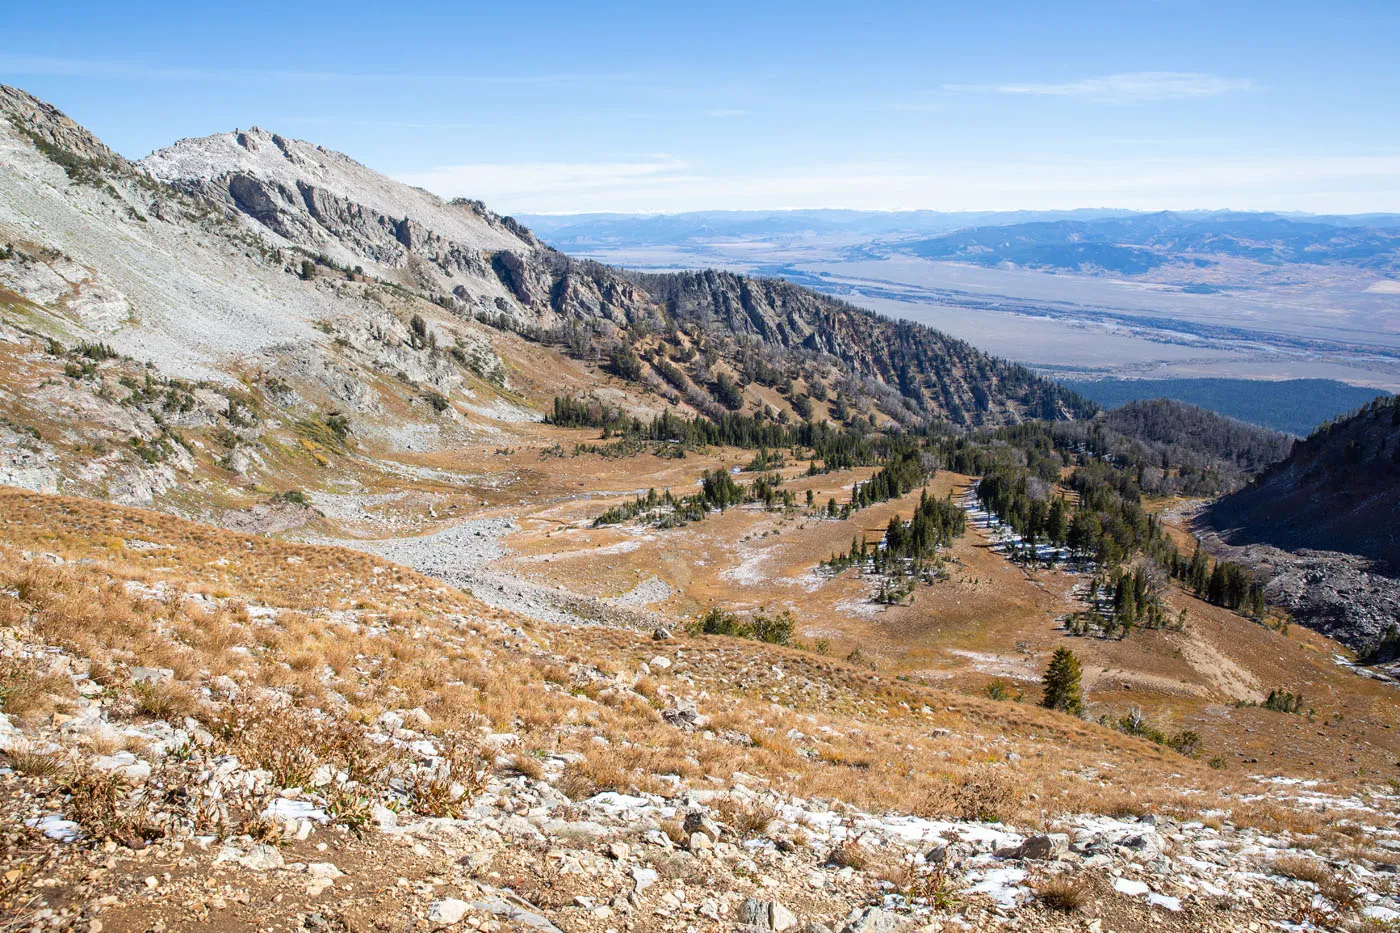
Looking east from the trail.
Now the trail turns to the north. Eventually, Static Peak will come into view. The trail continues its relentless climb. At times, there are be short sections of switchbacks, and the views will alternate between the east and west side of the park. This is a gorgeous section of the hike, and even though you are still climbing and your thighs are burning, the amazing views make it all worthwhile.
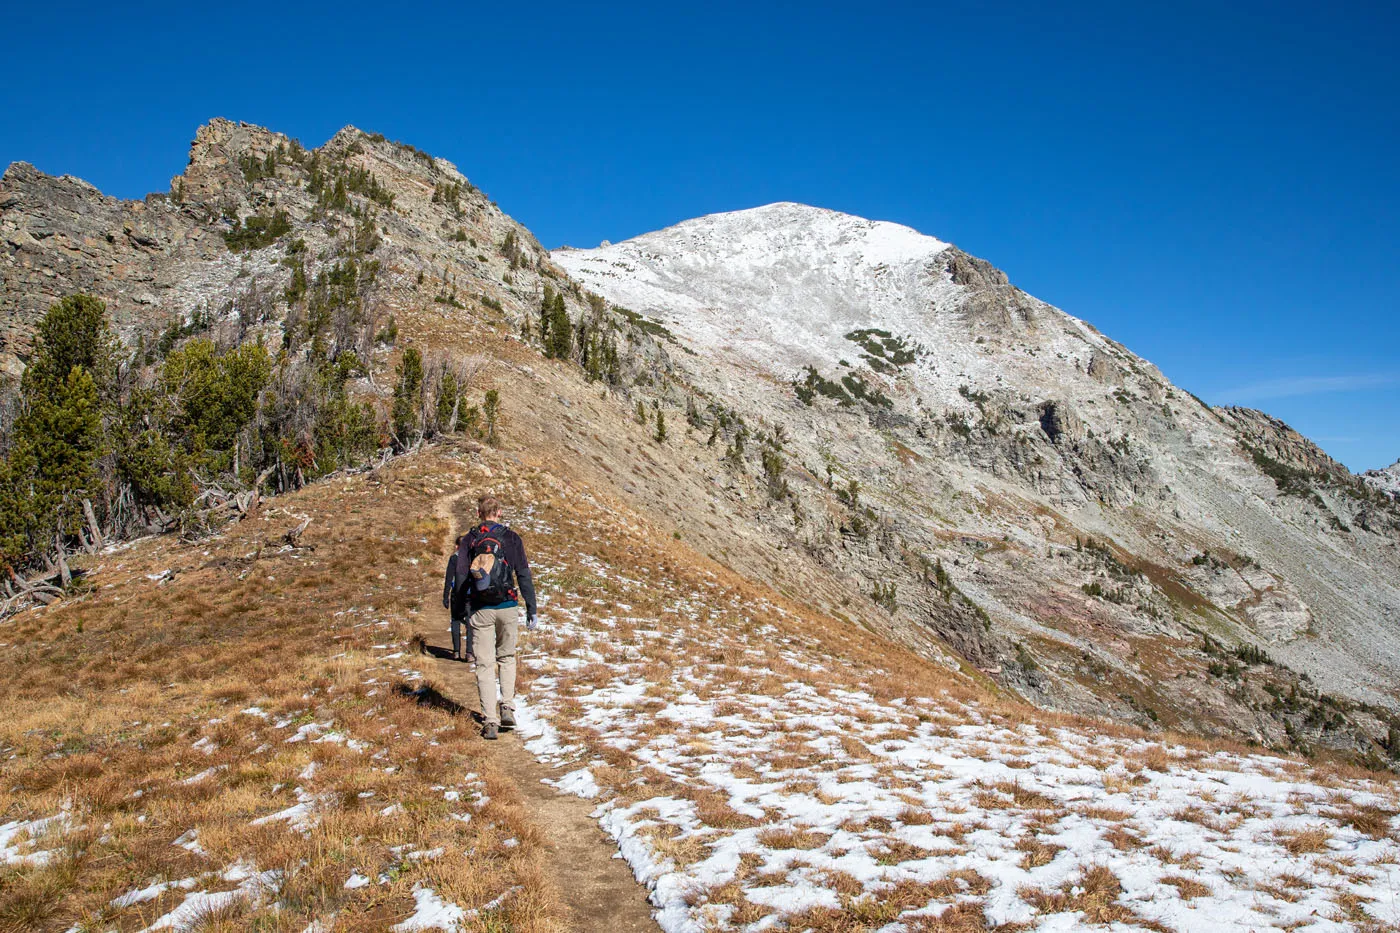
Static Peak is the snow covered mountain.
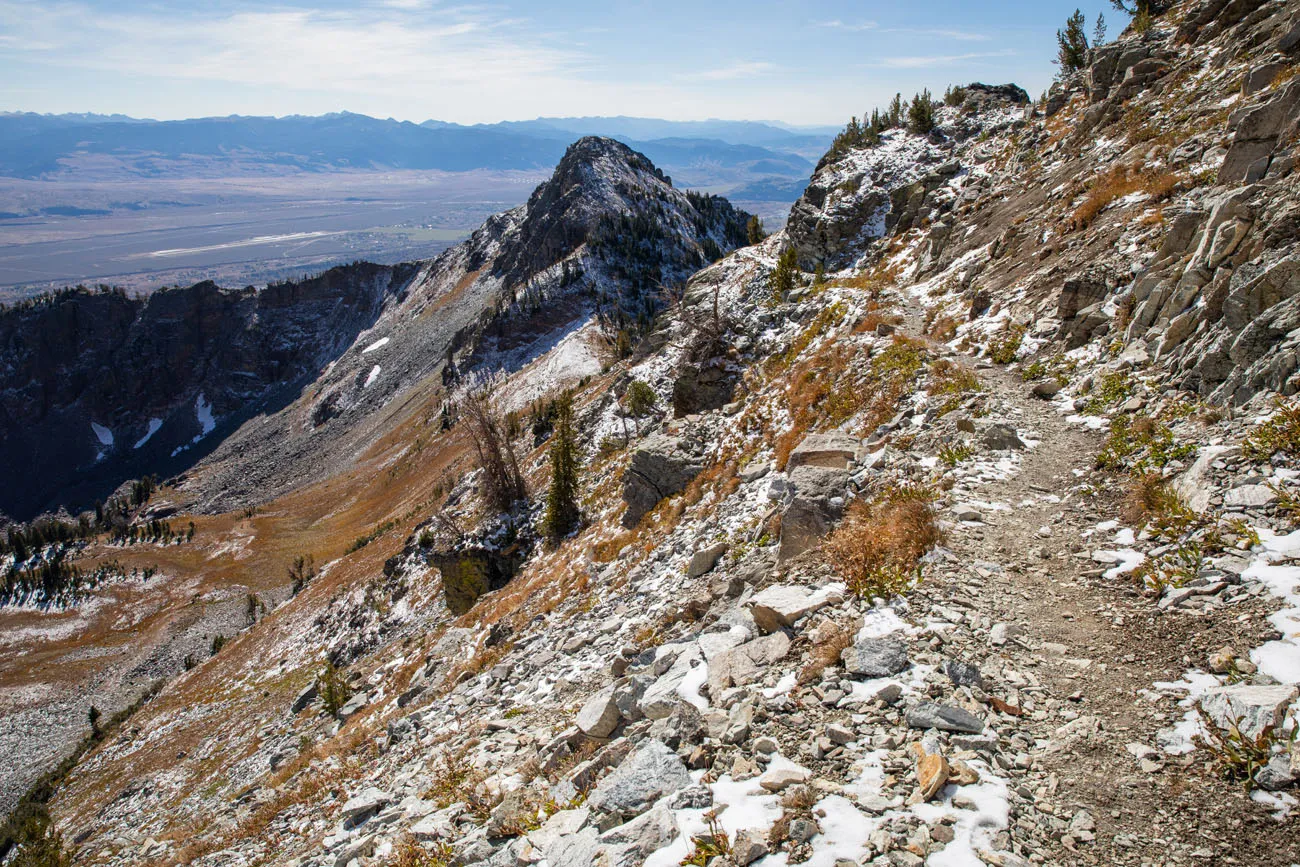
View of the trail, Albright Peak, and off in the distance is Jackson.
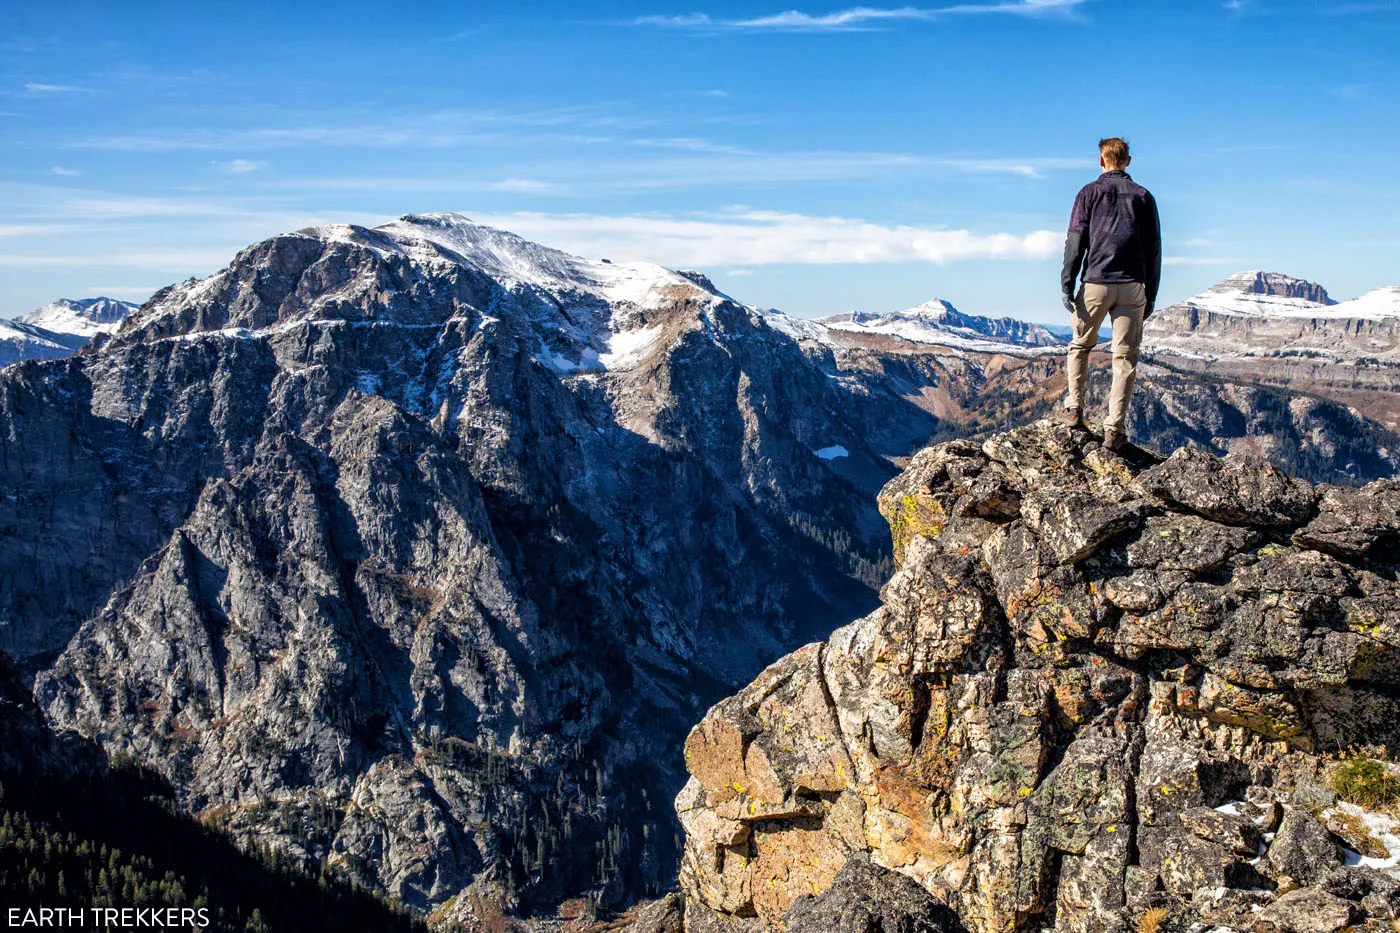
Viewpoint along the trail.
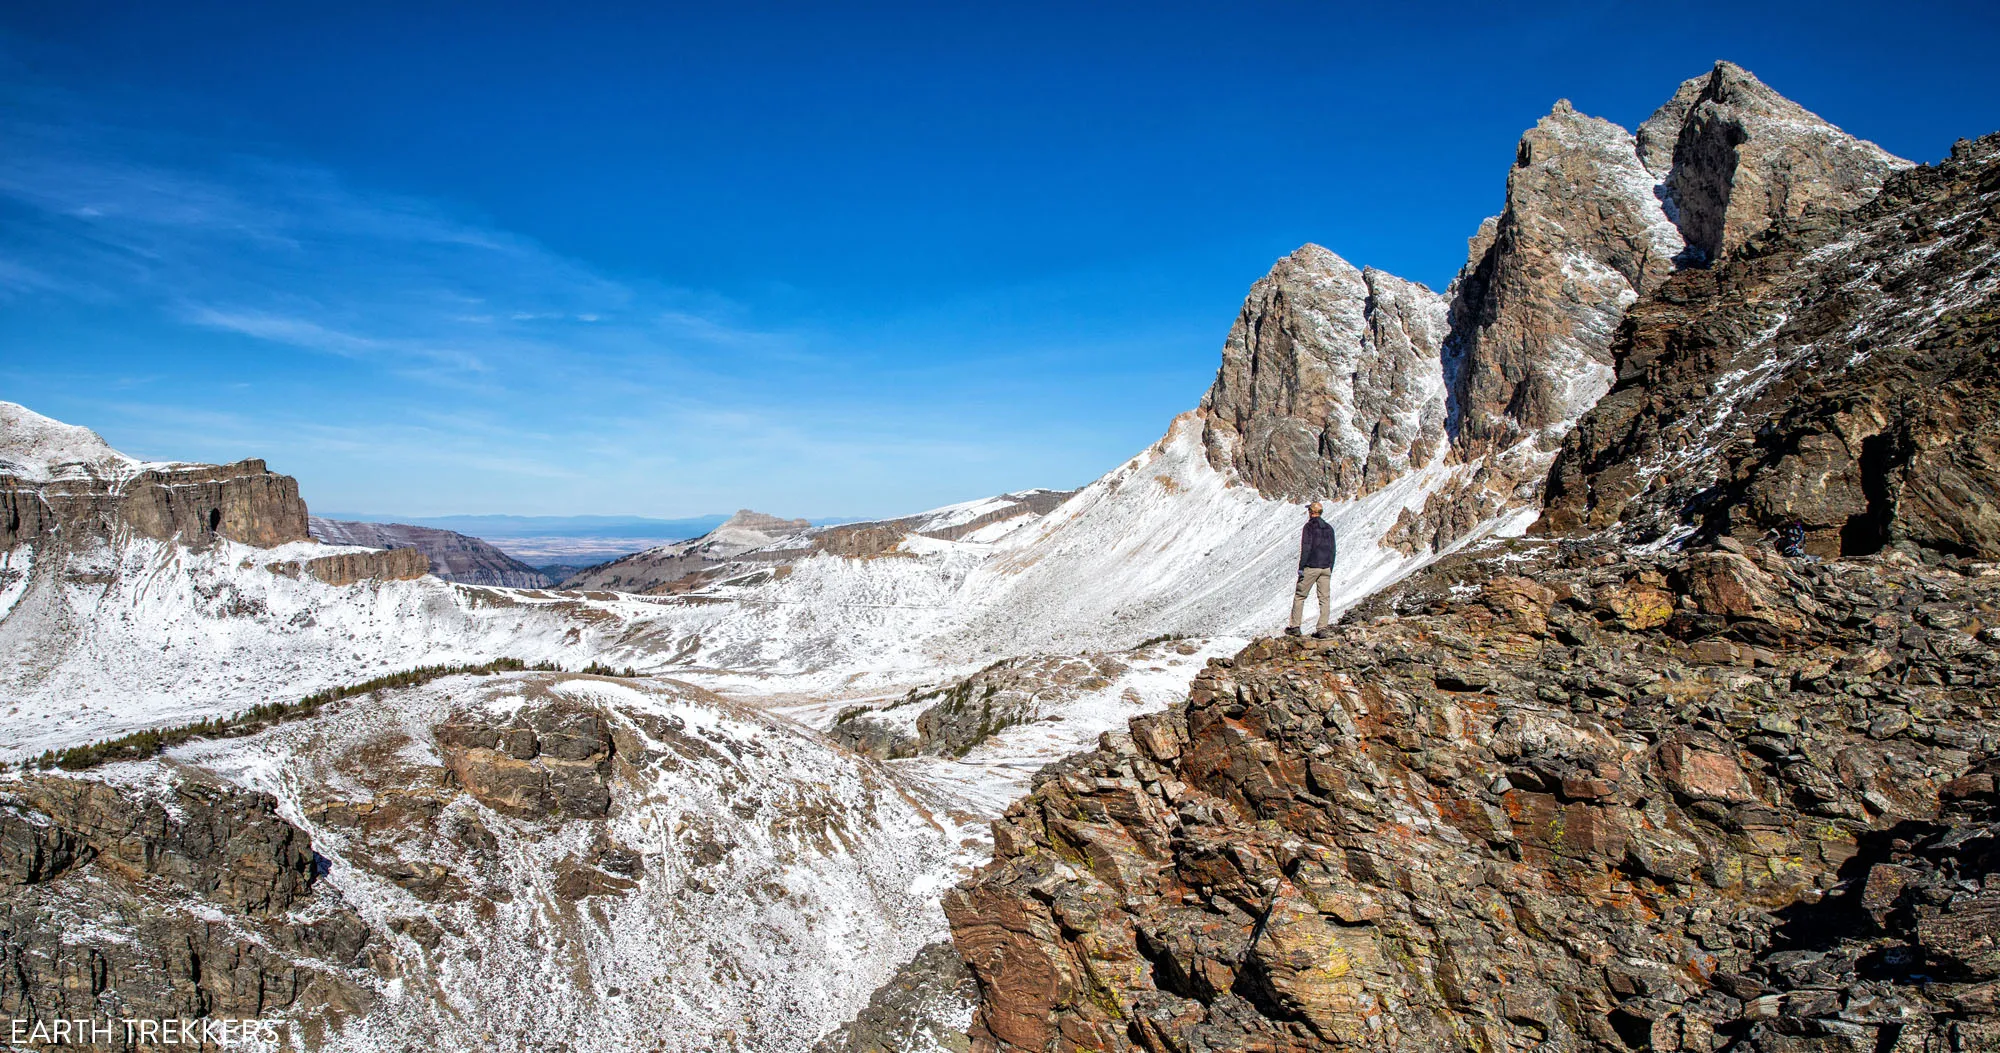
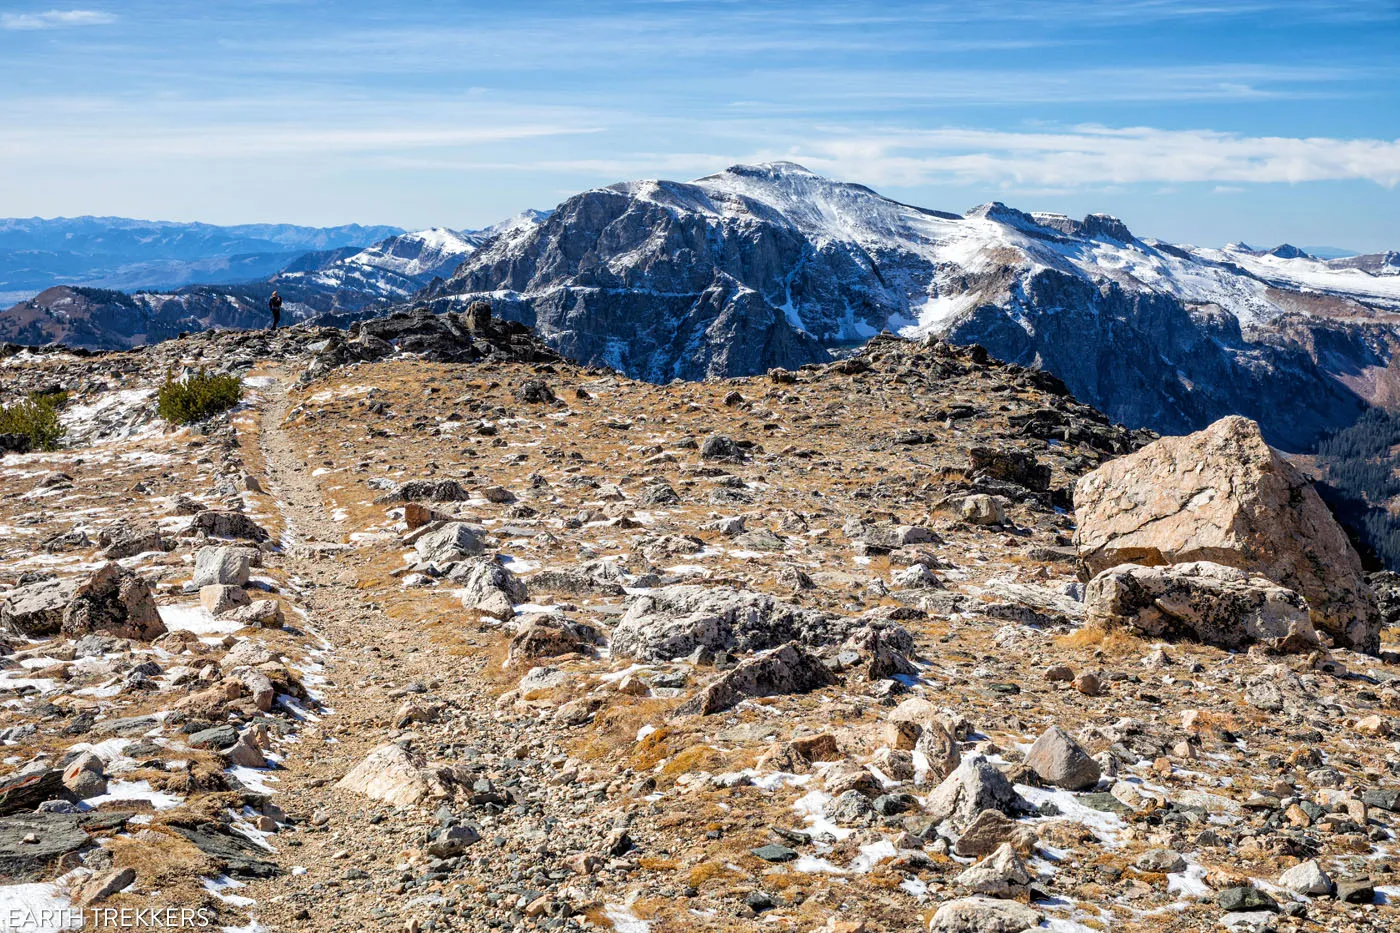
Finally, at just over 8 miles, you will reach the Static Peak Divide. From here, you have panoramic views of the park. To the east is Jackson Hole and way off in the distance, on a clear day, you can see the Wind River Range. To the south is the pointy Albright Peak. And to the west are views of Death Canyon and the Alaska Basin. And to the north are Static Peak and just beyond it, the jagged peaks of Buck Mountain.
From the Static Peak Divide, you have the option to continue up to the summit of Static Peak. It’s another half-mile with 500 feet of elevation gain.
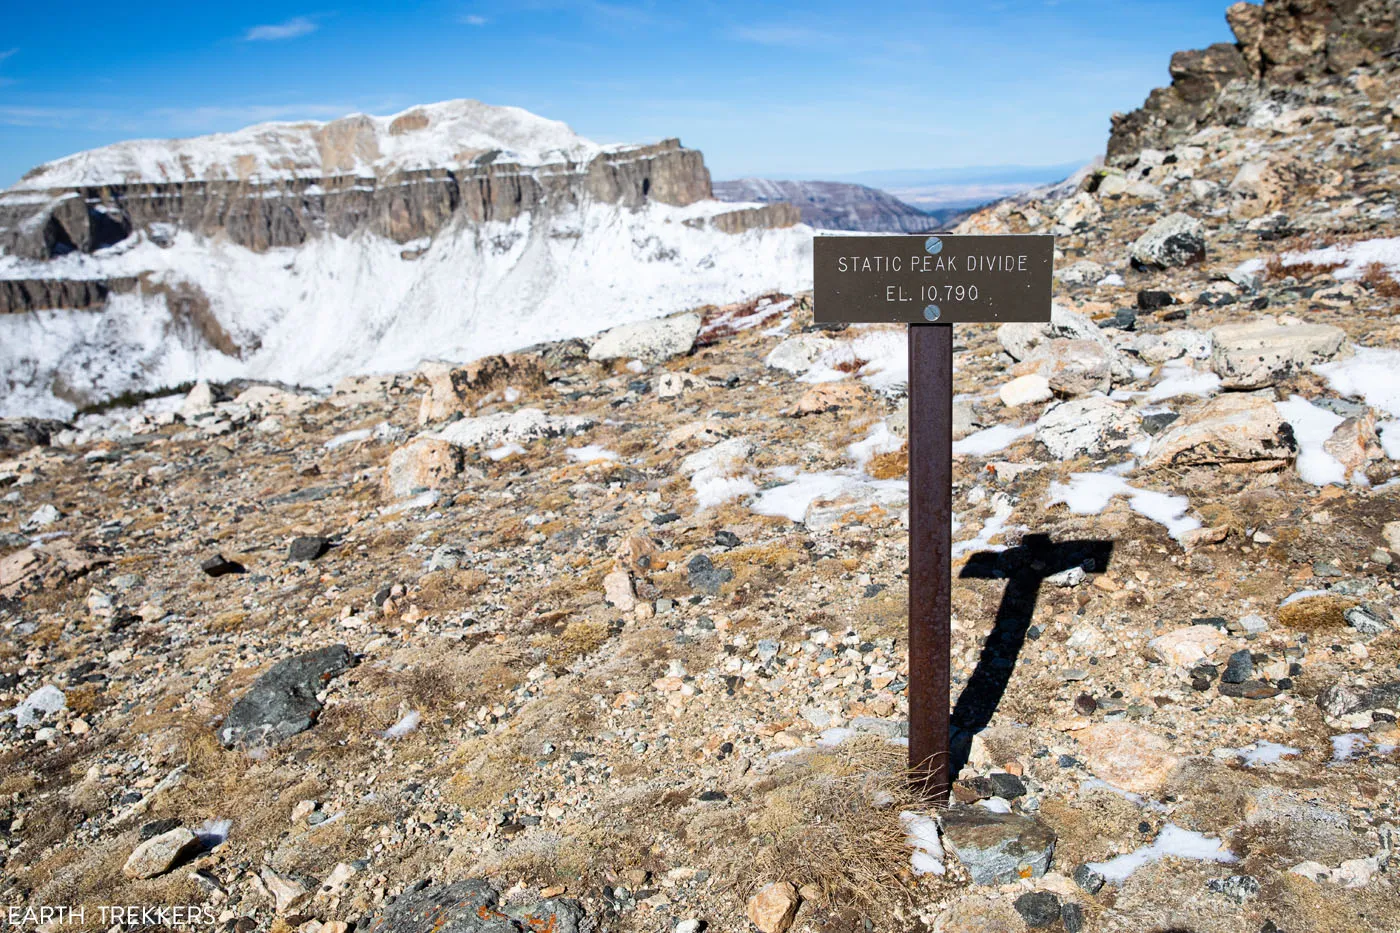
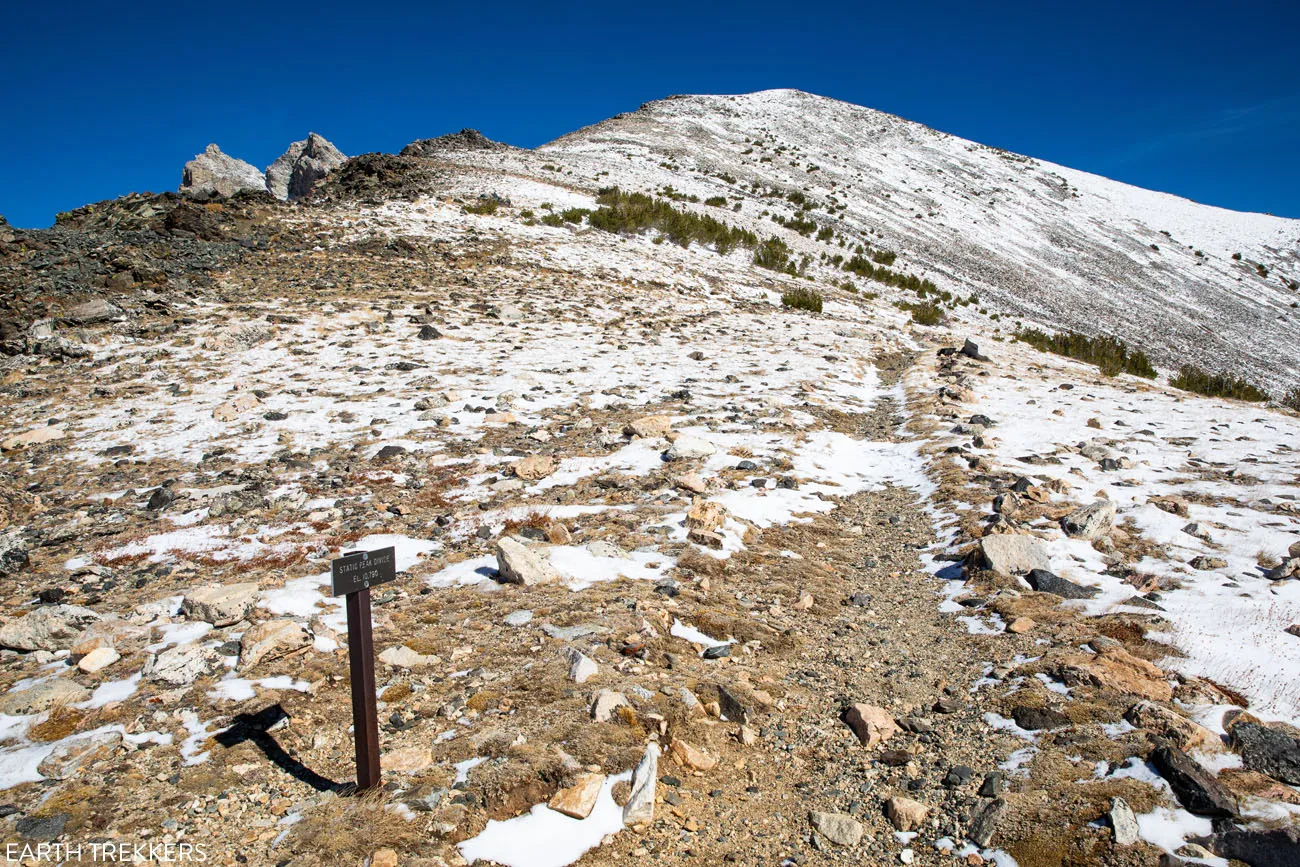
The trail continues to Static Peak.
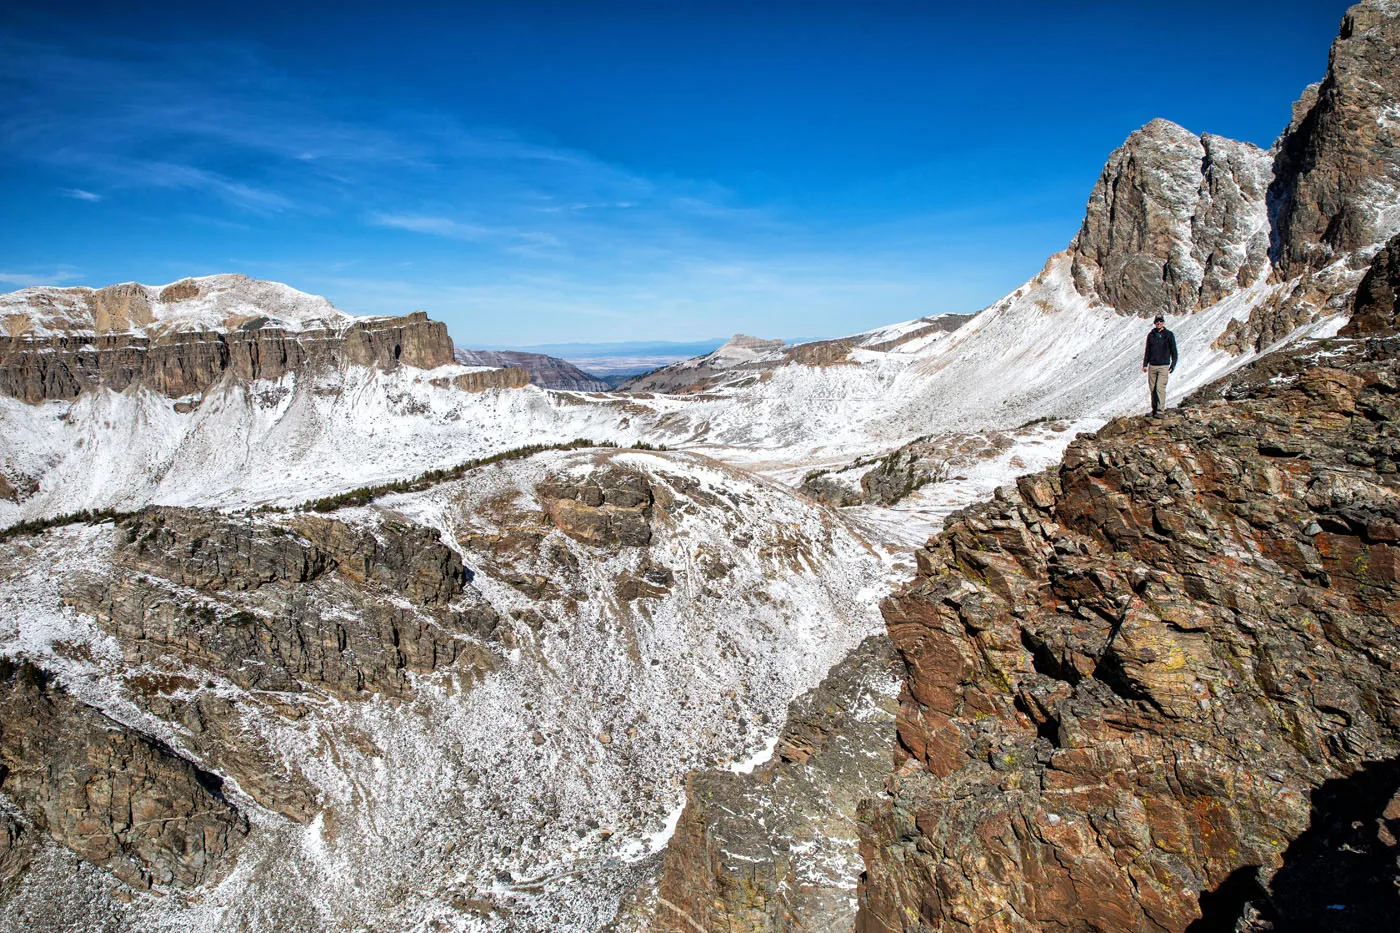
Viewpoint near the Static Peak Divide
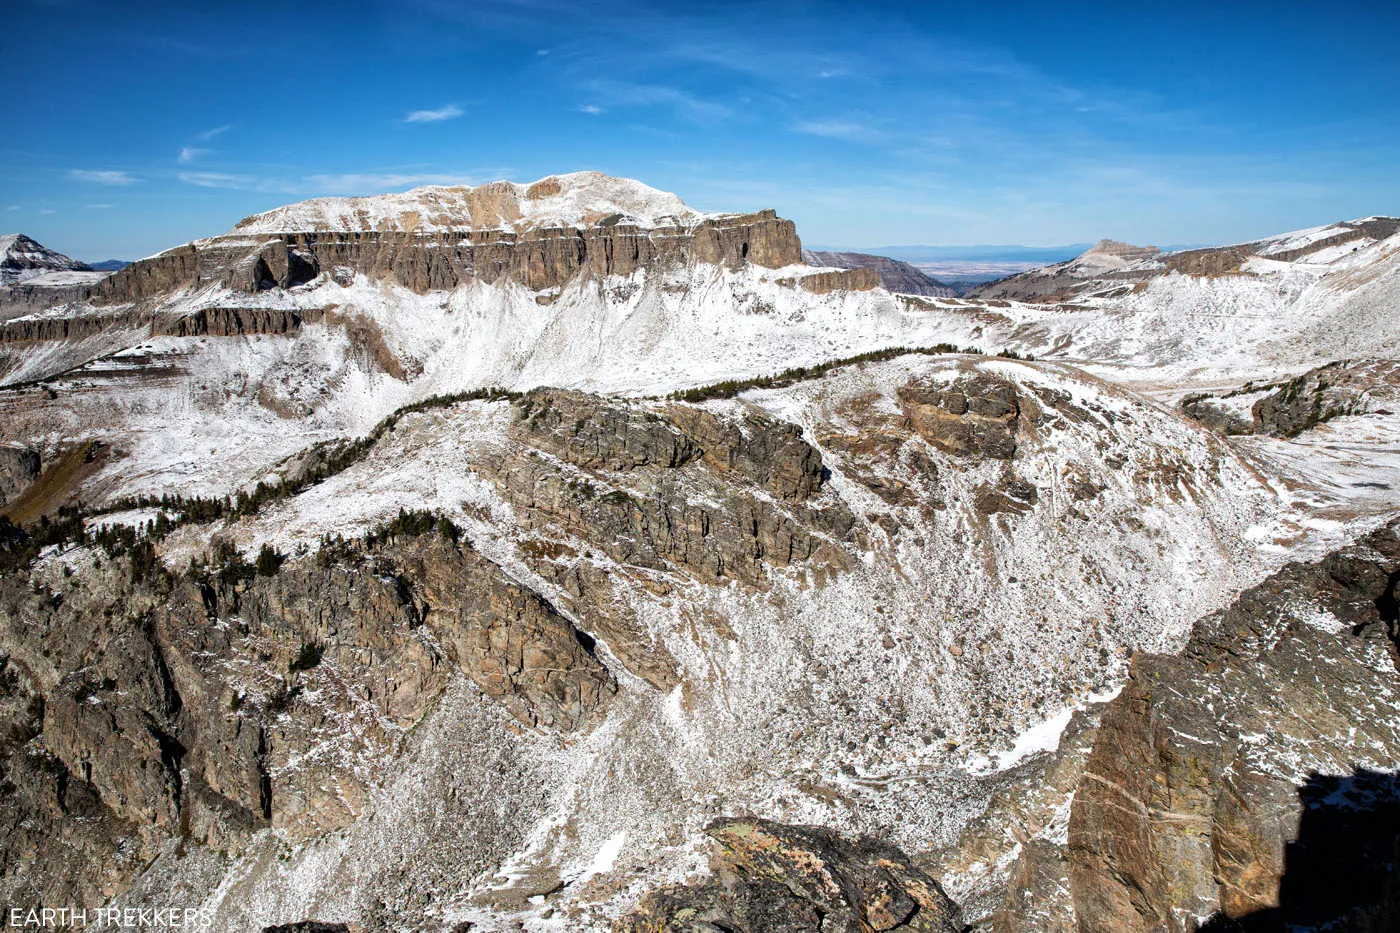
Another view from the Static Peak Divide.
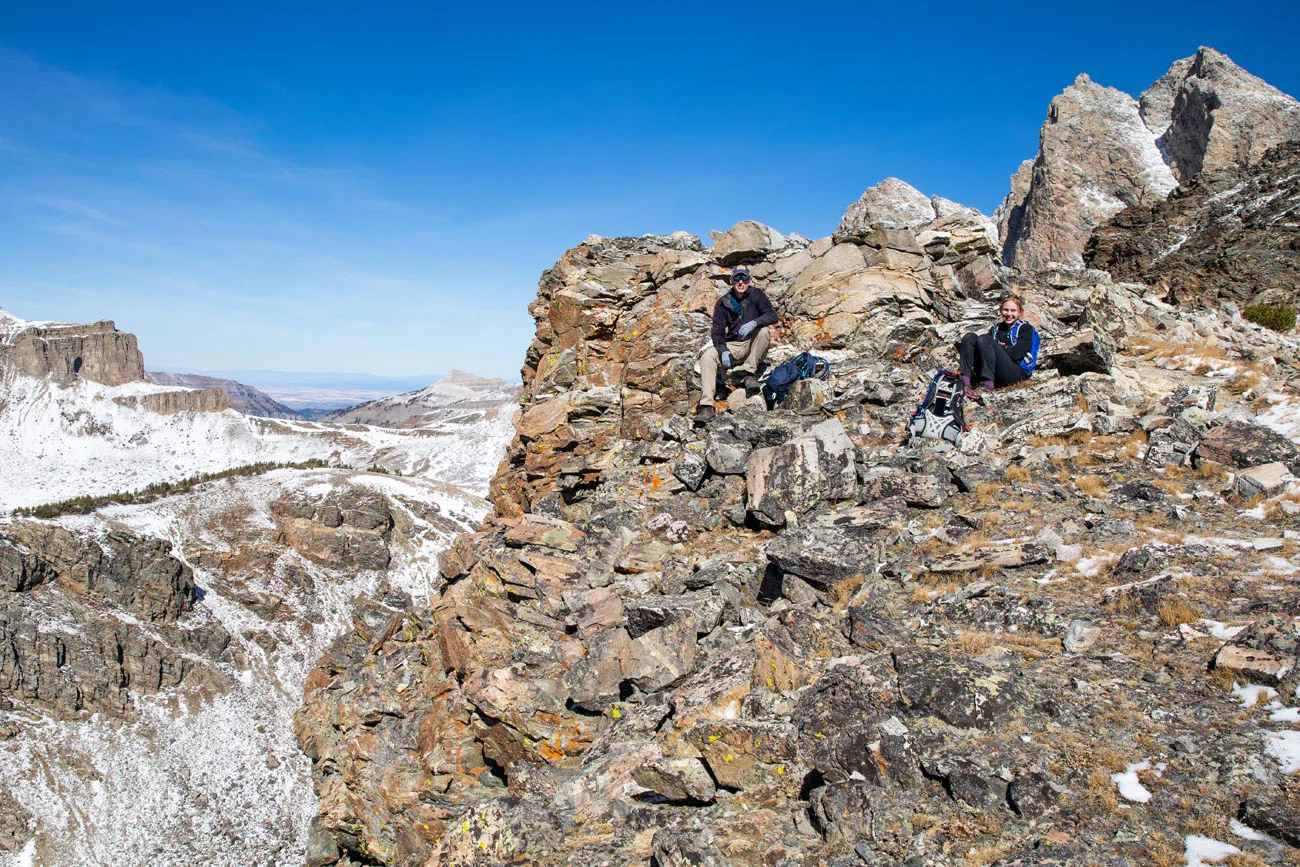
Nice spot for a picnic, don’t you think?
The Return Hike
From the Static Peak Divide, it’s a downhill walk most of the way back to the trailhead. If you are fast at downhill hiking, the four miles to the Patrol Cabin goes by fast. It’s a little slower going in Death Canyon, simply because the trail is so rough and rocky. Remember to keep an eye out for moose and bear here.
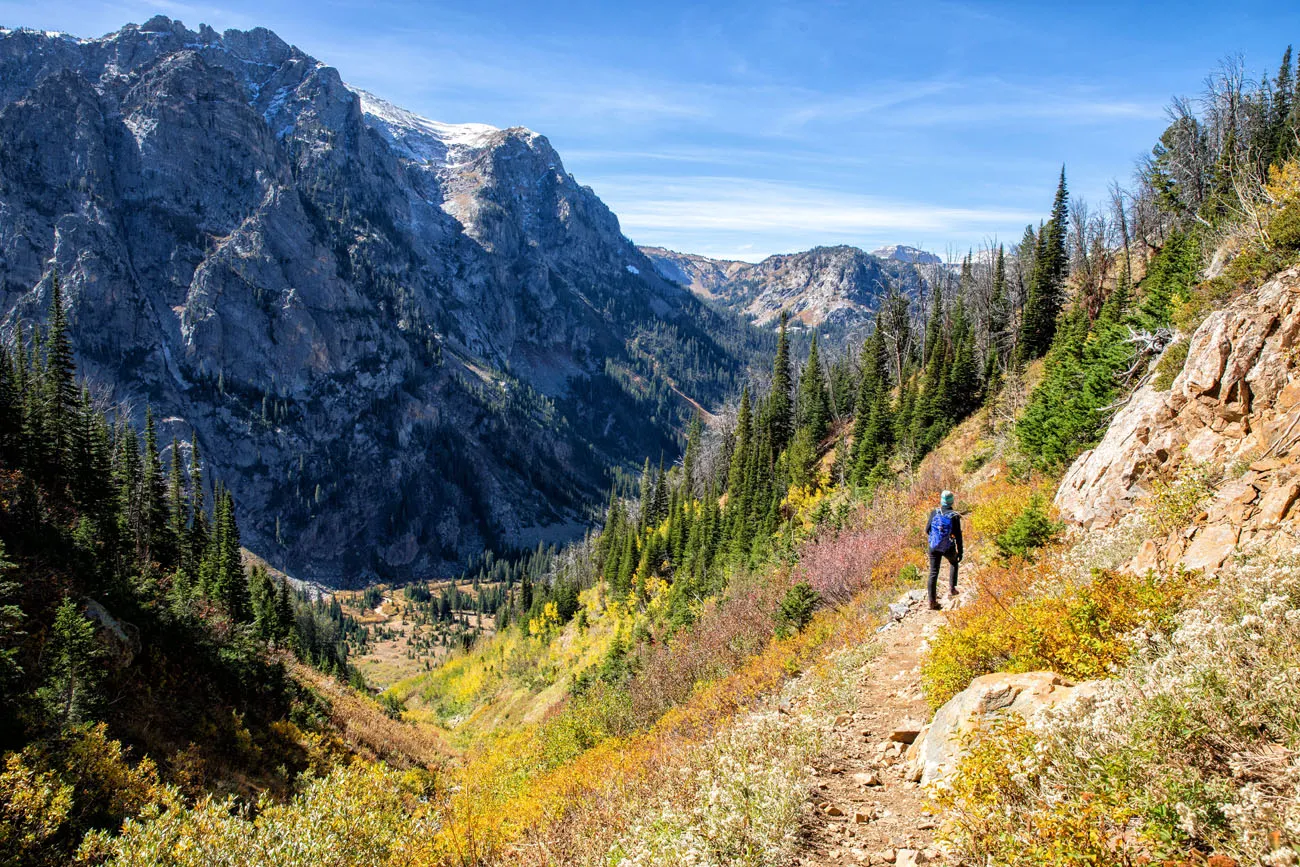
Hiking down the Alaska Basin Trail to Death Canyon
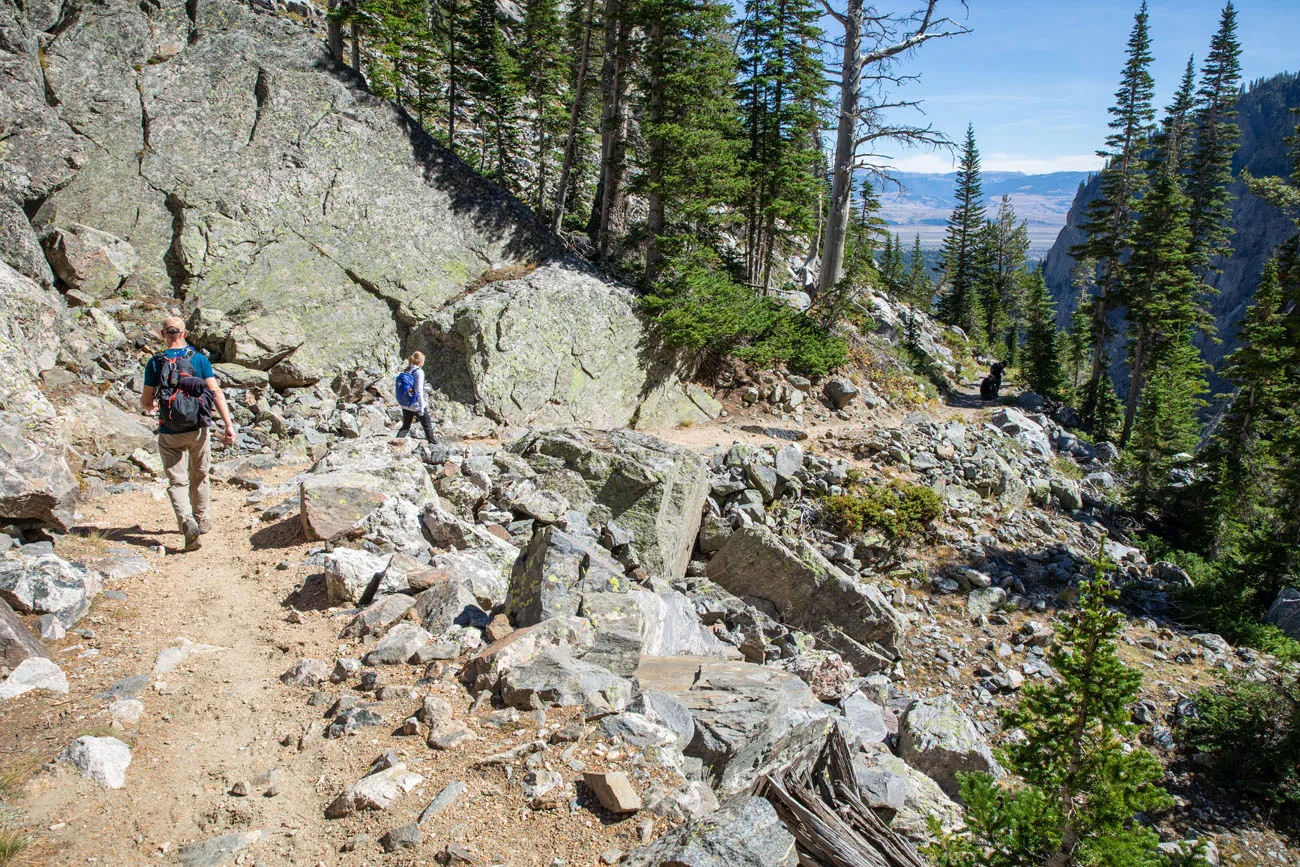
Death Canyon
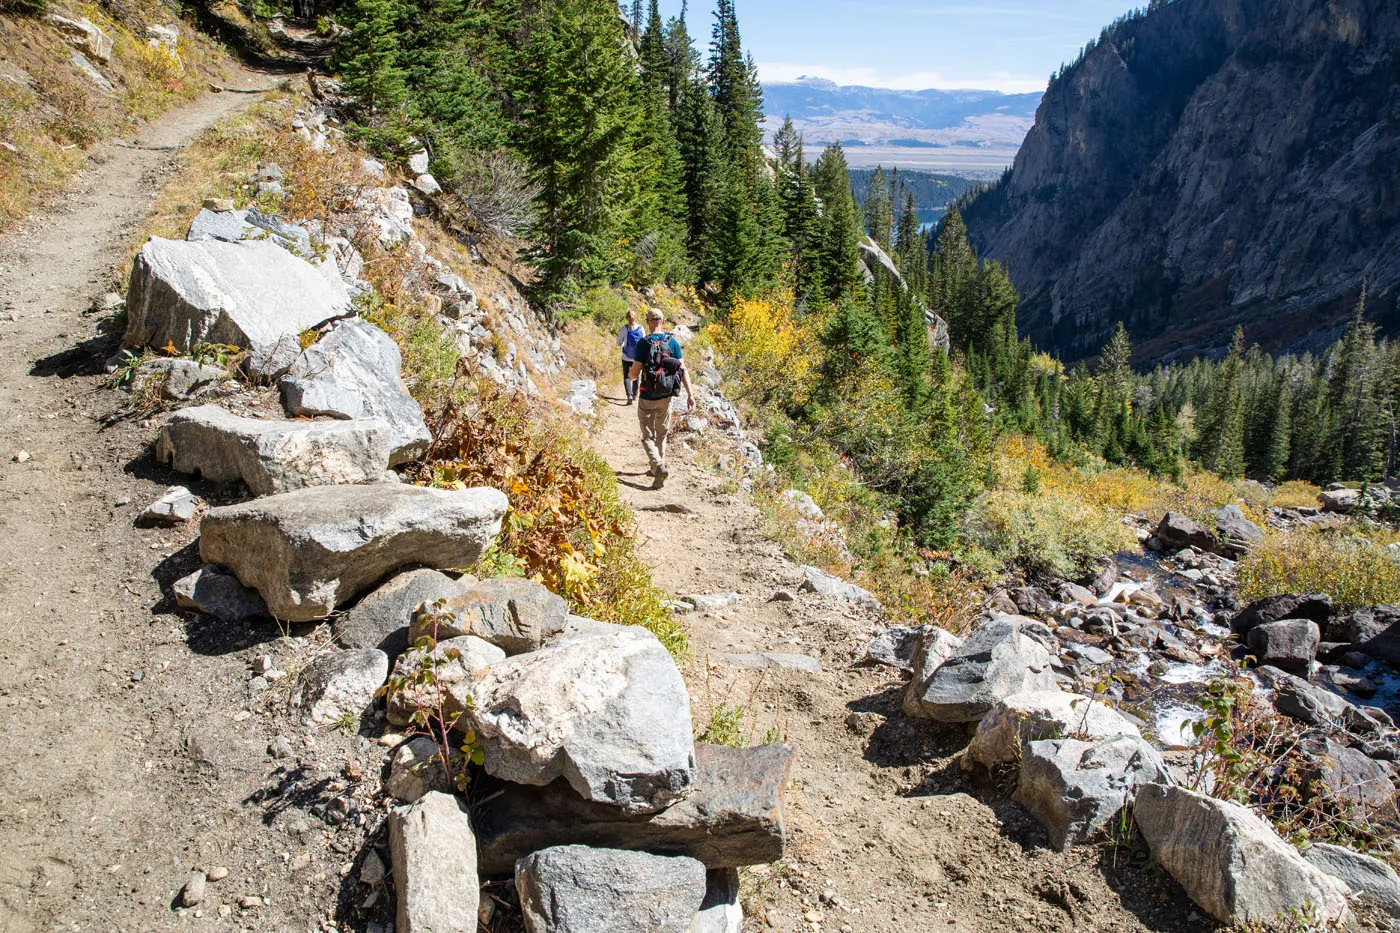
Death Canyon
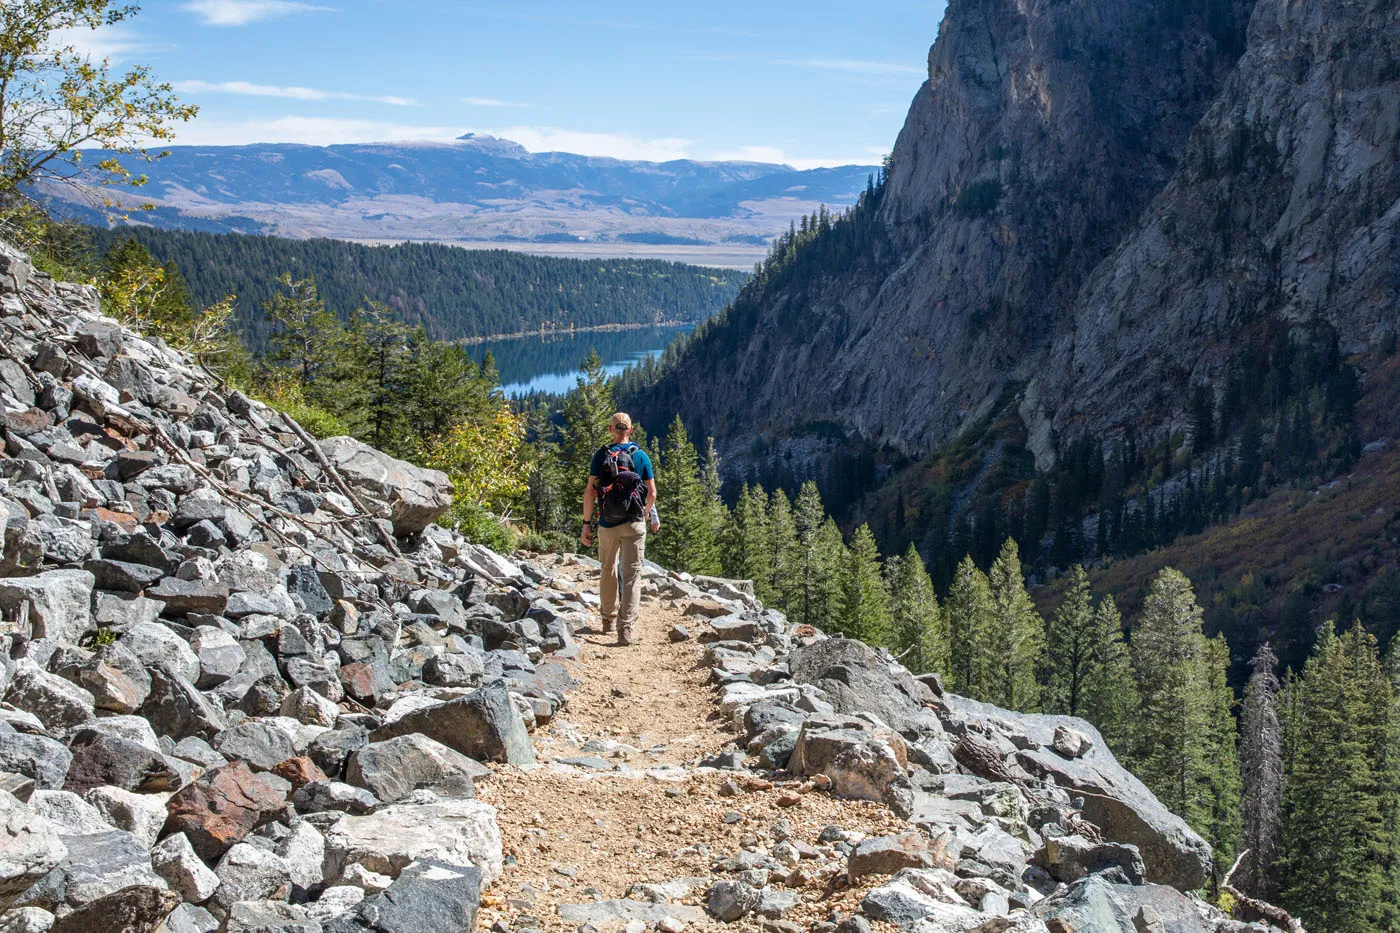
Getting closer to Phelps Lake
Once you reach the end of the Death Canyon, it’s a one mile uphill hike to the Phelps Lake Overlook, and then one final, one-mile easy downhill walk back to the parking lot.
About Our Experience
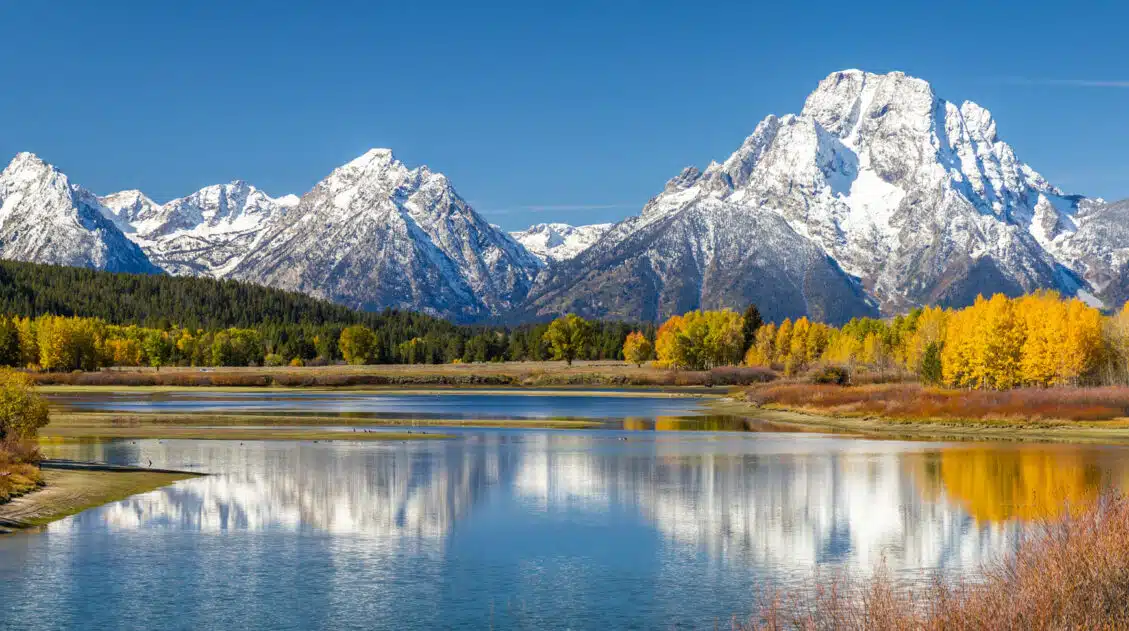
We did this hike at the very end of September. It had snowed in the Grand Tetons on the two days prior to this hike, which made the mountain tops look like they were sprinkled with powdered sugar.
When we did this, it was a very chilly 22 degrees when we started this hike, but temperatures did warm up to the low 60’s by the time we finished the hike. However, it was a cold hike up to Static Peak Divide, since much of the climb was in the shade of Albright Mountain.
The fall colors were at their peak. On this trail, the best place to see the fall colors is on the trail to Phelps Lake, at the Phelps Lake Overlook, and in Death Canyon.
We did this hike very fast, finishing just under 7 hours, and that includes time for lunch and moose sightings. There were two separate occasions that we took 10-minute breaks just to watch the moose through the trees, a great way to take a quick hiking break. In fact, the moose sightings were the highlight of this hike for us and I would consider hiking Death Canyon again just to see moose.
This is a great hike, but if you only have the time or energy for one big hike, we recommend Paintbrush Divide over the Static Peak Divide. The views from Paintbrush Divide are better, in our opinion, and you can do Paintbrush Divide as a loop hike, so you get to see a lot of the Grand Tetons in one big hike. It is longer (20 miles) and more popular, so there will be more people on the trails, but the Paintbrush Canyon – Cascade Canyon is our favorite hike in the park.
Tips to Have the Best Experience
Start the hike early, ideally by 8 am. This ensures that you get a parking space and gives you plenty of time to complete the hike.
Leave No Trace. When you are in the park, practice the seven principles of Leave No Trace. This includes packing out what you bring into the park, be considerate of other hikers, stay on the trail, and do not remove anything from the park.
Do not expect your cell phone to work. For most of this hike we had zero cellular service. There were a few spots in clearings or at higher elevations where we got a few bars of LTE or 3G, barely enough to send a text message. But don’t depend on your phone to call for help, talk to friends, or send photos to friends and family.
If you are not acclimated to the altitude, this is not a good first hike in Grand Teton National Park. The long distance, elevation gain, and altitude make this a tough hike. If you have not already spent time in the park adjusting to the altitude, I recommend that you spend a day or two acclimating to the higher elevation.
What to Bring on the Hike
Hiking shoes. Don’t do this hike in anything other than hiking shoes or hiking boots. Snow can linger on the trail in early summer and return in the early fall.
Hiking poles. Hiking poles take the stress off of your legs and help to ease leg pain and fatigue.
Water and snacks. At least 3 liters of water in the summer.
Sunscreen, hat, and sunglasses. For about half of this hike you will be exposed to the sun, with very little shade.
Camera. Even a smartphone will do. Static Peak Divide is a great place to use the panorama feature.
Rain jacket or fleece. It’s chilly at the Static Peak Divide. Be prepared for all weather conditions, even snow in the summer months. Pack a rain jacket and/or fleece and even another layer of clothing.
Essential Hiking Gear: What Should You Bring on a Day Hike?
If you are new to hiking or are curious about what you should bring on a hike, check out our Hiking Gear Guide. Find out what we carry in our day packs and what we wear on the trails.Plan Your Trip to Grand Teton
- Planning the rest of your visit? → Our Grand Teton National Park Travel Guide covers how to fit this hike into your trip.
- Want to see more of the park’s canyons? → Our Paintbrush Canyon – Cascade Canyon Loop guide is our favorite hike in Grand Teton.
- Looking for more trail options? → Our 15 Epic Hikes in Grand Teton guide covers hikes for every fitness level.
- Planning a trip with Yellowstone? → Our Grand Teton Yellowstone Itinerary takes the guesswork out of planning your trip.
- Road-tripping through Wyoming? → Our Wyoming Travel Guide covers the rest of the state.
- Visiting other parks on this trip? → Our US National Parks guide covers all 63.
If you have any questions about hiking to Static Peak Divide, let us know in the comment section below.
Explore More of Wyoming & the National Parks
Read all of our articles about the United States in our United States Travel Guide.
One Hike, Three Lakes: Surprise, Amphitheater & Delta Lake Hiking Guide
Pinterest Facebook Flipboard The hike to Amphitheater and Surprise Lakes is one of the most popular day hikes in Grand Teton National Park. It’s a tough hike, but your reward is two stunning alpine lakes tucked into the mountains. On this hike, you have the option to add on a third lake, Delta Lake. What […]
Grand Teton Itinerary: Plan Your Dream Trip to Grand Teton
How many days do you need in Grand Teton National Park? One day is enough to see the highlights: the scenic drive, the big viewpoints, and one signature hike. Give yourself two to four days if you want real hiking time, and if you’re a serious hiker, you could spend a week here and still […]
18 Best Things to Do in Grand Teton National Park
Grand Teton National Park packs an incredible amount into a relatively small area. You can photograph the Teton Range reflected in mountain lakes, look for moose and bison, drive to iconic viewpoints, hike to waterfalls and alpine lakes, or spend an entire day on the trails high in the mountains. We have visited Grand Teton […]
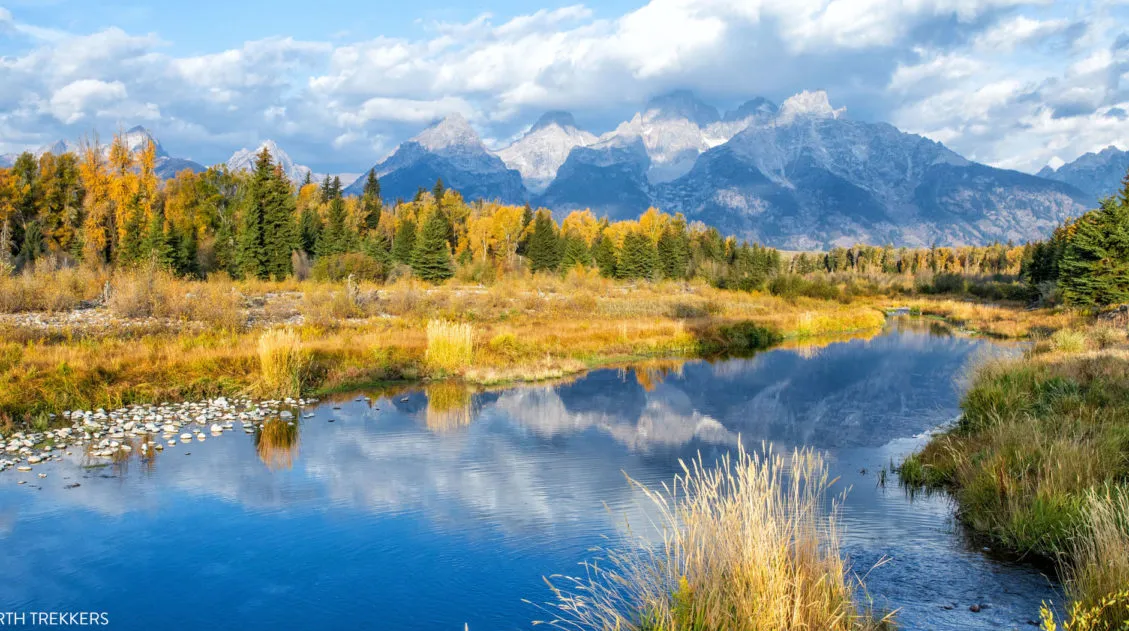
One Perfect Day in Grand Teton National Park
Grand Teton National Park has something for everyone. Hikers will love the long list of trails that head into the Teton mountain range. Photographers will love capturing sunrise at Mormon Row and Oxbow Bend. Families will love the easy-to-visit overlooks, crossing Jenny Lake by boat, and spotting moose and elk as you drive through the […]
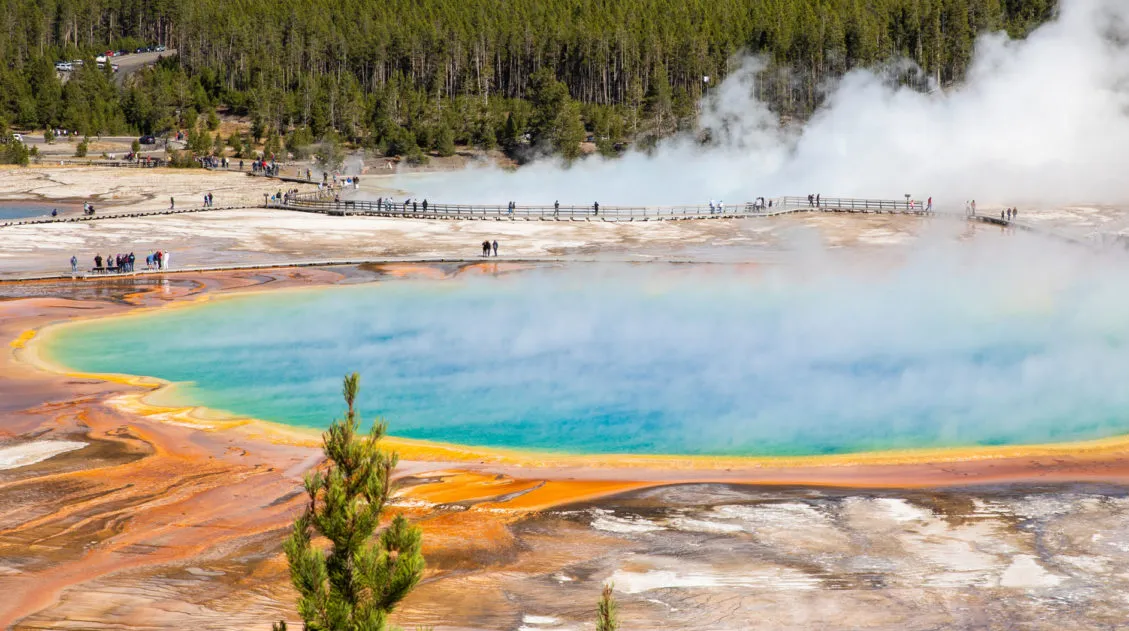
Yellowstone Day Trip from Jackson Hole & Grand Teton: Our Itinerary
A Yellowstone day trip from Jackson Hole or Grand Teton National Park is a long day, but with an early start and a well-planned route, you can see many of Yellowstone’s most iconic sights. On this itinerary, you’ll drive Yellowstone’s Lower Loop, visiting Hayden Valley, the Grand Canyon of the Yellowstone, Grand Prismatic Spring, Old […]
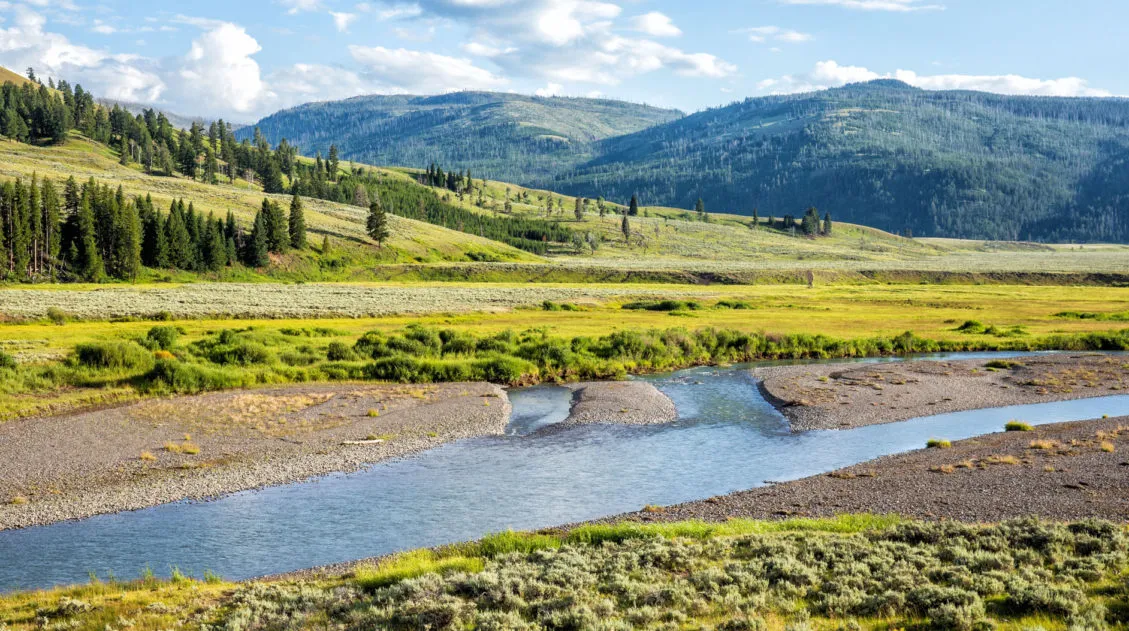
Yellowstone Itinerary: How to Spend 1 to 5 Days in Yellowstone
Planning a Yellowstone itinerary can be challenging. The park is enormous, drive times are long, and wildlife sightings and traffic jams can throw even the best-planned day off schedule. In this guide, we provide Yellowstone itineraries for 1 to 5 days, with the sights grouped into logical driving routes to help you make the most […]
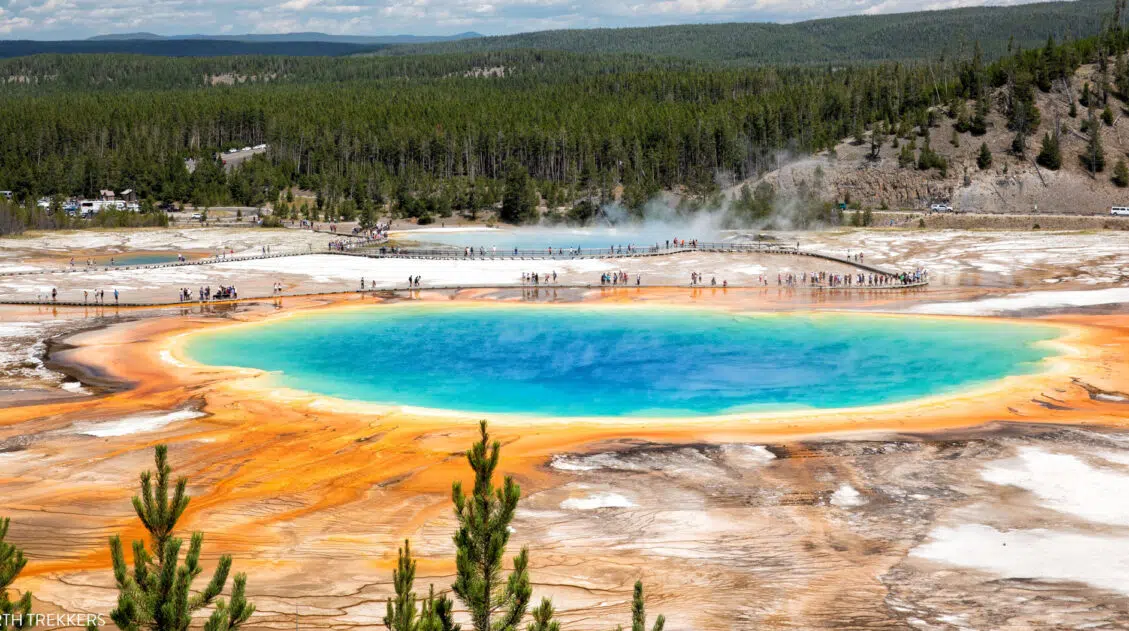
Yellowstone, Devils Tower, and Mount Rushmore: 10 Day Road Trip Itinerary
With 10 days, you can road trip from Grand Teton and Yellowstone all the way to Mount Rushmore, adding on Devils Tower, Badlands National Park, Wind Cave National Park, and Custer State Park along the way. That’s four national parks, two national monuments, one incredible state park, and some of the best scenic drives in […]
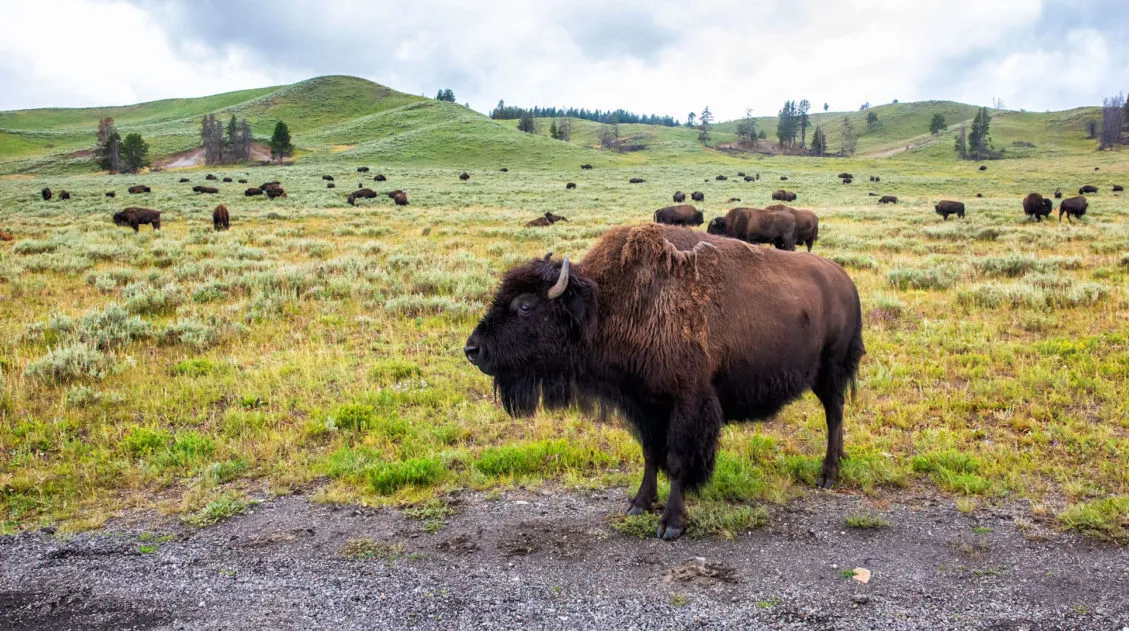
23 Best Things to Do in Yellowstone National Park
Yellowstone National Park is a wonderland of geothermal activity, dramatic landscapes, and abundant wildlife. Steam hisses from the ground beside wooden boardwalks, bison bring traffic to a standstill on the park roads, and technicolor hot springs amaze even the most seasoned travelers. In this guide, we cover the best things to do in Yellowstone National […]
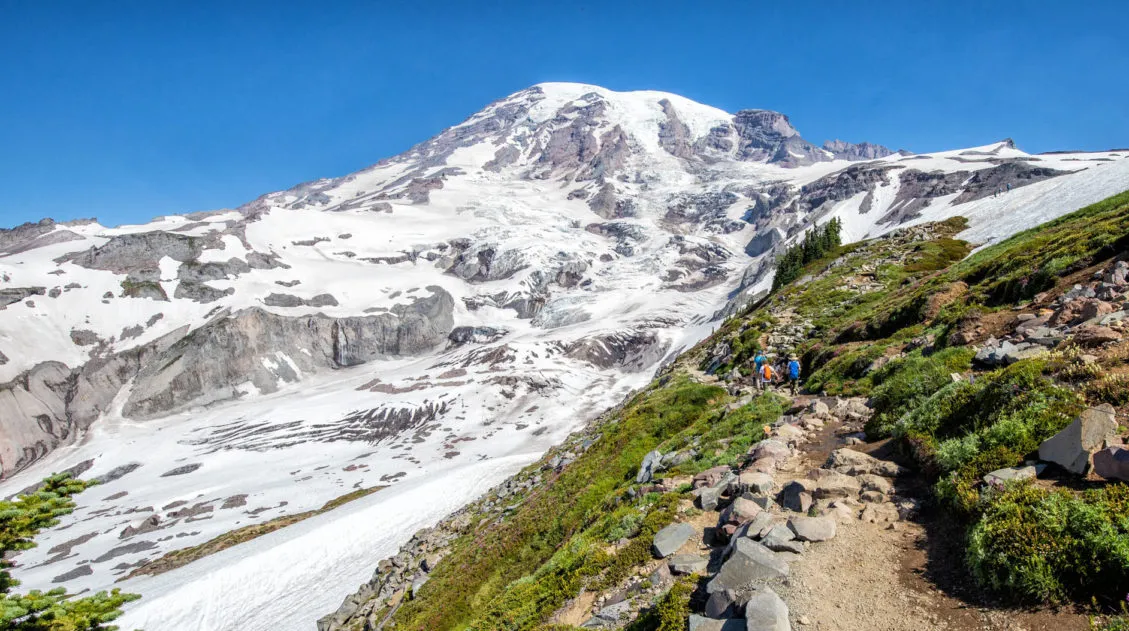
20 Epic Hikes in the US National Parks
With 63 national parks and thousands of miles of hiking trails, your options are endless for exploring the American national parks. We narrowed down the list for you to 20 of the best hikes in the US national parks, 20 amazing ways to explore this beautiful country. Hike to the tallest peaks, through massive canyons, […]
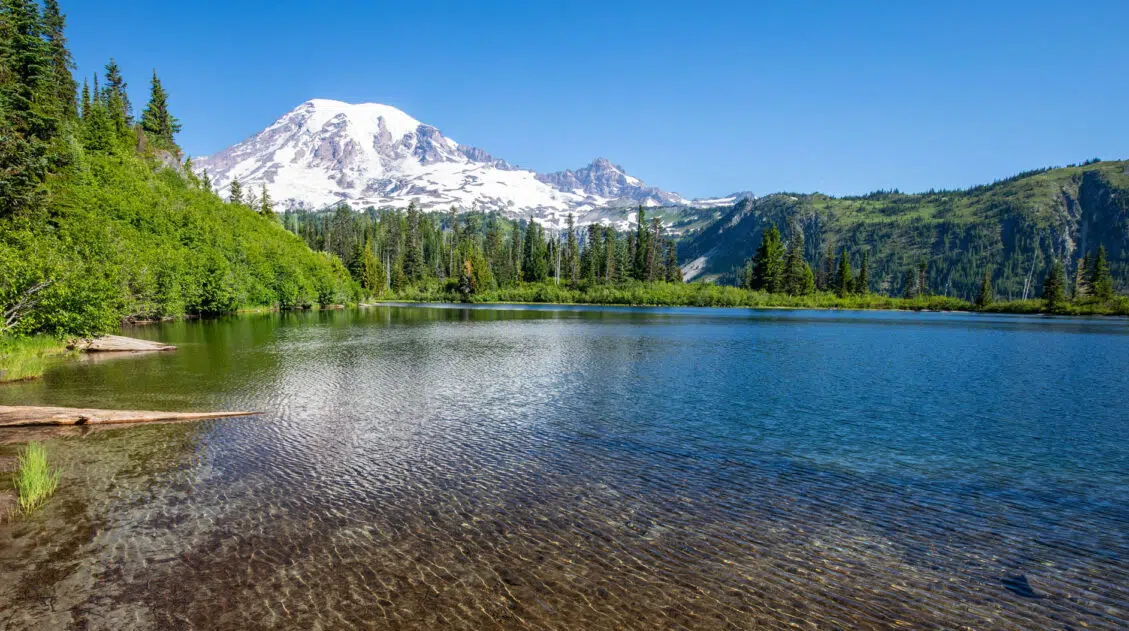
US National Parks List: All 63 Parks, Map & Free Printable Checklist
There are 63 national parks in the United States, and we’ve visited 56 of them, from the remote wilderness of Denali to the coral reefs of the Virgin Islands. We’re a family of avid hikers who have spent over a decade exploring these parks, from multi-day backcountry trips to scenic drives with kids in tow. […]
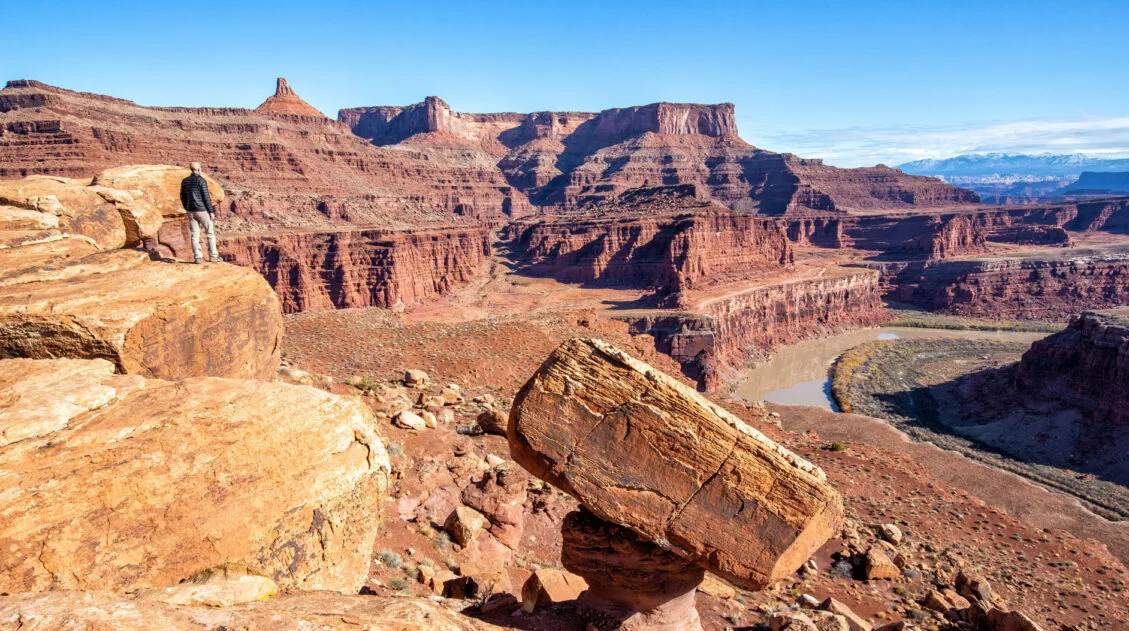
Our 15 Favorite US National Parks: A Few May Surprise You
Stretching from the South Pacific, across the United States and into the Caribbean, are 63 national parks. These national treasures are filled with scenic drives, hundreds of miles of hiking trails, wildlife, historic sites, and endless opportunities for adventure. In this guide, we cover 15 of the best national parks in the USA and what […]


Comments 3