

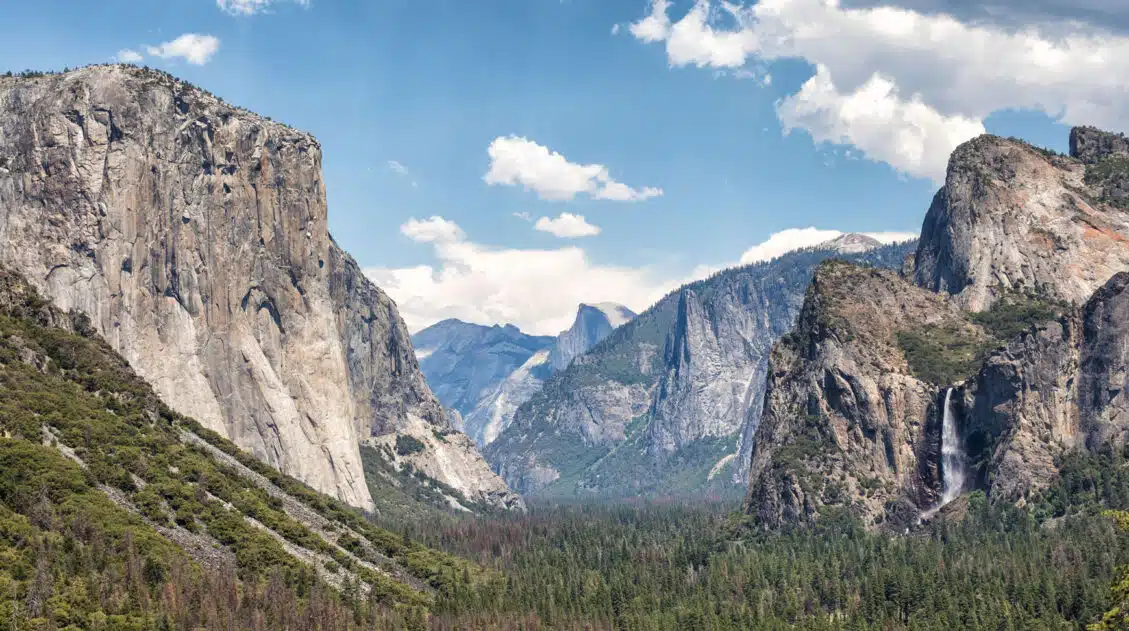
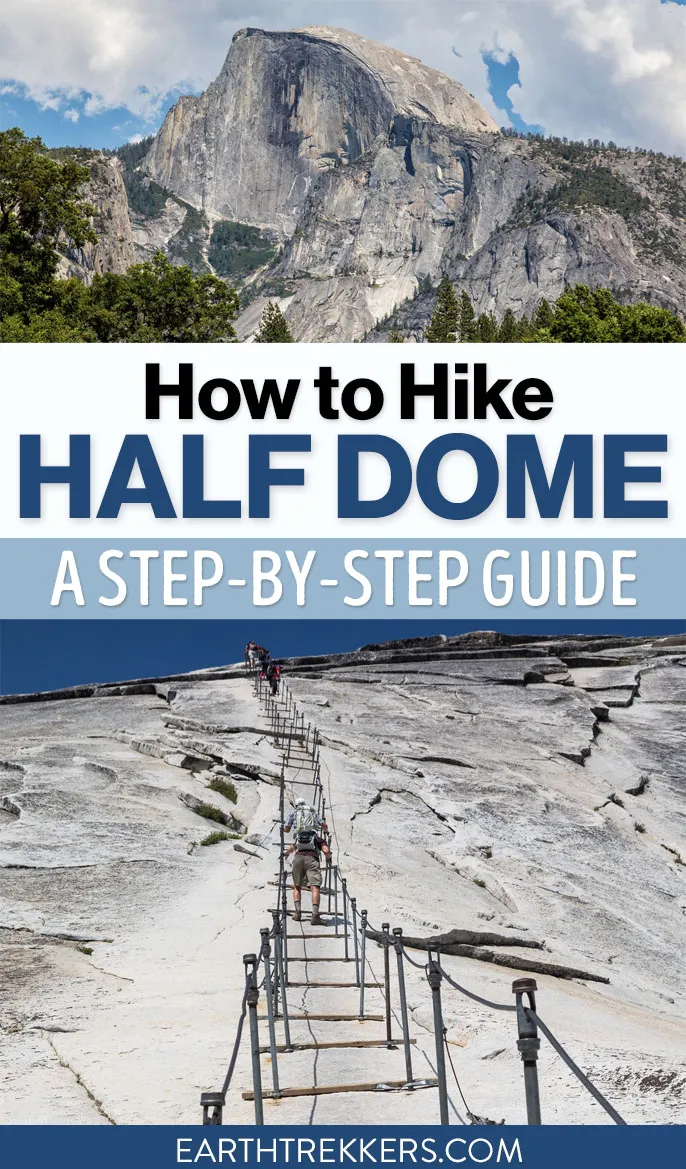
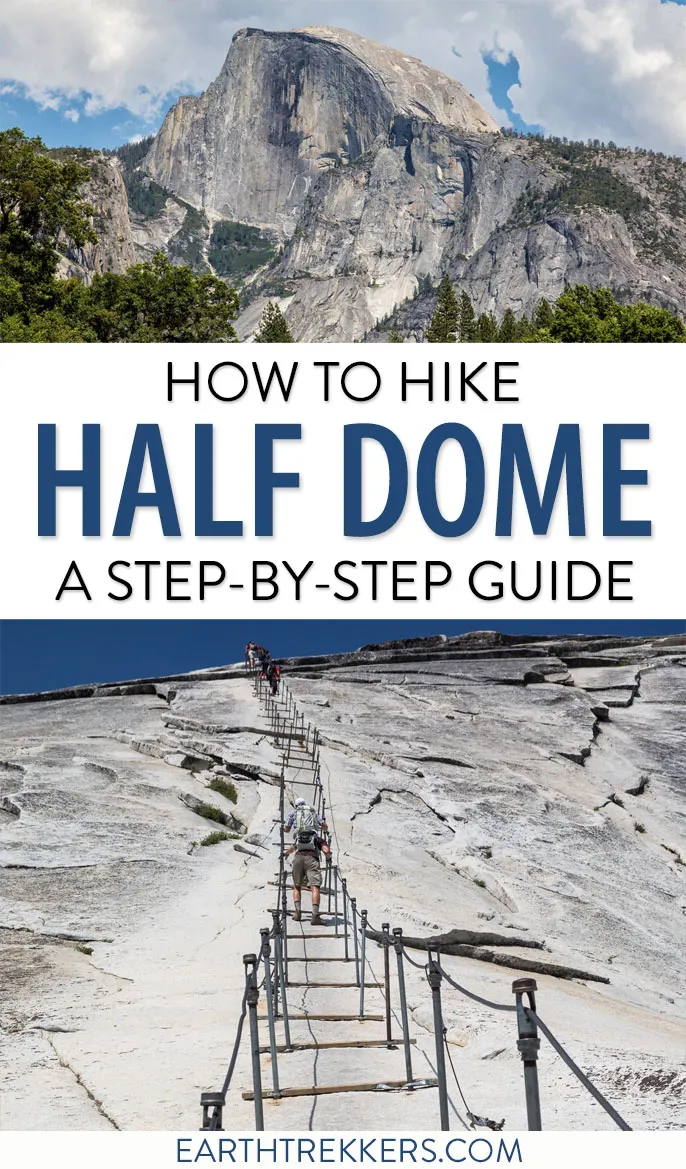
The hike to Half Dome is one of Yosemite’s most challenging and most memorable hikes. On this hike you get to walk on some of Yosemite’s most popular hiking trails, view the Vernal and Nevada waterfalls, and walk through shady forests of Sequoia trees. But the best part of the trail is the final climb on the Half Dome cables and your reward from the top, one of the best views of all of Yosemite.
If you are planning to hike to Half Dome, here is what to expect, from start to finish.
What is Half Dome?
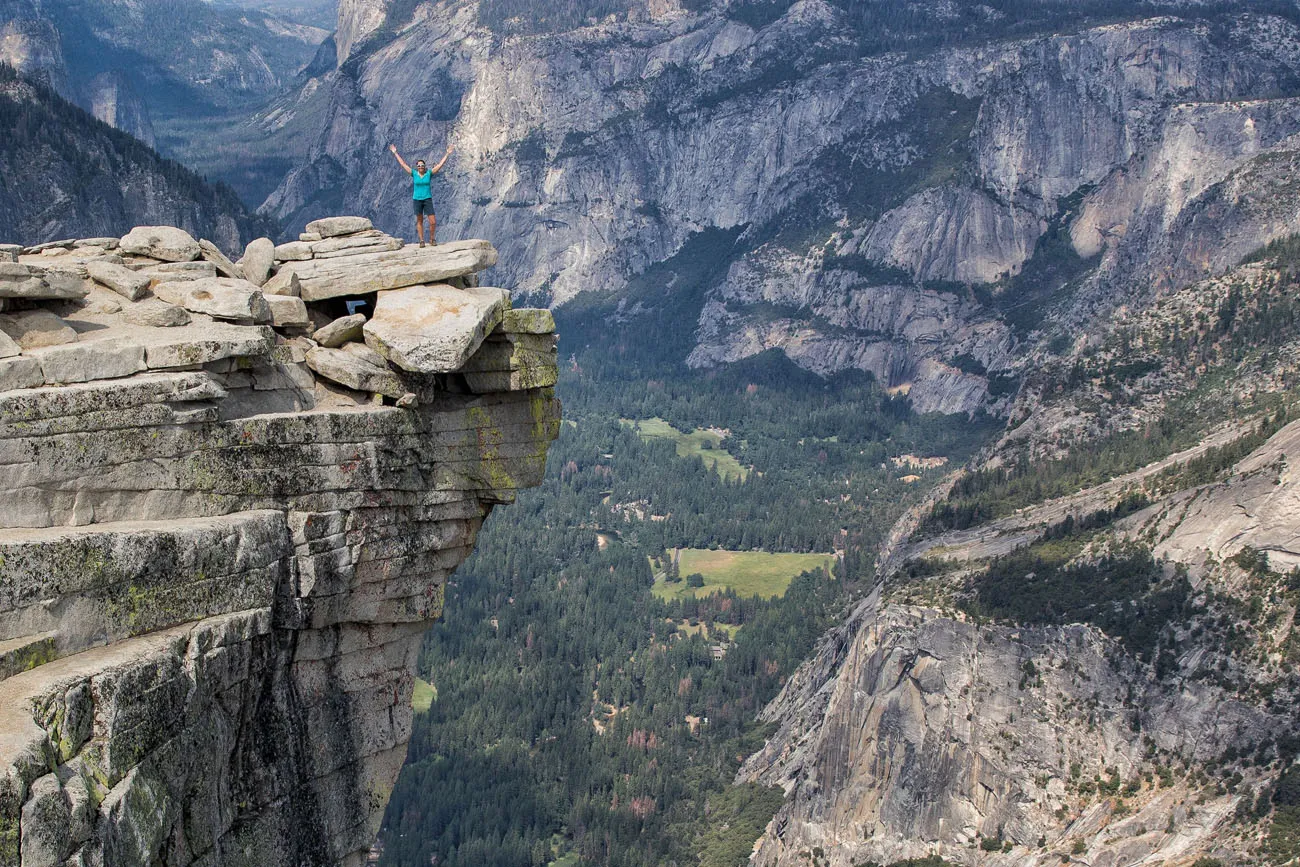
Half Dome is one of Yosemite’s most recognizable landmarks. The top of this granite dome sits 4,800 feet off of the valley floor at a total elevation of 8,844 feet (2,695 meters).
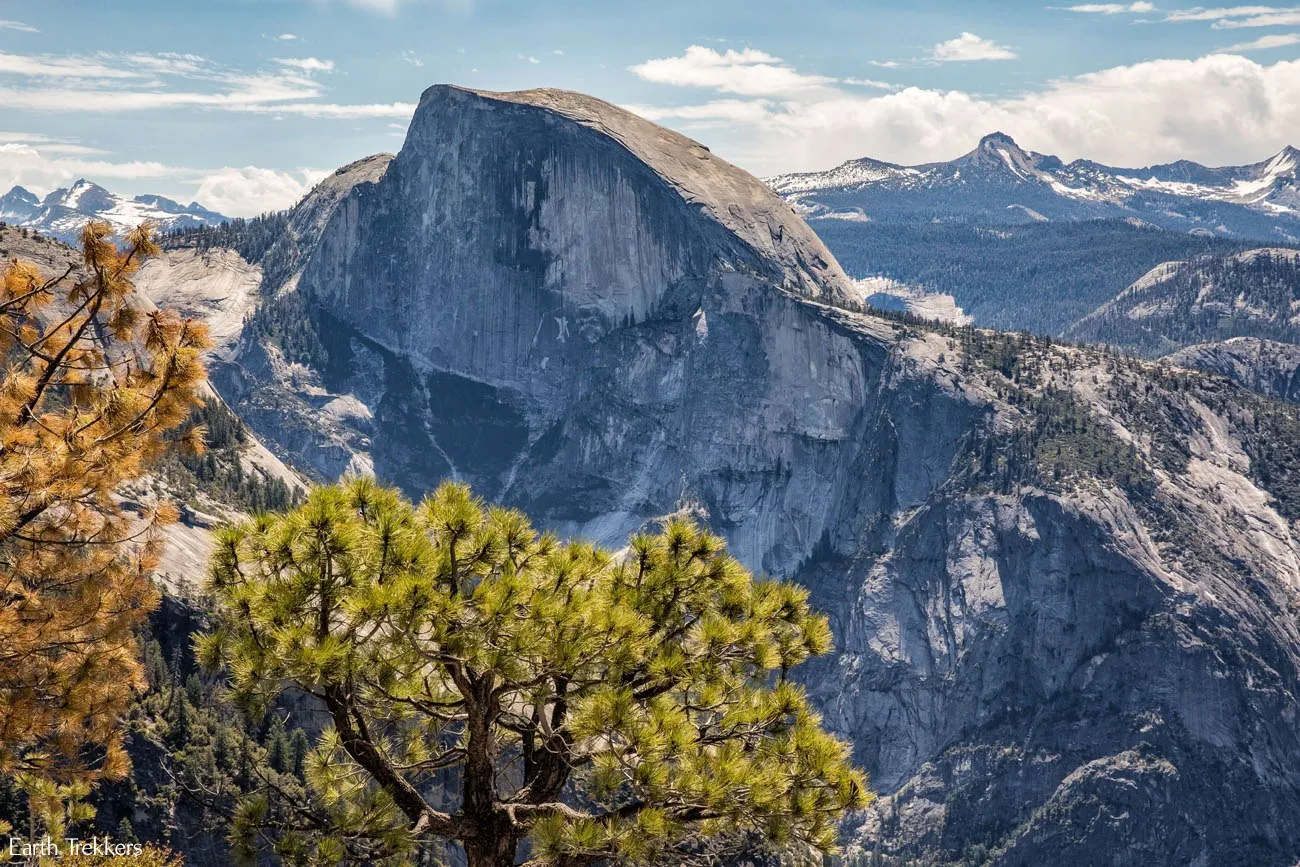
There are several ways to get to the top of Half Dome. Most people get here by hiking the 17-mile (27 km) round trip route from the valley floor and taking the cable route to the top. Rock climbers scale the vertical face of Half Dome to the summit.
Half Dome Permits
You must have a permit in order to climb the subdome and the Half Dome cables. Permits are awarded in a preseason lottery for the entire summer hiking season.
A maximum of 300 permits are awarded per day, with 225 for day hikers and 75 for backpackers.
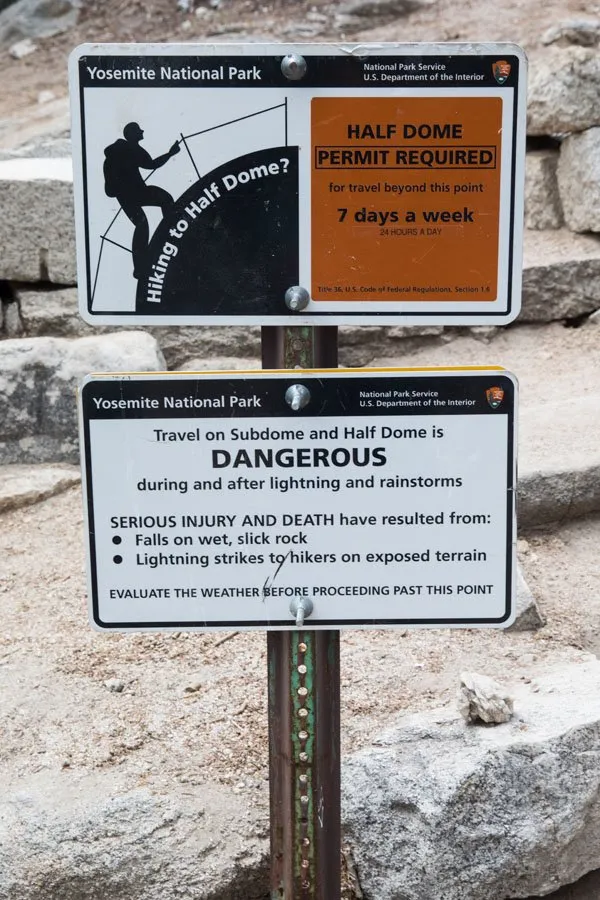
The sign posted before climbing the subdome.
As the Half Dome hike grows in popularity, the chances for being one of the lucky lottery winners decreases. We have a detailed guide about the permit process and how to increase your chances of winning the lottery.
You can also get more information on the National Park Service website.
Hiking Half Dome
This post covers the one-day hiking route we took to Half Dome. We hiked up the Mist Trail and down the Muir Trail, one of the most popular hiking routes to Half Dome.
Half Dome Hiking Stats
Distance: 17 miles (27 km) round trip
Total Ascent: 5,457 feet (1,663 m)
Difficulty: Extremely strenuous
Length of Time: 10 – 14 hours
Permits: You must have a permit to climb the subdome and the Half Dome cables.
When to go: The cables are up (conditions permitting) from Memorial Day through Columbus Day. It is possible to climb Half Dome when the cables are down, but that is beyond the scope of this post.
Please note: If you read other blogs and information provided by the National Park Service website, you will see the distance for this hike ranging from 14 to 18 miles. Choosing the Muir over the Mist Trail can impact these variations. We hike with a Garmin GPS and use the stats it outputs for these hiking posts.
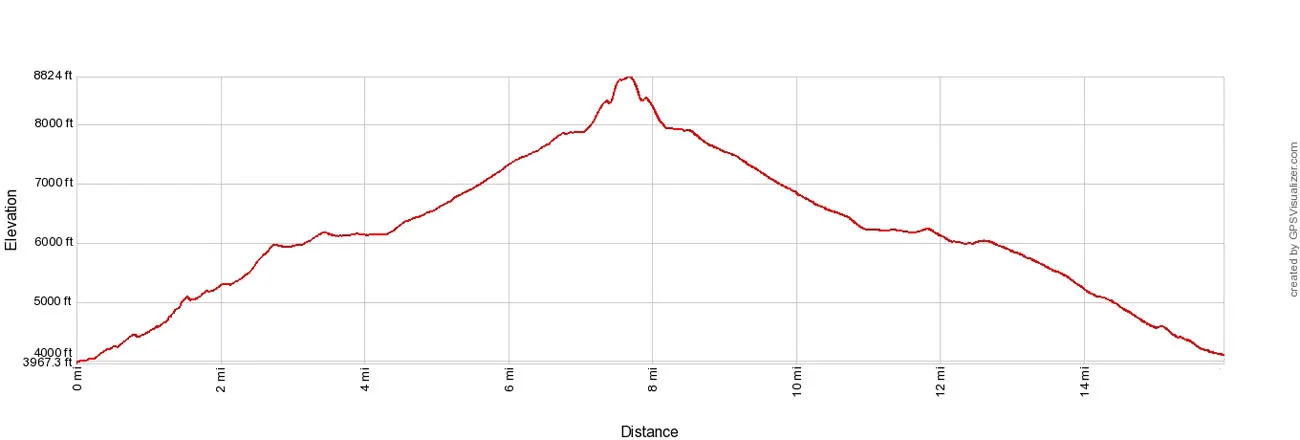

Half Dome Elevation profile
Please practice the seven principles of Leave No Trace: plan ahead, stay on the trail, pack out what you bring to the hiking trail, leave areas as you found them, minimize campfire impacts, be considerate of other hikers, and do not approach or feed wildlife.
The Route to Half Dome
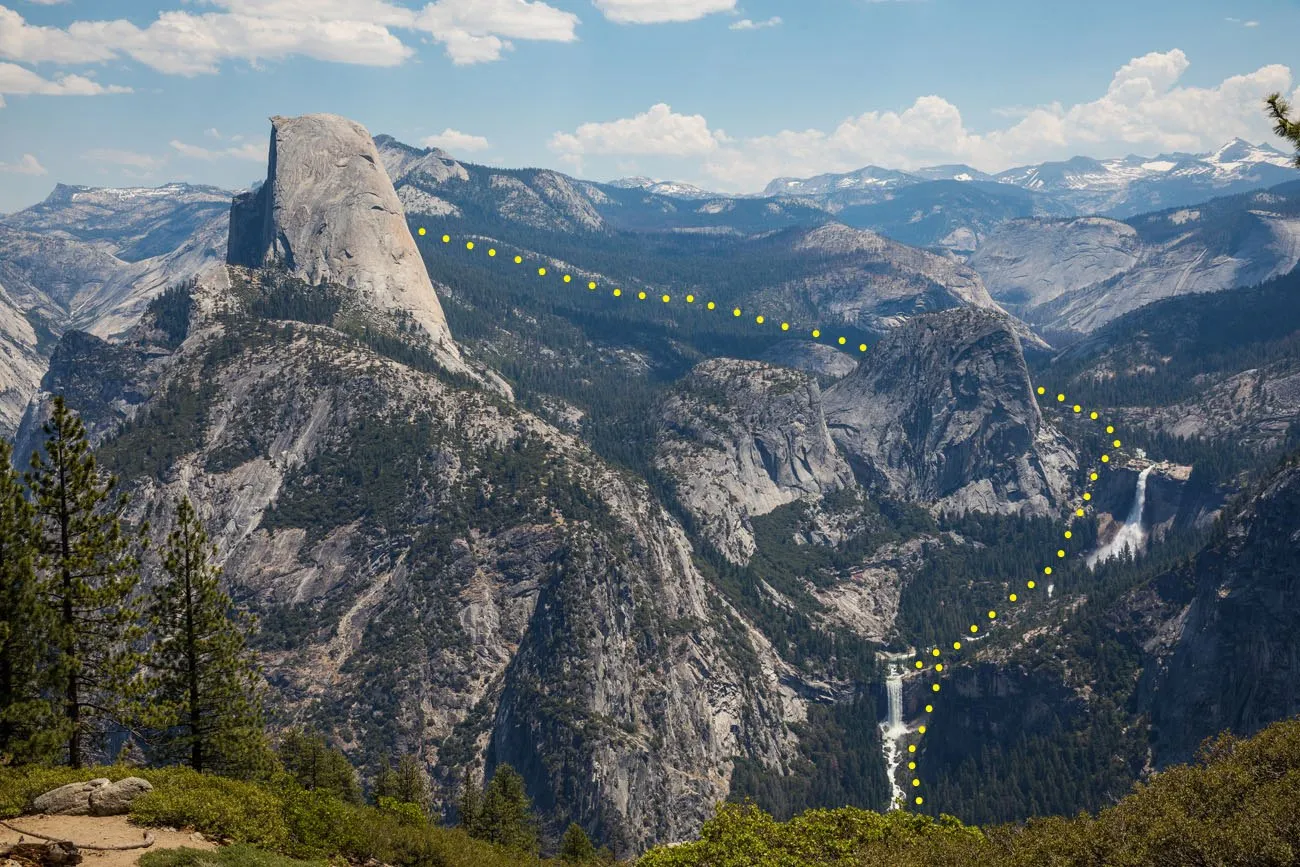
The photo below was taken from Washburn Point, very close to Glacier Point. In this photo you can see most of the hiking route to Half Dome (the yellow dots). The trail starts at the valley floor (not visible in this photo) and climbs up next to Vernal Fall and Nevada Fall. It passes behind the Liberty Cap, through Sequoia forests, and then up the far side of the subdome and Half Dome.
Half Dome Step-By-Step Trail Guide
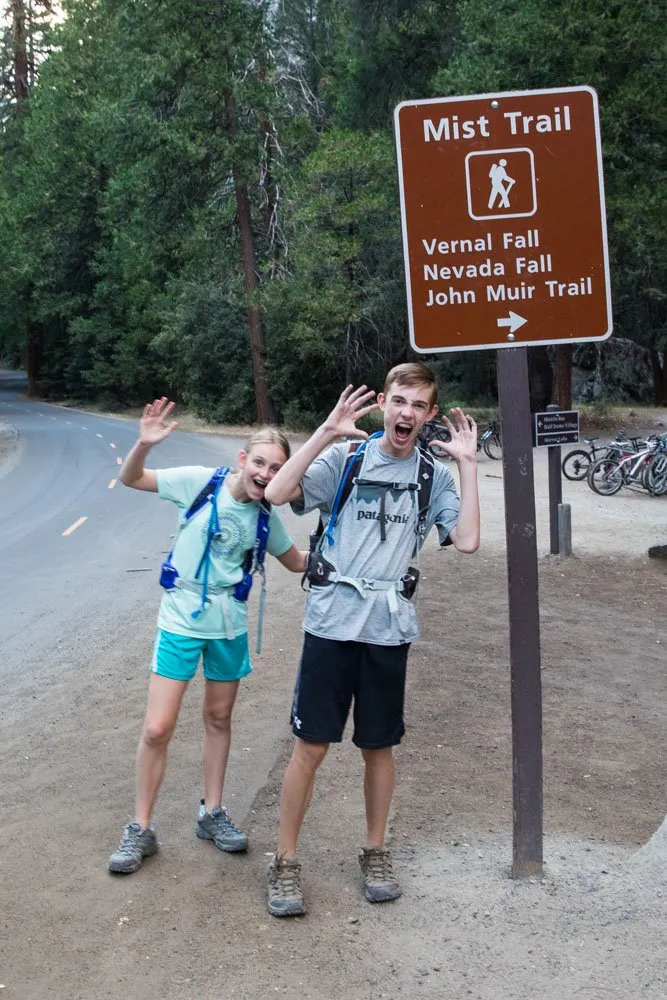
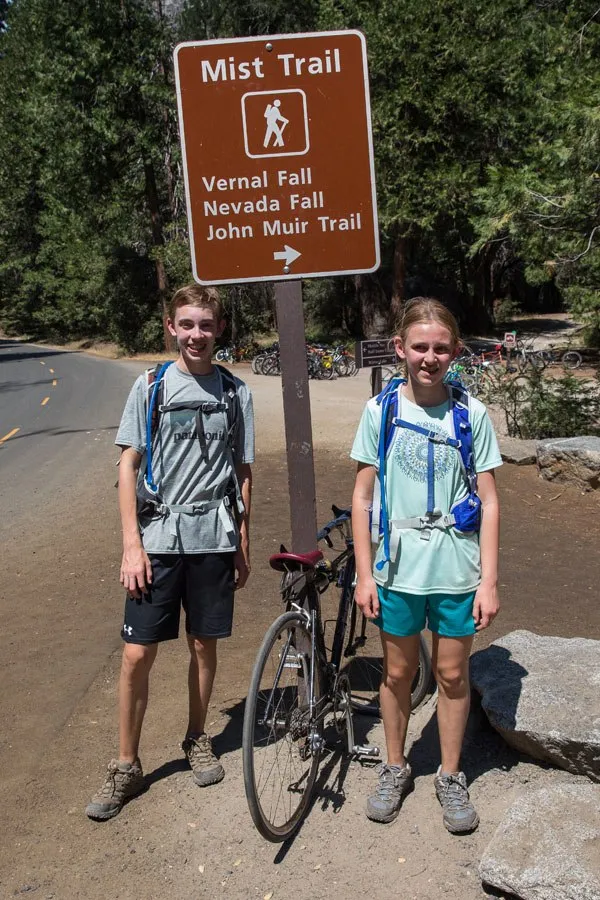
The Trailhead
The hike starts on the Mist Trail. The closest parking is the Yosemite Valley Trailhead Parking, located just past the Half Dome Village. From this parking lot, it is a half-mile walk down a service road to the Happy Isles Bridge and the start of the hike.
You should consider starting the hike as early as possible, sunrise or even earlier. If you are staying in Yosemite and will be using the shuttle bus for transportation, they do not start running until 7 am.
Our day started very early. We stayed in Mariposa, located one hour west of Yosemite. At 4 am we rolled out of bed and at 6 am we started the hike.
Vernal Falls
The first part of the Mist Trail is a paved, asphalt trail that constantly gains elevation. It is steep at times. From the trailhead to the top of Vernal Falls, it is 1.5 miles (2.4 km).
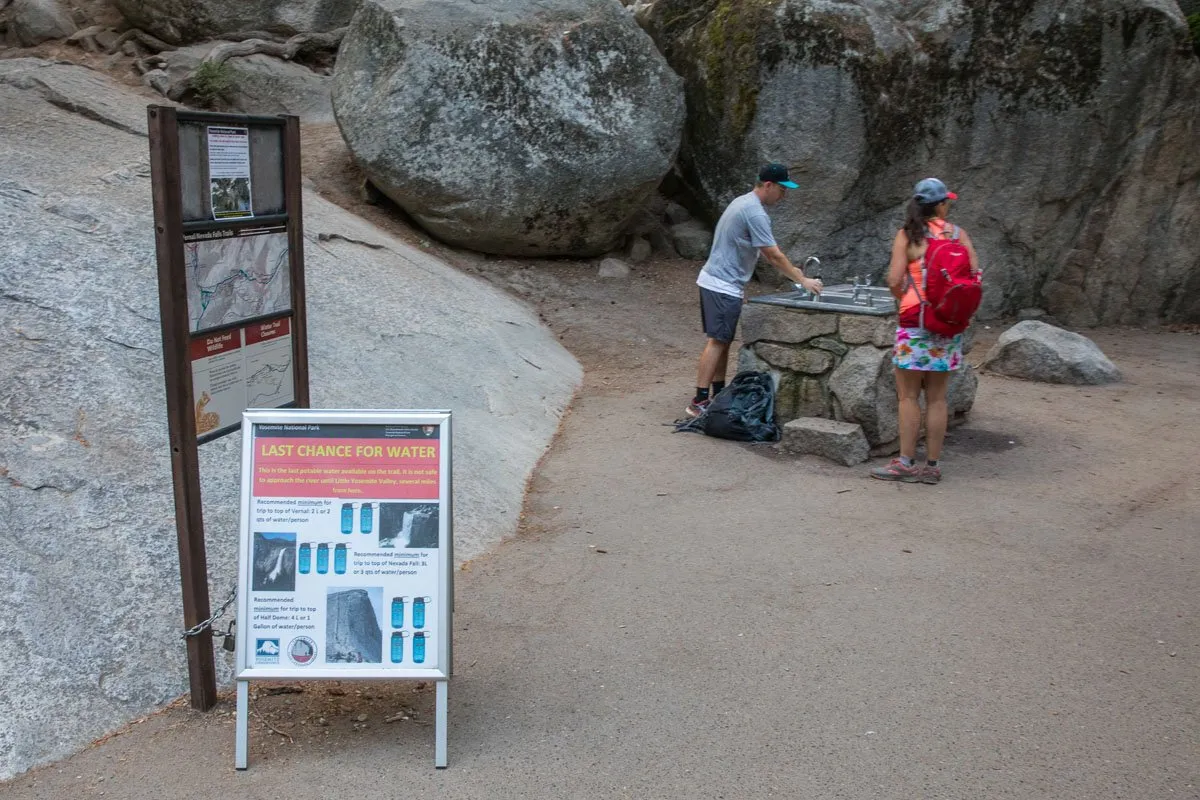
Just past the Vernal Fall footbridge, only 20 – 30 minutes into the day, is a water fountain. This is your last chance for drinking water on the hike, unless you plan on purifying water from the Merced River. This is also your last chance for flush toilets.
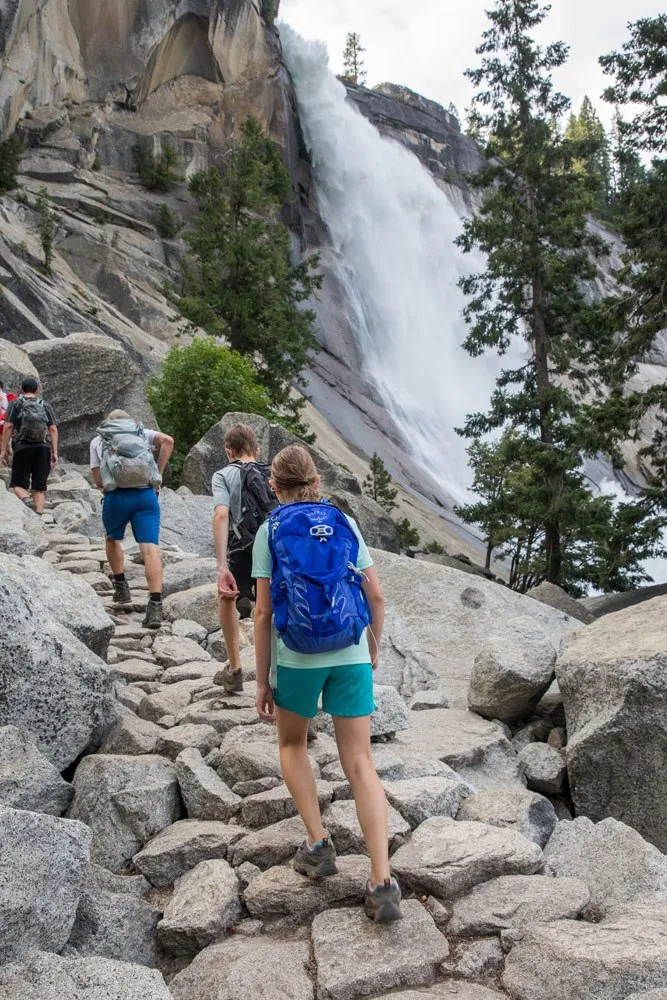
Past the footbridge, the trail climbs steeply and steadily to Vernal Fall. And this is where you see how the Mist Trail earns its name. Long, slippery staircases wind uphill along the river and the falls. During this part of the hike, you may get drenched by the mist. In July, this mist is refreshing and it kept us pleasantly cool. During cooler months, you may want to bring a poncho with you to keep you dry.
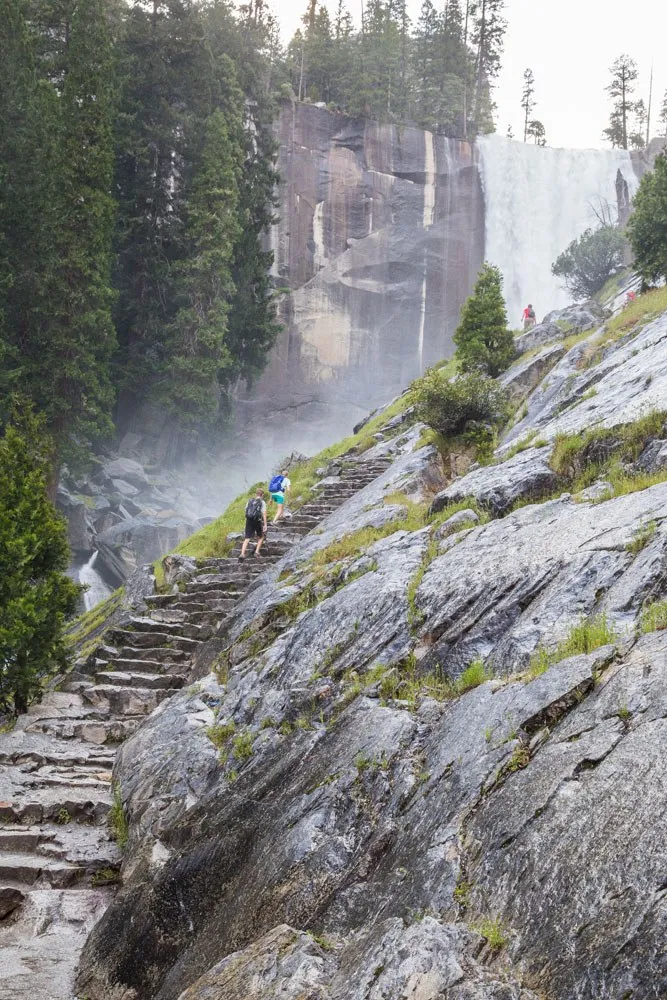
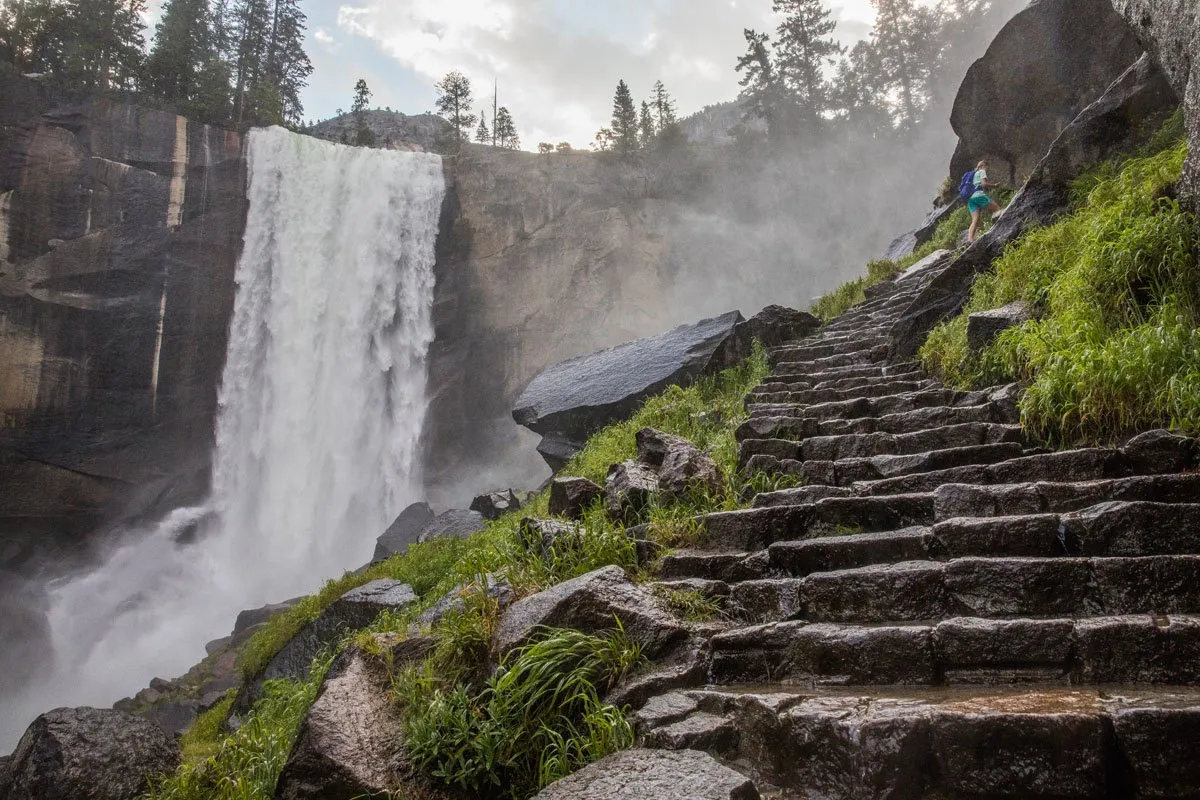
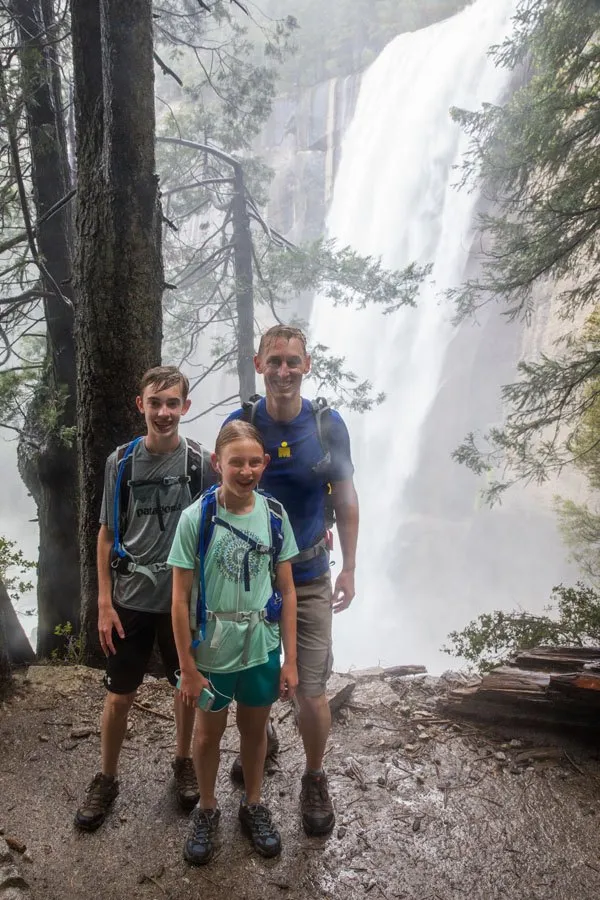

Once at the top of the falls, there’s a spectacular viewpoint and a great place for a photo op.
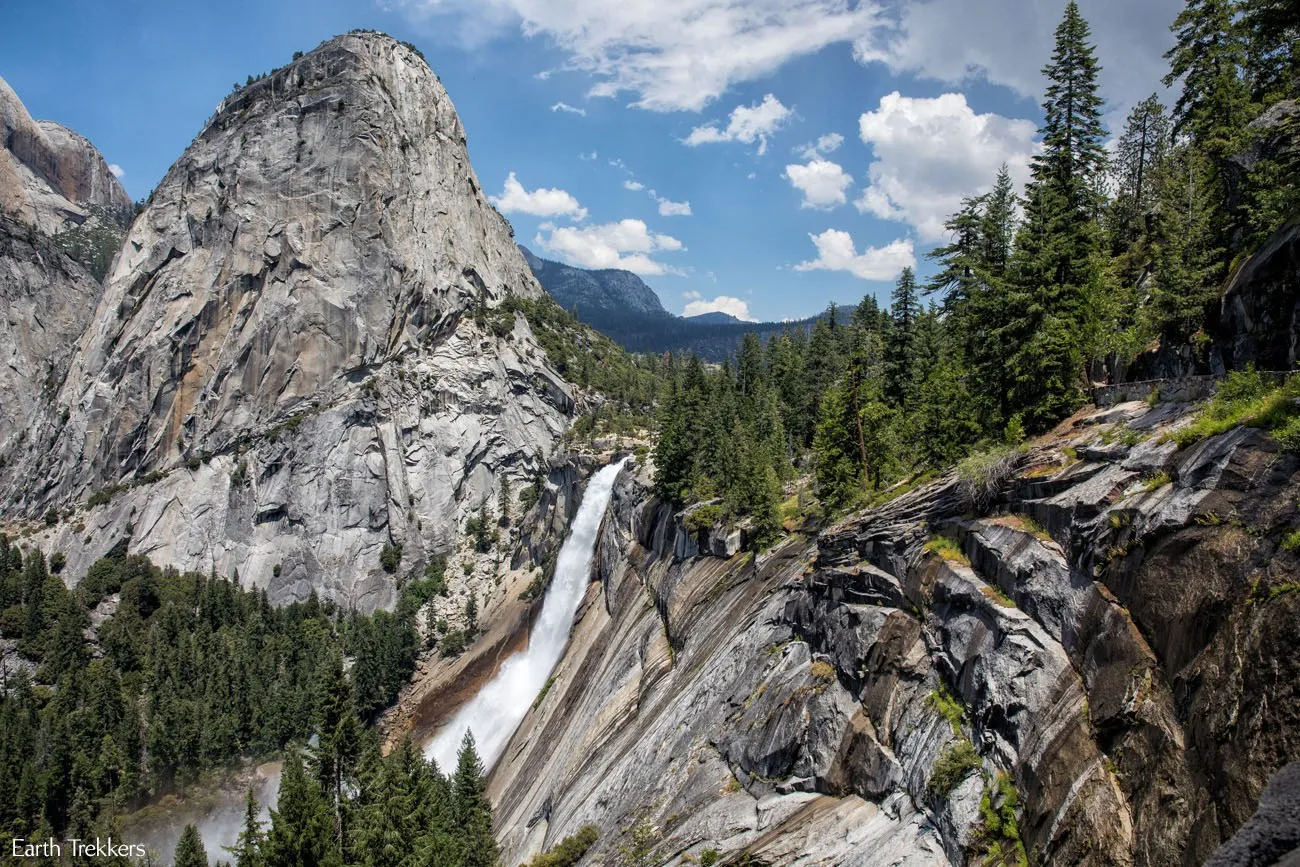
Nevada Fall
The climbing continues up to Nevada Fall. The trail winds through shady forests and more staircases constructed out of rock and boulders. From Vernal Fall to Nevada Fall you will hike 2 miles (3 km).
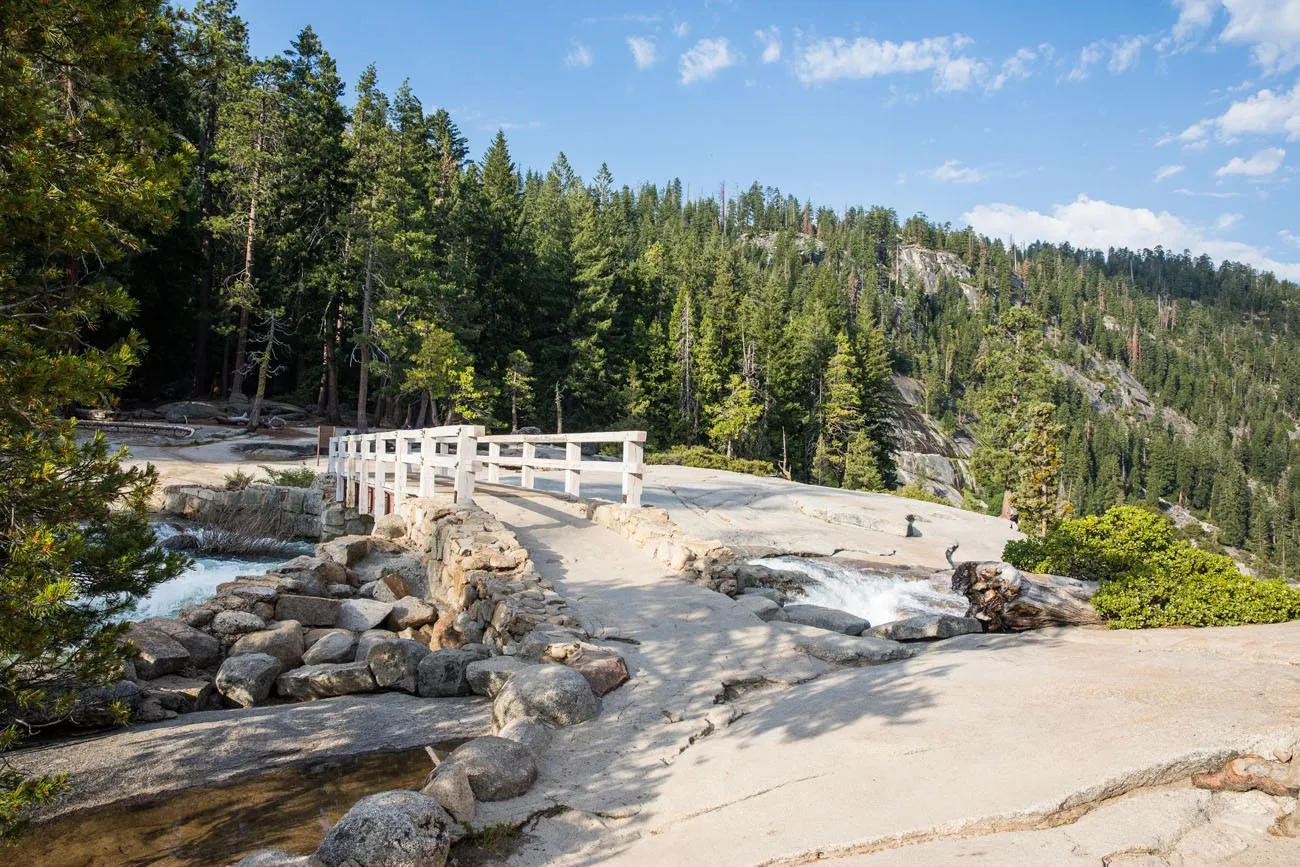
The trail splits near the top of Nevada Fall. Go left to continue onto Half Dome. You can go right, hiking 0.2 miles (0ne way) for an optional detour to the top of Nevada Fall. However, if you choose to hike down the Muir Trail at the end of this hike, you will pass this same viewpoint.
We chose to walk the short distance to Nevada Fall. It was a beautiful morning with hardly anyone on the trail, so we wanted to see the falls before the crowds arrived.
The Trail to the Subdome
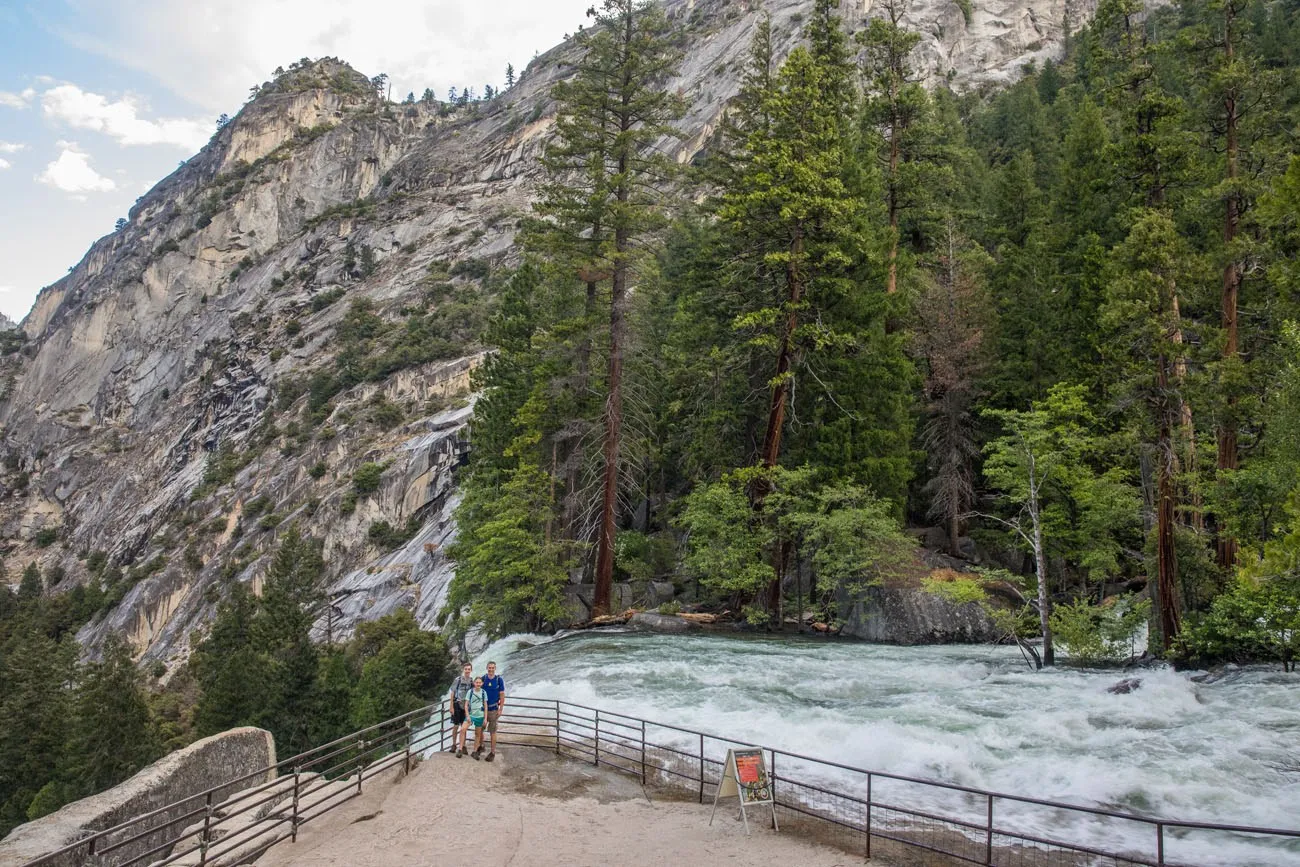
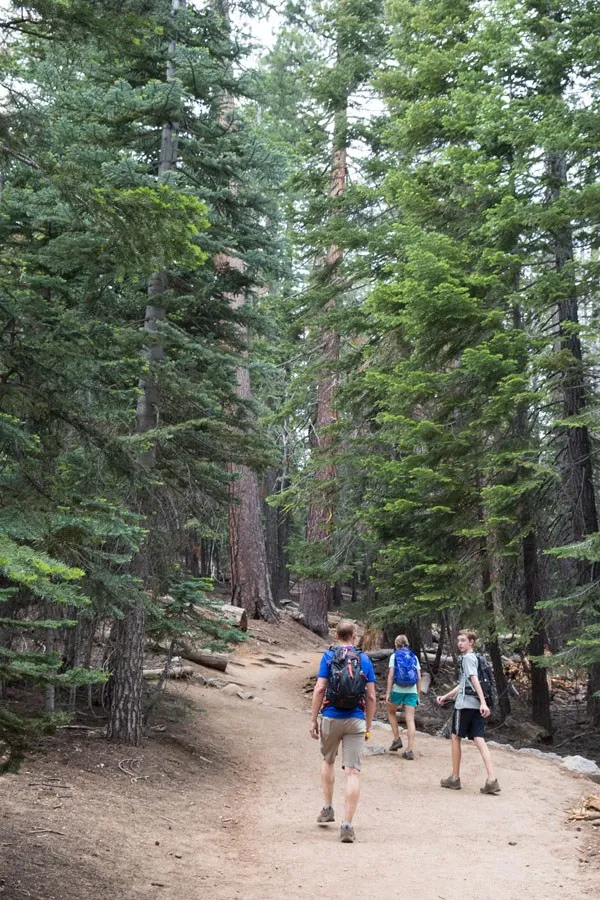
After Nevada Fall, the trail levels out for a little bit. Enjoy this…soon the climbing starts again.
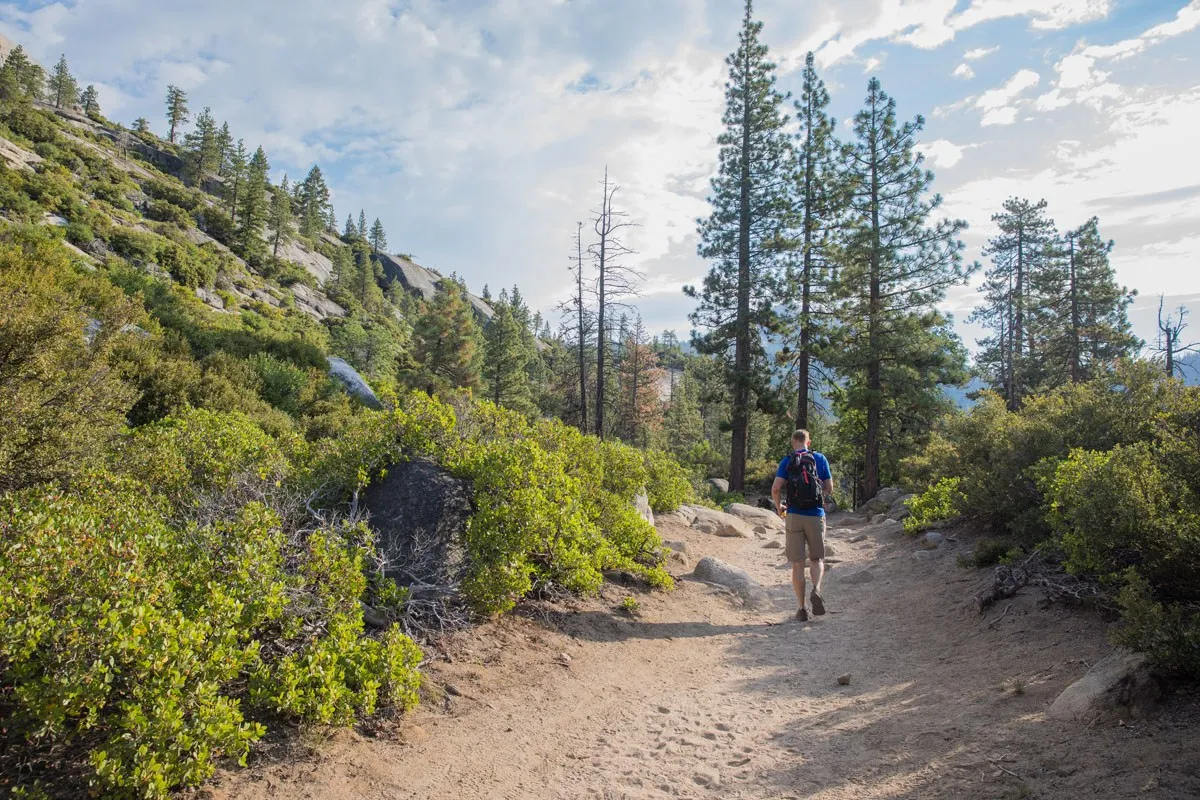
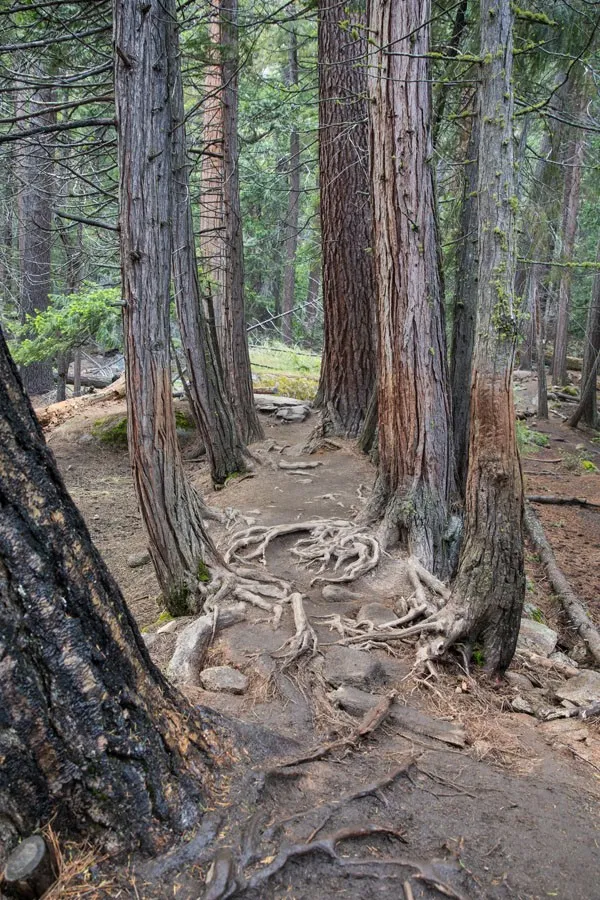
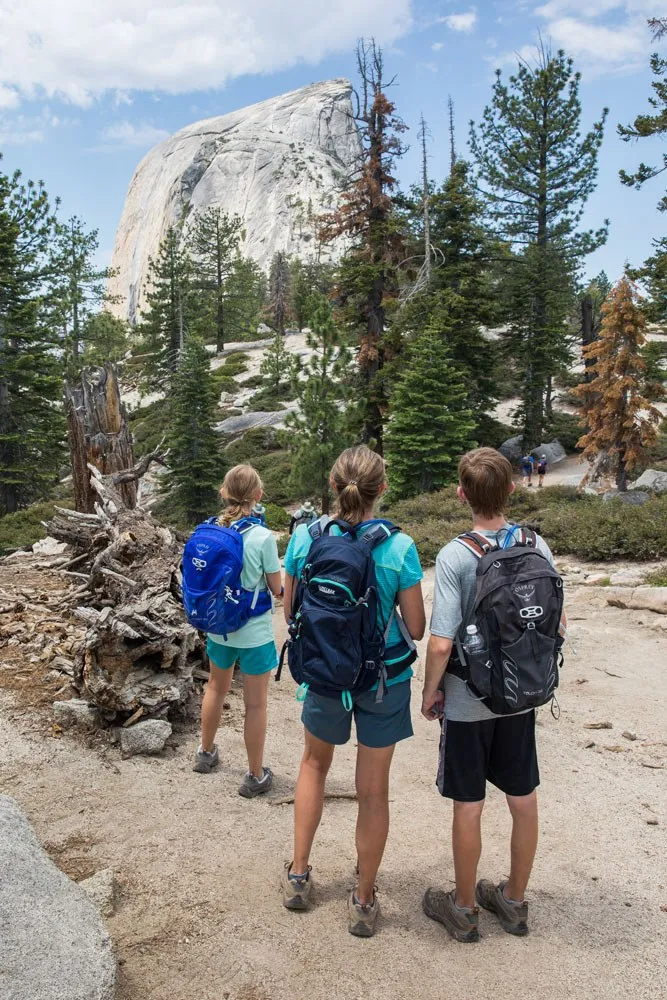
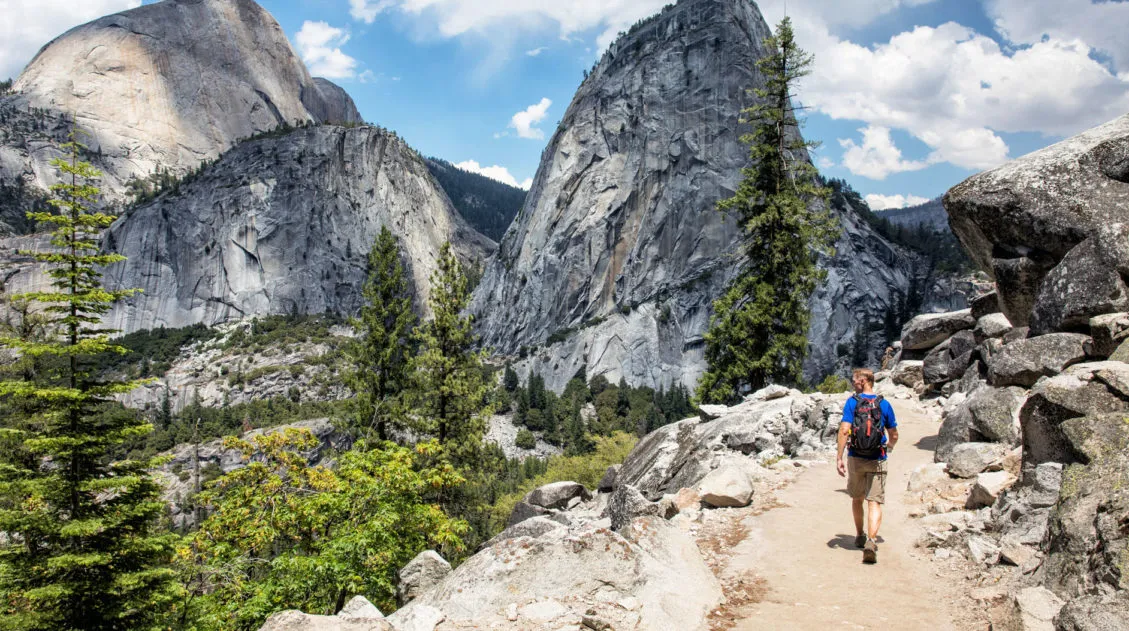
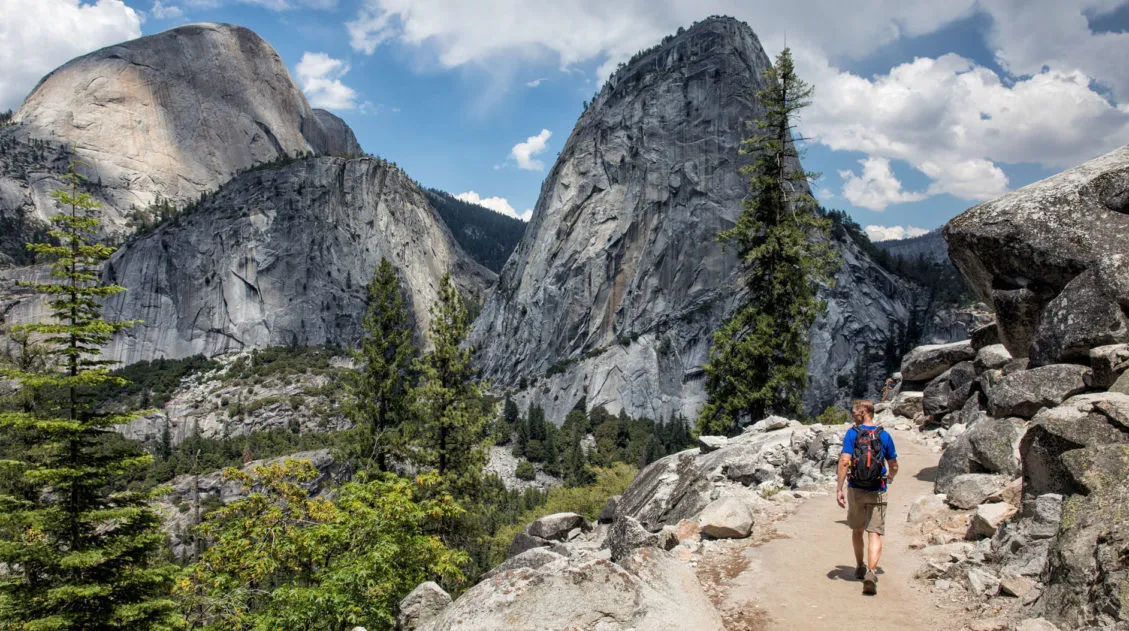
After passing Little Yosemite Valley, the trail climbs through a forest of Sequoia trees. It’s not a hard climb, just a constant, steady uphill walk. Occasionally, through the trees, you will get a glimpse of Half Dome. If you look closely, you may even be able to see climbers on the cables.
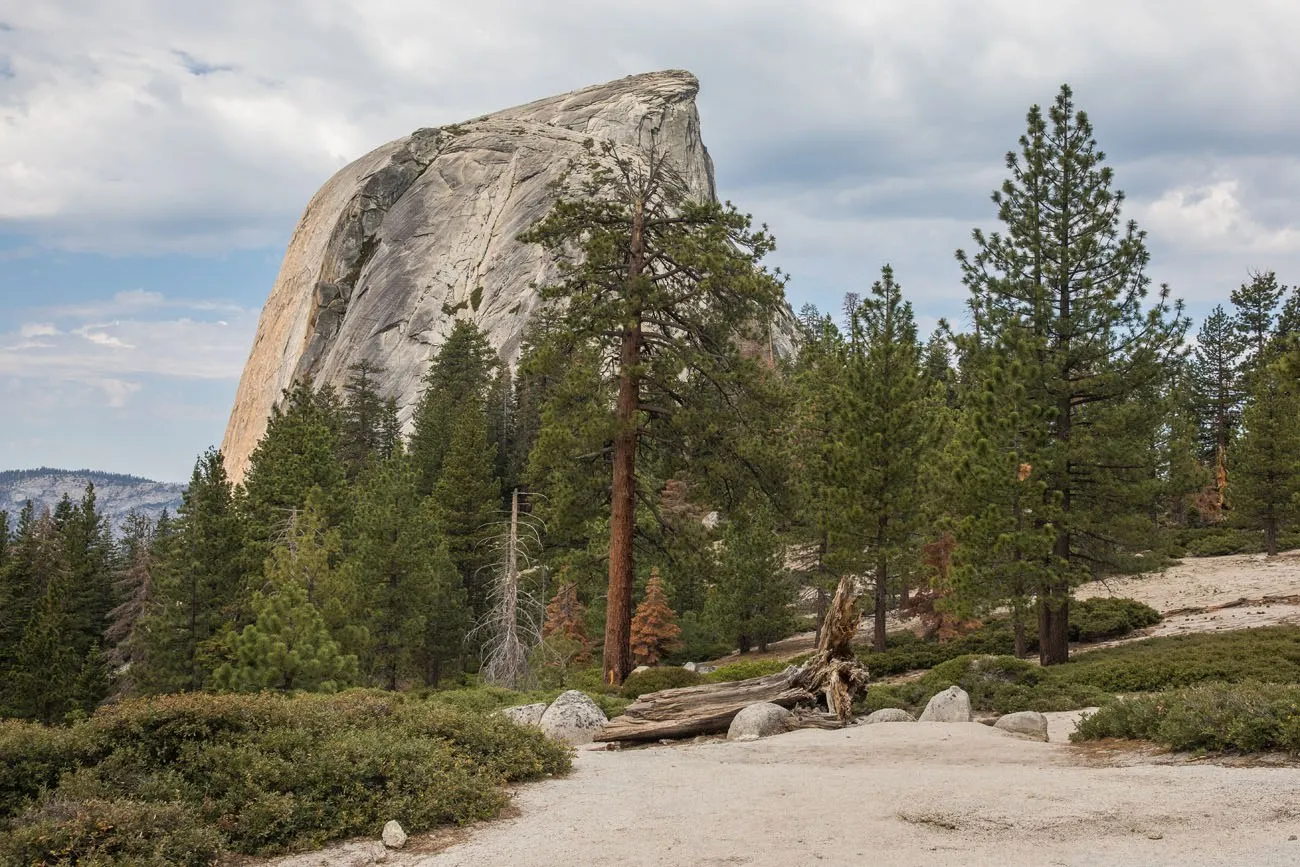
The Subdome
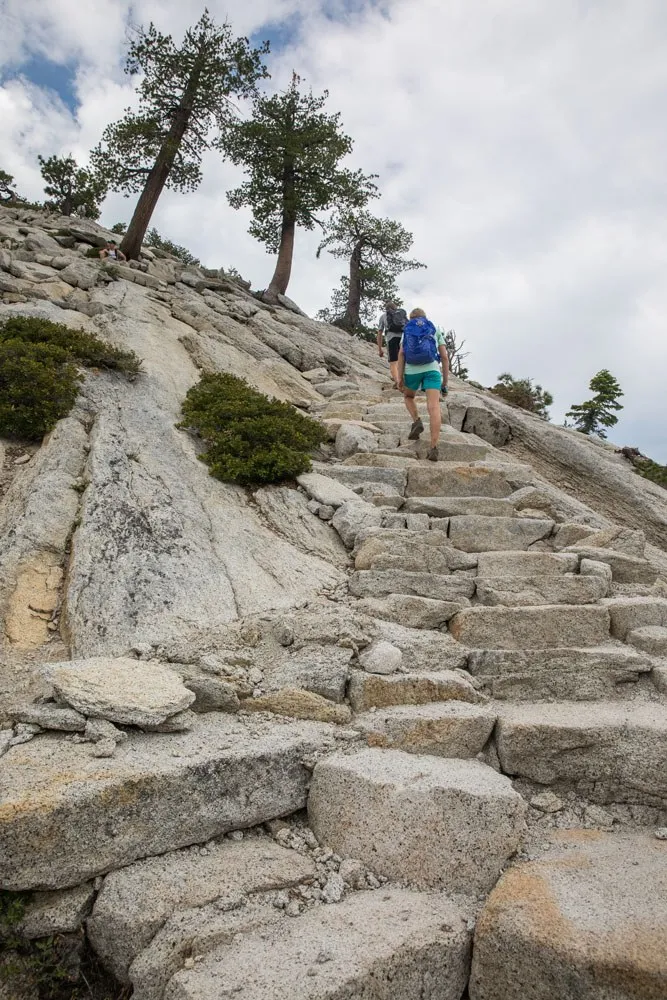
Climbing up the subdome is difficult. We named this part of the hike the Ass-Kicker Stairs because that’s exactly what they are.
By now, we were at 8,000+ feet. And we were tired. We just hiked for three and a half hours uphill.
These steps seem huge and by now it didn’t take much to get us out of breath. We’d walk up a short ways, take a brief rest, and then continue on again.
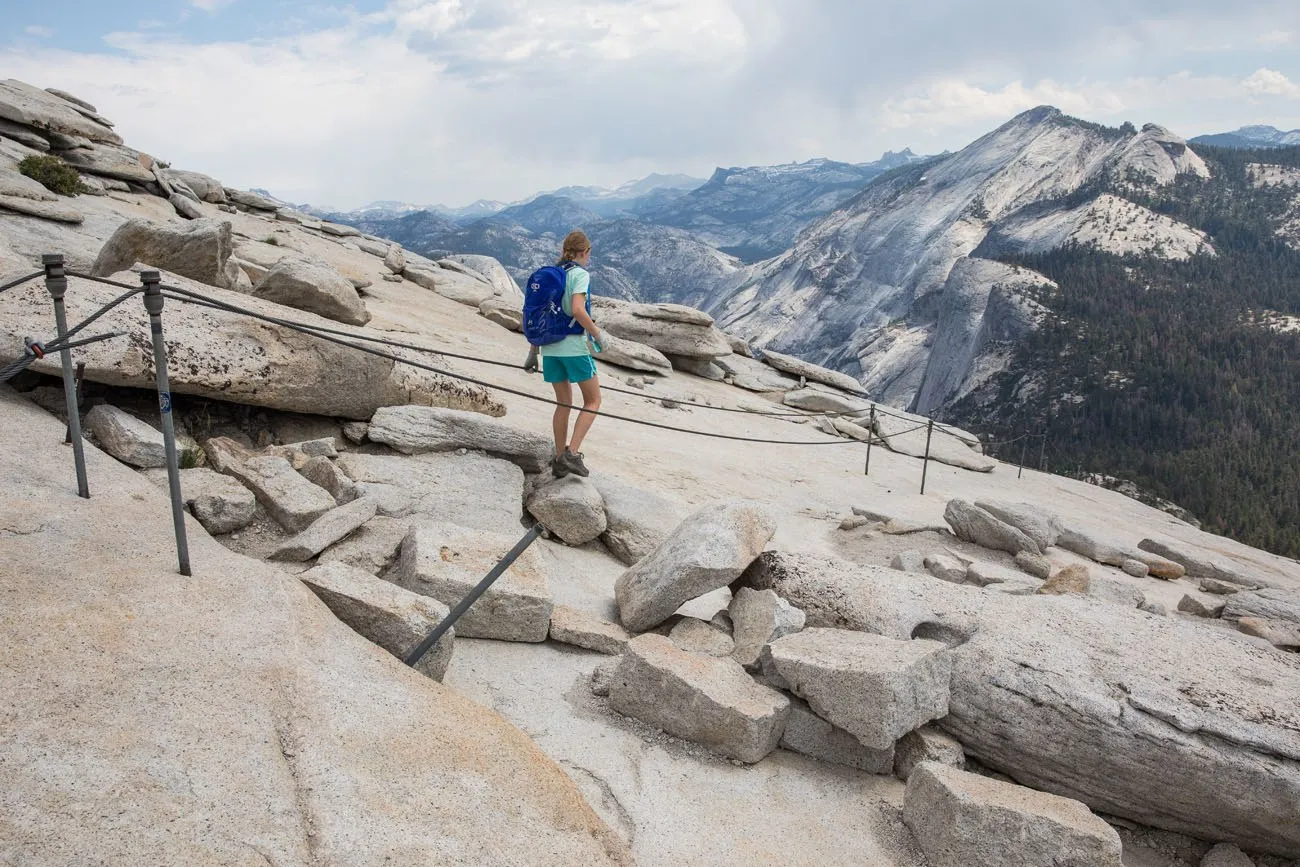
It’s slow-going, but the view that awaits you is so awesome.
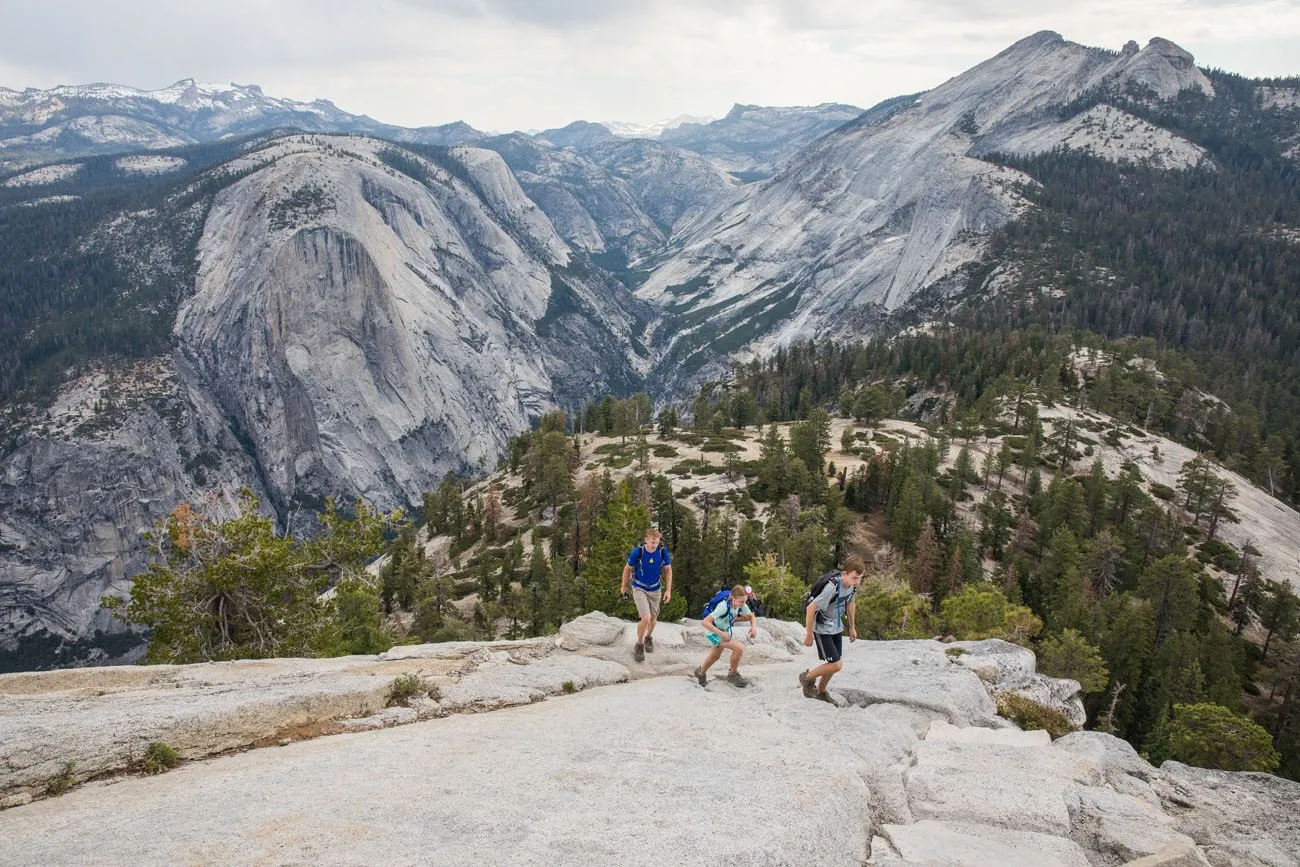
From the top of the subdome, you get your first close up view of the Half Dome cables. Now the real fun begins!
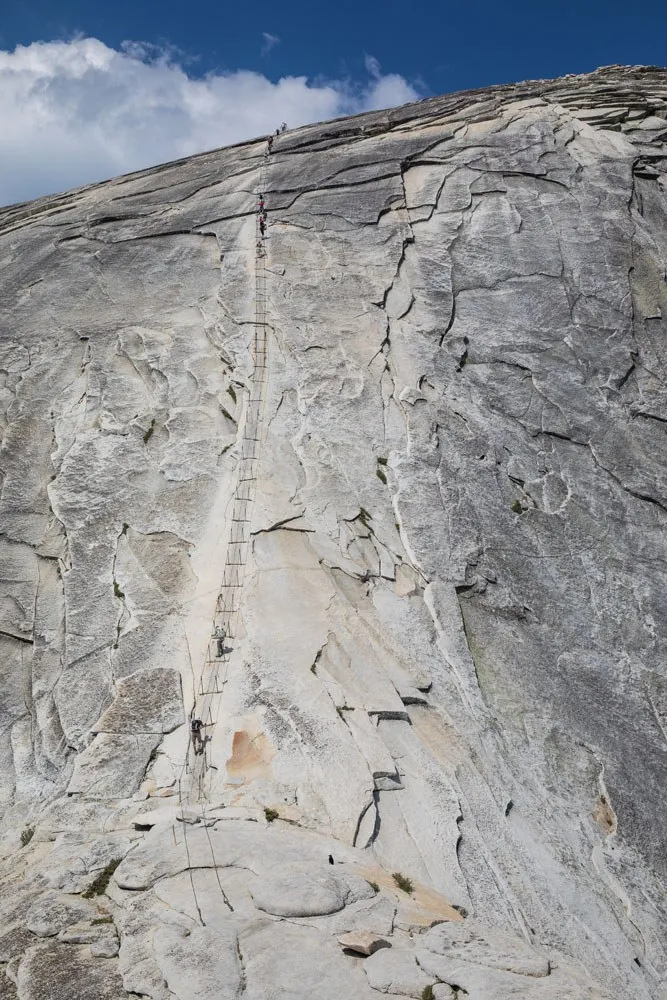
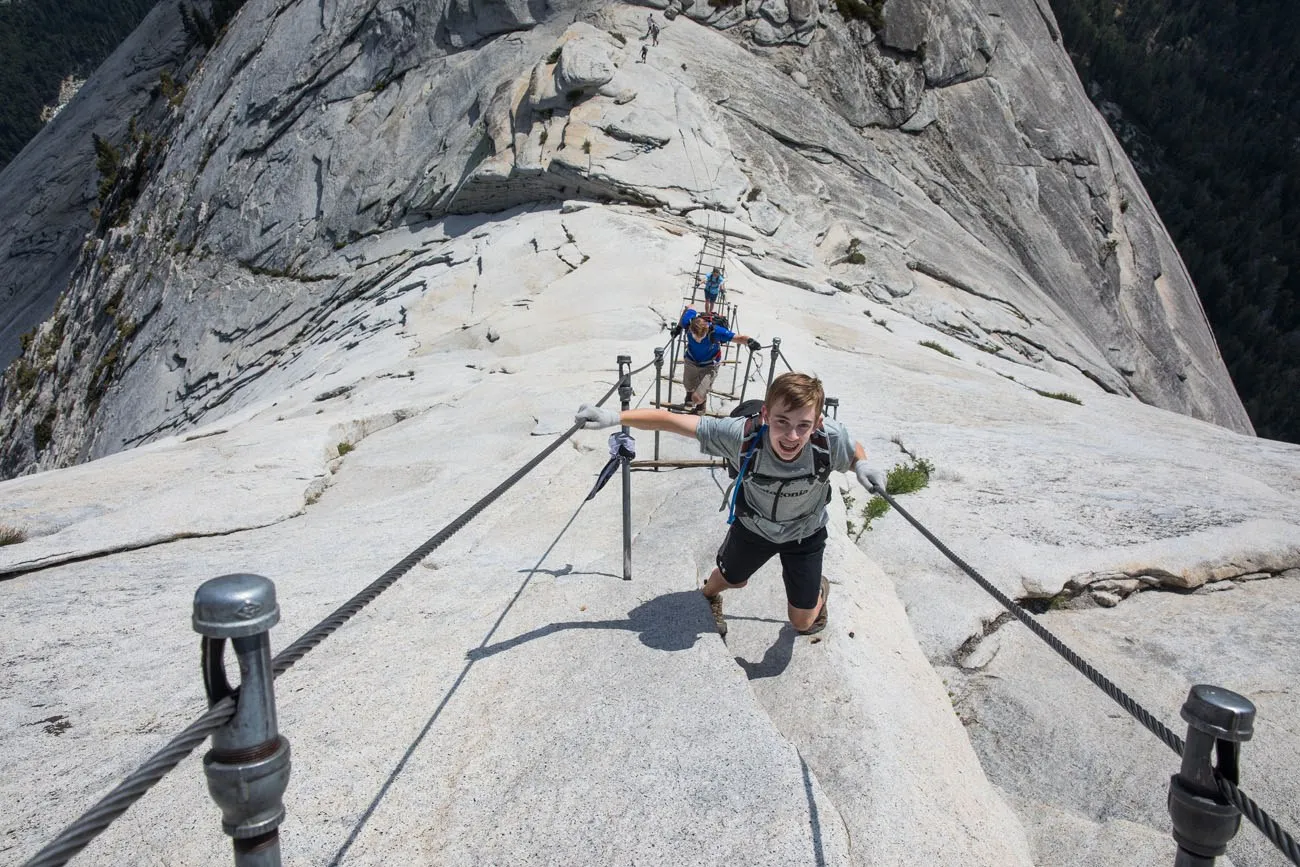
The Half Dome Cables
It took us 4 hours to hike from the start of the Mist Trail to the top of the subdome. Even with kids, this is a very fast pace. We are not “stop and smell the roses” kind of hikers. When we hear that it takes 10 hours to finish a hike, we see that as a time to beat. That’s just how we are.
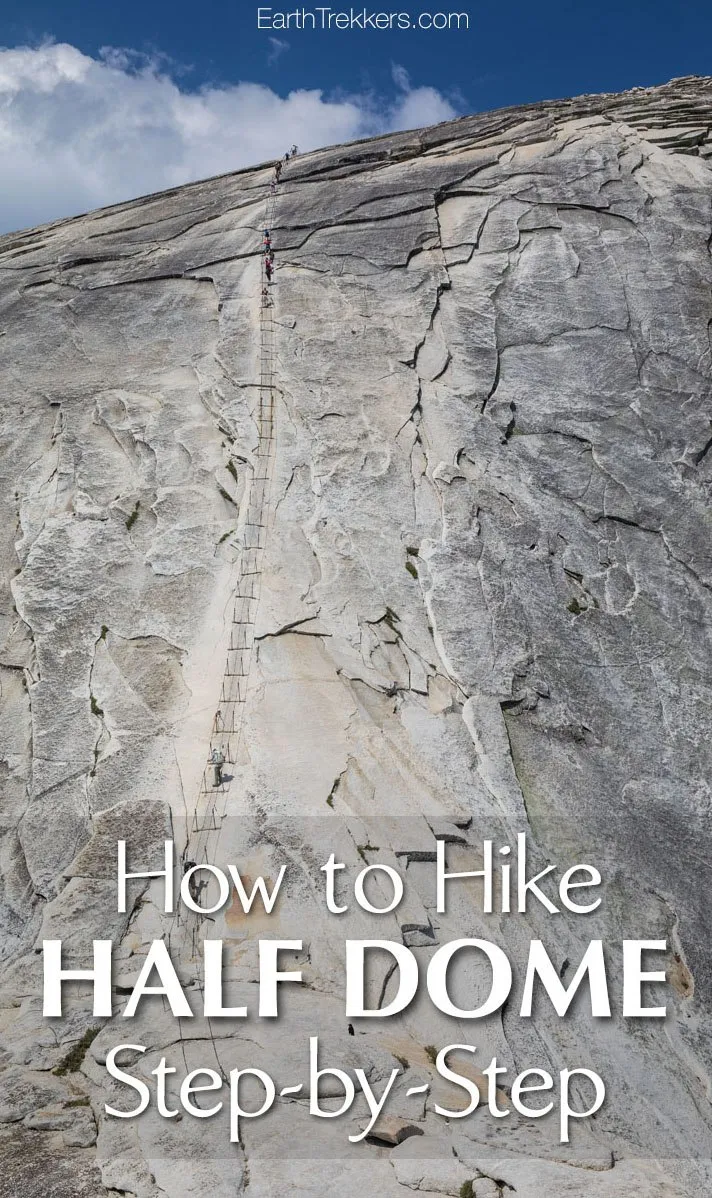
Our climb up the cables was quick since there were very few people in front of us. I knew to expect a steep incline and slick surfaces, but even so, the difficulty of this climb took me a little by surprise.
This climb is hard! Don’t underestimate it.
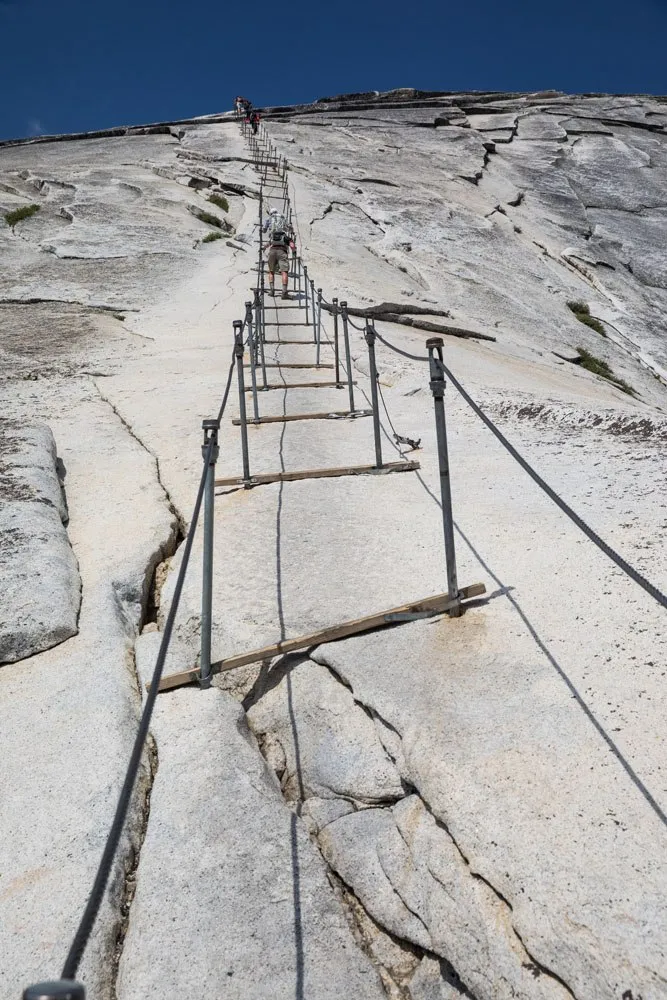
The granite surface has been worn smooth by the shoes of the thousands of people before us. The climb is so steep that we pulled ourselves up more with our upper body strength than by walking up with our feet.
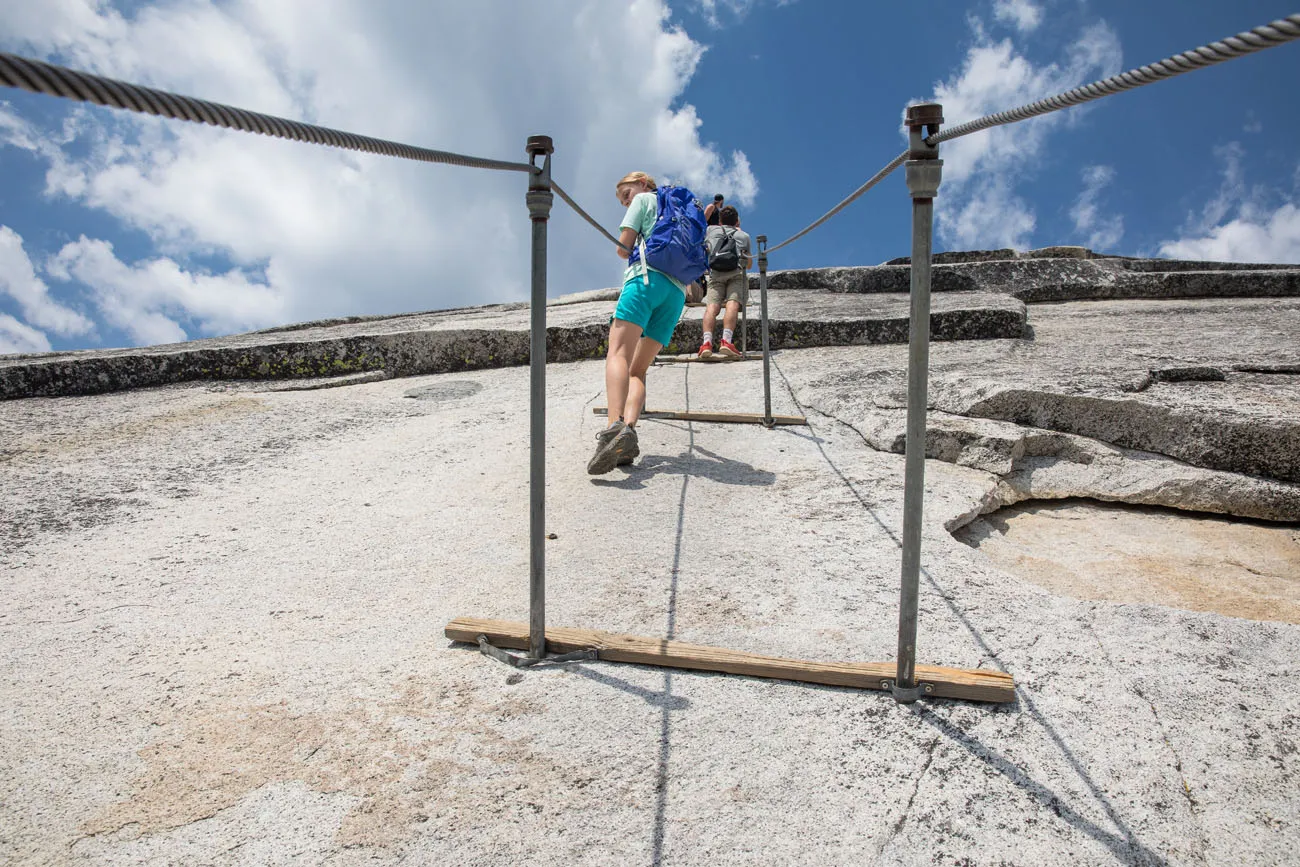
It took us roughly 20 minutes to climb the 400 feet up the Half Dome cables. With very few people in front of us, we only had to take several short breaks as other hikers climbed down past us.
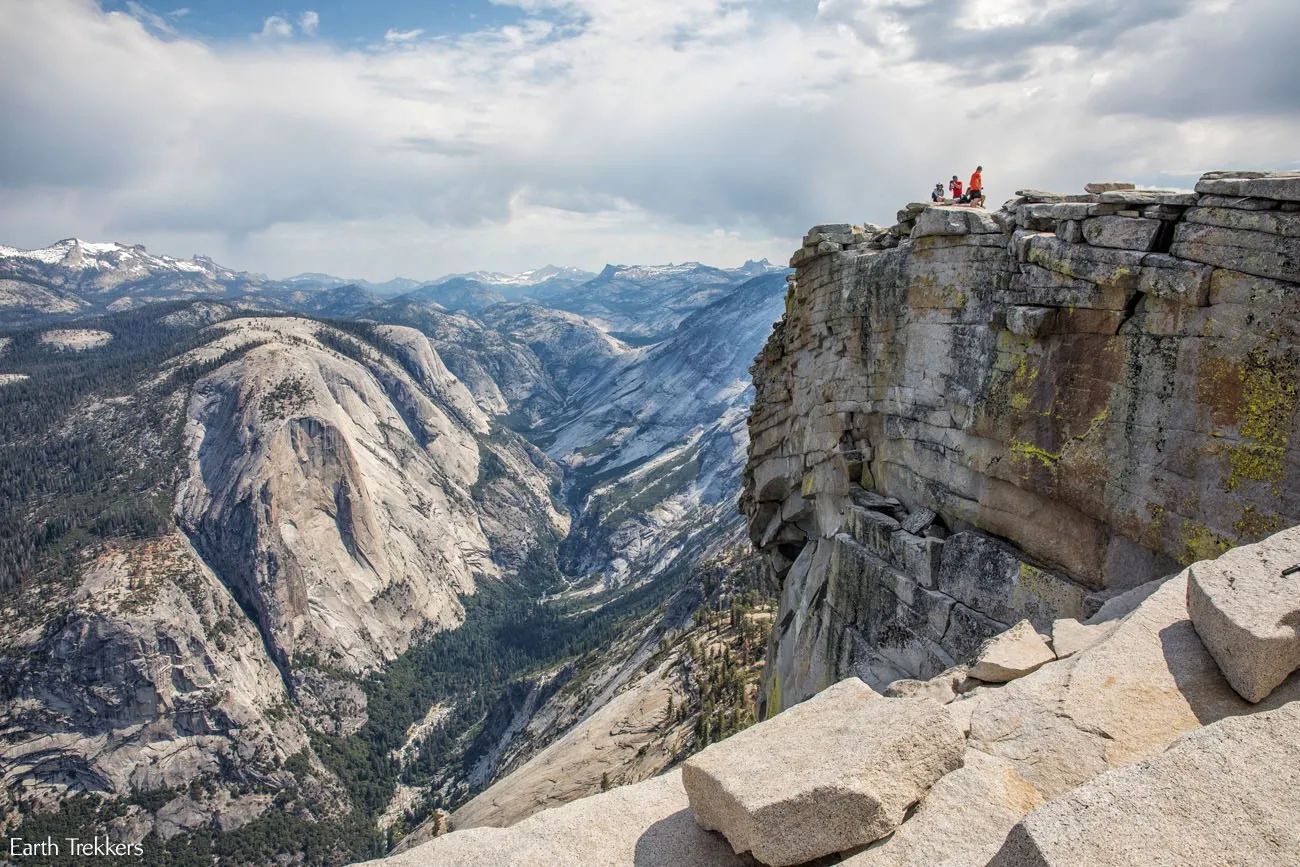
It’s a relief to finally reach the top. We made it!! Now we could take in the view and enjoy our accomplishment.
Climbing the Half Dome Cables: A Journey in 18 Photos
More information about the Half Dome cables plus lots of photos so you know exactly what to expect.On Top of Half Dome
Initially, we planned on a longer stay here than what we actually did. But rain clouds were in the area, and now knowing just how steep and slippery Half Dome is, we did not want to be on those cables if it started raining. After a few photos we headed back down the cables.
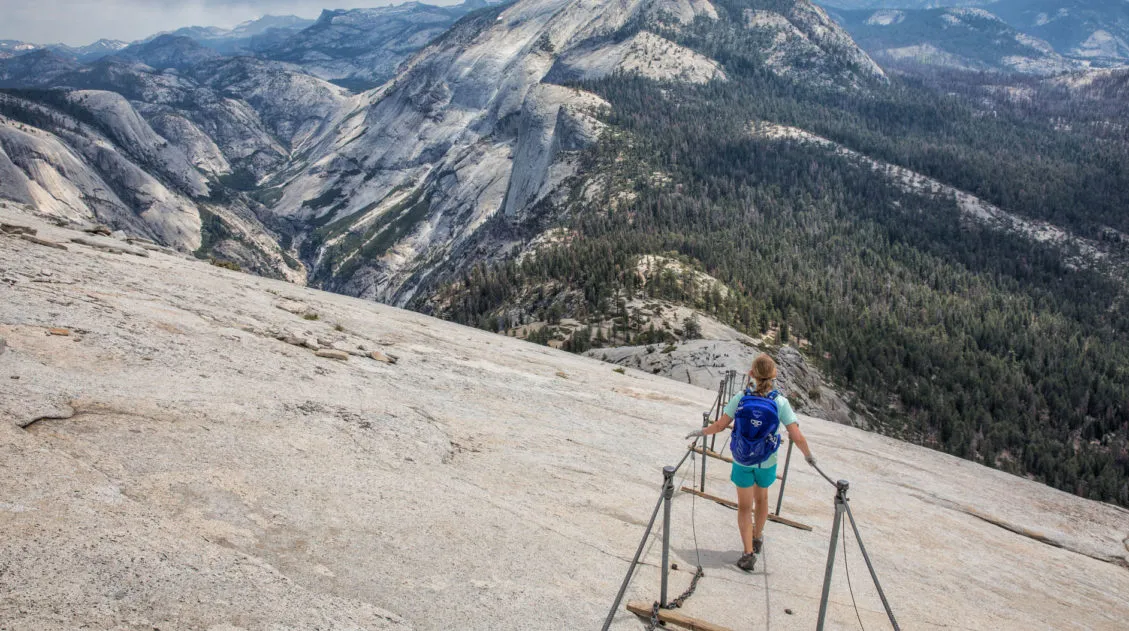
Climbing Down the Half Dome Cables
During our brief rest on top of Half Dome, many more people arrived at the cables. It took longer going down since now we had to wait to leapfrog around other climbers. But that gave us more time to enjoy the view and take photos. For us, being on the cables was thrilling and we loved every minute of it.
Now that there were more people on the cables, our descent took a total of 45 minutes. By the time we were on the subdome, it did rain, just a little bit, just enough to justify our decision to descend early.
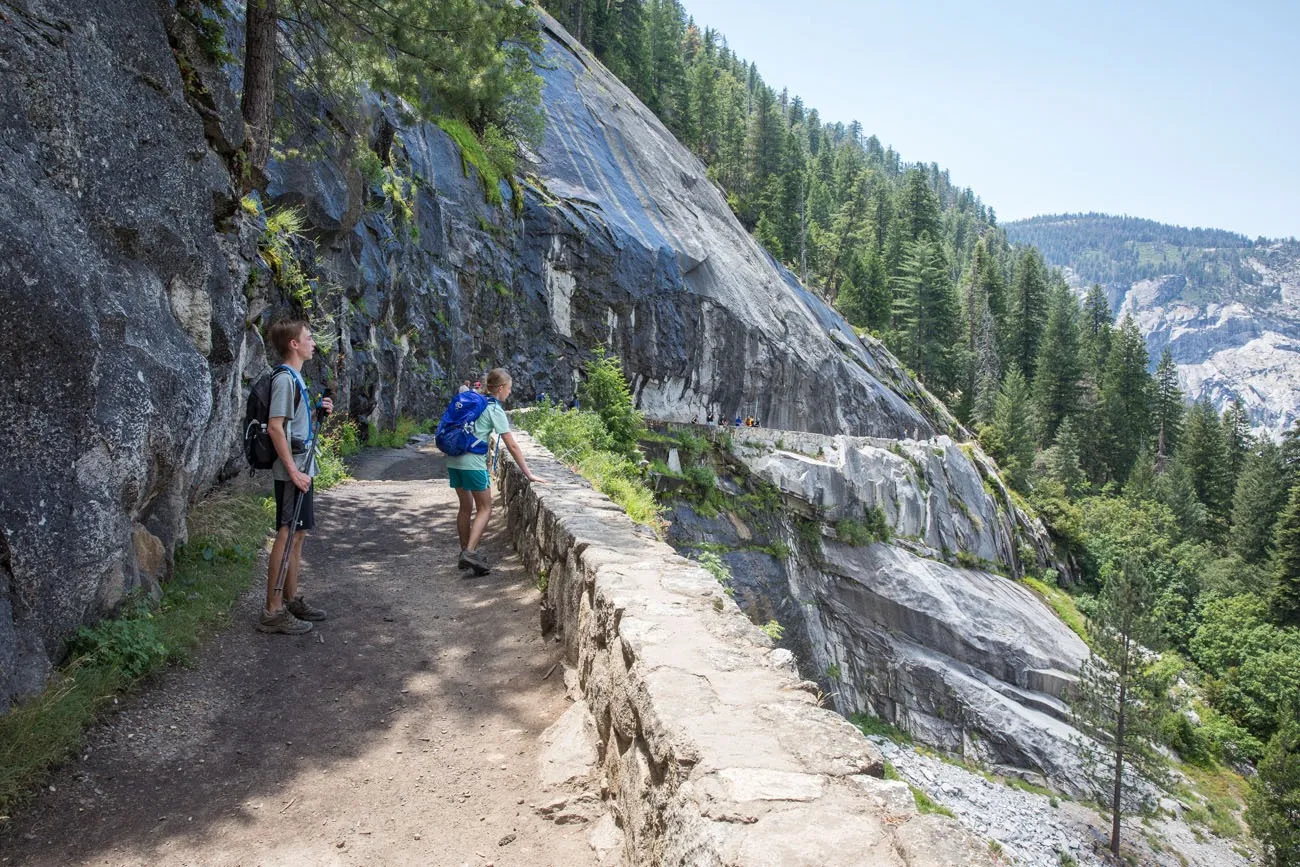
Hiking Back to Yosemite Valley
To get back to the Yosemite Valley, you must retrace your steps back down the trail towards the Mist Trail.
Muir Trail or Mist Trail?
Once you are at Nevada Fall you have a decision to make. You can hike down the Mist Trail or the Muir Trail.
If you continue down the Mist Trail, you will completely retrace your steps to the valley floor, descending on those steep, wet stairs next to Vernal Fall. Also, the trail will now be filled with many more hikers, now that it is early or late afternoon.
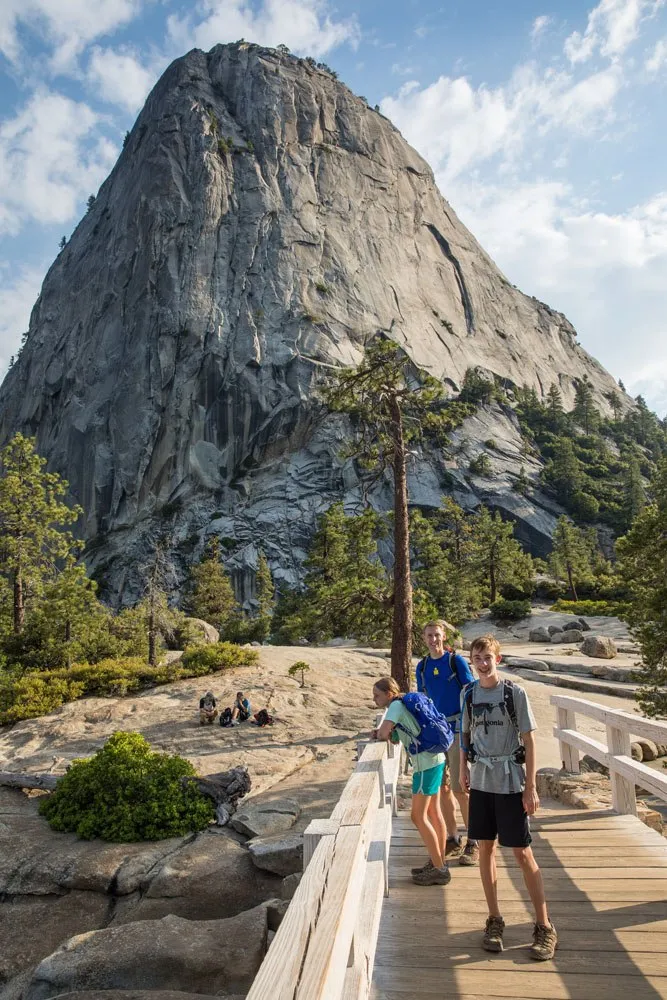
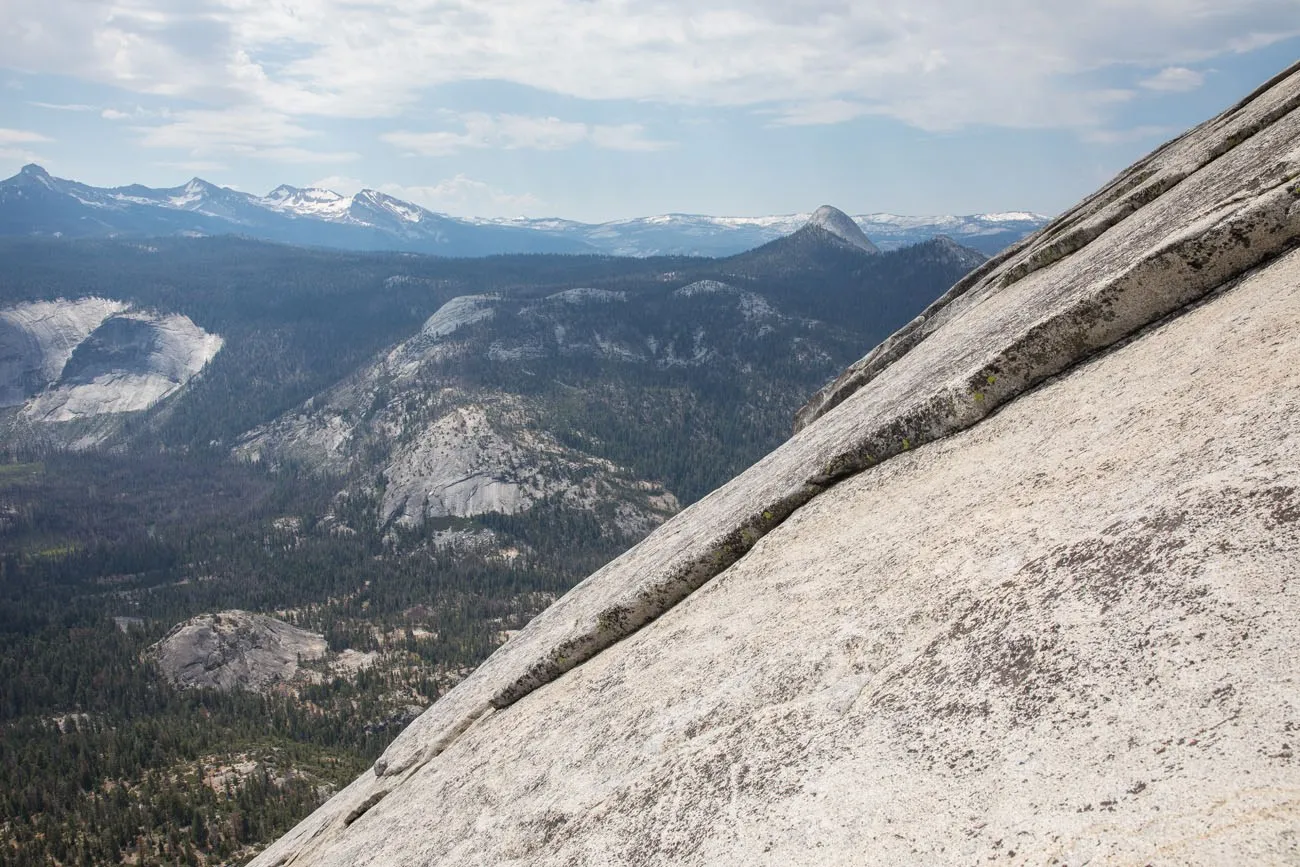
Or, you can veer off onto the Muir Trail. The Muir Trail adds an extra 1.5 miles to the hike, but it is less steep than the Mist Trail. Plus, the Muir Trail gives you a great view of the back of Half Dome, as well as the Nevada Fall. If you want to see a different view of Yosemite and don’t mind a longer but less steep descent, consider the Muir Trail.
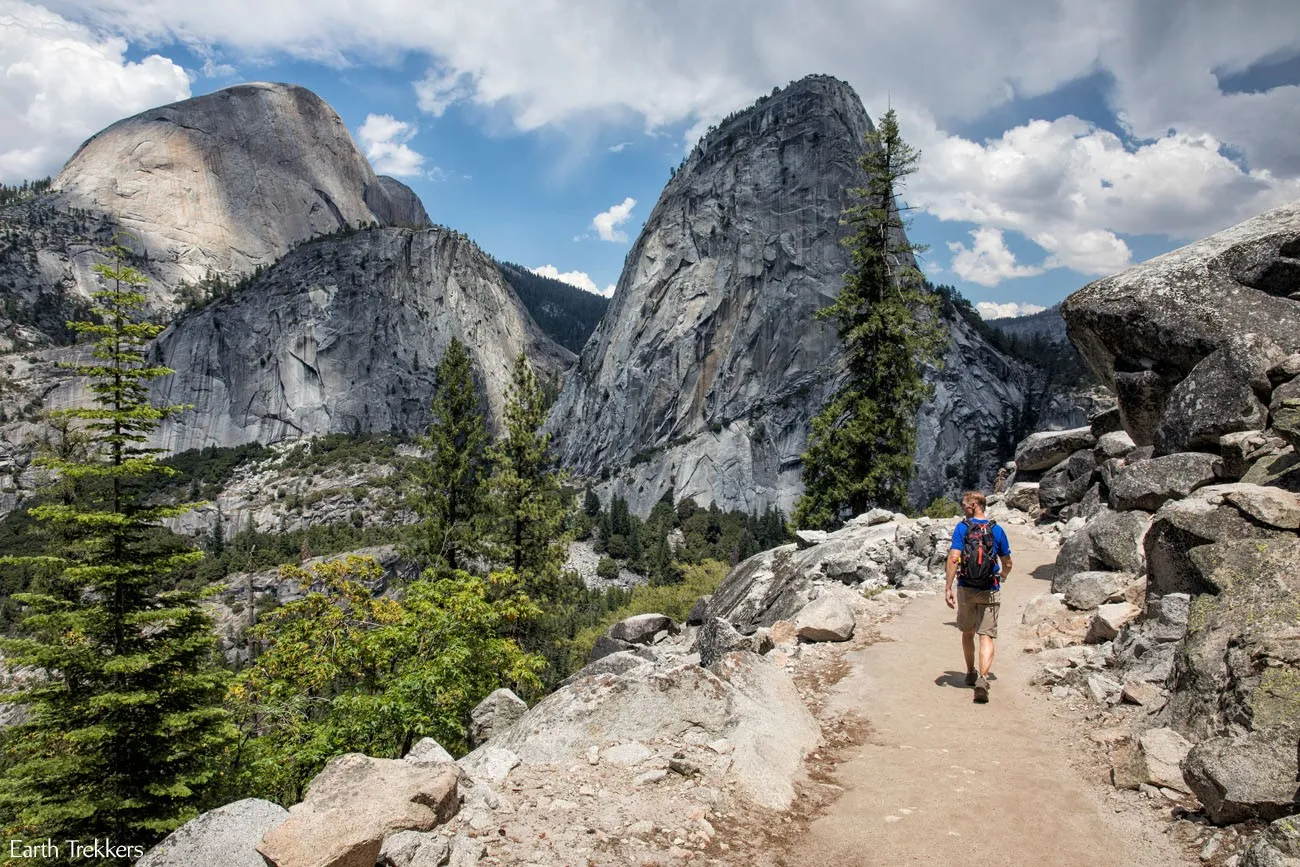
We hiked down the Muir Trail.
The first mile is spectacular. We loved the views of Half Dome, Nevada Fall, Liberty Cap, and down to Yosemite Valley. Because of these views, we were glad we chose the Muir Trail. But it does add extra distance to the hike, and most of the trail is long, steady switchbacks for four miles, all of the way until you get back to the Vernal Fall footbridge.
Most of the Muir Trail is monotonous, and if you are like us, by this point, you just want to be done. We practically jogged down the trail because we wanted to get done quicker.
By now, it was mid-afternoon and temperatures in Yosemite were in the 90’s.
By the time we reached the end of the trail, once again back at the Happy Isles Bridge, we had hiked for 8 hours and 50 minutes, including time for stops. Somehow, Kara managed to hike the entire 17 miles on her very young legs (she was 12 years old), a major accomplishment. Tyler did even better, carrying extra weight on the trail and setting our fast pace.
Hiking Half Dome is an accomplishment to be proud of at any age. And once you do this hike, you will never look at Half Dome the same way again.
Want to See More? Check Out Our Half Dome Video:
Should you Hike Half Dome?
Do not underestimate this hike! Over twenty people have died hiking Half Dome (either from falling off the cables, having a heart attack, being struck by lightning, or from failed base jumps).
If you have a fear of heights, you should not do this hike. The trail up Half Dome is very steep and very slippery. This is not the place to confront your fears.
You must have a very good level of physical fitness. You will be climbing (and then descending) 5,500 feet. Most of this climb comes before the subdome. If you are fatigued by the time you get to this point, it only makes the hike more dangerous. Once you are on the cables, it is a very strenuous climb to the top. You will need to be able to pull your body up using your upper body strength. This is not to be underestimated. If you do not think you are fit enough or have enough upper body strength, go no farther than the subdome. And just remember, once on top of Half Dome, you still have at least four more hours of hiking to get back to Yosemite Valley.
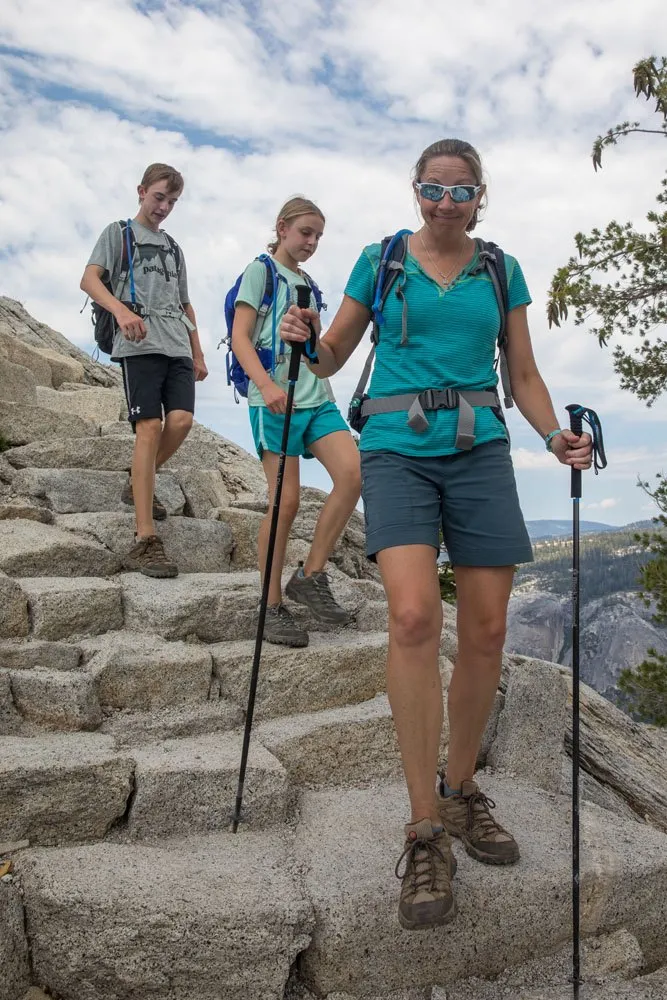
Young children should not do this hike. Again, this hike is dangerous and not a place to bring young kids. In our opinion, the youngest age we would recommend is 12 years old, and only if they have lots of hiking experience.
If you are traveling with kids, it is safe for them to hike to the subdome. They can wait here with an adult if someone in your group wants to hike up the Half Dome cables.
At the time we did this hike, Kara was almost 13 and Tyler was 14.
If rain clouds are in the area, do not climb the cables. Half Dome is not a place you want to be on with rain, wind, or lightning. People have died on Half Dome from being struck by lightning or from slipping on the wet surfaces.
For more information on the climb, watch this video on the National Park Service website.
What to Bring on the Hike
Hiking Shoes. You need hiking shoes or boots for this hike. No tennis shoes and no running shoes. You need to wear shoes with good traction to minimize slipping while climbing the cables.
Water. The National Park Service recommends 4 liters of water per person for this hike.
Gloves. Gloves are a necessity for climbing and descending the cables to protect your hands.
Your Half Dome permit. Make sure you have this packed in your backpack. You will also need to bring a government issued ID that matches your name on your permit.
Sunscreen. There is shade on the trail, but the cables and Half Dome are totally exposed and most likely you will be here midday.
Harness and Clips. This is the best way to stay safe while climbing and descending the cables. If you plan to do this, you will need a harness, carabiners, and a Y-shaped lanyard. We did not use a harness and clips on the cables, but if we did it again, we would.
Hiking poles (optional). Hiking poles take about 30% of the weight off of your legs as you descend, easing knee pain and other symptoms. I use Black Diamond Distance Z poles and love them. They easily collapse down to fit in your luggage and hiking backpack, plus they are extremely lightweight. The poles come in several sizes, so make sure you pick the right length based on your height.
Essential Hiking Gear: What Should You Bring on a Day Hike?
If you are new to hiking or are curious about what you should bring on a hike, check out our Hiking Gear Guide. Find out what we carry in our day packs and what we wear on the trails.Alternatives to the Mist and Muir Trails
There are several other options for reaching Half Dome, other than taking the Mist and Muir Trails.
From Glacier Point: 20 miles round trip
From Tenaya Lake: 23 miles round trip
You can break up this hike up into two or three days by camping overnight in Little Yosemite Campground. On day one, hike the Mist Trail to Little Yosemite Campground (4.3 miles), on day two hike 7 miles round trip to Half Dome, and on day 3 hike back to the Yosemite Valley via the Muir or Mist trails.
Do you have any questions about hiking Half Dome? Comment below!
More Information for Your Trip to Yosemite
Are you planning a trip to the United States? Read all of our articles about California in our California Travel Guide and the USA in our United States Travel Guide.
Climbing the Half Dome Cables: A Journey in 18 Photos
Pinterest Facebook Flipboard Have you ever wondered what it is like to climb the Half Dome cables? Did you even know that hiking Half Dome was something you could do? I will admit it, when I saw my first photos of people clinging to the steel cables on Half Dome, climbing one of Yosemite’s most […]

The Half Dome Permit: How to be One of the Lucky Lottery Winners
If you have plans to hike to Half Dome, you must have a Half Dome permit. A maximum of 300 permits are awarded per day in a lottery system. In this guide, we cover why you need a permit and how to get one. Why Do You Need a Permit? Since 2010, the National Park […]

30 Epic Things to Do in Yosemite for First-Timers
Yosemite National Park is packed with famous landmarks, awesome hikes, and breathtaking views. If you are planning your first trip to Yosemite, how do you know what to do? I am a big fan of lists (and photos!). In this post, I list the best things to do in Yosemite: the best landmarks to visit, […]
US National Parks that Require Reservations – 2026 Guide
Due to growing popularity and visitation, there are now eight National Parks and one National Monument that require a reservation in advance. This includes timed-entry reservations, vehicle reservations to drive a particular road, or hiking permit for select trails. This article was updated with new information from the National Park Service on February 23, 2026. […]
Mist Trail vs. John Muir Trail to Vernal and Nevada Falls
Hiking to the top of Vernal Fall and Nevada Fall is one of Yosemite’s most popular activities. You have several options to get there and the route you choose will have a big impact on what kind of experience you will have. Two trails wind their way up to these waterfalls, the Mist Trail and […]
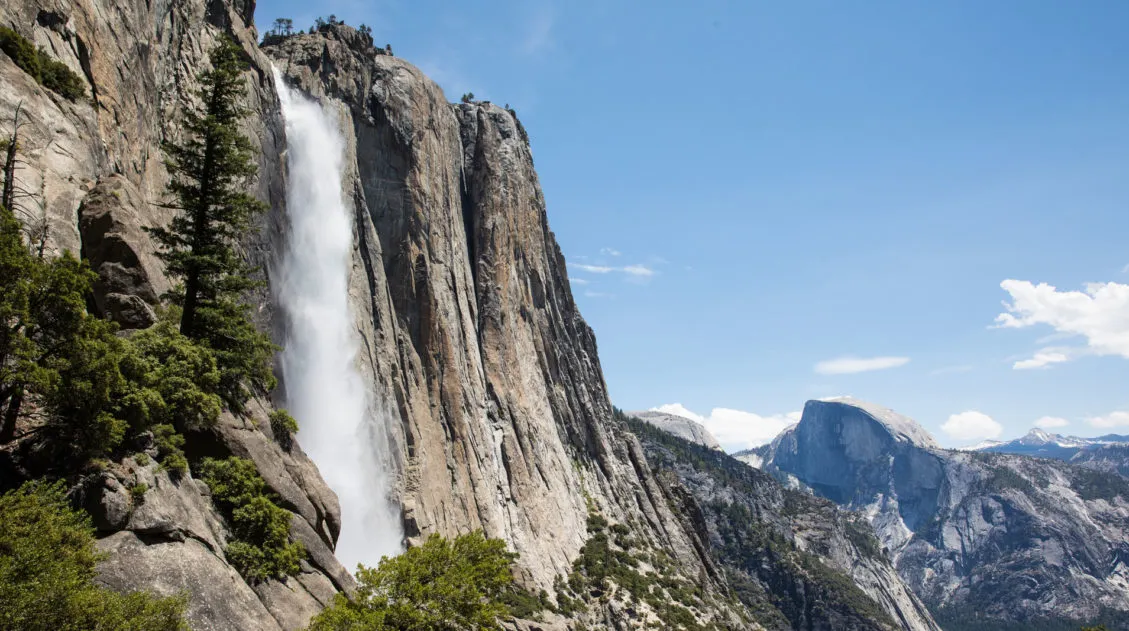
How to Hike to Upper Yosemite Falls and Yosemite Point
There are a lot of great reasons to hike to the top of Upper Yosemite Falls. From the trail, the views of Yosemite Falls are magnificent. For part of the hike, you are close enough to feel the spray and hear the waterfall thundering down the mountain. Halfway up the climb you get an amazing […]
25 Best Things to Do in San Francisco
What’s the first thing that comes to your mind when you think of San Francisco? The Golden Gate Bridge? The legend and the stories of Alcatraz? Cable cars climbing up and down the steep hills of the city? San Francisco is a big city, filled with lots of things to do. It has a colorful […]
Joshua Tree National Park Travel Guide
Joshua Tree National Park With its desert scenery, hiking trails, rock climbing routes, hidden oases, scenic drives, and trees that look like they have been plucked from the pages of a Dr. Seuss book, Joshua Tree National Park is a joy to explore. Joshua Tree National Park gets its name for the Joshua trees, which […]
20 Epic Things to Do in Death Valley National Park
Death Valley…just the name inspires a sense of wonder and mystery. With barren salt flats, towering mountains, mysterious sailing stones, shifting sand dunes, rainbow-colored mountains, and canyons to explore, there is a lot to do here. In this post, learn about the best things to do in Death Valley National Park, with suggestions on how […]
One Day Itinerary for Kings Canyon and Sequoia National Parks
Kings Canyon and Sequoia National Parks sit side by side in central California. Filled with alpine peaks, deep canyons, and the largest trees in the world, you could spend several days here. However, if you only have one day, you have just enough time to visit the highlights of both parks. We visited Kings Canyon […]
The Ultimate Guide to the 63 US National Parks
Stretching from the South Pacific, across the United States to the Caribbean, are 63 national parks. These national treasures preserve iconic landscapes, majestic mountains, primordial forests, arid deserts, misty coastlines, immense canyons, wildlife, and historic landmarks. We have visited 56 of the 63 US national parks, from the towering granite walls of Yosemite and the […]

Comments 113