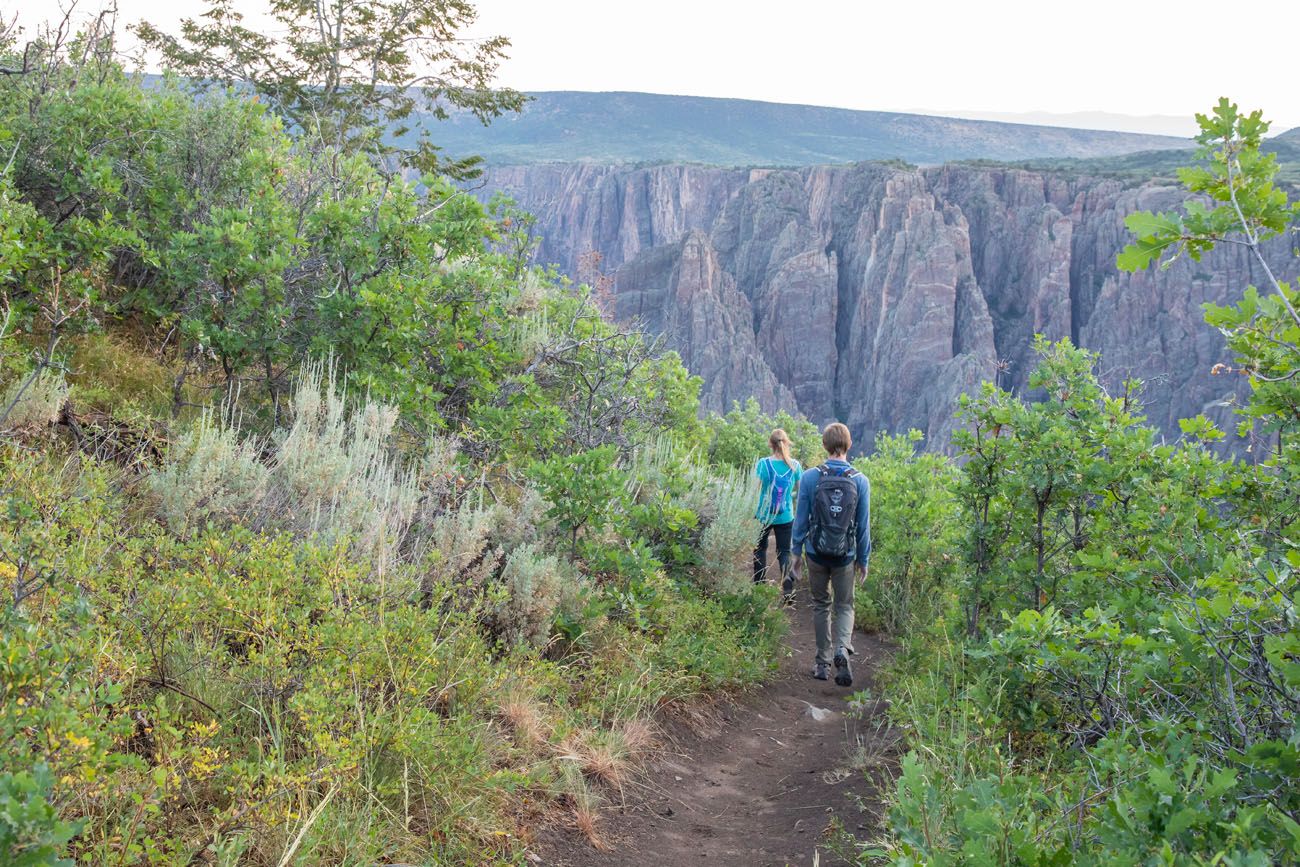
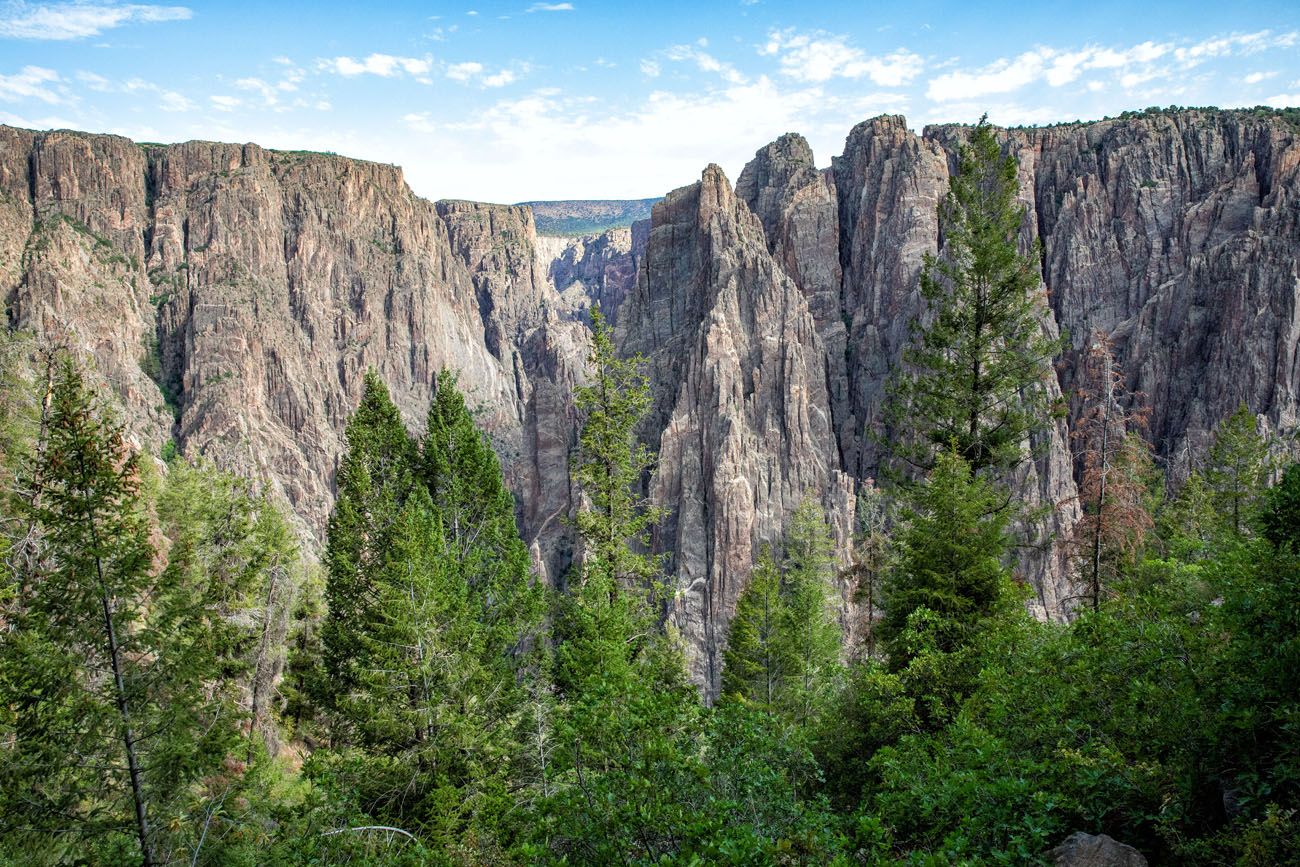
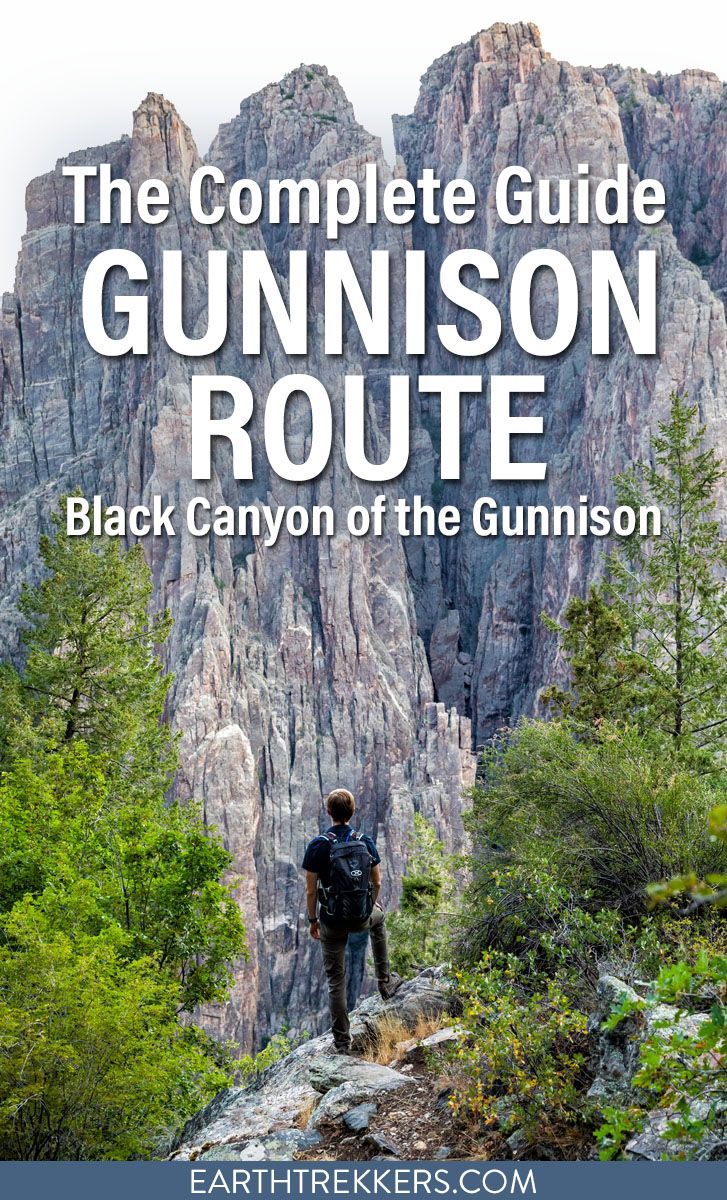
The Gunnison Route takes hikers from the south rim of the Black Canyon to the Gunnison River. It’s the most popular inner canyon experience on the south rim, but don’t let that fool you. This is a hard, strenuous hike where you will descend (and later hike back up) a massive amount of elevation in a short period of time.
On this hike, expect to get dirty. The hike down to the river is an almost constant battle not to wipe out or fall on your butt, as you hike down trails of gravel, loose rock, and scree fields. The way back up can be hot and exhausting. Your thighs are already fatigued from the journey to the river and now they must carry you back up to the rim.
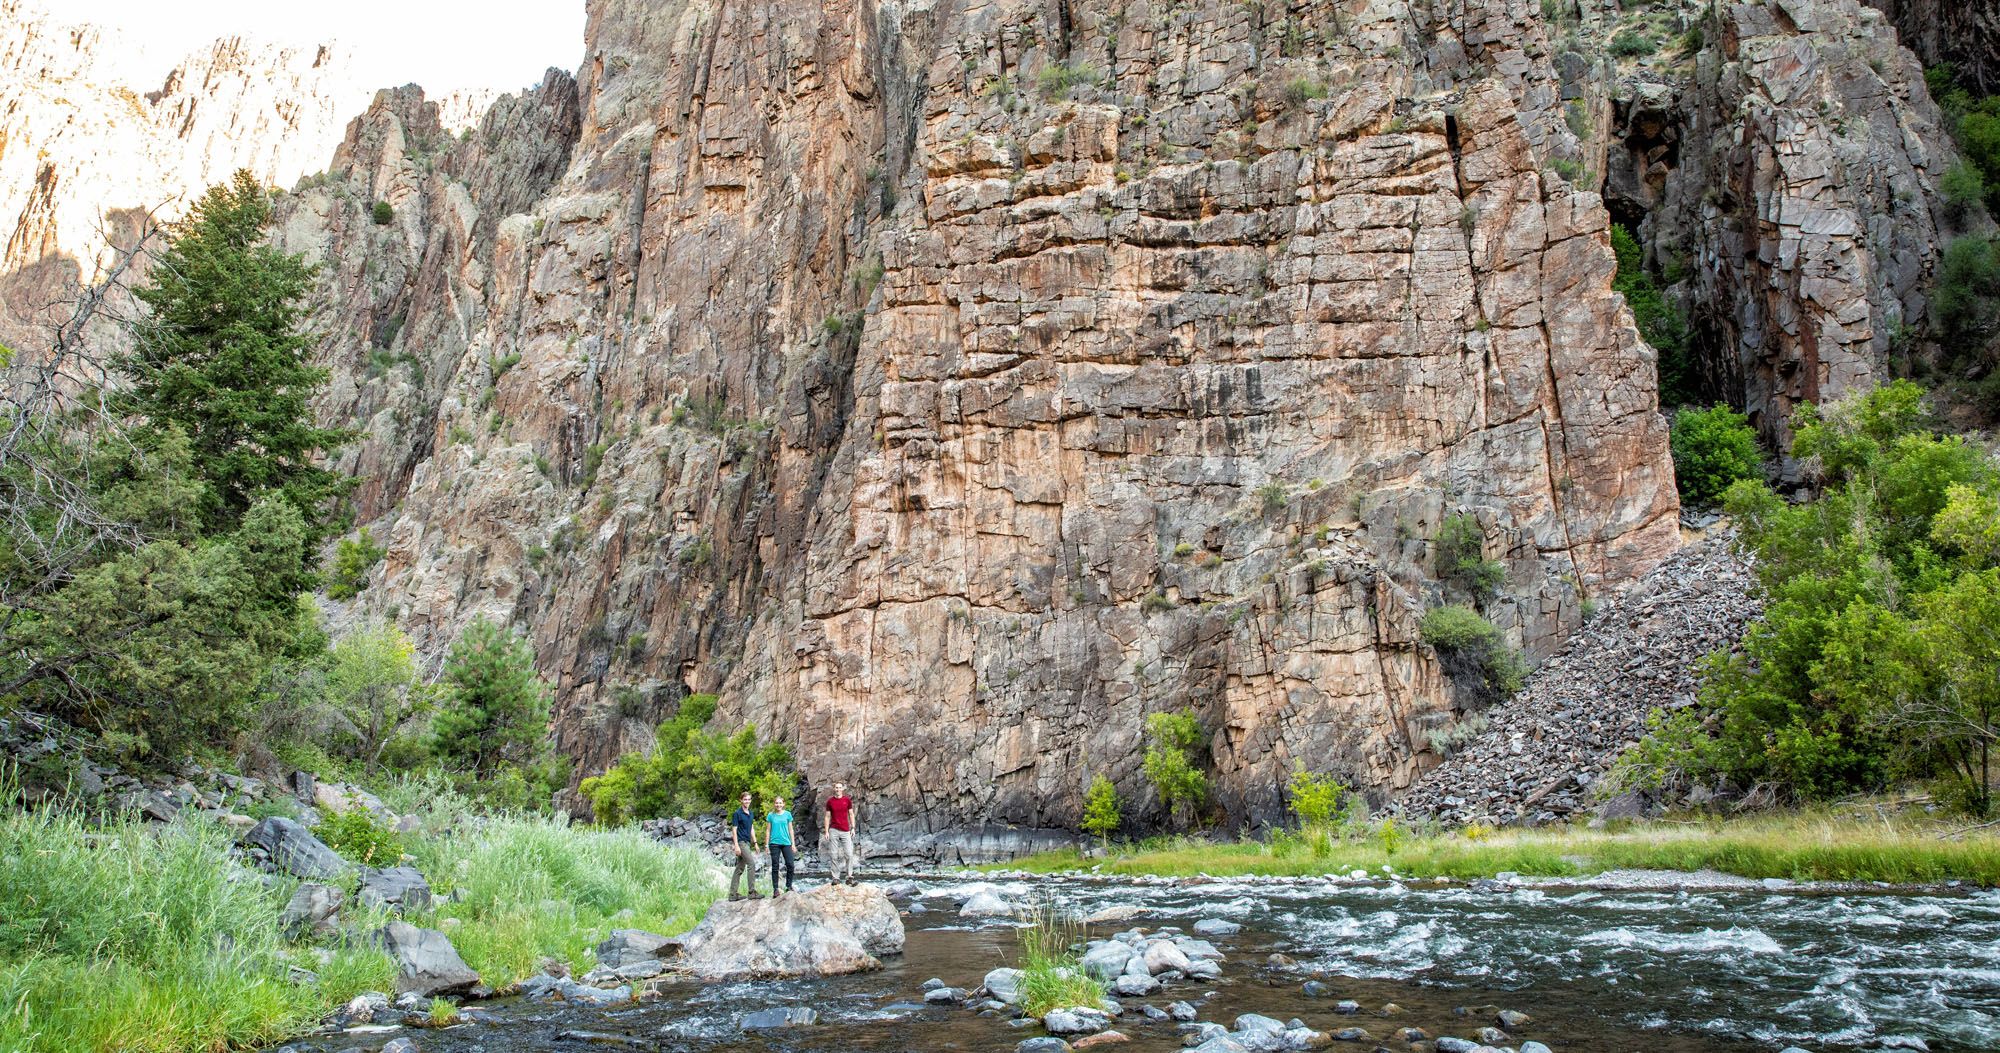
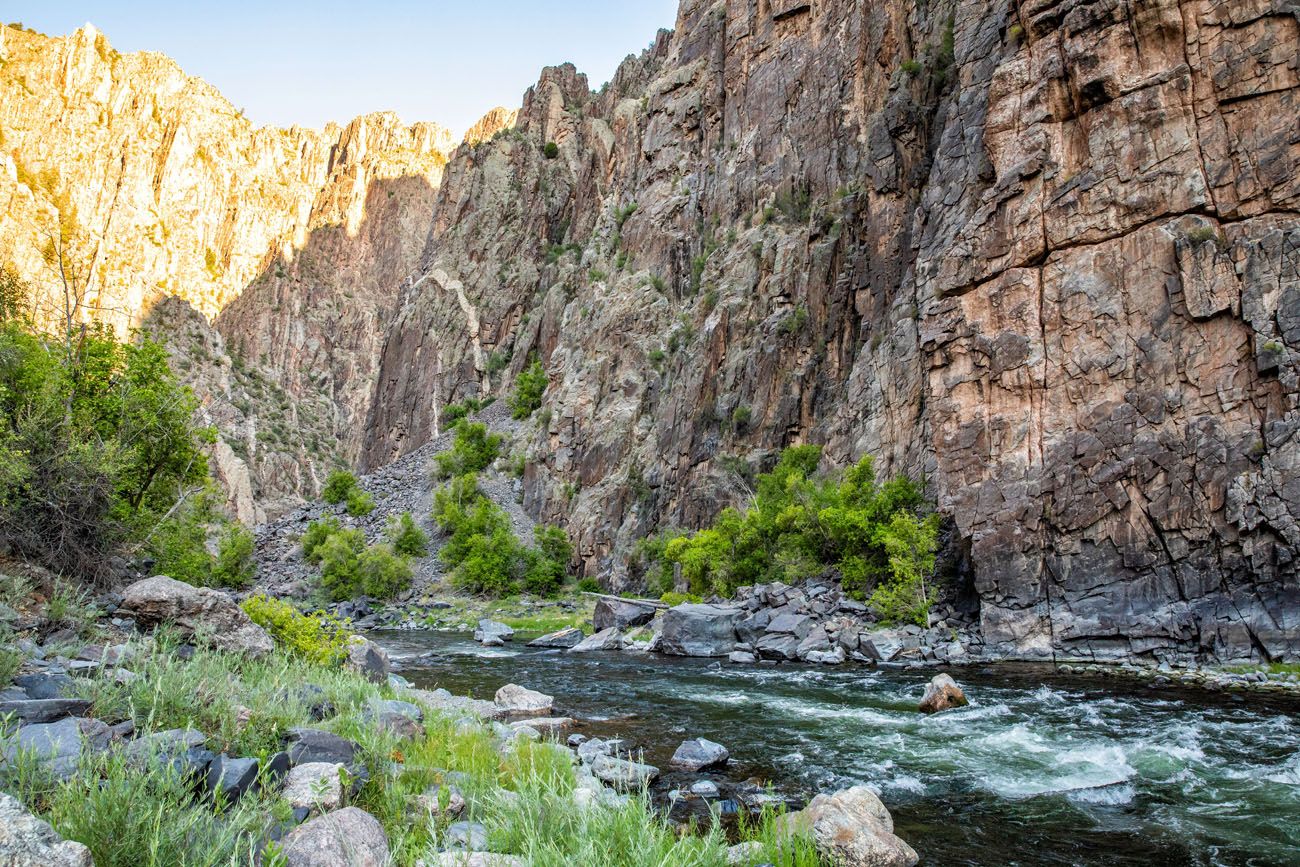
It might not sound like it, but this hike is tons of fun. We laughed and joked on the way down, as we slipped and slid on the loose trail. Standing next to the Gunnison River, gazing up at the immense granite walls, was an unforgettable experience. It’s not so much fun on the way back up, but if you just keep putting one foot in front of the other, eventually you’ll be proudly standing on top of the south rim once again.
If hiking the Gunnison Route sounds like something you would like to do, get all of the details on how to have a successful hike in this post.
Note: The Gunnison Route is currently closed due to a wildfire in July 2025. Get updates on when it will reopen on the National Park Service website.
Gunnison Route Hiking Stats
Distance: 2.7 miles out-and-back
Difficulty: Hard, strenuous
Elevation Gain: 1,772 feet
Elevation at the South Rim: 8,103 feet
Elevation at the Gunnison River: 6,344 feet
Length of Time: The average time to do this hike, according to the National Park Service, is 4 to 6 hours. However, if you move fast, you can do it in less time. We did it in 3 hours and 15 minutes, which includes 35 minutes spent down by the river.
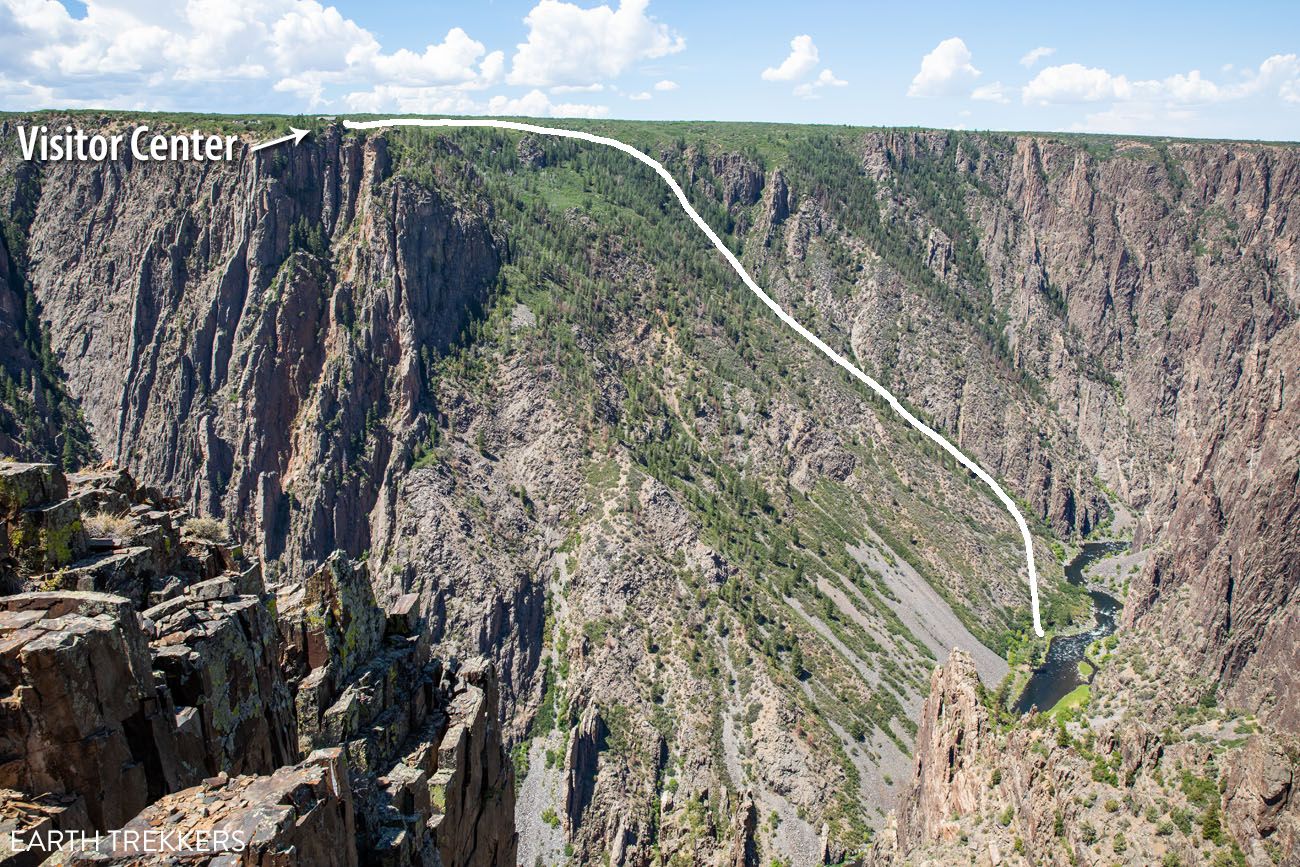
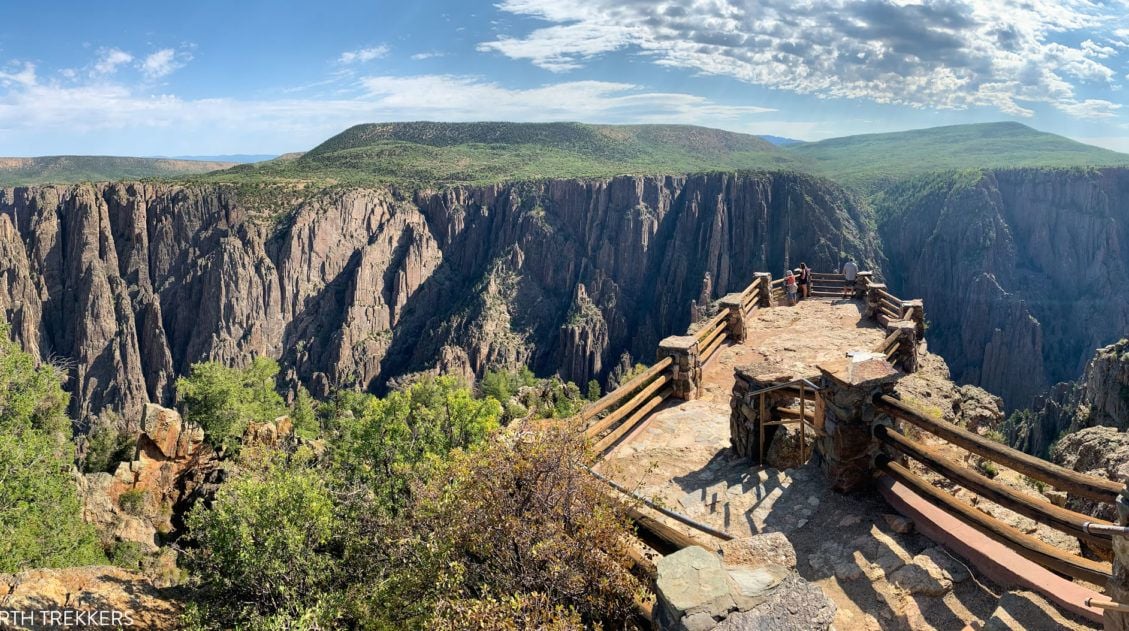
View of the hiking trail route from the north rim of Black Canyon of the Gunnison.
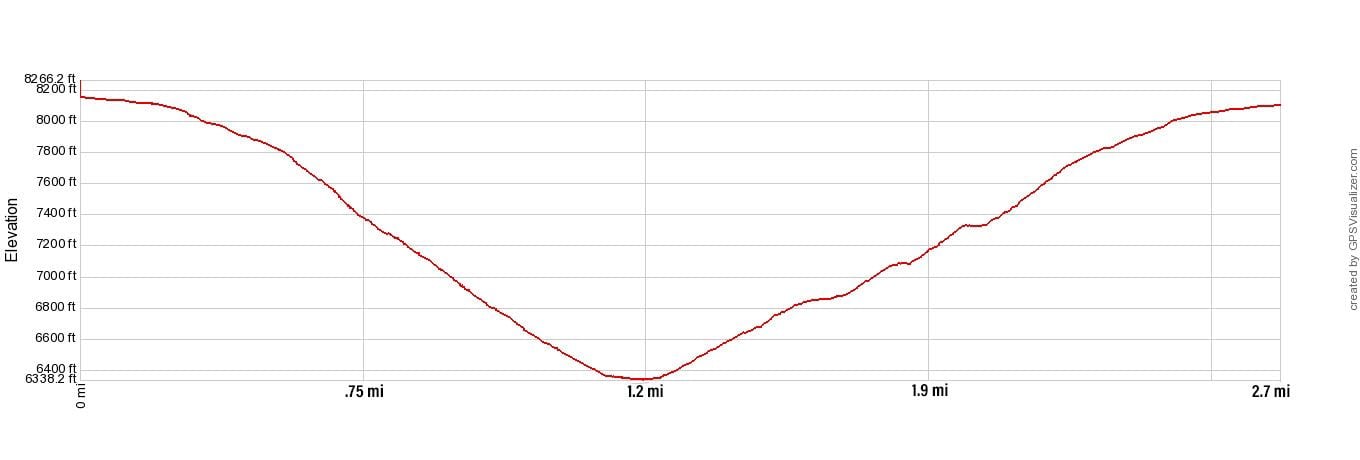
Elevation profile
Please practice the seven principles of Leave No Trace: plan ahead, stay on the trail, pack out what you bring to the hiking trail, leave areas as you found them, minimize campfire impacts, be considerate of other hikers, and do not approach or feed wildlife.
Permit for the Gunnison Route
You MUST have a Wilderness Permit to do this hike.
Only 15 people per day are permitted to hike the Gunnison Route, for safety reasons and to reduce the amount of foot traffic on the trail.
The permit is fee is $6.
Starting in 2025, permits are available on recreation.gov (prior to 2025, permits were available on a first-come first-served basis, the day before the planned hike).
For more information about the permit, visit the National Park Service website.
Important Things to Know About the Permit
You must have your permit with you on the trail. A park ranger was checking for permits when we did this hike. If you do not have a permit, you will be fined.
After you finish your hike, let a park ranger know that you have completed the hike. If you finish after normal hours, place your permit in the self-registration box. This lets the National Park Service know that you have safely made it out of the canyon.
You are permitted to camp overnight, for one night, next to the Gunnison River. There are established campsites by the river and the national park service requests that you use one of these campsites.
How to Hike the Gunnison Route
Step-By-Step Trail Guide
Getting to the Trailhead
The trail starts next to the South Rim Visitor Center. Park in the large parking lot here. There are toilets located next to the visitor center.
To hike the Gunnison Route, you will start the hike on the Oak Flat Trail, which starts behind the Visitor Center.
The Oak Flat Trail
You will walk down some steps to the Oak Flat Trail. Just a few minutes into the hike, the trail will fork. Stay to the right to continue on the Oak Flat Trail to the Gunnison Route.
You will hike the Oak Flat Trail for roughly a quarter of a mile, before reaching the trail for the Gunnison Route. The trail splits. There will be a sign stating that a Wilderness Permit is necessary to continue down this trail. This National Park Service sign marks the start of the Gunnison Route.
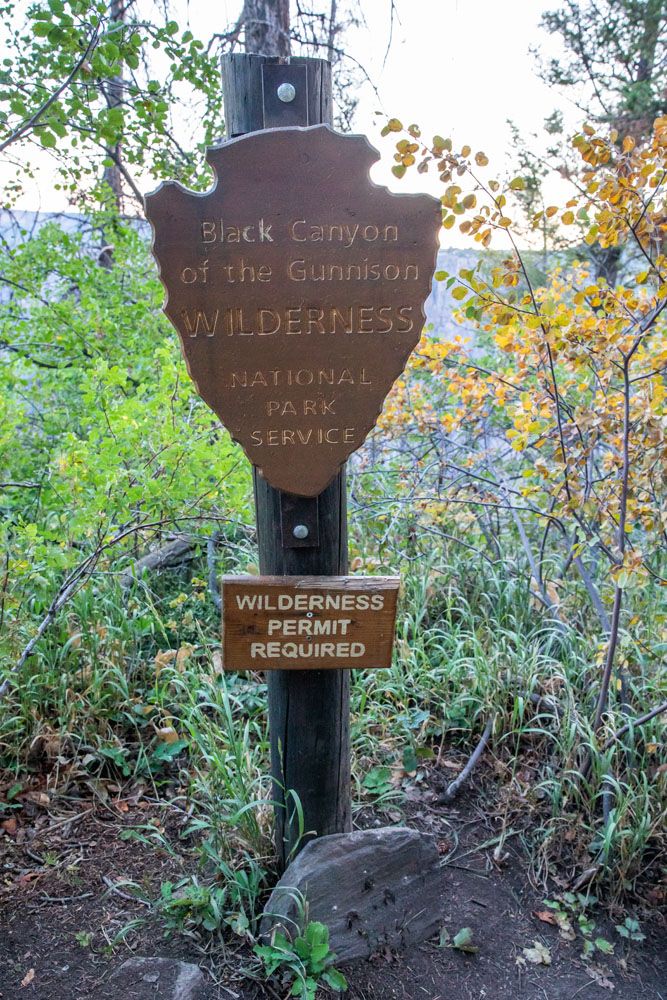
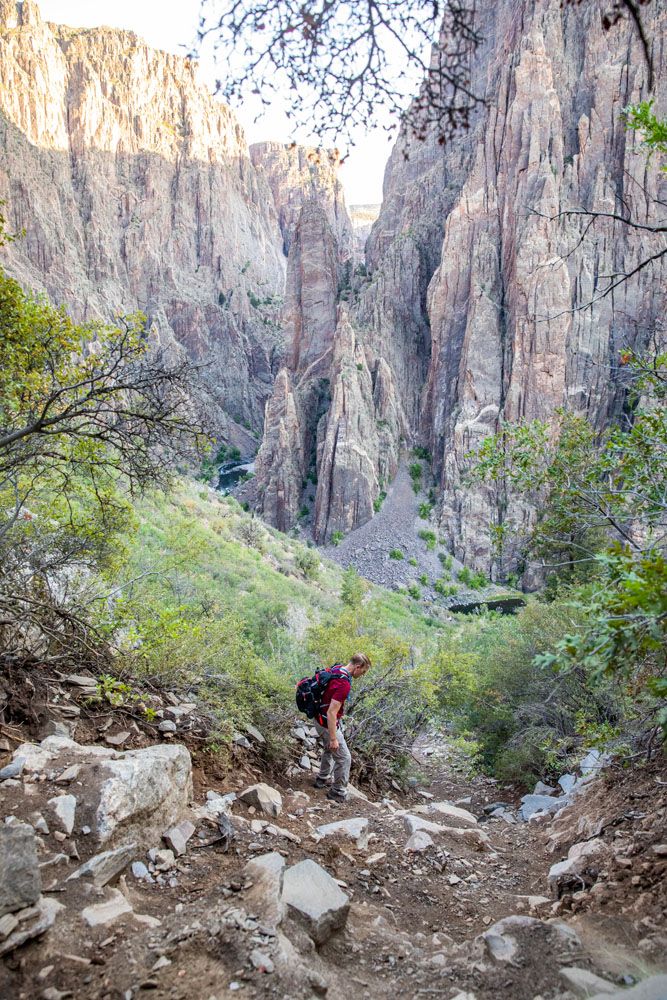
From this point, it is a steep, strenuous, difficult walk/scramble down to the Gunnison River.
On the Gunnison Route
At first, it doesn’t seem so bad. You are on a trail that switchbacks through the forest. Nothing too steep or strenuous, yet. There will be a few, brief scrambles over trees and their roots, but at first, the trail seems rather sedate.

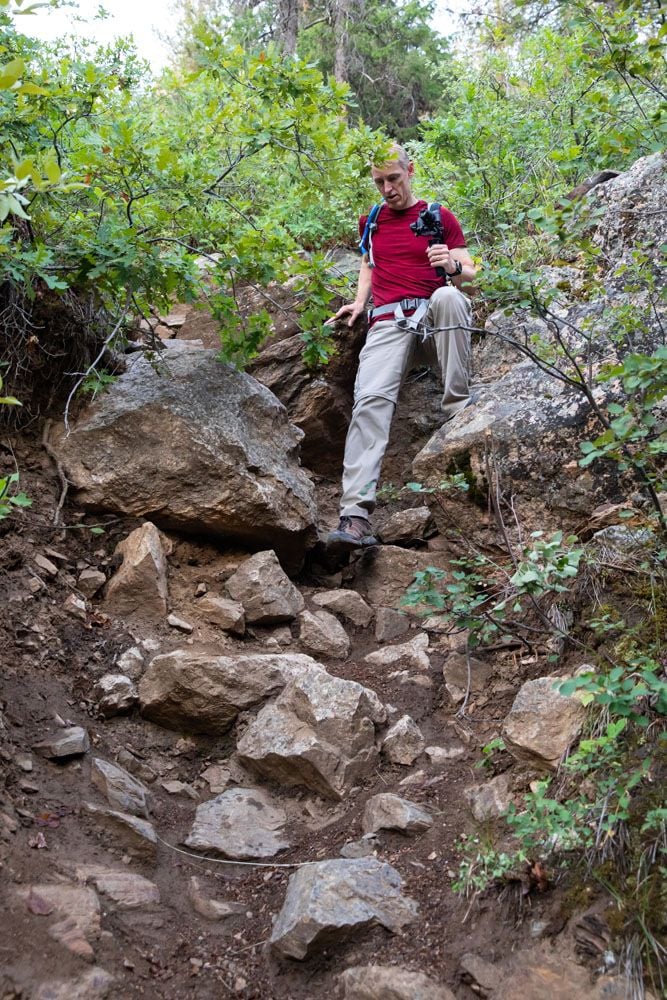
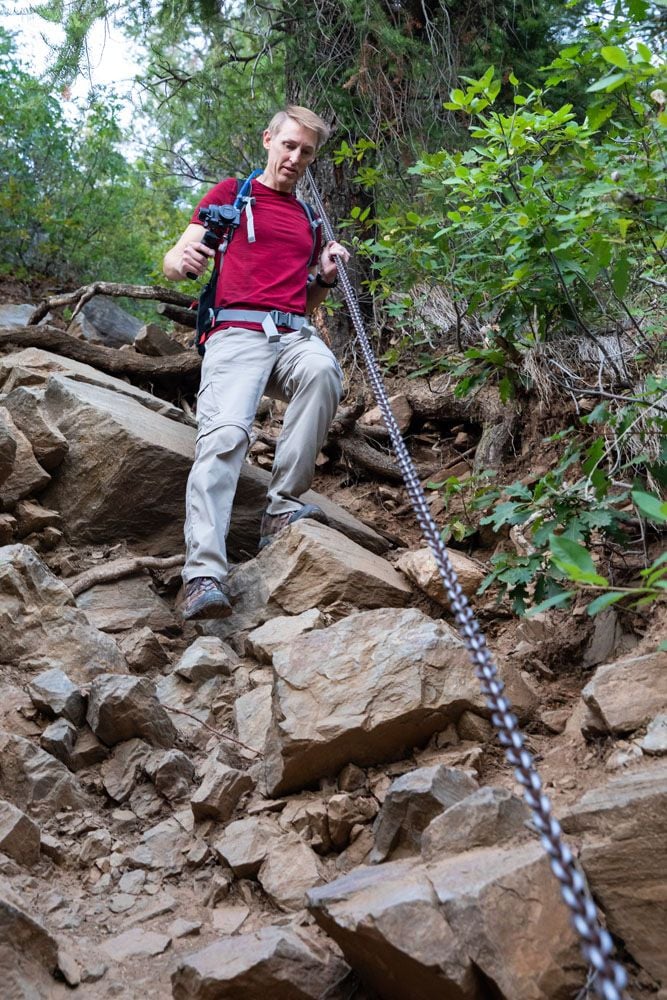
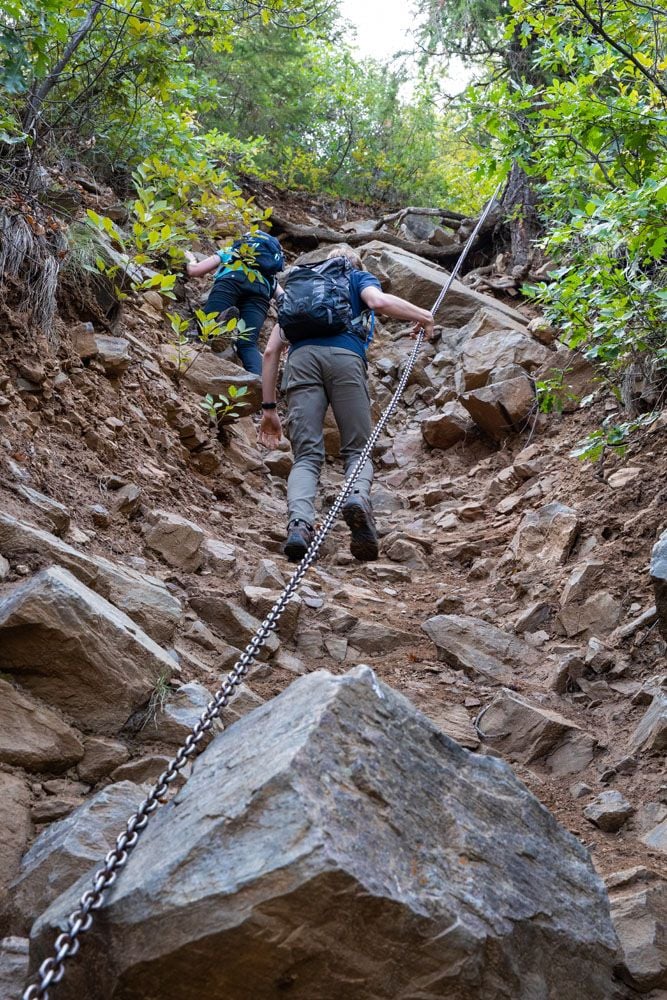
Once you reach the chains, the trail gets steeper. There are two chains, back to back, about 80 feet in length, to help you get down the first steep descent of the hike. What left us puzzled is that this is not the steepest or most difficult section of the hike (that comes later, when there is no chain). But it’s a good warm up for what is coming.

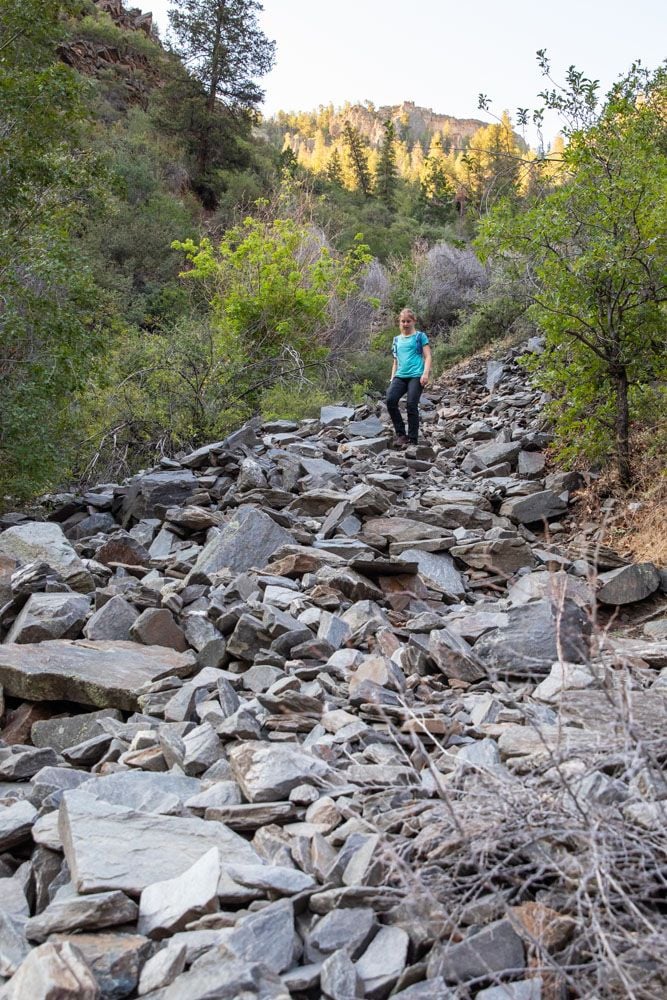
Over the next mile, the trail rapidly loses elevation. At times you will be hiking down a steep dirt trail. And at other times, you will hike down large fields of rock and scree. During most of the descent, it’s a battle against gravity, not to slide and land on your butt. And there’s a very good chance that you’ll do just that. In our party of four, we had several good falls and wipe outs on the way down.
This is an unmarked trail. There are no trail signs to confirm you are moving in the right direction. You basically follow the faint, worn path of those who came before you. Most of the time, the trail is very obvious. But there are several spots where the trail is very faint or sketchy, and you will wonder if you are still on the trail. It helps to have a GPS for this hike (keep reading for recommendations).
PRO TRAVEL TIP: Take photos of the trail with your camera or smartphone and use these for reference when hiking back up the trail.

Eventually, the Gunnison River will come into view. Once you see the river, you know you are getting close, and it’s a good gauge on how far you still have to go.
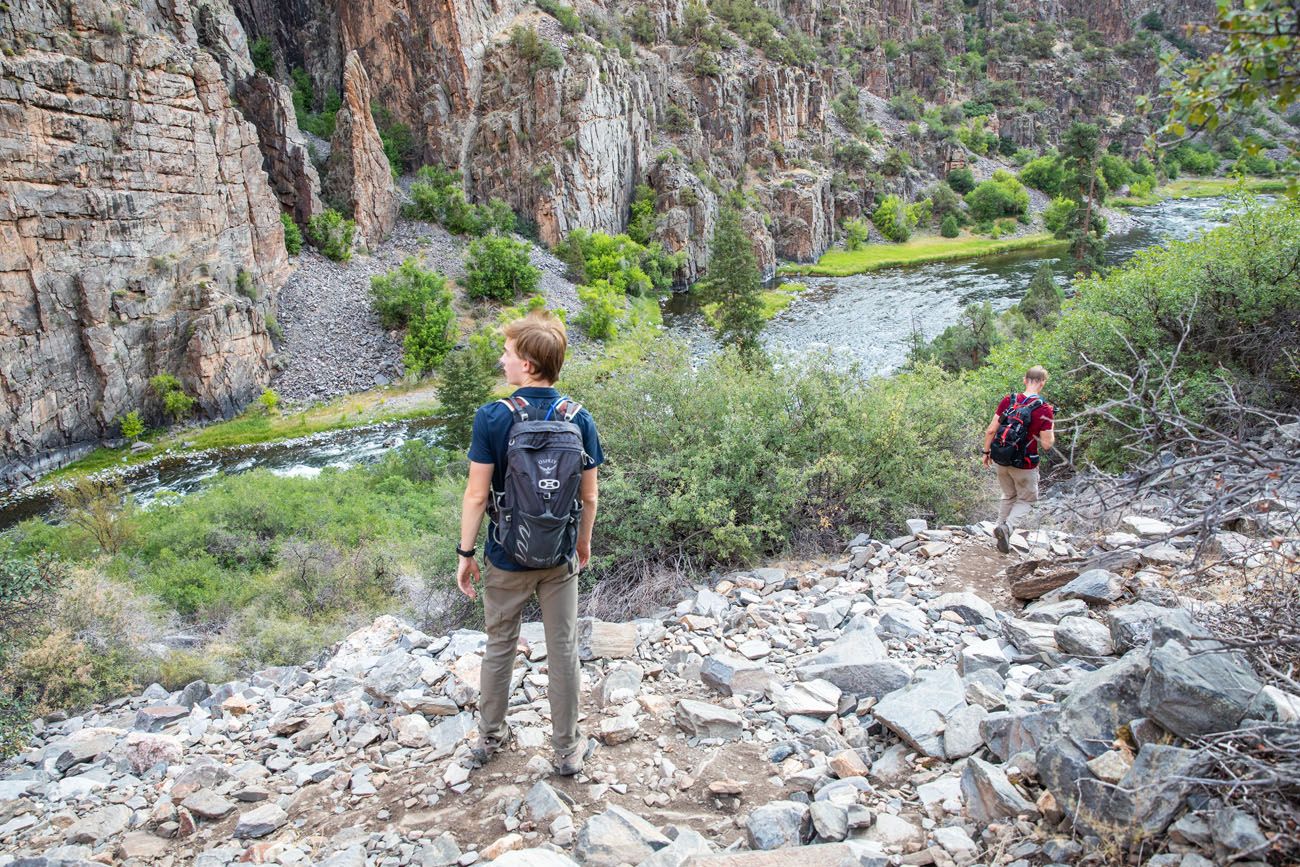
As you approach the river, the temperature warms up, now that you are at a lower elevation. The air also feels a little more humid.
Along the final 200 meters of trail, you might see or come into contact with poison ivy. If you don’t know what poison ivy looks like, here’s a photo for you.

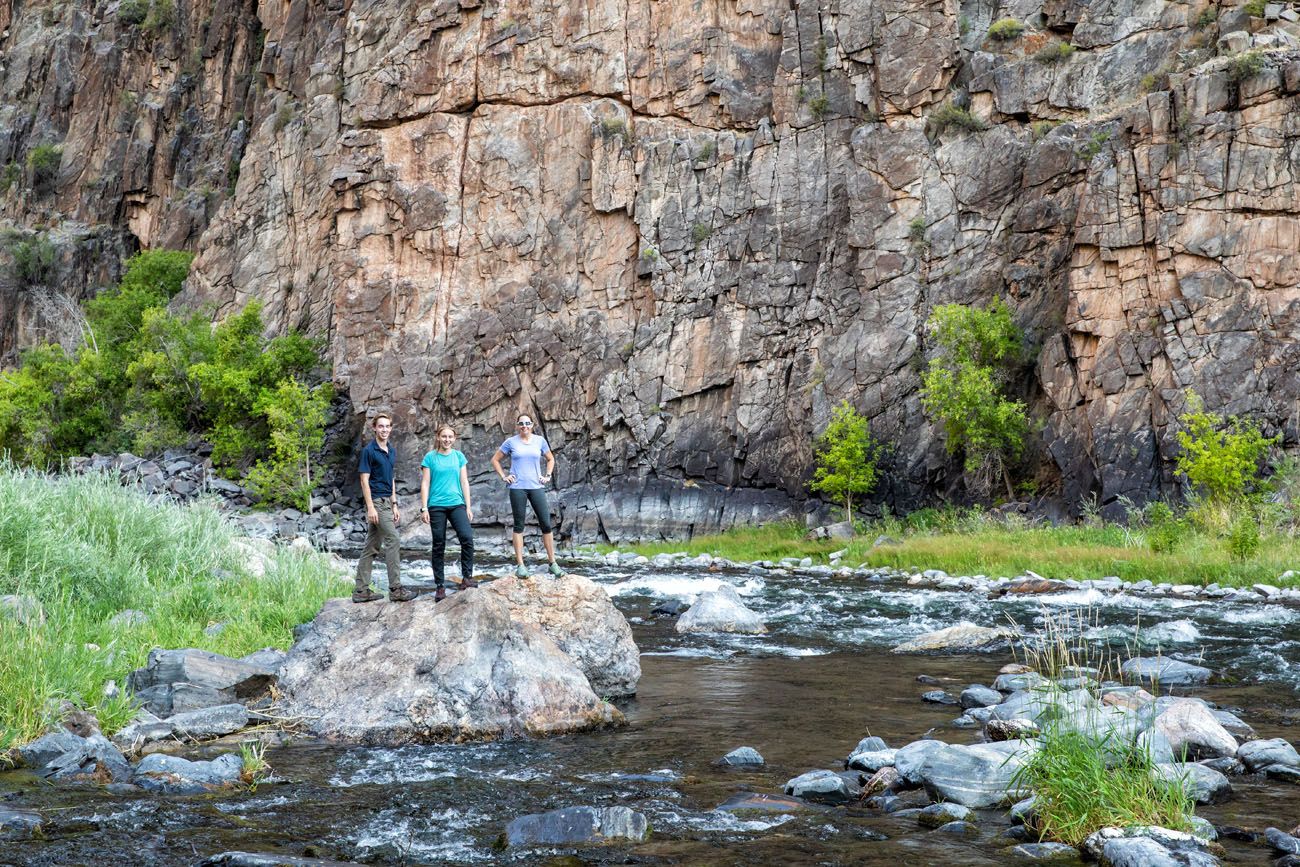
Once you make it the river, feel free to spend as much time as you like. With your permit you are allowed to spend the night here, if you desire.
There are shaded picnic areas, flat (yay!) trails along the river, and nice viewpoints of the Gunnison River. There is even a toilet here.
Once you have taken your photos, had your snack, and rested your legs, start back up the trail when you are ready.

Hiking Back Up to the South Rim
Essentially, you will retrace your steps back up the same trail to the visitor center. But if only it were that easy. It is a bit tricky to stay on the trail. We know, because we briefly stumbled off of the main trail.
On the way down, it helps to keep making mental notes of what the trail looks like. The Gunnison Route is an unmarked trail, so it’s easy to stumble off of it, either on the way down and/or the way back up. And since the route is limited to 15 people, you can’t count on following others on the trail.
It helps to have a GPS. We have a Garmin GPS, which tracks our route. We also wear Garmin Fenix watches. These watches, when in hiking mode, display the trail map. You can see the Gunnison Route on the Garmin Fenix watch. Several times it helped confirm that we were still on the trail.
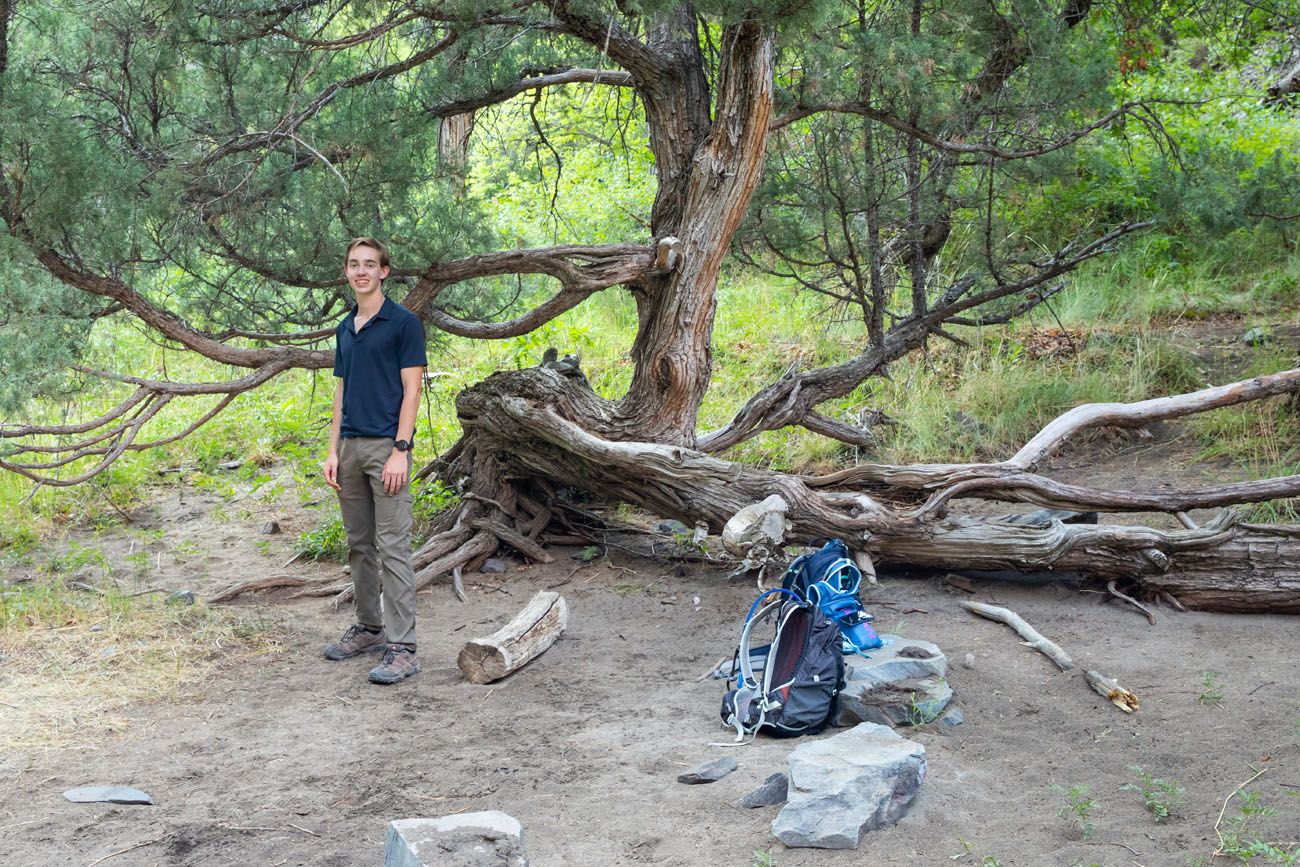
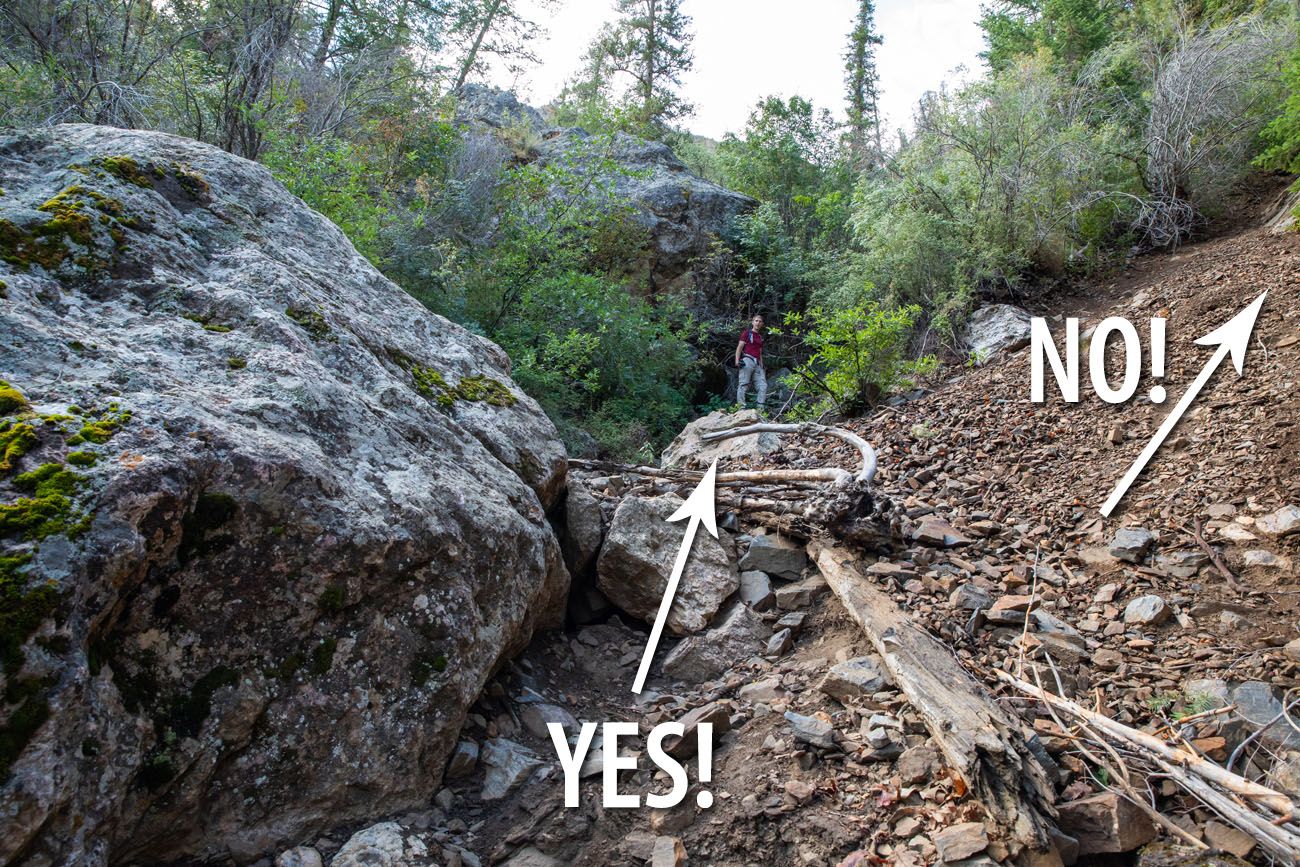
The easiest place to lose the trail on the way back up is just before you reach the chains. You will be walking up a wide wash of rocks. To your left will be a large boulder. Stay to the right of this boulder, but head to the trail in the brush (where Tim is standing in the photo below). If you miss it, you will continue up the wash, which gets very steep, and you will lose the trail. So, keep an eye out for this boulder.
Once you make it to the chains, the rest of the route back to the visitor center is very straight forward. Somehow, the Oak Flat Trail seemed to have gotten longer, but maybe that’s just because we were hot and exhausted by this point.
View from the Oak Flat Trail.
Best Time to Hike the Gunnison Route
It is possible to hike the Gunnison Route all year.
The best time to hike the Gunnison Route is from May through October, when the trail is free from snow.
Snow begins to cover the trail in November. If you have plans to hike from November through April, you must be prepared and it is advised that you have crampons, an ice axe, snowshoes, and a rope.
For more information about Black Canyon of the Gunnison National Park, read our Black Canyon of the Gunnison Travel Guide. Get important travel planning tips, sample itineraries, advice on when to go, where to stay, and more.
Tips to Have the Best Experience
Start the hike early, ideally by 7 am, although earlier is even better. During the summer months the canyon can really heat up. An early start makes it more likely that you will be back on the south rim before temperatures really escalate.
Leave no trace. When you are in the park, practice the seven principles of Leave No Trace. This includes packing out what you bring into the park, be considerate of other hikers, stay on the trail, and do not remove anything from the park.
Do not expect your cell phone to work. During this entire hike we had no cellular service. Don’t depend on your phone to call for help, talk to friends, or send photos to friends and family.
Keep in mind the elevation. You are hiking at a relatively high altitude. If you are not acclimated to the elevation, it will make the hike back up to the rim more difficult.
What to Bring
Hiking shoes. Don’t do this hike in anything other than hiking shoes or hiking boots. You need good traction for this trail.
Water. The national park service recommends 4 liters of water per person during the summer months. If you are fit and fast, you can get by with less water. We did this hike very fast and started just after sunrise, when temperatures were cooler. We drank approximately 2 liters of water per person.
Sunblock. In the early morning hours, you will be out of the sun, since the sunlight does not enter the canyon fully until about 9 am in the summer. If you start late, take your time, or spend a lot of time down by the Gunnison River, you will be in the sun.
Long Pants. There is poison ivy near the river. Long pants will protect your legs from the poison ivy and the other vegetation you will come into contact with along the trail. They can also protect you from ticks.
GPS. This is not necessary but it makes it much easier to know that you are still on the trail. The GPS and trail maps on our Garmin watches was a great confirmation that we were still on the trail.
Gloves. These will help protect your hands on the chains. They can also protect your hands if you fall while on the trail.
Essential Hiking Gear: What Should You Bring on a Day Hike?
If you are new to hiking or are curious about what you should bring on a hike, check out our Hiking Gear Guide. Find out what we carry in our day packs and what we wear on the trails.If you have plans to hike the Gunnison Route and have any questions, or if you want to share your experience, comment below!
More Information about the Black Canyon
How to Visit the Black Canyon of the Gunnison: North & South Rims
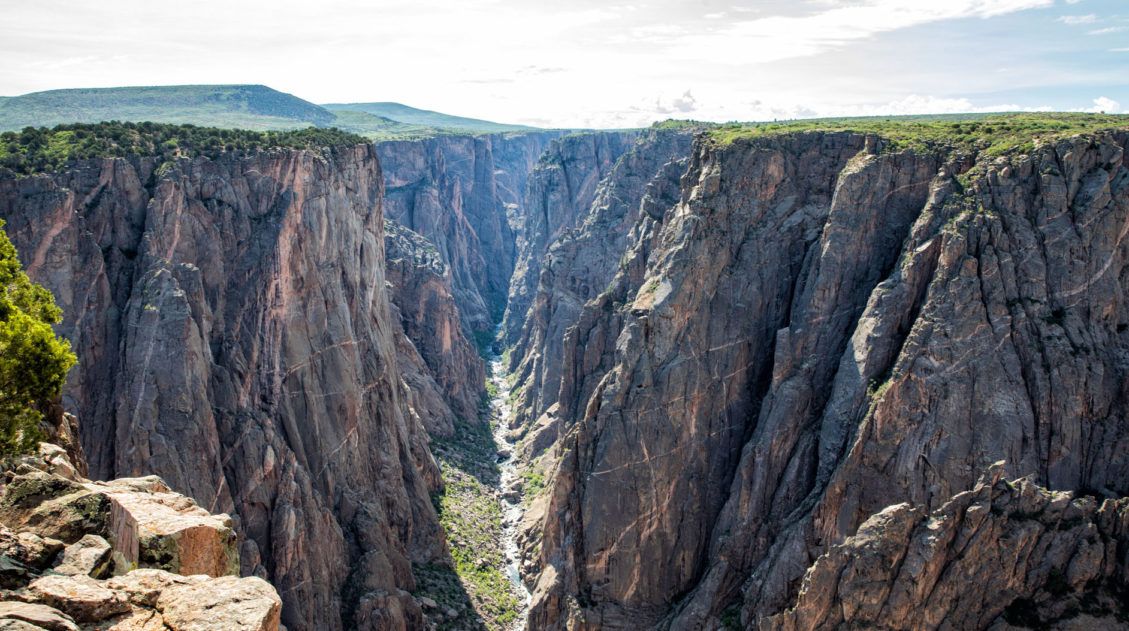
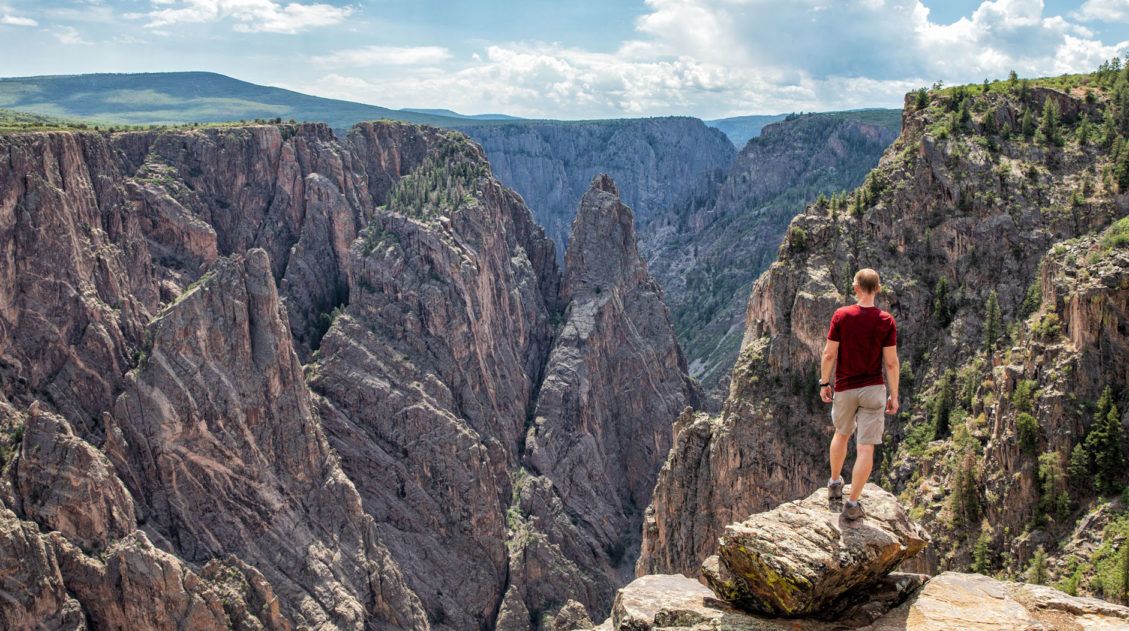
Pinterest Facebook Flipboard In some ways, the Black Canyon of the Gunnison is a smaller version of the Grand Canyon. You can visit both the North and South Rims, enjoy the views from the overlooks, and, for the ultimate adventure, hike below the rim to the Gunnison River. In this guide, learn how to visit […]

Best Things to Do on the South Rim of Black Canyon of the Gunnison
The Black Canyon of the Gunnison is a highly underrated national park. In some ways, it’s a smaller, less crowded version of the Grand Canyon. You can enjoy the views along both rims, hike the rim trails, or go on a real adventure by hiking below the rim. You can explore both the North and […]
Ultimate Guide to the Colorado National Parks (+ 10 Day Itinerary)
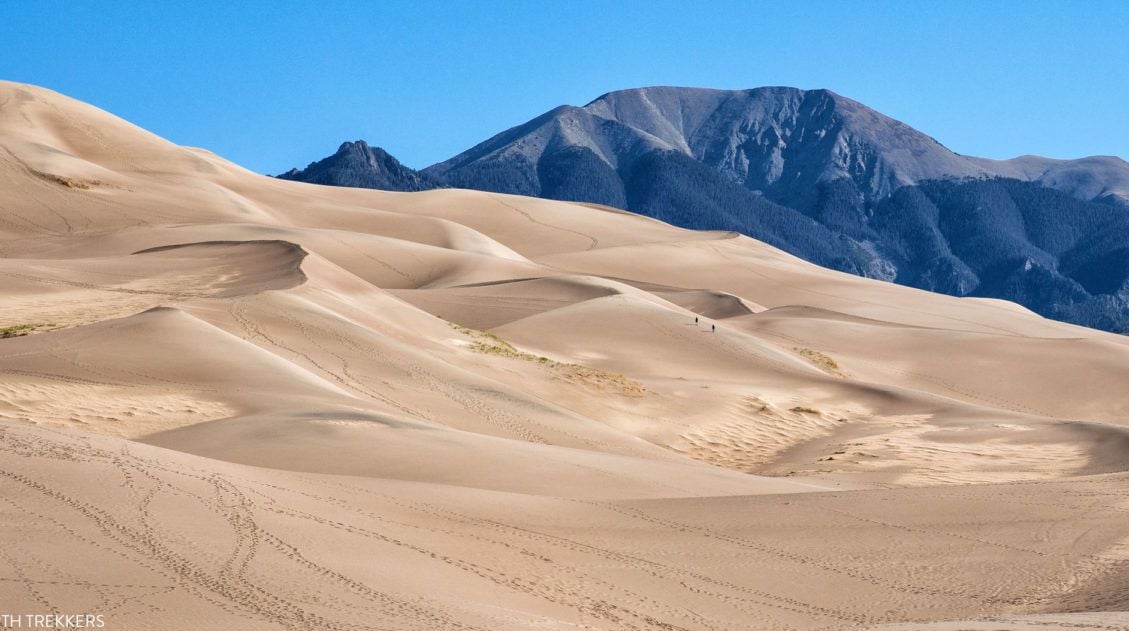
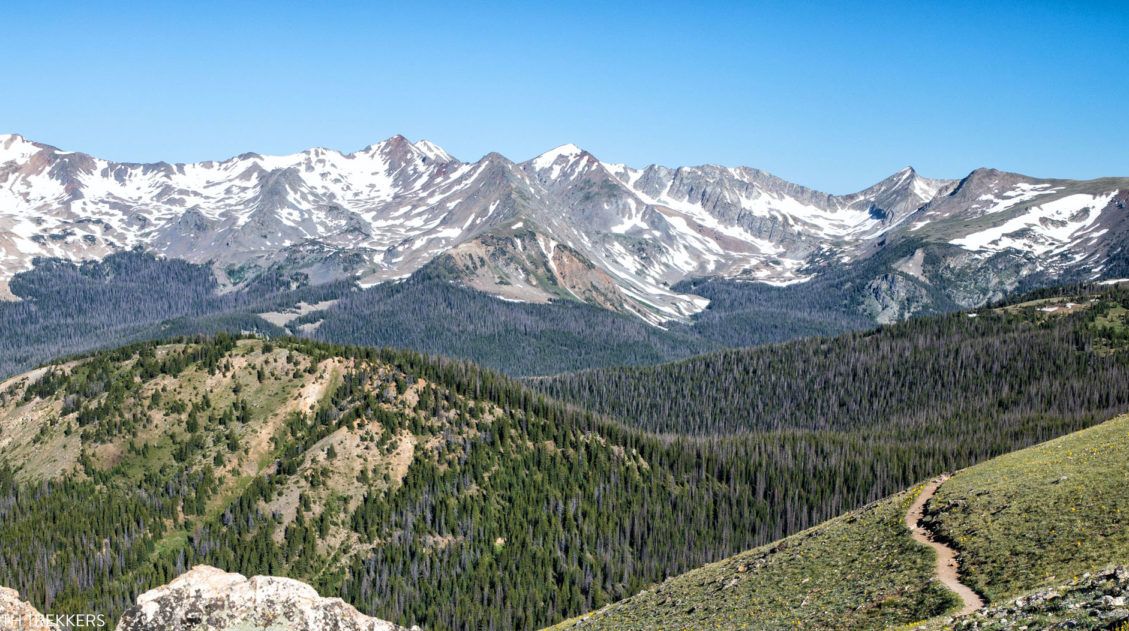
There are four Colorado national parks: Rocky Mountain, Mesa Verde, Black Canyon of the Gunnison, and Great Sand Dunes. The landscapes that these national parks protect are dramatically different from one another. In Rocky Mountain National Park, journey high into the Rocky Mountains, cross the Continental Divide, and hike to gorgeous alpine lakes and waterfalls. […]
6 Things to Do on the North Rim of Black Canyon of the Gunnison
Only a fraction of the visitors to Black Canyon of the Gunnison make the trip to the North Rim. Those that do are rewarded with a wonderfully quiet, uncrowded experience and views that beat those from the South Rim. Similar to the South Rim, you can drive the rim road, stopping at overlooks along the […]
Complete Guide to South Rim Drive Road, Black Canyon of the Gunnison
Driving South Rim Drive Road is one of the best things to do in the Black Canyon of the Gunnison. Along its short distance, you can take your pick between 12 overlooks. This is the easiest and fastest way to get panoramic views of the canyon, see the unique, striated cliffs, and peer down to […]
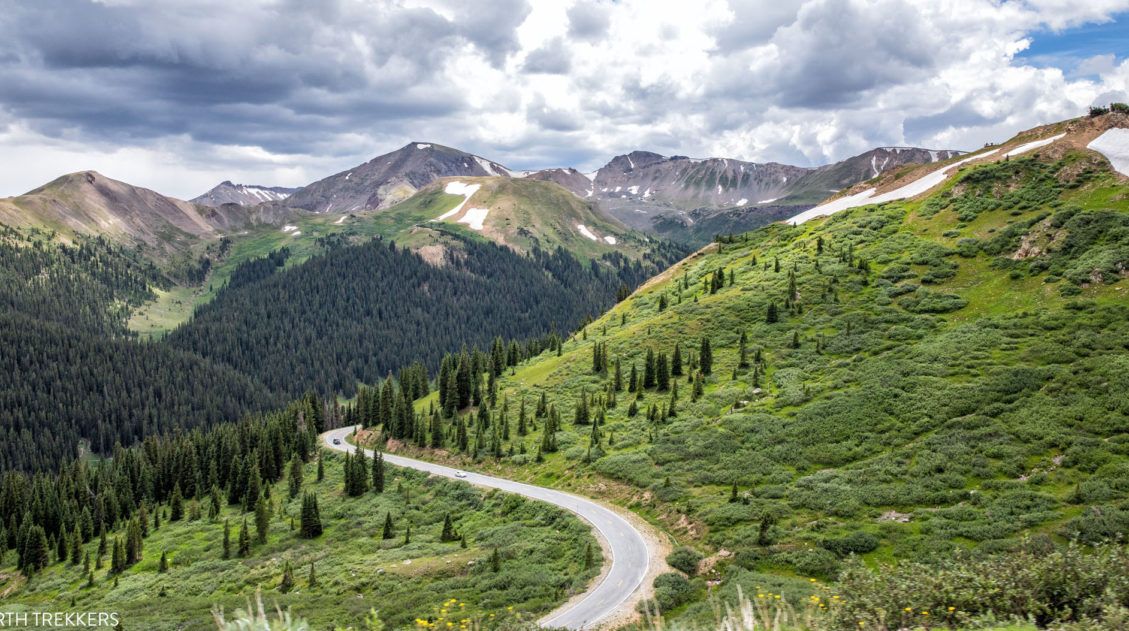
9 Spectacular Scenic Drives in Colorado
Colorado is the perfect road trip destination. The Rocky Mountains, the national parks and state parks, the historic towns, and the diverse landscapes are all linked together by some of the most beautiful drives in the United States. Drive some of the highest roads in the United States and twist and turn through verdant valleys […]
7 to 14 Day Colorado Itinerary: National Parks & Scenic Drives
With four national parks, numerous national forests and state parks, plus historic towns scattered throughout the Rocky Mountains, Colorado makes an awesome road trip destination. On this Colorado itinerary, you will visit all four national parks (Great Sand Dunes, Mesa Verde, Black Canyon of the Gunnison, and Rocky Mountain National Parks), linking them together with […]
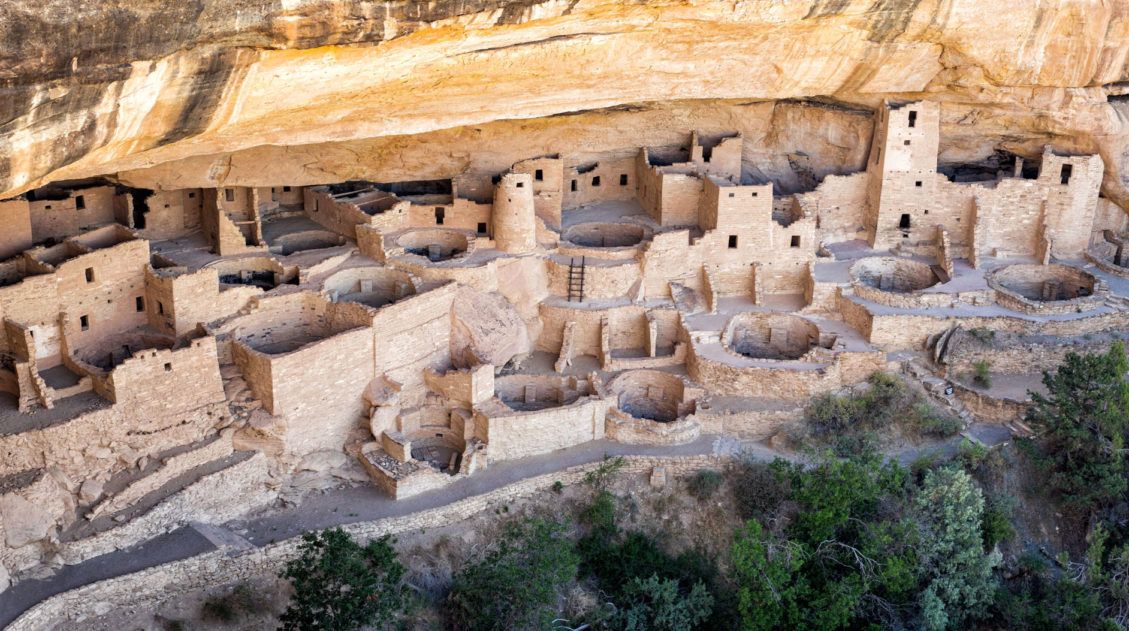
Top 10 Things to Do in Mesa Verde National Park
Located in southwestern Colorado, Mesa Verde National Park is one of the most unique national parks in the United States. This park preserves the ancient Puebloan cliff dwellings and archeological sites that are hundreds of years old. Short hikes, scenic drives, and viewpoints make the to-do list, but the best way to experience this park […]
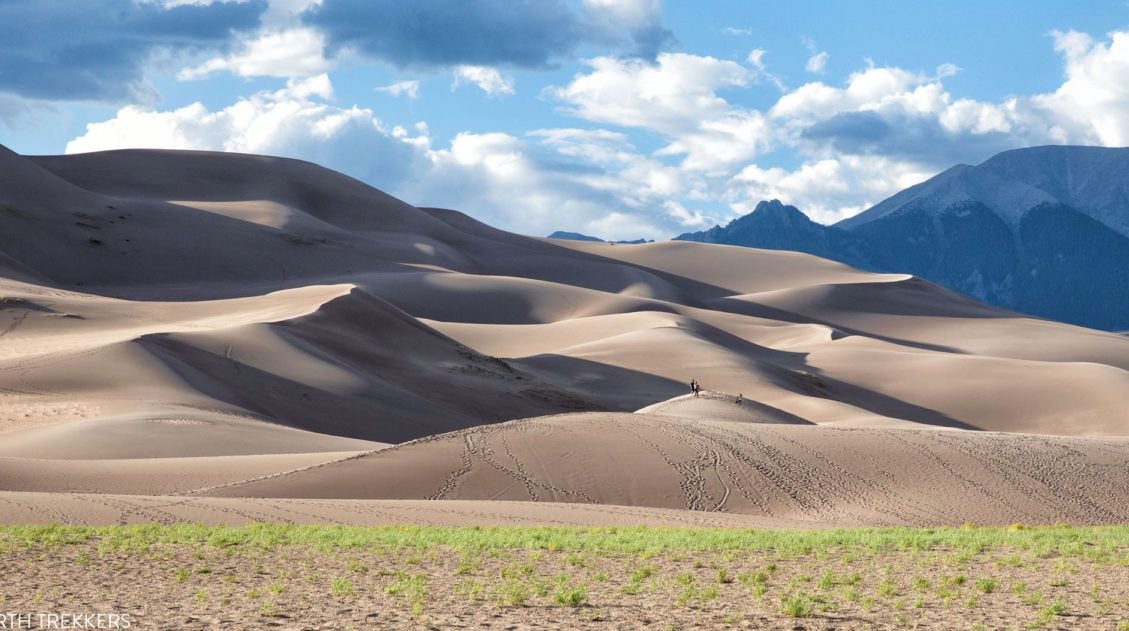
8 Amazing Things to Do in Great Sand Dunes National Park
Great Sand Dunes is a much different experience than many other national parks in the United States. Sure, there is hiking and amazing sunsets and ranger programs, but this park has a much different feel to it. It’s a small park and the list of things to do is very short. A few hours are […]
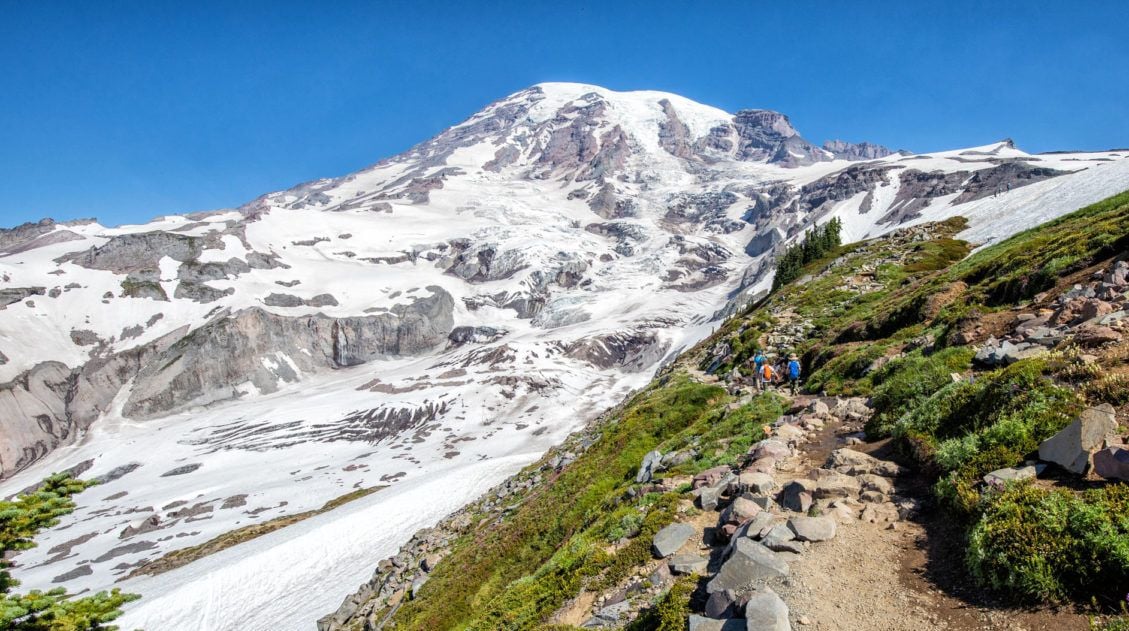
20 Epic Hikes in the US National Parks
With 63 national parks and thousands of miles of hiking trails, your options are endless for exploring the American national parks. We narrowed down the list for you to 20 of the best hikes in the US national parks, 20 amazing ways to explore this beautiful country. Hike to the tallest peaks, through massive canyons, […]

Ultimate Guide to Sky Pond: Trail Stats, Photos & Helpful Tips
Sky Pond is one of the best hikes in Rocky Mountain National Park for good reason. This hike has a little bit of everything…waterfalls, alpine lakes, high mountain views, and fun river and stream crossings. To get to Sky Pond, you will rock scramble up a waterfall, which can be refreshing when the weather is […]
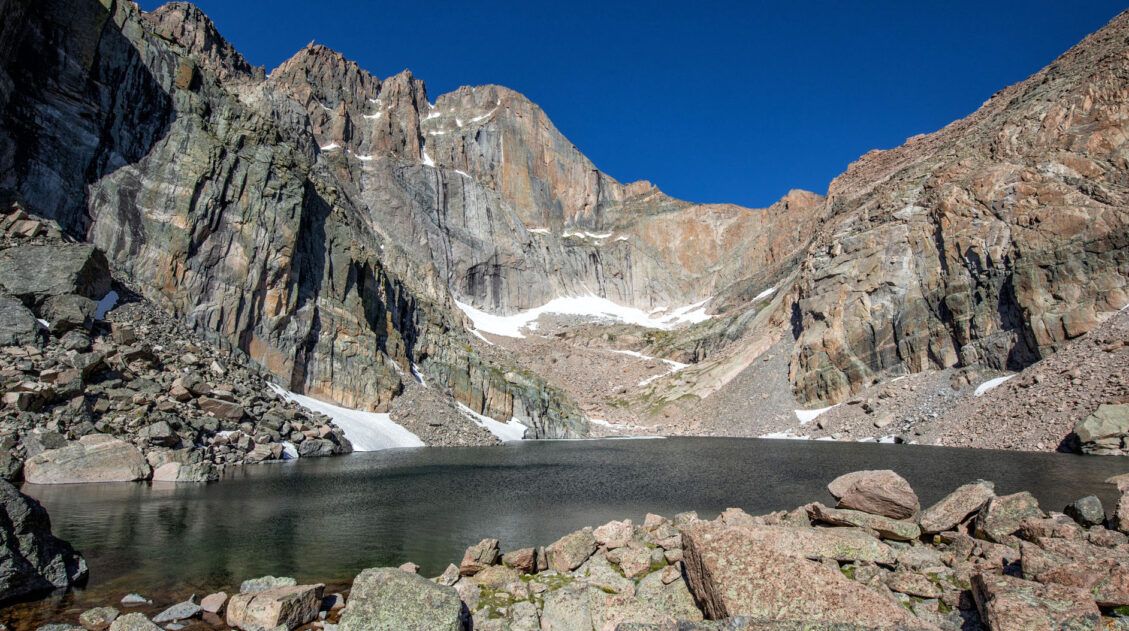
How to Hike Chasm Lake: Photos & Step-By-Step Guide
Chasm Lake is one of the most spectacular lakes in Rocky Mountain National Park. For the first part of the hike, you will walk the same trail as hikers on their way to Longs Peak, the highest point in the park. Once the trail splits, the hike gets a little easier and you are treated […]
The Ultimate Guide to the 63 US National Parks
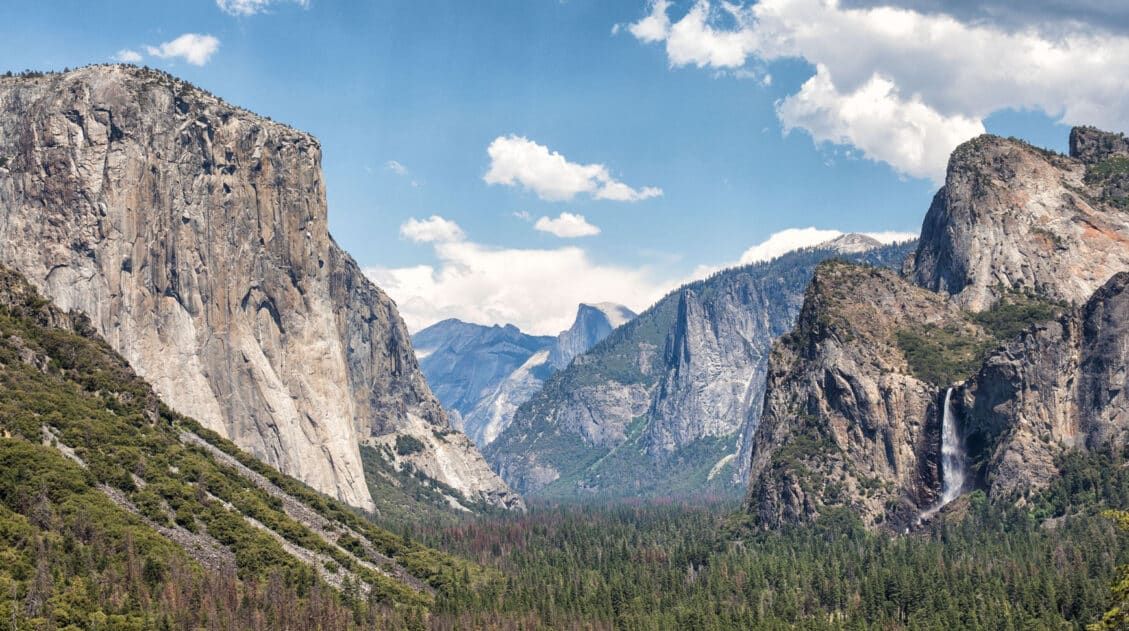
Stretching from the South Pacific, across the United States to the Caribbean, are 63 national parks. These national treasures preserve iconic landscapes, majestic mountains, primordial forests, arid deserts, misty coastlines, immense canyons, wildlife, and historic landmarks. We have visited 56 of the 63 US national parks, from the towering granite walls of Yosemite and the […]

Comments 12