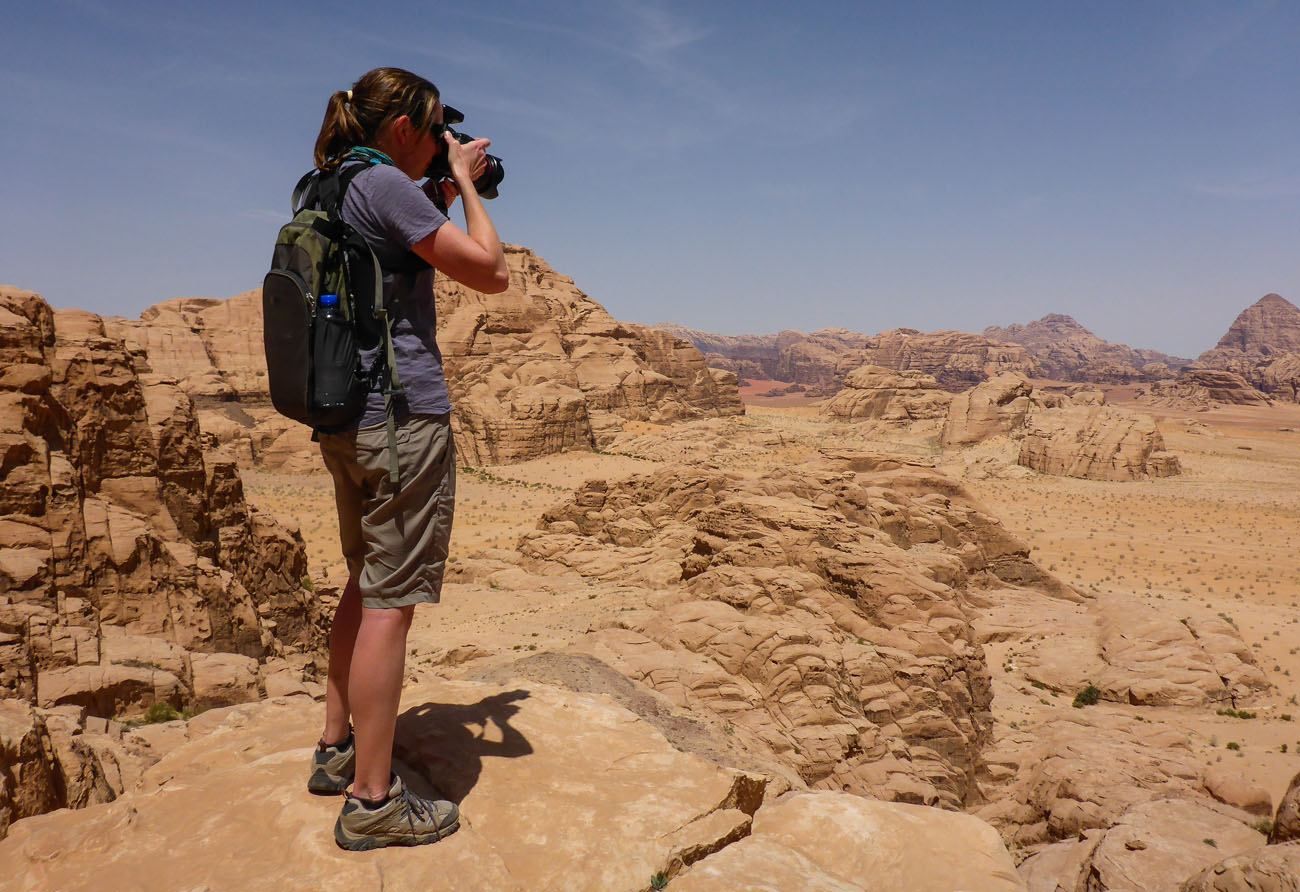
Do you want to know how we capture the images that you see on our website? Here is our photography gear guide, with links and explanations of our photography gear and accessories. At the end of this post, we offer tips and tricks on how to take better photographs while traveling.
Table of Contents
Photography Gear Guide
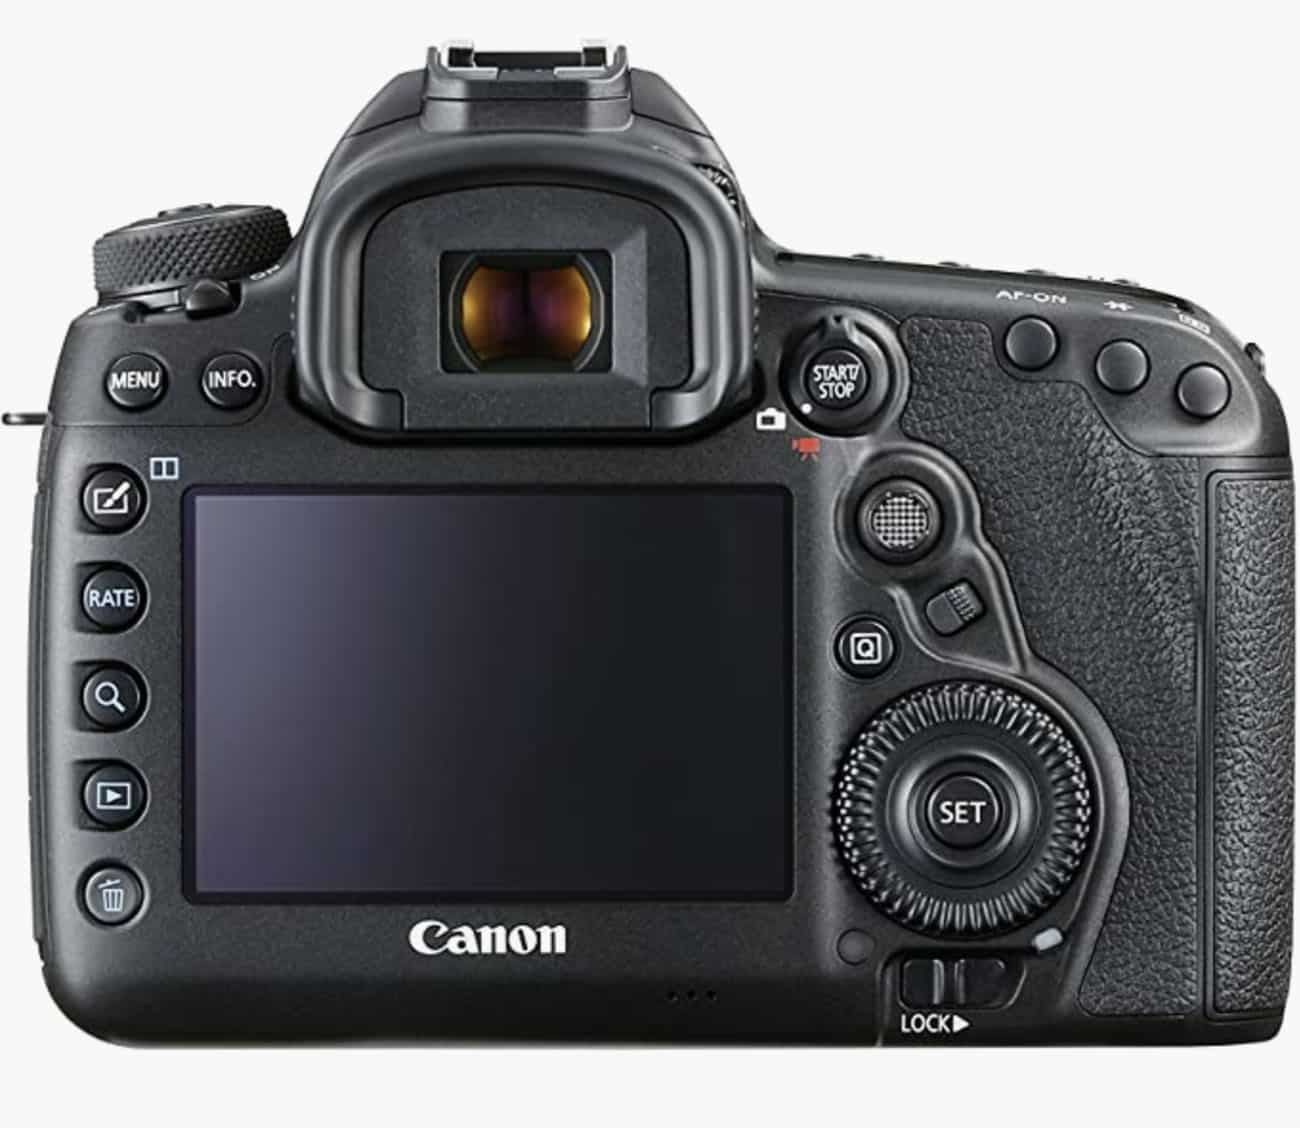
The Canon EOS R5 Full-Frame Mirrorless Camera
This amazing camera is the newest addition to our camera bag. We started using the Canon EOS R5 in early 2022.
We have always been in the Canon family, and the vast majority of photos on our website were taken with either a Canon 5D Mark III or Canon 5D Mark IV (as you will see later in this guide). In 2022, we went mirrorless, both for better photo quality and to ‘hopefully’ purchase a more lightweight camera.
We are big hikers and the Canon 5D Mark IV with a 24-70 mm lens is a beast of a camera to carry on a hike. But we do it…Tim carried it all the way across the Grand Canyon when we hiked it rim-to-rim in a day.
Well, the Canon R5 is just as hefty and once you add on a high-quality RF lens, the R5 is about the same size but slightly heavier than the Canon 5D Mark IV, with a comparable lens.
So, it’s not a great hiking camera but it does take some incredible photos. The Canon R5 is amazing in low light, captures an incredible amount of detail, and is very easy to use. I love the touch screen, being able to rotate the viewing screen on the back of the camera, and the quality of photos that we get.
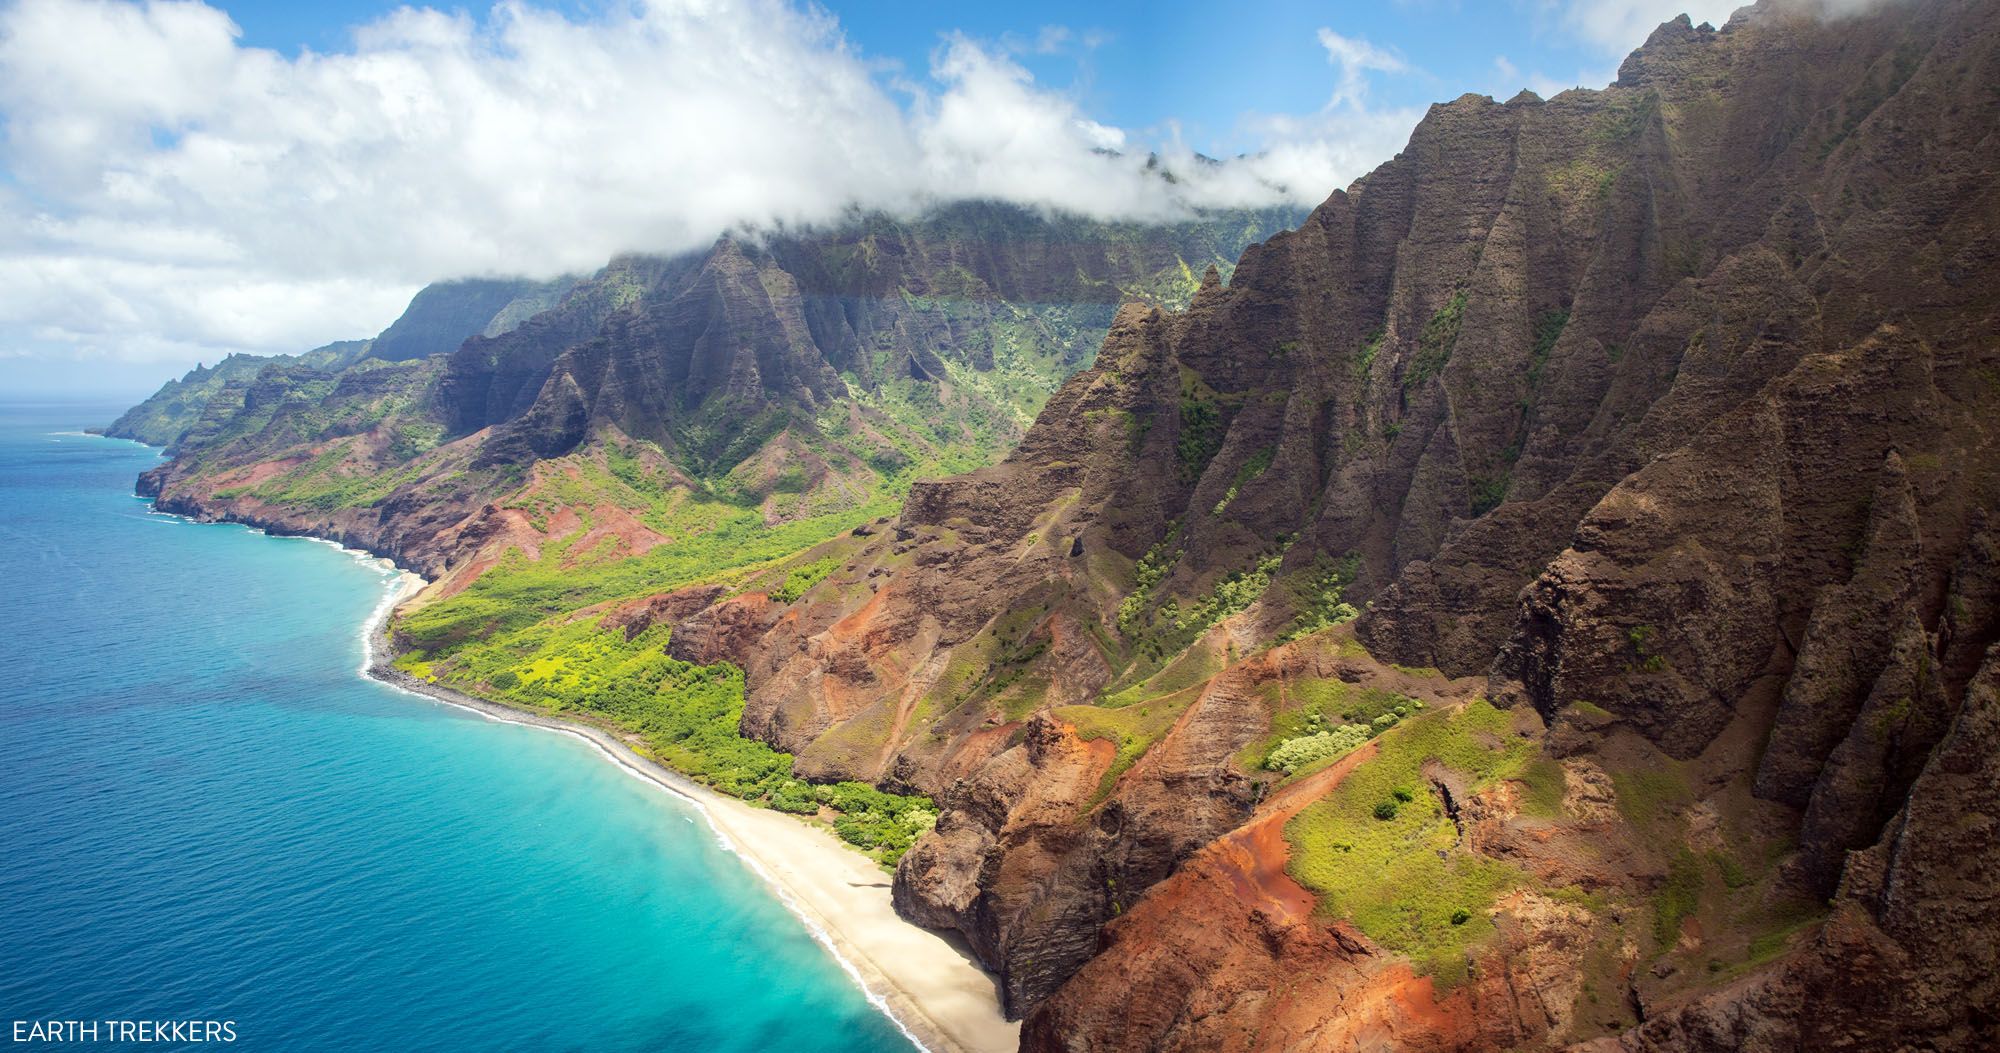
Currently, our set up is the Canon EOS R5 body plus the Canon RF 24-70mm F2.8 L IS USM lens. In 2022, most of our photos were taken with this camera, with the exception of photos taken on the Walker’s Haute Route (a 14 stage trek through the French and Swiss Alps).
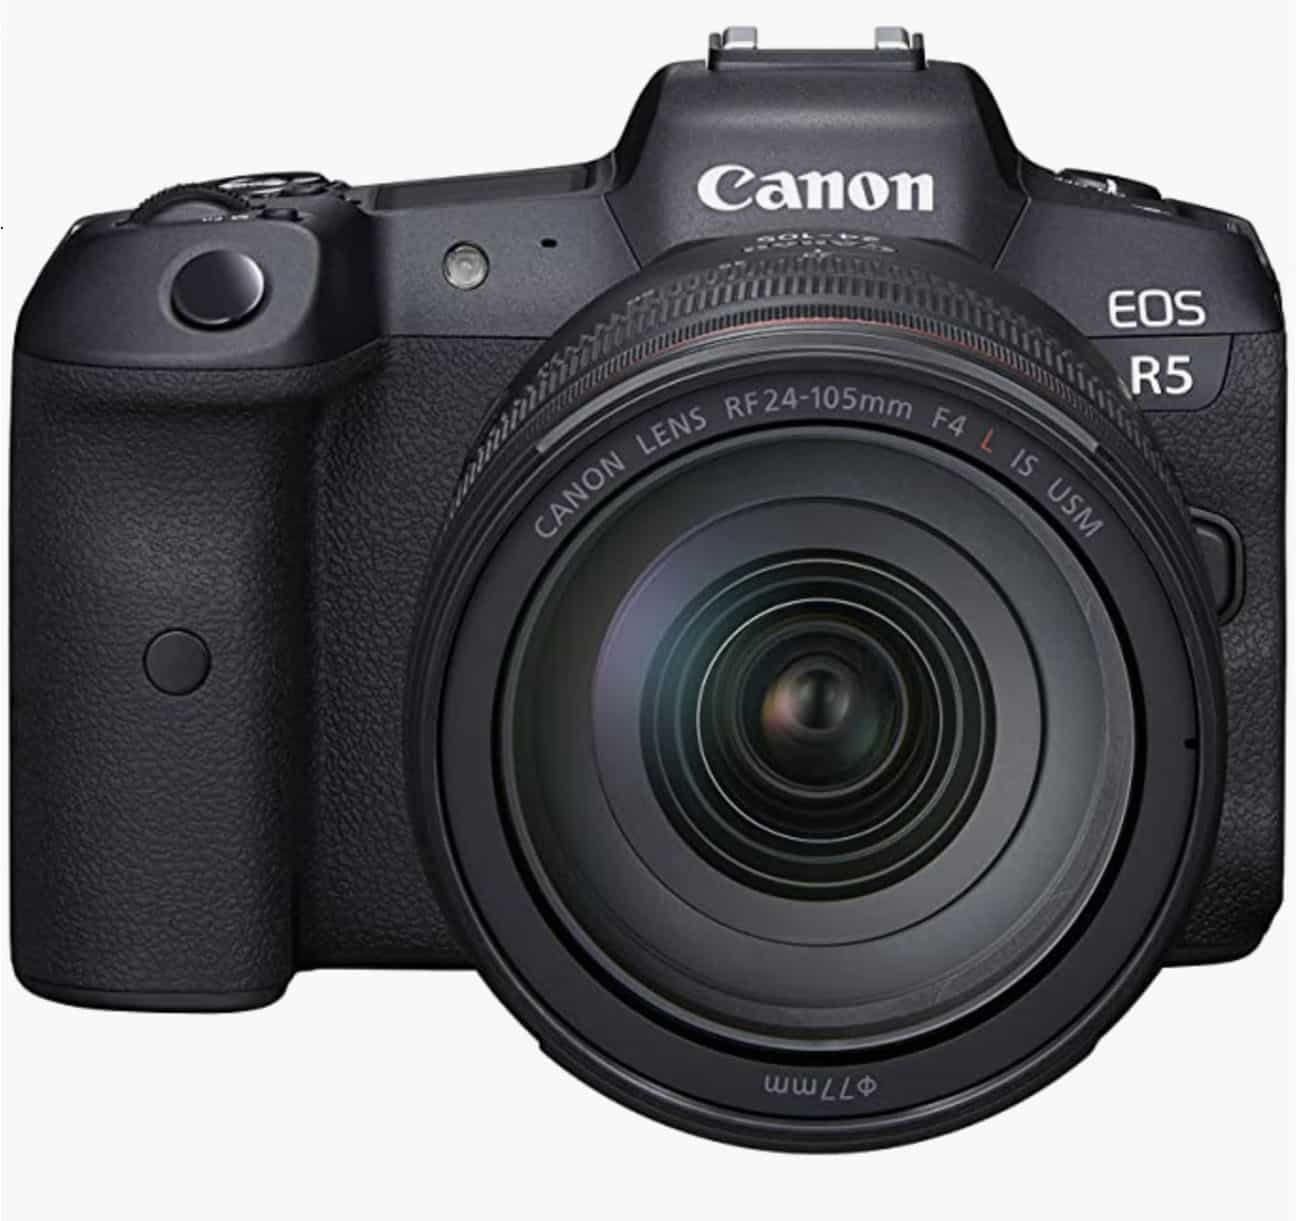
The Canon R5 has a 45-megapixel full-frame sensor, shoots 8K video, has an ISO range of 100-51200, and can shoot up to 20 frames per second. It’s an awesome camera for sports and wildlife photography, and in any setting where you want to track your subject. It’s a bit overkill for travel photography but I’m still very happy with our purchase.
I have one major complaint, and it is that the camera does not geotag the photos with your location. For a camera as advanced and expensive as the R5, this should be included, in my opinion. I still geotag our photos, but this requires attaching another device (the Canon GPS Reciever GP-E2), which adds to the overall size and weight.
VERDICT: The Canon R5 plus the RF 24-70 mm lens is a fantastic camera, but it is expensive, heavy, and lacks the ability to geotag photos without attaching another device. I think it’s a bit overkill for travel photography, but if you also have kids in sports or will be doing a lot of wildlife photography, then it is worth it. But to take city photos and hiking photos, check out the Canon 5D Mark IV, which we mention next.
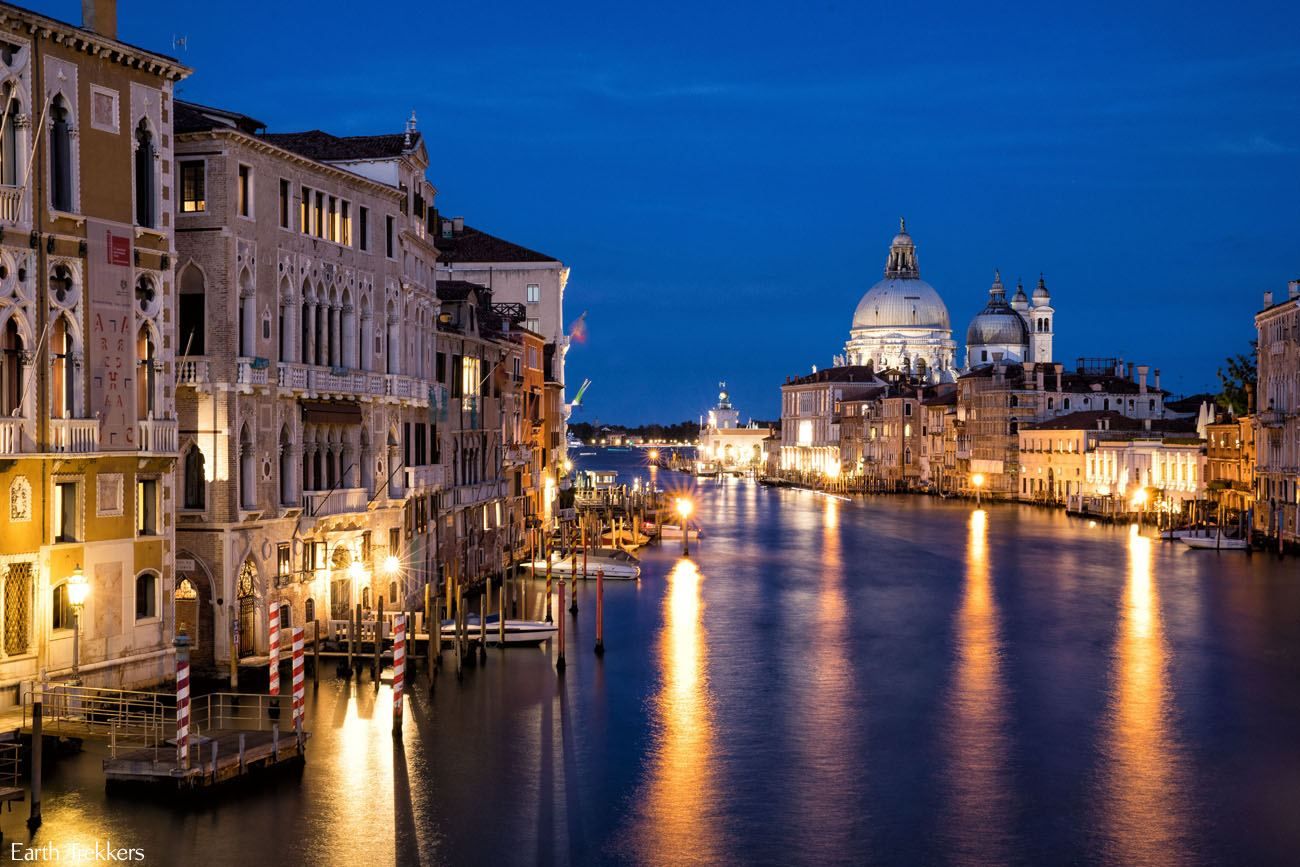
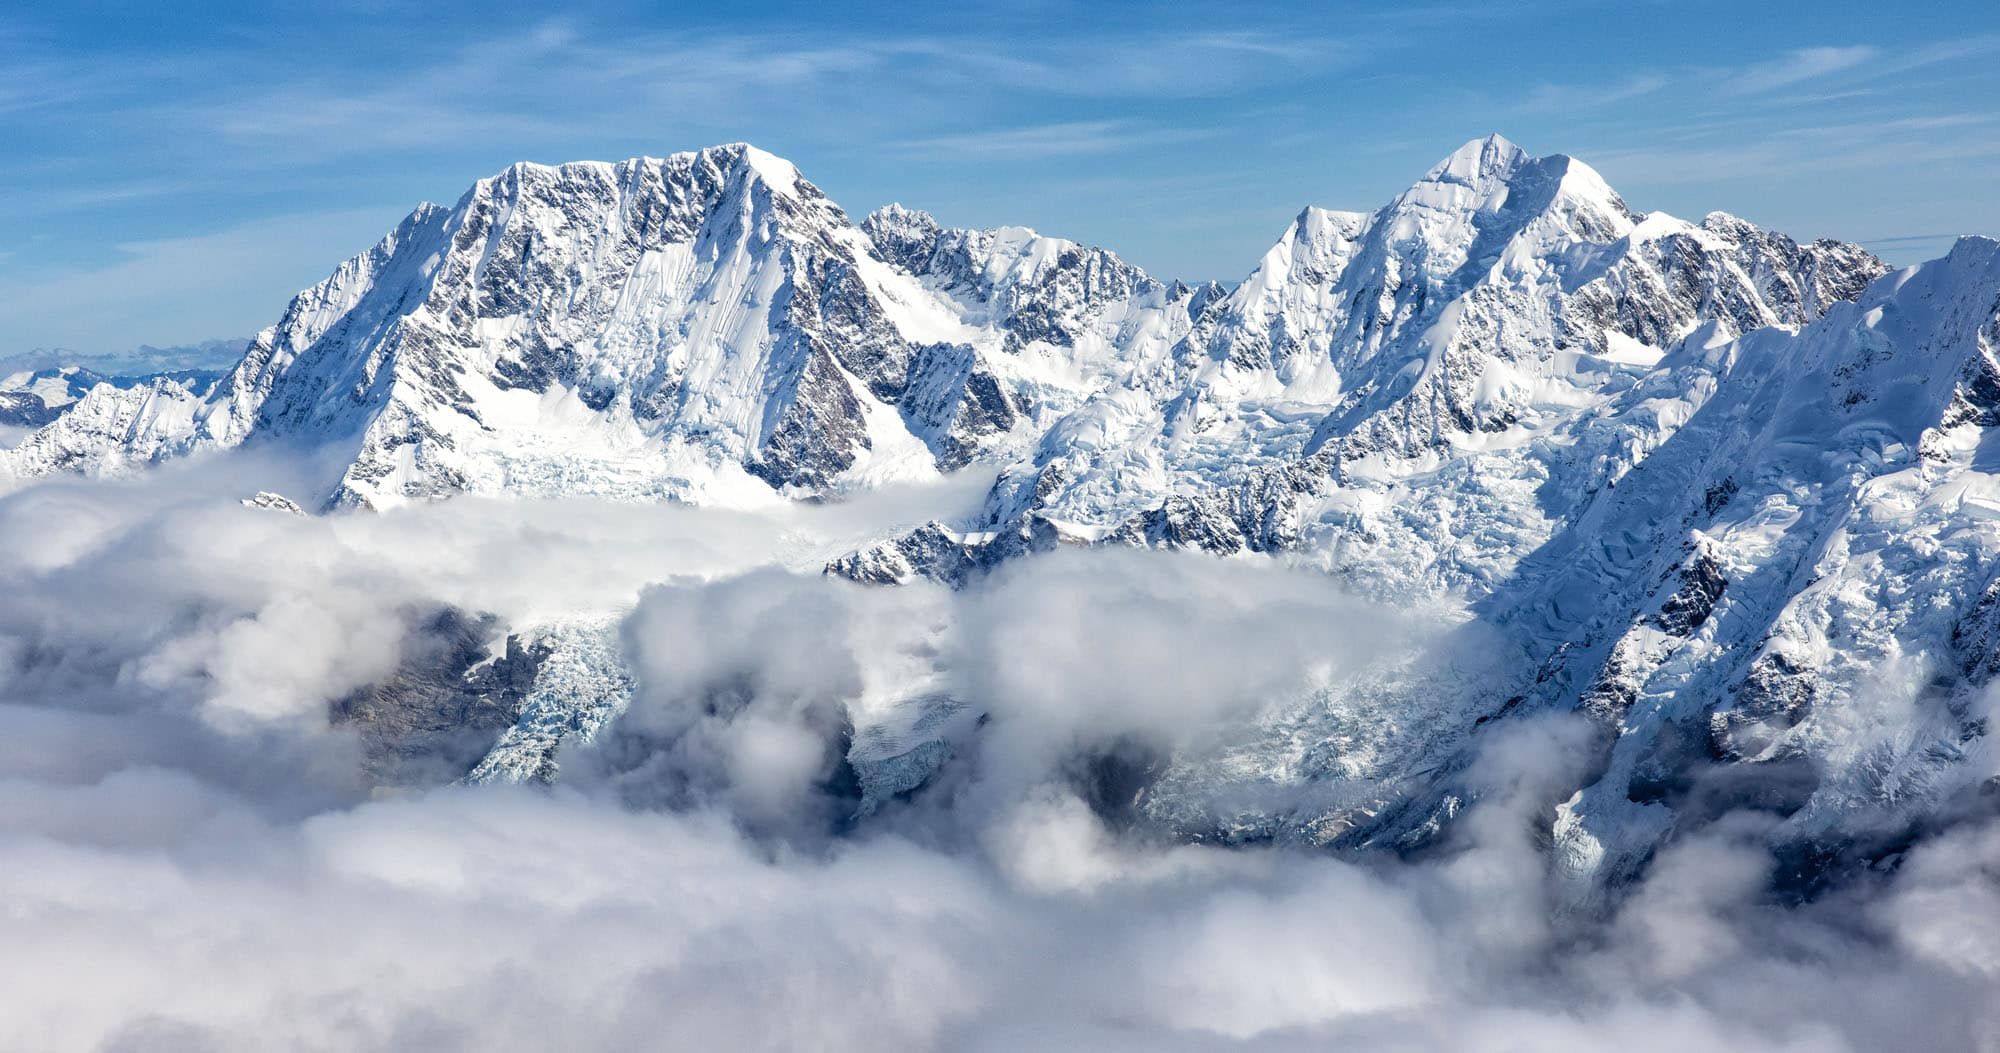
Here are some of our photos taken with the Canon EOS R5 with the Canon RF 24-70 mm 2.8 L IS USM lens.
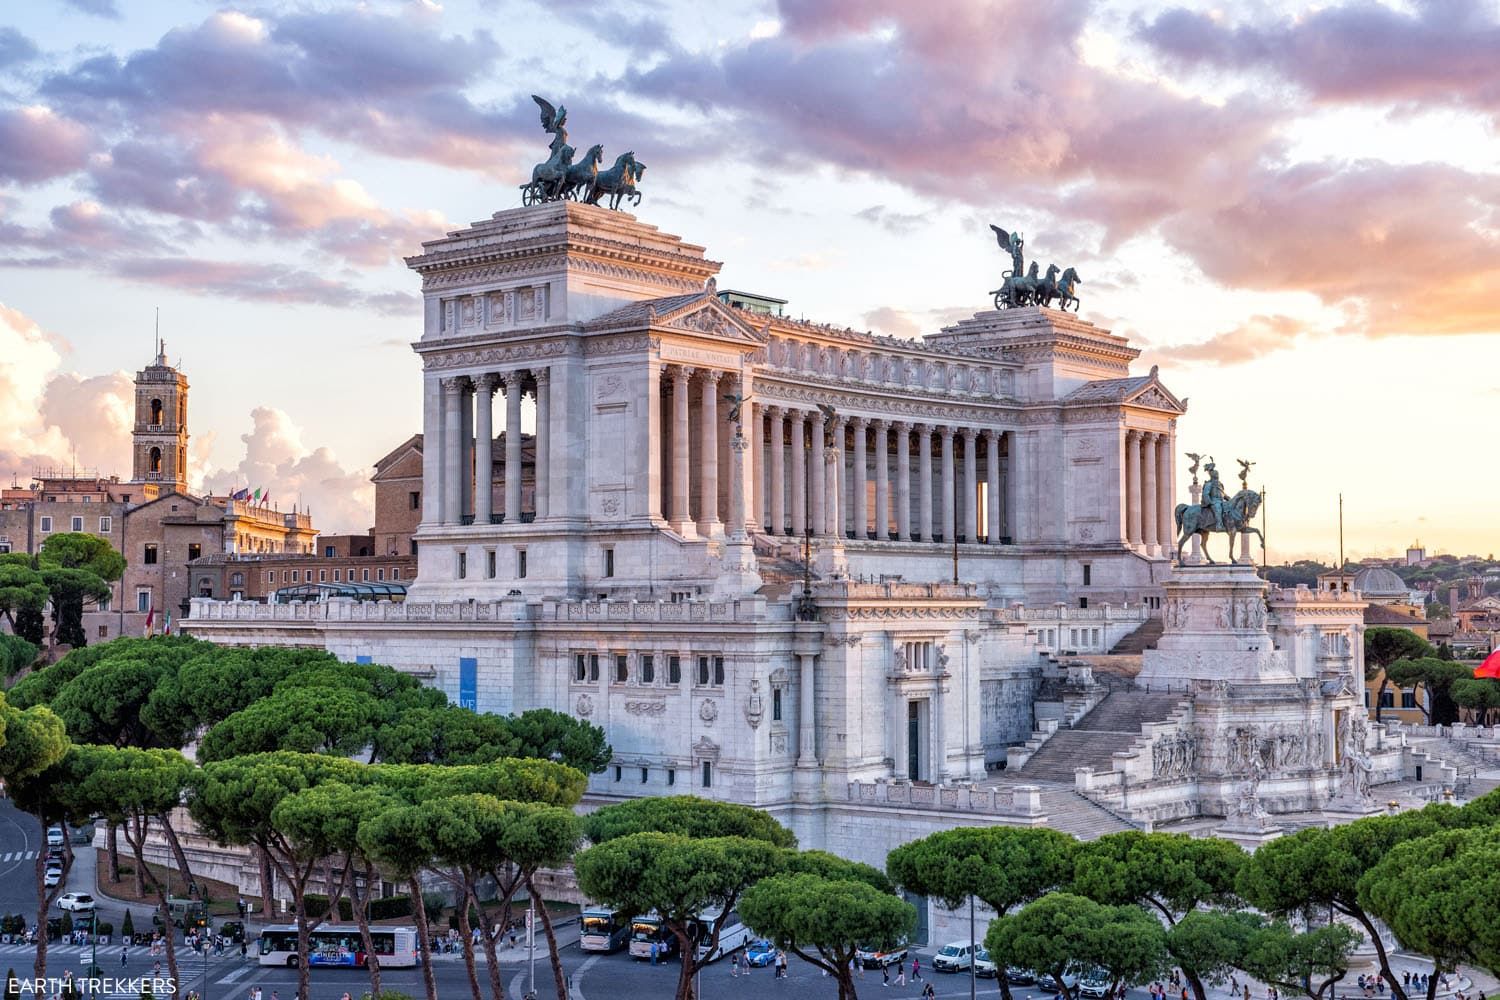
Sunset in Rome
The Canon 5D IV, Our Backup Camera
The Canon 5D Mark IV has been our primary camera from 2017 through the end of 2021, so most of the photos that you see on this website were taken with this camera. Prior to 2017, we used the Canon 5D Mark III, which is almost as good (several features were added to the Mark IV which make it a much better camera).
Canon 5D Mark IV
With the Canon 5D Mark IV, all photos can be geotagged using the built-in GPS, so I have the exact GPS coordinates for all of my photos. This seems to be an almost universal feature on cameras nowadays, so it’s not that earth shattering, but it is something the Mark III is lacking. You can get a separate GPS tagger for the camera but it makes the large camera even bulkier and heavier.
My favorite feature is the built in Wi-Fi. Now, I can transfer photos directly from the camera to my phone and then share them almost instantly on Instagram and Facebook. This is huge for me. With the Mark III, I had to wait until we were back in the hotel, transfer the photos to my computer, and then share them from there. Again, this may not be important for some people, but it makes sharing our photos and experiences on social media so much easier and convenient.
There are numerous other upgrades I love over the Mark III…a better, larger touch-screen LCD screen, an upgraded photo processor, and faster, more accurate focusing. The Canon 5D Mark IV is 30 MP full frame camera with the ability to shoot 4K video. The photos I get with the Mark IV are crisper and clearer than the Mark III, although it is only a mild improvement.
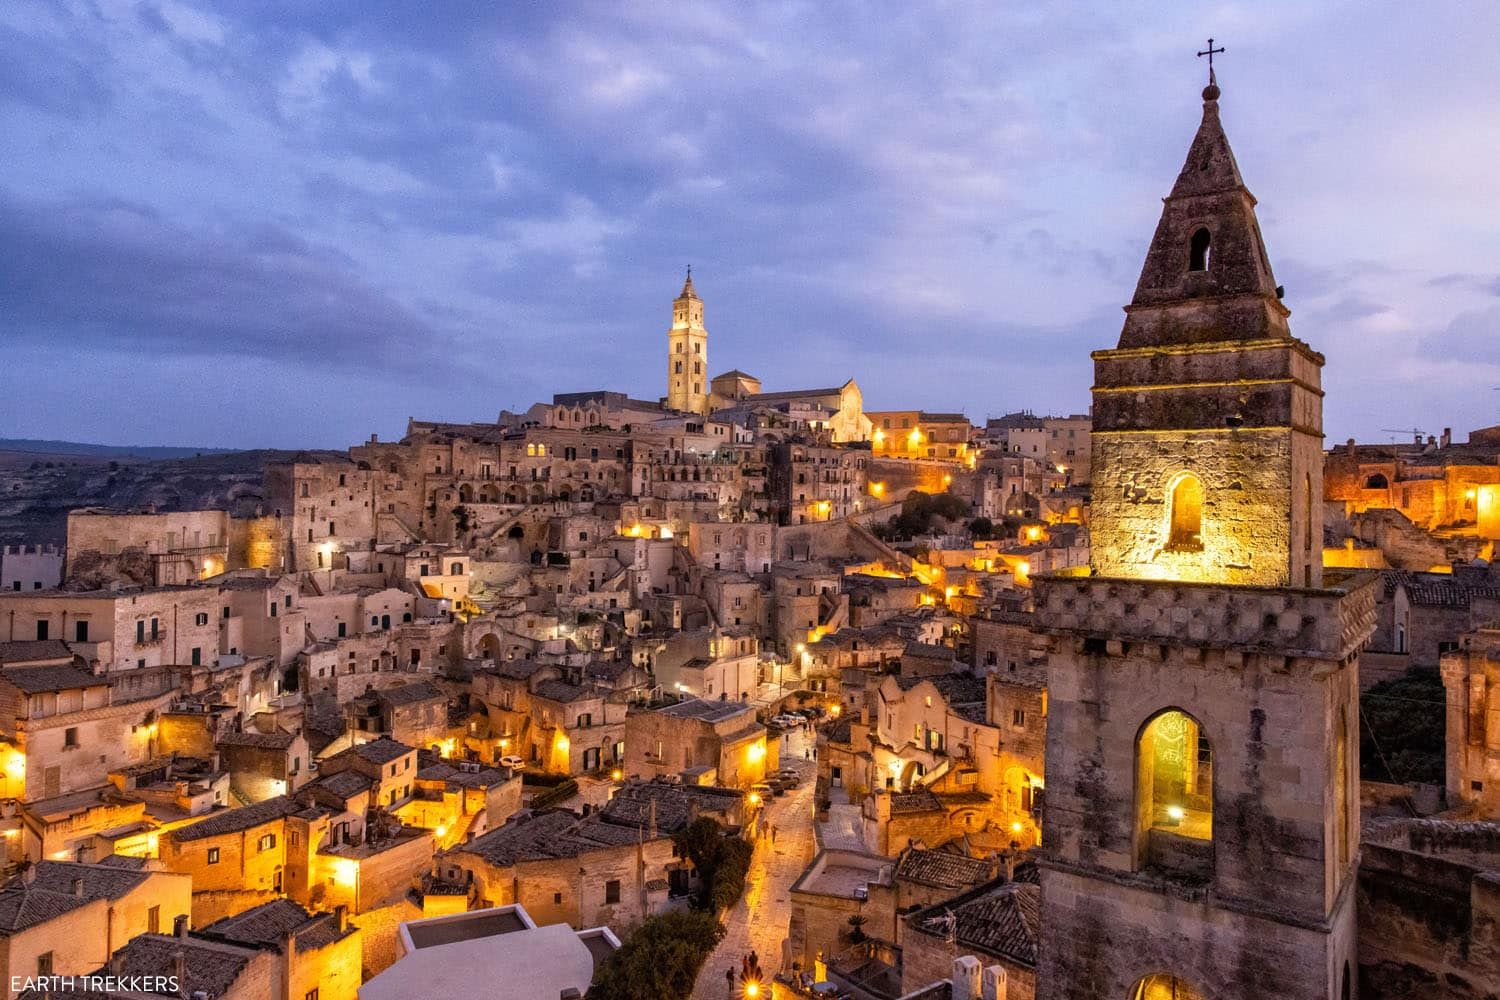
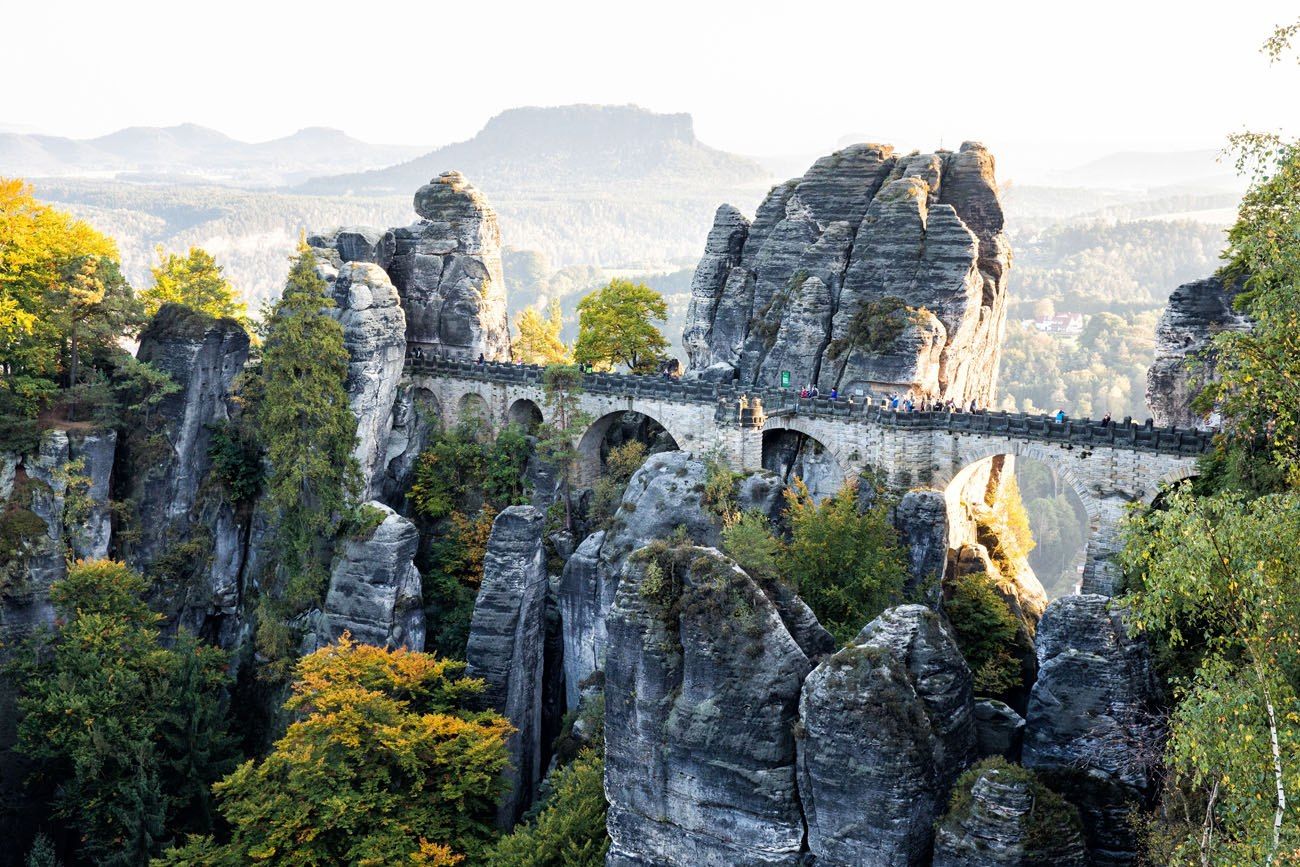
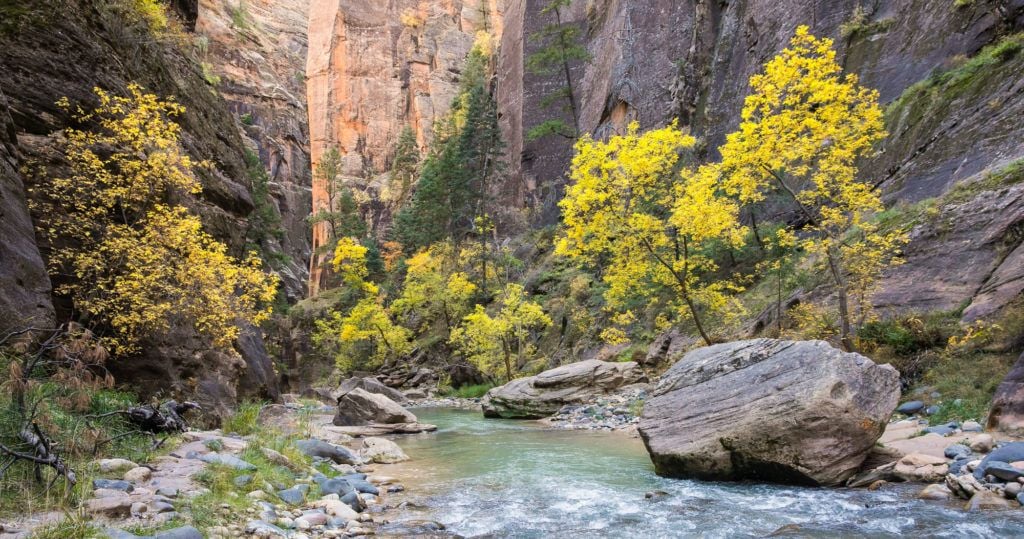
Here are some of my favorite photos taken with the Canon 5D Mark IV.
Canon EF 24 – 70 mm f/2.8 II USM Zoom Lens
The Canon EF 24-70 mm f/2.8 II USM lens is our “walking around” lens. 99% of the photos on this website were taken with this lens. We use this lens with both the Canon 5D Mark III and 5D Mark IV.
At 24 mm, it is just wide enough for landscape shots. The 70 mm gives just enough zoom to hone in on the action. This is one of the best Canon lenses you can buy and it is worth the price.
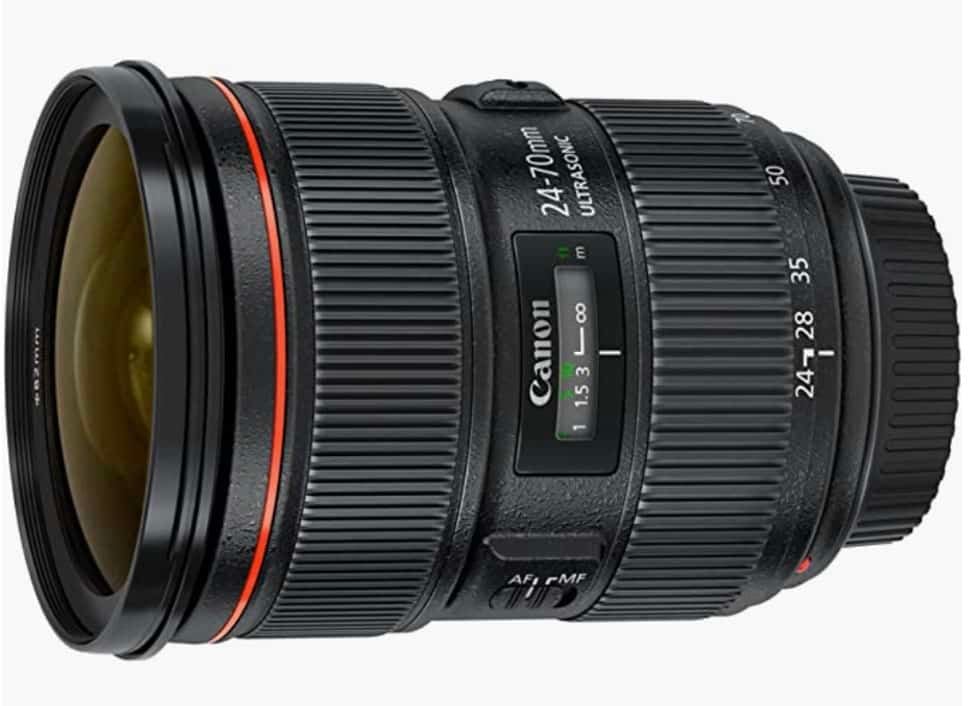
Canon EF 24-70 mm f/2.8 II USM lens
Wide-Angle Lens
I use the Canon EF 16-35mm f/4L IS USM lens for landscape photography.
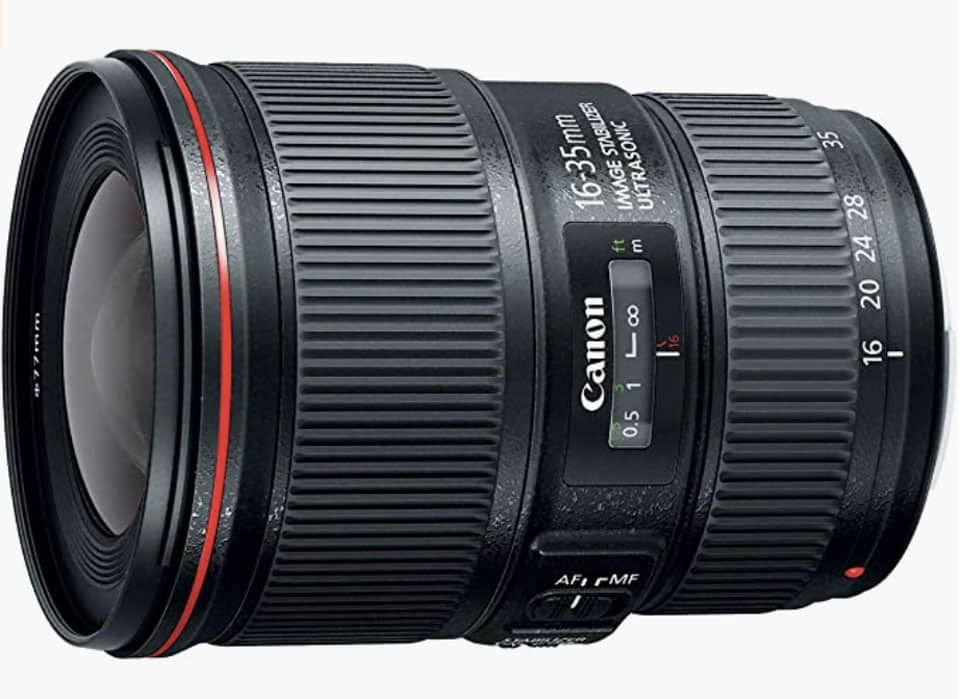
Canon EF 16-35mm f/4L IS USM lens
Many of our photos of the Dolomites were taken with the Canon 5D Mark IV plus this wide angle lens.
This is my newest lens and I added it in 2019 before traveling to Switzerland and Iceland. I got some gorgeous landscape shots, like this one taken in Iceland.
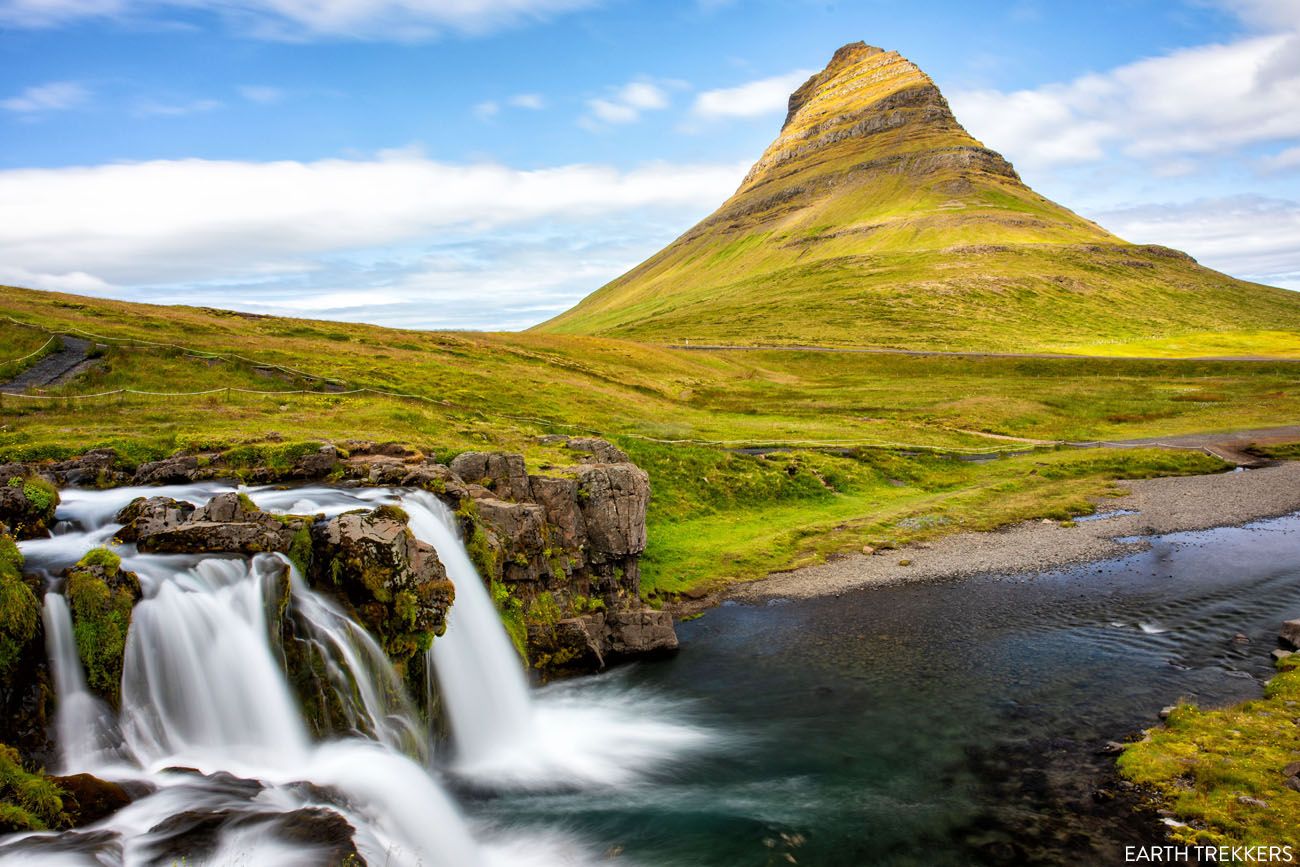
Kirkjufell on the Snaefellsnes Peninsula
This is an expensive lens, but it is cheaper than the Canon EF 16-35mm f/2.8L III USM lens. This lens, with its f/2.8 maximum aperture, has an advantage in low light situations. However, it is a heavier lens and it does not have image stabilization. Not to mention that is almost double the price. But if you want a top of the line wide angle lens, have the money to spend, and don’t mind the extra weight, take a look at the Canon EF 16-35mm f/2.8L III USM lens.
Telephoto Zoom Lens
We have two telephoto zoom lenses.
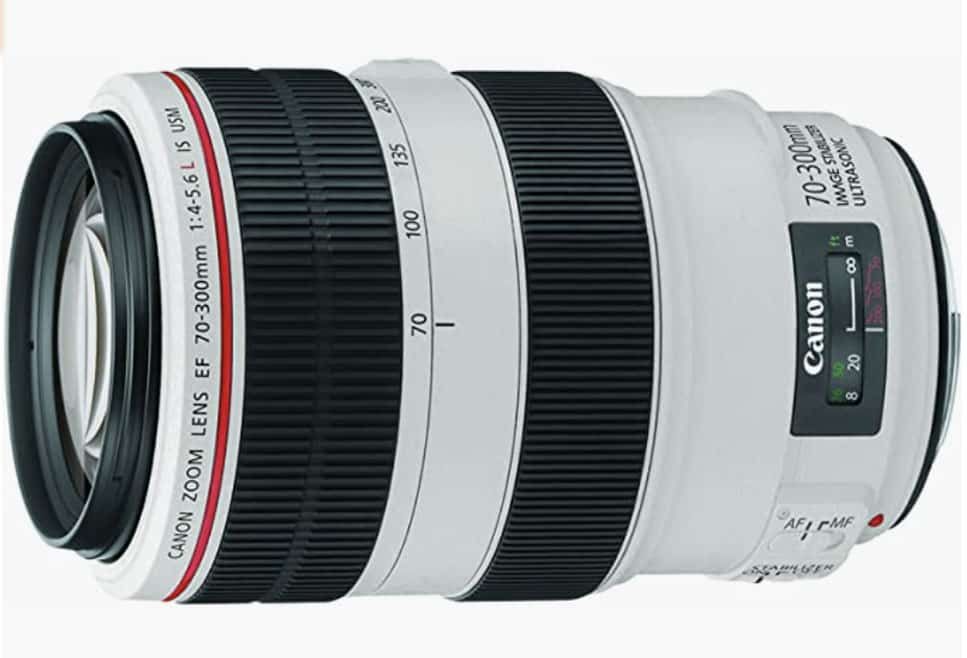
I used the Canon 70-300mm EF f/4-5.6L IS USM Telephoto Zoom Lens when on safari in Africa. I have also used it photographing our kids’ sports events. This is a great telephoto lens for the price you pay.
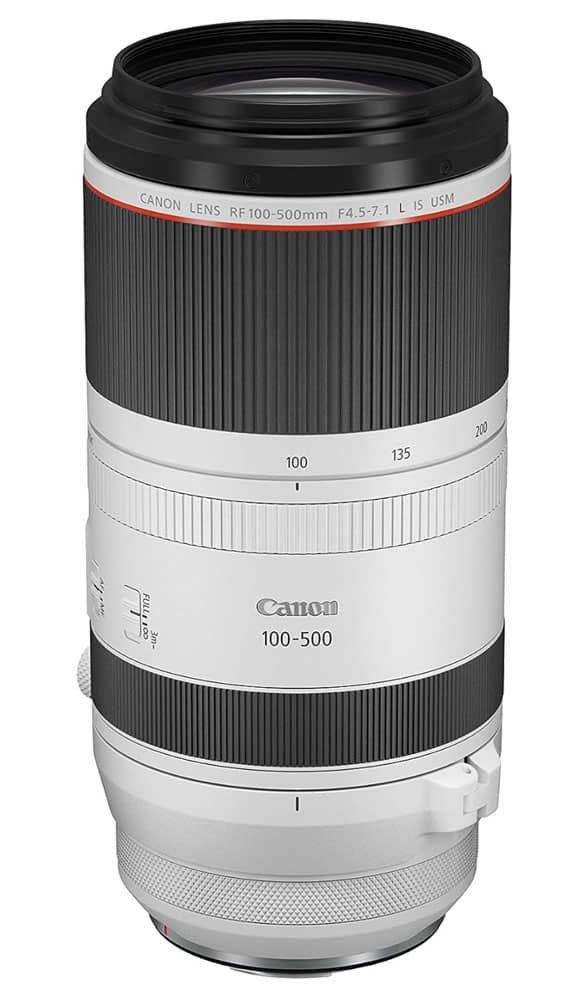
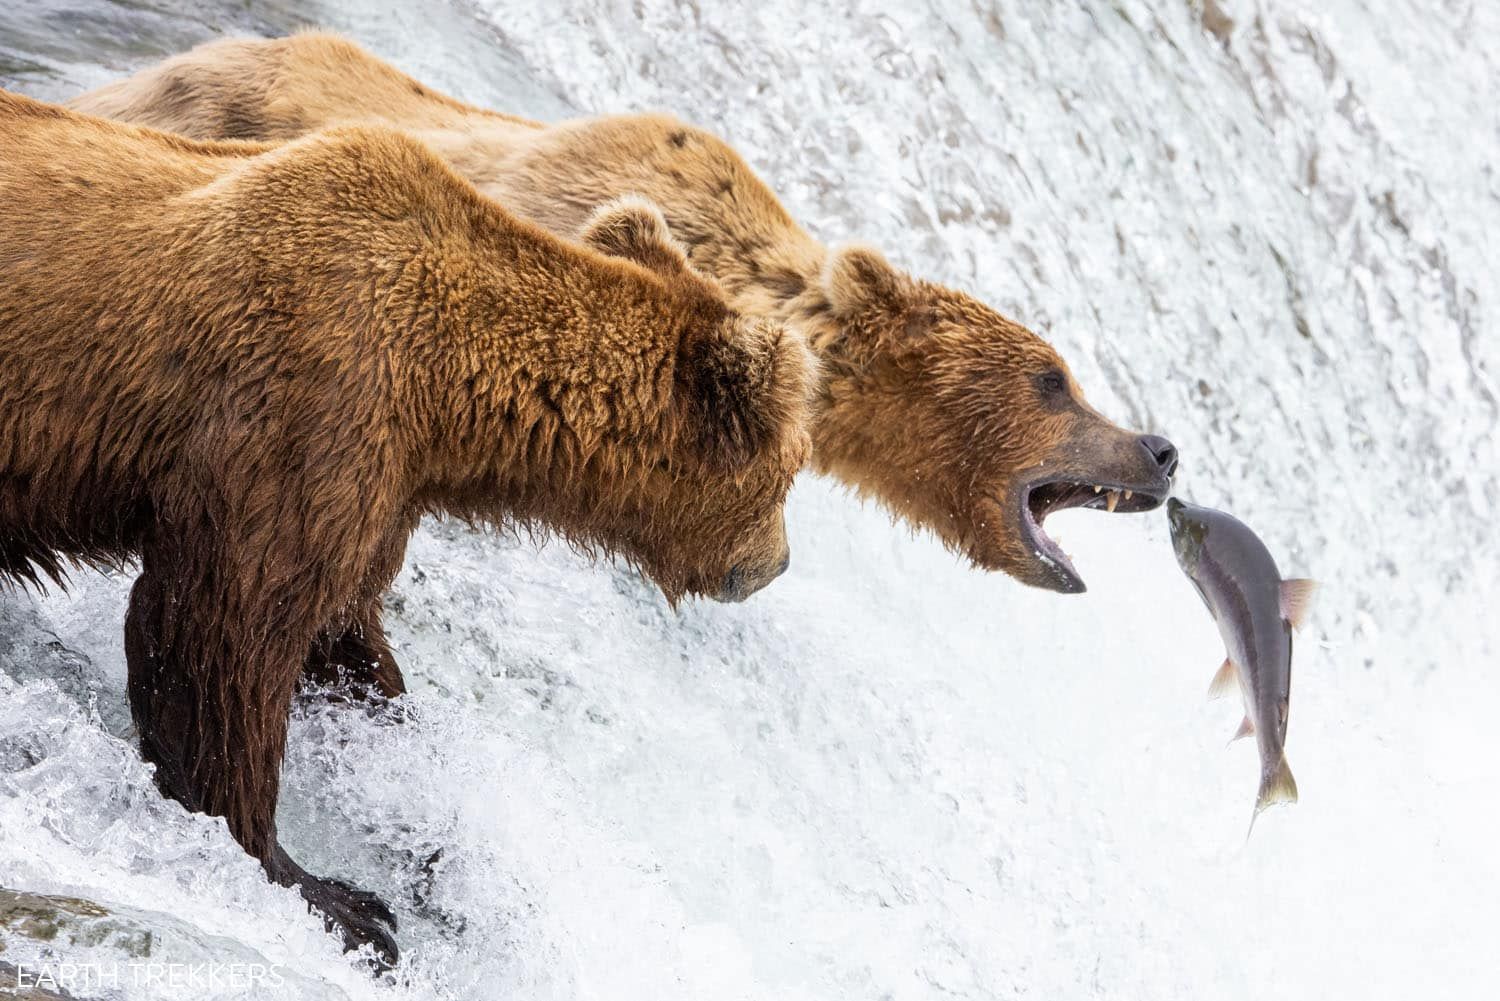
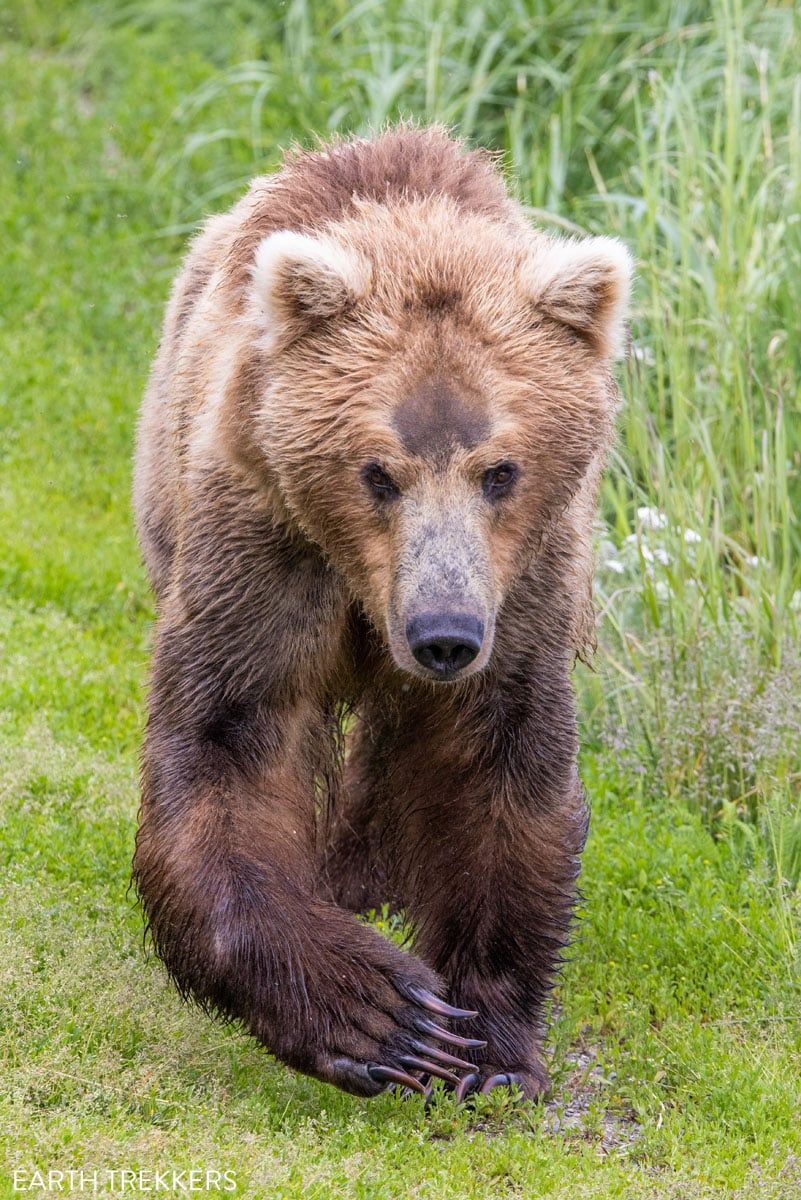
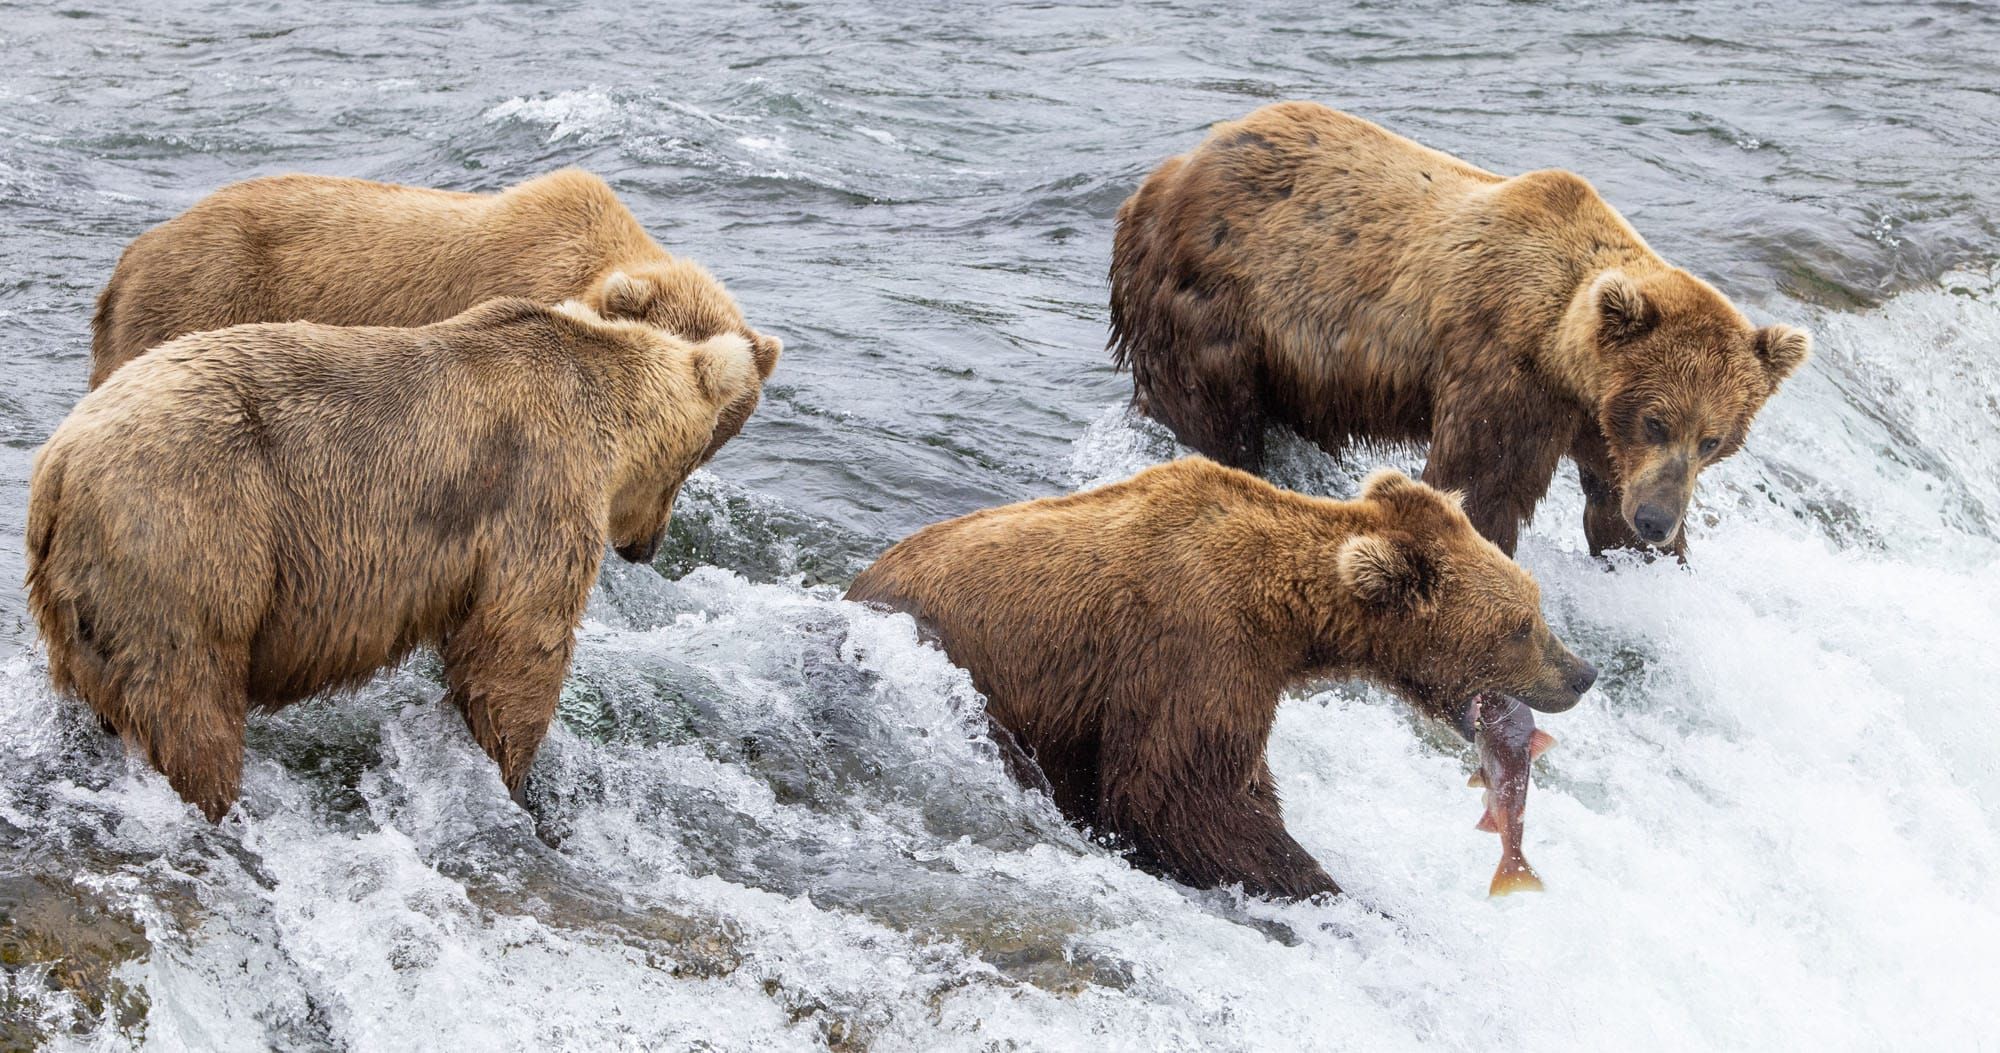
Before our most recent trip to Katmai National Park, we purchased the Canon RF 100-500 mm F4.5-7.1 L is USM Super-Telephoto lens. This is pricier than the 70-300 mm lens, but it really closes in on the action. For safaris and wildlife photography, this is a great lens. It’s still relatively affordable but has image stabilization and is excellent at autofocusing.
Here are some of the photos taken with the 100-500mm lens (these photos were also taken with the Canon EOS R5).
Memory Cards for the Canon EOS R5
The Canon R5 has two slots for memory cards, a high-speed CFexpress card slot and a universally compatible SD card slot. Our primary card is the Lexar Professional CFexpress 256 GB Type-B Card. We shoot in camera RAW and these files are recorded onto this memory card.

The Canon R5 camera allows me to simultaneously shoot a second file onto an SD card. I designate this second file as a JPEG file, which gets recorded onto a ProGrade Digital SDXC UHS-II V90 300R memory card. This is my backup, just in case my main memory card fails (which I’ve never had happen).

Memory Cards for the Canon 5D Mark IV
The Canon 5D Mark III and Mark IV have two slots for memory cards, a Compact Flash slot and a SD card slot. My primary card is the Lexar 1066x 128 GB Compact Flash card. I shoot in camera RAW and these files get recorded onto this compact flash card.
The Canon 5D camera allows me to simultaneously shoot a second file onto an SD card. I designate this second file as a JPEG file, which gets recorded onto a SanDisk Extreme Plus 32 GB SD card. This is my backup, just in case my main memory card fails (which I’ve never had happen).
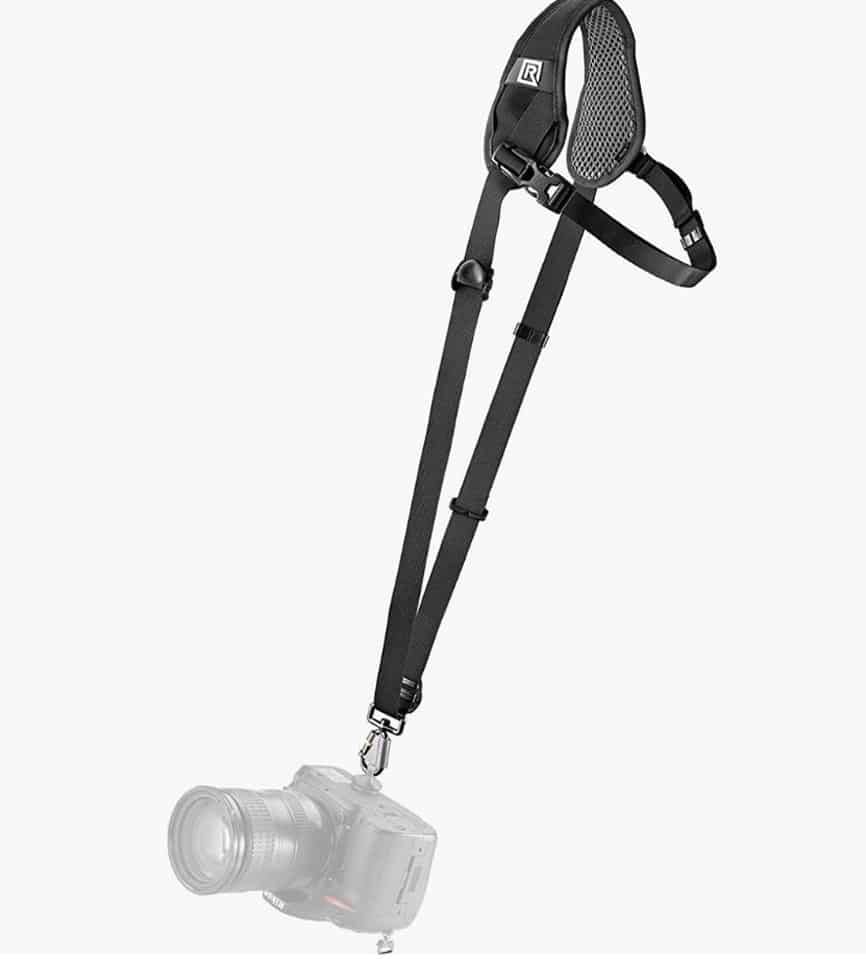
Black Rapid RS-7 Camera Strap
In my opinion, a good quality camera strap is a necessity. I use the Black Rapid Breathe Curve Camera Strap, a durable, comfortable strap that screws into the base of the camera and is worn across the body. It’s not the most fashionable accessory, but it does keep the camera safe from thieves or from accidentally dropping it.
Tripod
A tripod is another invaluable camera accessory. If you want to take photos with a long exposure time, a tripod is a must. There are a lot of expensive tripod options out there. What you are paying for is a lightweight tripod that is durable and will be stable when you attach your camera to it.
Peak Design Travel Tripod
I just started using the Peak Design Travel Tripod and I love it. It’s extremely fast to set up and put away, very durable and sturdy, lightweight, easy to use, and folds up into a compact cylinder. It’s also very expensive, coming in at around $600 USD, but for a travel tripod with these features, it makes it worth it for the serious photographer, especially if you plan to take a tripod hiking.

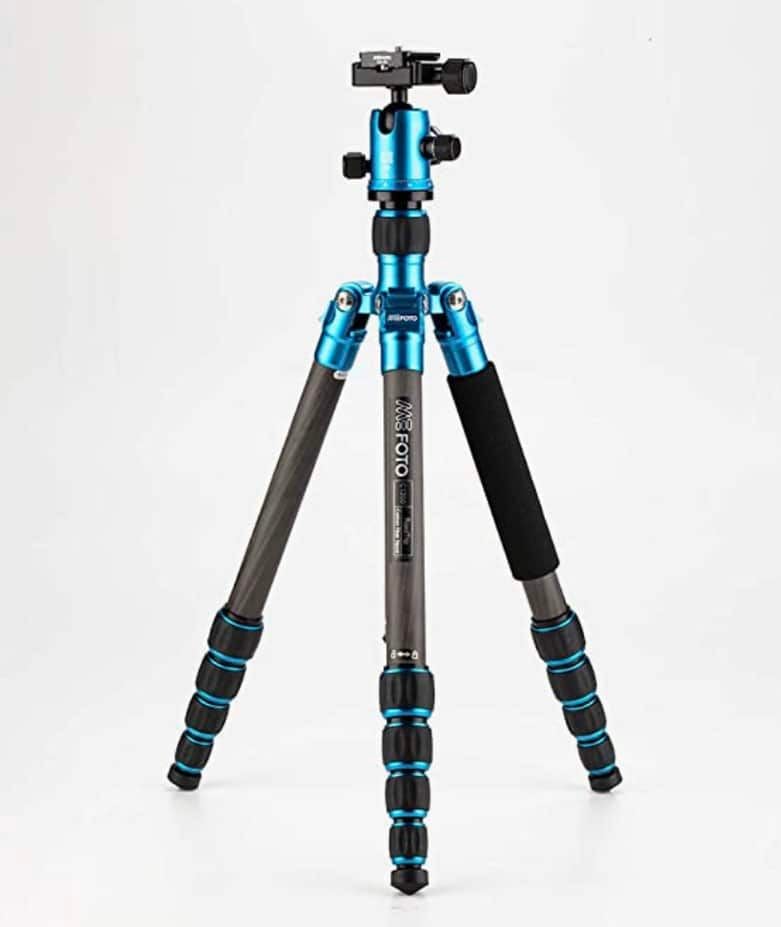
MeFOTO Tripod
The MeFOTO tripod was our first tripod and I highly recommend this one, too. It’s been around the world and Tim has carried it on numerous hikes and trips through cities. Even though this tripod has a low price compared with those on the higher end, the MeFOTO tripod has proven to be durable, lightweight, and dependable. On uneven slopes and surfaces we have not had a problem with it.
If you are looking for a cost conscious tripod that does a good job, check this one out.
JOBY Gorillapod Tripod
We recently added this great little tripod to our collection of camera gear. It’s small and it’s lightweight so it doesn’t take up much room or add a lot of weight to your backpack. The moldable legs can be curled around fence posts, railings, and trees. I’ve done this a bunch of times and it works great. This is a great tripod to throw into your hiking backpack rather than hiking with a larger, heavier tripod.
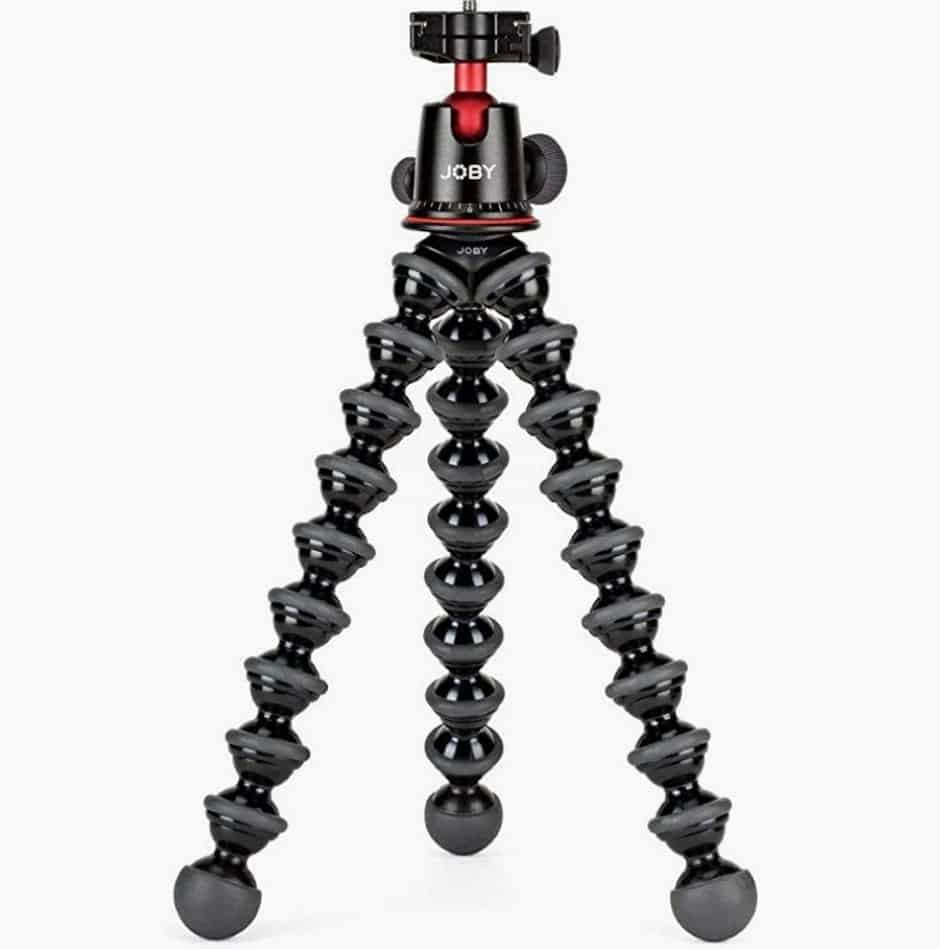
The Gorillapod comes in several sizes. We use the 5K stand because it is the only one large enough to hold our Canon 5D. If you purchase it as a kit, you also get the Ballhead, which allows you to swivel the camera on the tripod. I recommend purchasing the ballhead because it makes it much easier to level the camera when taking photos.
PacSafe CitySafe Anti-Theft Handbag
The PacSafe CitySafe Anti-Theft bag is a handbag, not a true camera bag. But I use it as my camera bag.
This bag is just large enough to hold my camera and the accessories listed above (other than the tripod, which Tim carries in his daypack) and few other small items. This bag is worn across your shoulder. It looks like a purse, so it is more stylish than a bulky camera bag. Plus, the PacSafe features, such as an RFID slot for your wallet, Slashguard fabric, and clips to lock your bag, all work to thwart pickpocketers and thieves.
Canon Powershot GX7 Mark II
This point-and-shoot camera, the Canon Powershot GX7 Mark II, is lightweight, tiny, and shoots great video. We upgraded to this point and shoot camera in June 2018 to use for our videos.
This camera shoots 1080p full HD video and it is an excellent compact camera if you are not looking to lug around a DSLR. 90% of the time we use it to shoot video but I have used it on occasion for photography when I did not feel like carrying a big camera around town.
This 20 MP camera can shoot time lapse video, take long exposure shots, and offers awesome image quality for a camera that is so small. You can almost keep this camera in your pocket.
If you are looking for a nice, small, inexpensive camera that also shoots quality video, check this one out!
Tyler used this camera and our drone to capture our most recent videos of 2018. Check them out our Earth Trekkers YouTube channel.
DJI Phantom 4 Drone
With a drone, you can capture some very unique photos and videos of the places you visit. It’s worth it, but it is another bag to carry onto airplanes and lug around with the rest of your luggage. Plus, there are a lot of rules about where you can and cannot fly a drone, so before you travel, you need to be prepared to do some research. There have been a number of times that we were unable to use our drone because of local laws.
We have two drones, the DJI Phantom 4 drone and the DJI Mavic 2 Pro.
Most of our drone photos and videos were taken with the DJI Phantom 4 Drone. We purchased in 2016 for our trip to Scotland and Ireland and used it on several subsequent trips. Tyler shot this video of northern Norway with the Phantom 4.
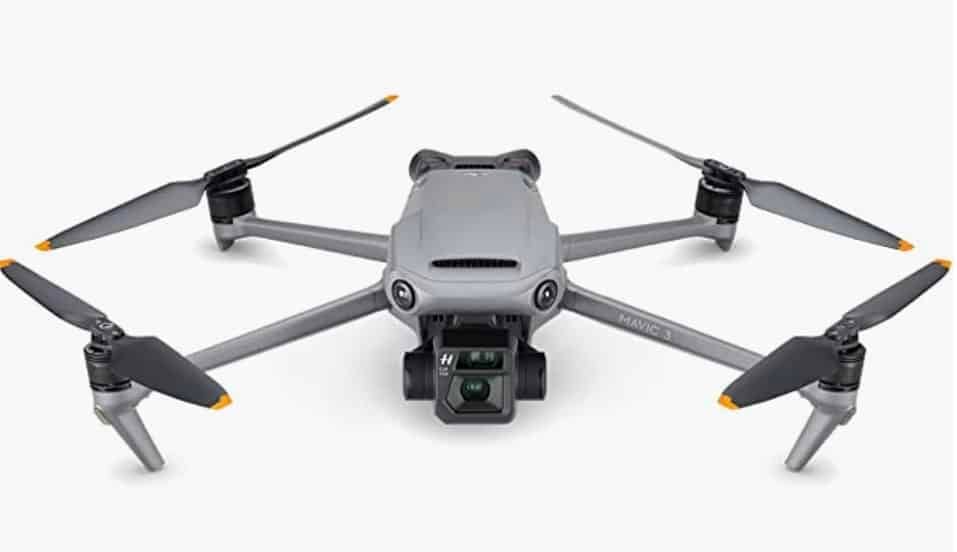
In December 2019, we purchased the DJI Mavic 2 Pro, which is smaller, quieter, lighter, and takes much better photos and videos than the Phantom 4. Well, we all know what happened in 2020. With COVID and our travels taking us mainly to US national parks for the next two years (where drones are illegal), our drone just sat on a shelf in our house.
Recently, we began using it, but with new drone rules and regulations, and not wanting to disturb those around us, you won’t see many photos on our website with the Mavic 2. However, it is an amazing drone. We love the size and how quiet it is. Drones can be very disruptive to those around you, and the Mavic 2 isn’t as obnoxious as some other drones.
If you are looking into buying a drone, take a look at the DJI Mavic 3, which is an upgraded version of what we have.
Storing Your Photos
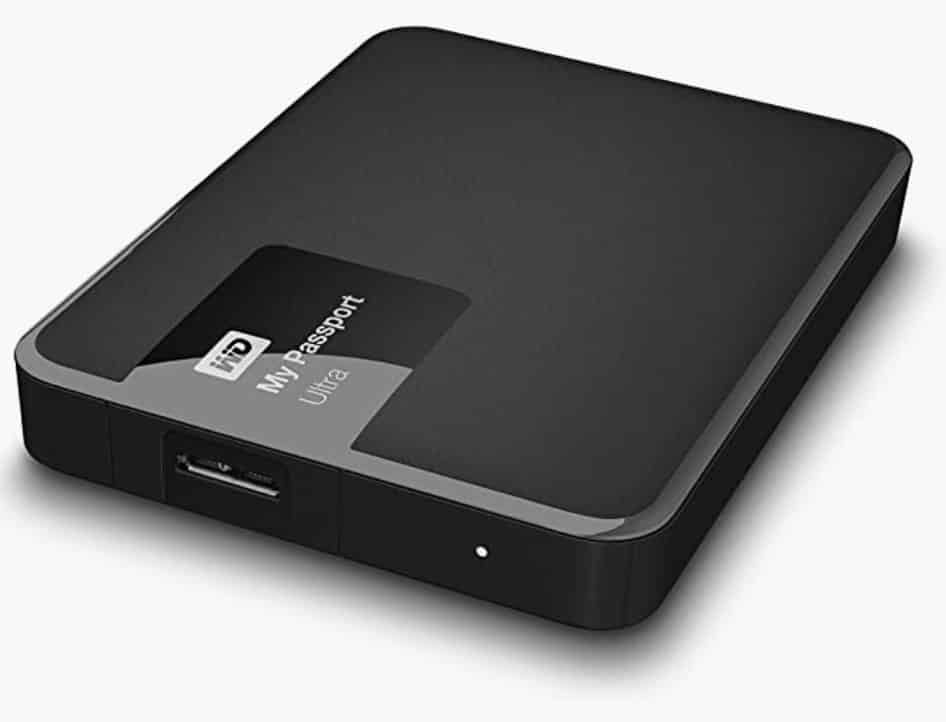
So, what do you do with all of those gorgeous photos you just took? Back them up!!
I keep a copy of our photos on my laptop and a back up copy on an external hard drive. We love the WD My Passport External Hard Drives. They are small, very durable, and are travel friendly. You can purchase them with 2 TB of disk space, more than enough room for years of photos.
How to Take Better Photos
I am a self-taught photographer. Everything I know about photography I learned from reading in a book and then by practicing it over and over again. If you want to be a good photographer, you have to take photos everyday.
Learn all of the controls on your camera and practice using them as much as possible. If you want to take truly great photos, you have to take your camera out of its automatic mode, and start shooting in aperture, shutter, or manual mode.
Here are some books that taught me how to take a better photo.
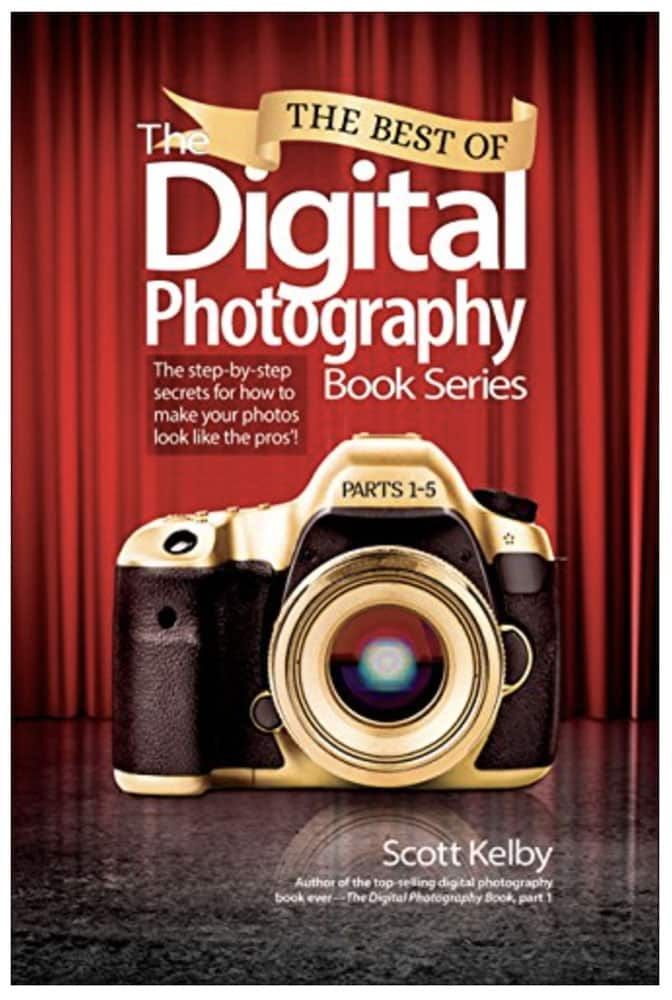
The Best of the Digital Photography Book Series
Scott Kelby teaches photography in a practical, slightly comedic sort of way. I am a big fan of his digital photography series. This book takes the best of his advice from the entire series and condenses it down into one manual.
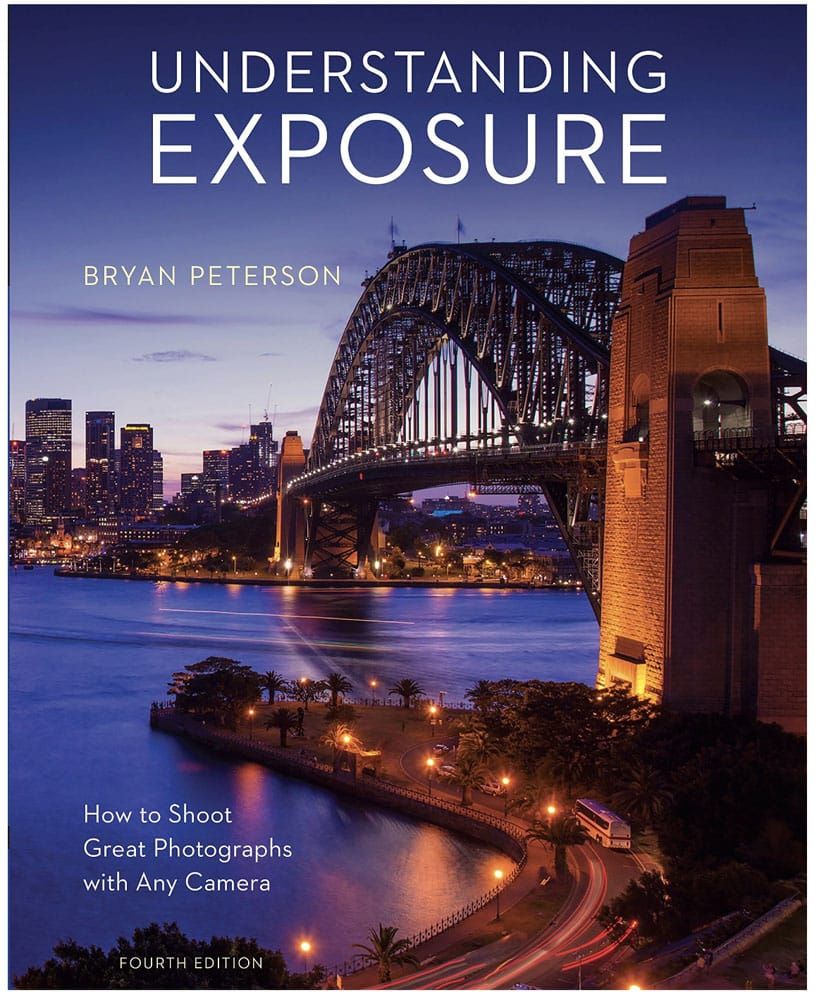
Understanding Exposure
Whether you are a beginner or advanced photographer, this is a great resource. In this book you will learn all about exposure, one of the most important ingredients in taking your photography to the next level.
Learn more about travel photography: Capturing the Action: How to take Great Photos While Traveling
If you have any further questions, let us know in the comment section below!
More Travel Inspiration
TRAVEL PHOTOGRAPHY: For more of our photos, check out our Travel Photography page, which has links to photo tours from around the world.
TRAVEL INSPIRATION: For more travel ideas, here are 10 unique destinations to put on your travel wish list and 15 fairytale destinations from around the world.
TRAVEL INSPIRATION: Here are 30 great travel books and a list of the best travel movies to feed your wanderlust.
VISIT THE US NATIONAL PARKS: Looking for your next big adventure? Read our article about the 15 Best National Parks, where we narrow down the long list into 15 must-see parks. You can also learn more about the national parks (and get the full list) in our Guide to the US National Parks.
EUROPE TRAVEL INSPIRATION: For great ideas on where to go in Europe, check out our article 30 Beautiful Places to Visit in Europe and the 20 Best Hikes in Europe. You can also get more travel ideas in our 10 Days in Europe itinerary guide, which has 10 great itineraries for your next trip to Europe.
Note: This post contains affiliate links. When you make a purchase using one of these affiliate links, we get paid a small commission at no extra cost to you.
All rights reserved © Earth Trekkers. Republishing this article and/or any of its contents (text, photography, etc.), in whole or in part, is strictly prohibited.
Comments 80
Hi Julie, great photos… super inspiring! I don’t see a PC lens in your gear list. Would you mind sharing how you do your perspective correction? Many thanks in advance.
Best regards,
Gavin
Author
Hello Gavin. You are correct, we don’t have a PC lens. I use Lightroom to edit our photos and use the Lens Corrections to make the adjustments, although it is very minimal. I definitely get distortion in cities using the wide angle so use the 24-70 mm lens the most. It would be nice to have a PC lens but I don’t want to carry around a lot of photo equipment. Cheers, Julie
Julie,
As a current Neurosurgical Physician Assistant of 30+ years, I am highly envious! ha.
But, I am more than thrilled for you what you have been able to accomplish since that time in your life.
Thank you for sharing, I have truly been enjoying reading!
Author
You’re welcome! And thanks for writing in! Cheers, Julie
Thanks for the great website! Your AIGUILLE DU MIDI guide is helping me plan my day in Chamonix after hiking the TMB in September 2024.
Which 1 or 2 lenses would you recommend for a multi-day hike in the mountains (TMB)? I have the Canon R5 and 3 RF lenses: 15-35, 24-70, 70-200. I have baggage transfer service but still have to carry my day pack, so thinking I’ll only have room (and weight!) for 2 lenses. I read that the wide angle is less ideal for mountain compositions, since everything is quiet far away.
What do you think??
Author
Hello Simon. I recommend taking your 15-35 (having the wide angle is great for landscapes and on hiking trails and I use a similar lens quite a bit hiking) and the 24-70. I don’t see the need for a longer telephoto lens (it would only be handy if you see wildlife but I don’t think it is worth the extra size and weight). Have a great hike and a great time in Chamonix! Cheers, Julie
What rain cover do you use for your camera?
Author
I actually do not use one. I tried one out on a trip to Alaska and didn’t have much luck with it (the camera still got wet and it was very hard to use the functions on the camera…maybe I was using it incorrectly?). I either use an umbrella or keep it protected in a drybag or backpack, taking it out when absolutely necessary. I do carry an absorbent microfiber cloth to dry it off when necessary. Cheers, Julie
Thanks so much for all this great information! Your photos are amazing.
Hello,
My family and I will be traveling to Switzerland and Italy this summer, and we would love to document our trip with high-quality photos. However, as a beginner in photography, I’m not sure what to look for when buying a camera.
While we are considering purchasing a DJI Mini 3 Pro drone, we believe that a traditional camera may be more versatile for capturing different types of shots. We are looking for a good quality camera that is easy to use and will allow us to take great photos during our trip.
If anyone has any suggestions or advice on what we should consider when buying a camera, please feel free to share. We are open to doing research and learning more about the features and specs we should prioritize.
Thank you in advance for your help!
Author
I think having a traditional camera is a good way to go. There are a lot of places where drones are not allowed, so I recommend researching the drone rules for Switzerland and wherever else you plan to travel before purchasing it (if you can afford both, a drone does give you a very unique perspective). I also think it is helpful to go to a camera shop and let the salesperson know your price range and what you want, and they can give you some recommendations. Cheers, Julie
Do you download your photos off your memory card while on your trip? If so, how do you do that if you don’t take a laptop?
PS – loving your website in preparation for our European holiday this Christmas.
Author
We travel with laptops (I just don’t have them listed in this guide). One reason is to backup photos, but the main reason is that we are working on the website every day, even while traveling. Right now it is morning in New Zealand an I am answering all of the comments that came through while I was sleeping. 😊 Have a great time in Europe! Cheers, Julie
Why not just get the latest iPhone?
Author
You can take much better photos with camera. You will see a few iPhone photos on this website, but iPhones greatly lag behind what a good camera can go. Cheers, Julie
Which ND filter do you use or recommend? I’m not sure what would be most useful between the 3, 6, and 10 stop options.
Author
I mostly use a 6 stop ND filter, followed by a 3 stop. I don’t own a 10 stop and so far haven’t felt it was necessary. Cheers, Julie