
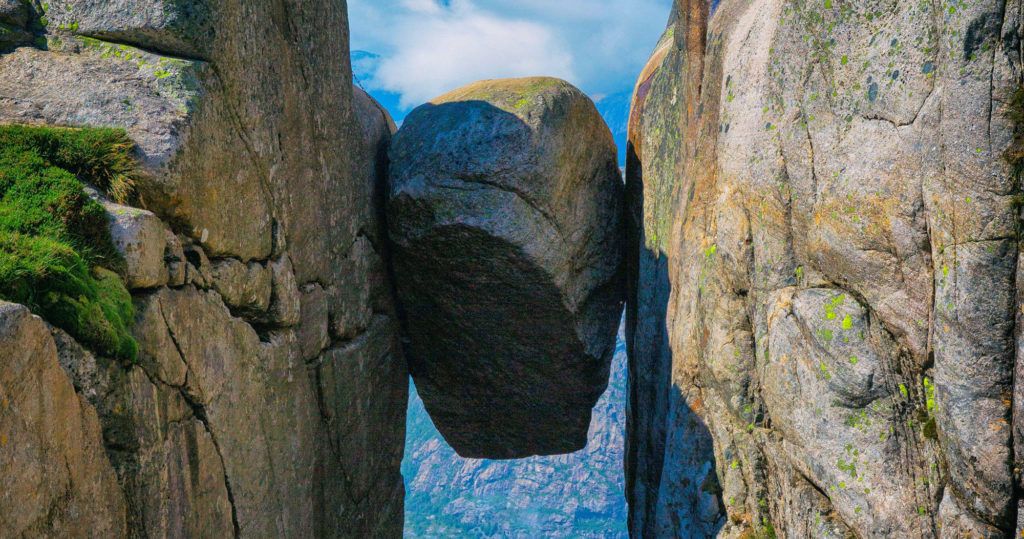

Kjeragbolten is one of Norway’s most iconic and nerve-wracking hikes: a boulder wedged 1,000 meters above Lysefjord, reached by a strenuous 12 km trail from the Stavanger area.
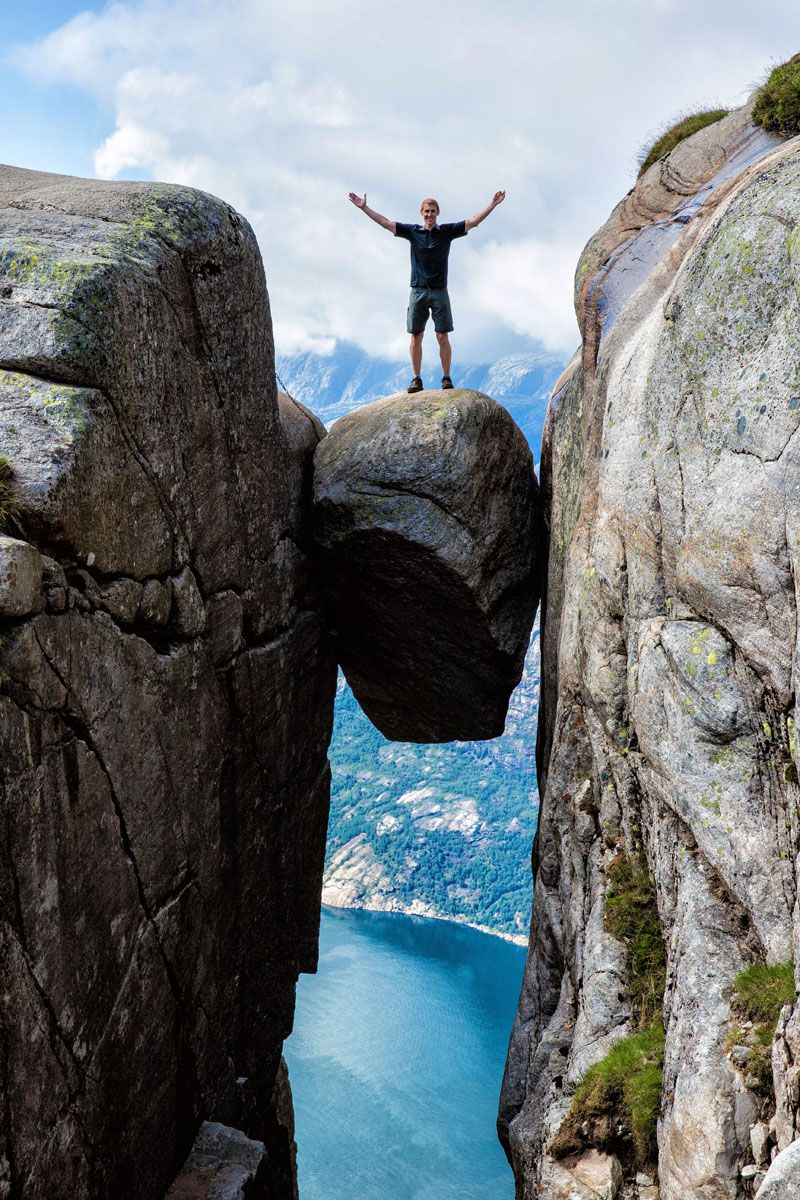
When Tim and I first researched Norway as a travel destination, we repeatedly saw photos of what looked to be crazy people standing on a boulder with 3000 feet of empty space underneath of it.
Who does this?
As we learned more about the hike, Tim and I decided we wanted to join the club. We added Kjeragbolten to our list of adventures in Norway, and before we knew it, it was our turn to step out onto the boulder.
Kjeragbolten Hike: The Essentials
DISTANCE | 12 km (7.5 miles) out-and-back
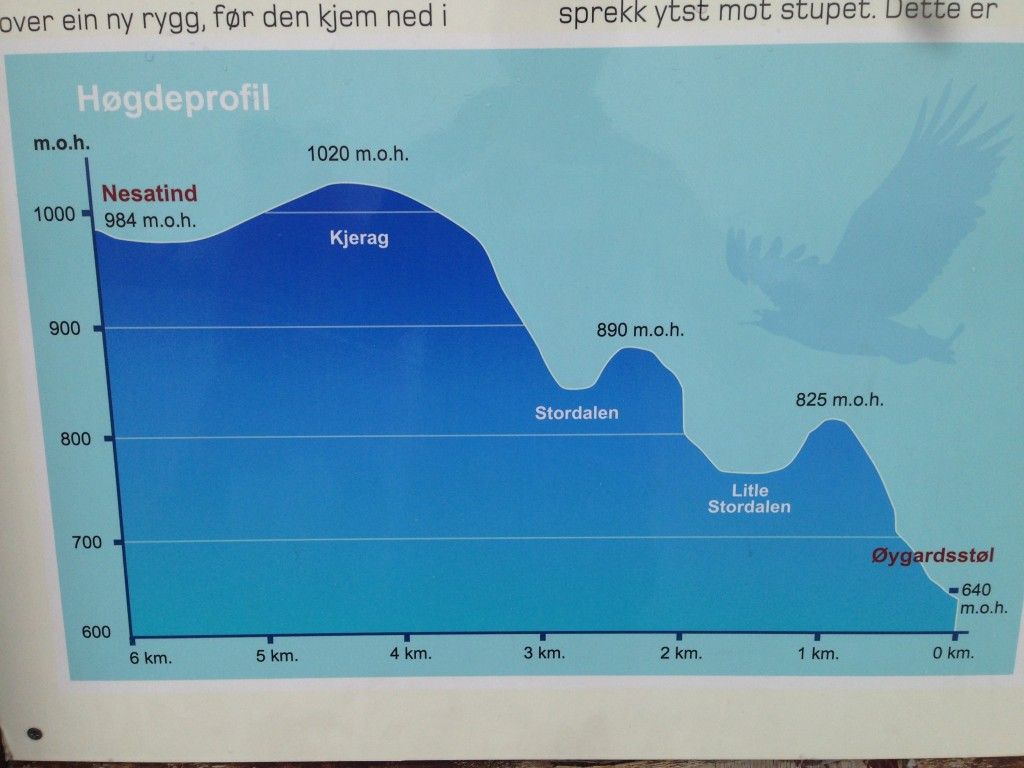
ELEVATION GAIN | 570 meters
DIFFICULTY | Strenuous
TIME NEEDED | 6–8 hours
BEST TIME TO HIKE | June through September
STARTING POINT | Øygardstøl, near Lysebotn
Our Experience
The start of the hike can be reached by car from the town of Stavanger. We rented a car for one day, returning to Stavanger at about 8 pm the same day. It makes for a long day but one you will not soon forget!
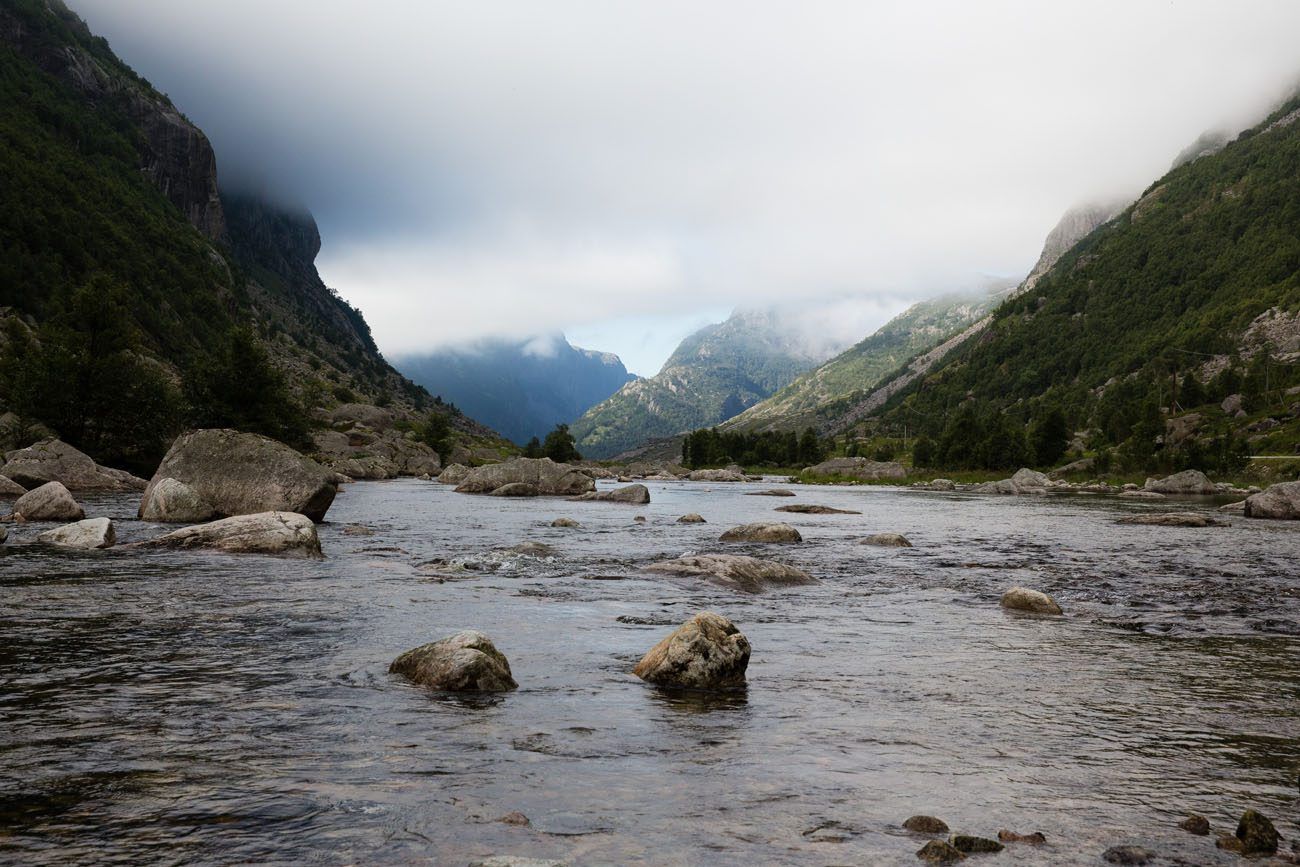
Scenery along the drive from Stavanger to the hike
It was bright and sunny when we left Stavanger, but as we drove into the mountains weather conditions changed. Sunny skies became cloudy, the clouds turned into fog, and soon it was raining. It was a beautiful two hour drive despite the changing weather conditions.
As we approached the starting point of the hike, Tim and I wondered if this was a good idea. Tim had read about people losing their way in foggy conditions and neither of us wanted to step onto a wet boulder.
We pulled into the parking lot. It was cold and drizzly and clouds obscured the mountain tops. I read the sign at the start of the hike which warned people not to attempt this hike in wet, foggy conditions. So, now what?
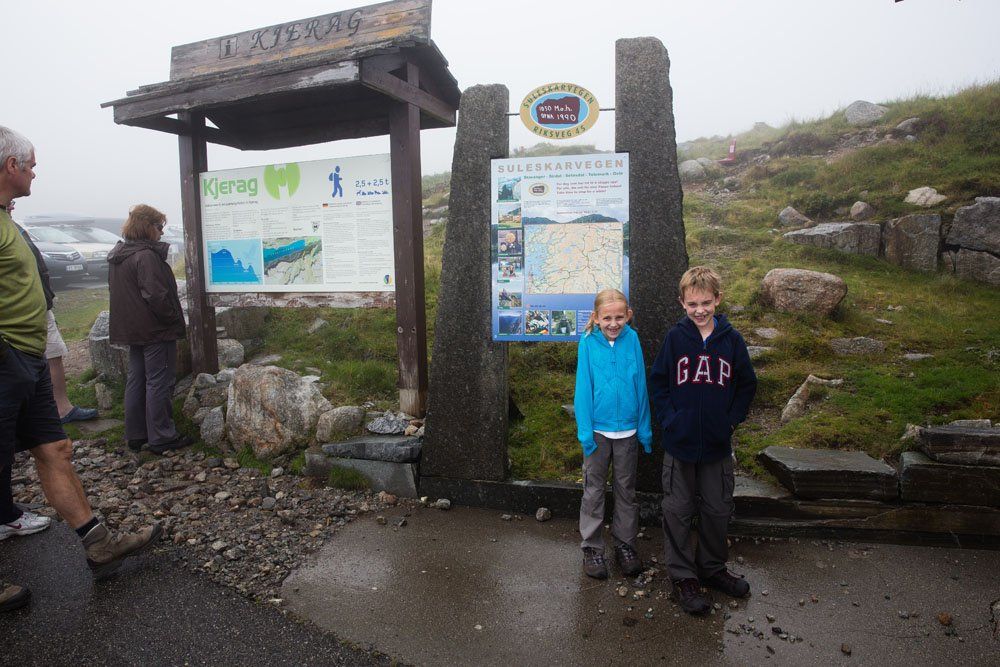
Well, we decided to do it, of course! Tim wanted to at least start the hike and see how it goes. I agreed, and Tyler and Kara unenthusiastically agreed, also. We were on our way.
Immediately we were hiking up a wet hillside. It didn’t take long until we were climbing wet, slippery, granite rocks with the aid of chain ropes attached to the mountain. We were slipping and sliding and Tyler and Kara were having a blast.
Not ten minutes into the hike the day began to clear and we could see sun and blue sky. We were so glad we decided to do this hike.
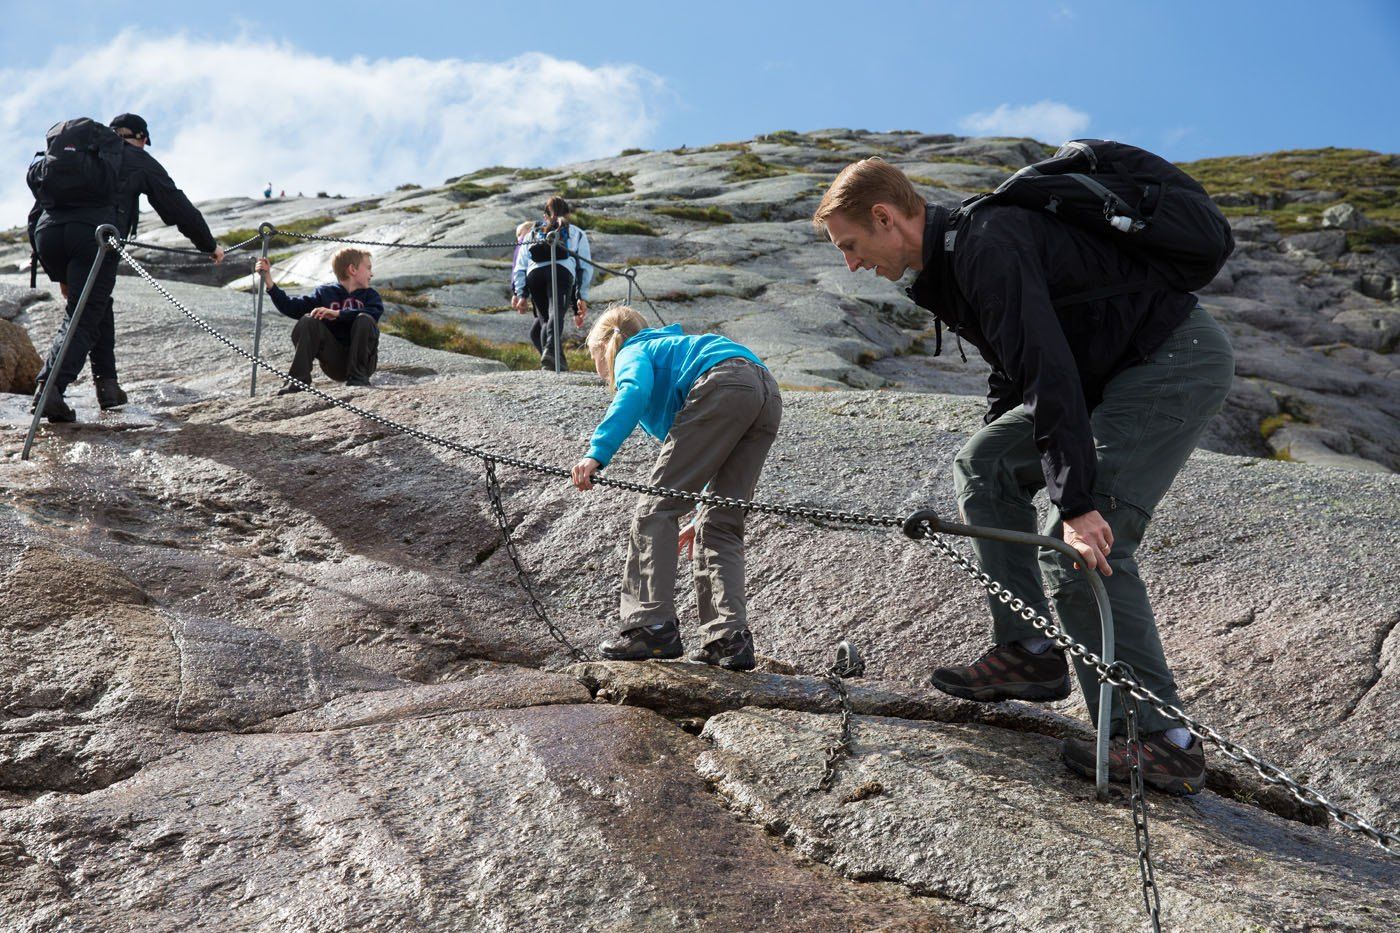
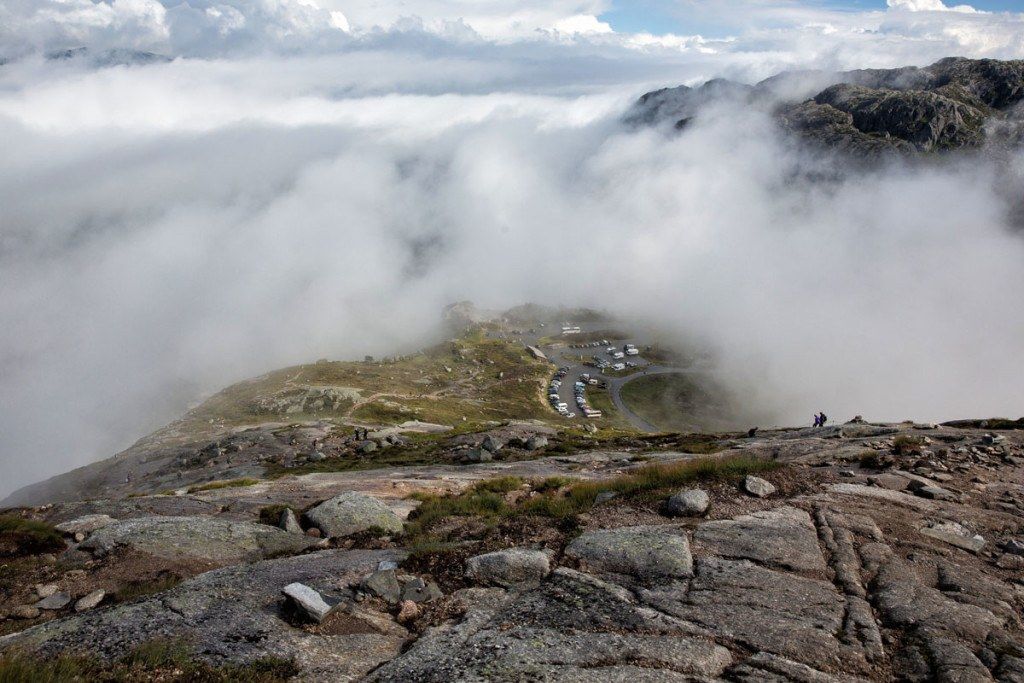
The four of us climbed up and up the incredibly steep granite wall to the top of the first climb. We all had a great time and couldn’t wait to keep going. By now the sun was out in full force and it was turning out to be a gorgeous day.
You can see the Øygardstøl carpark down below and clouds that were slowly dissipating.
Once the skies completely cleared the views were amazing. Over every climb and around every bend the views were stunning. This was such a beautiful hike! Crowds were much smaller than on yesterday’s hike to Pulpit Rock; the views were incredible, and the hike was just challenging enough to keep it interesting and fun.
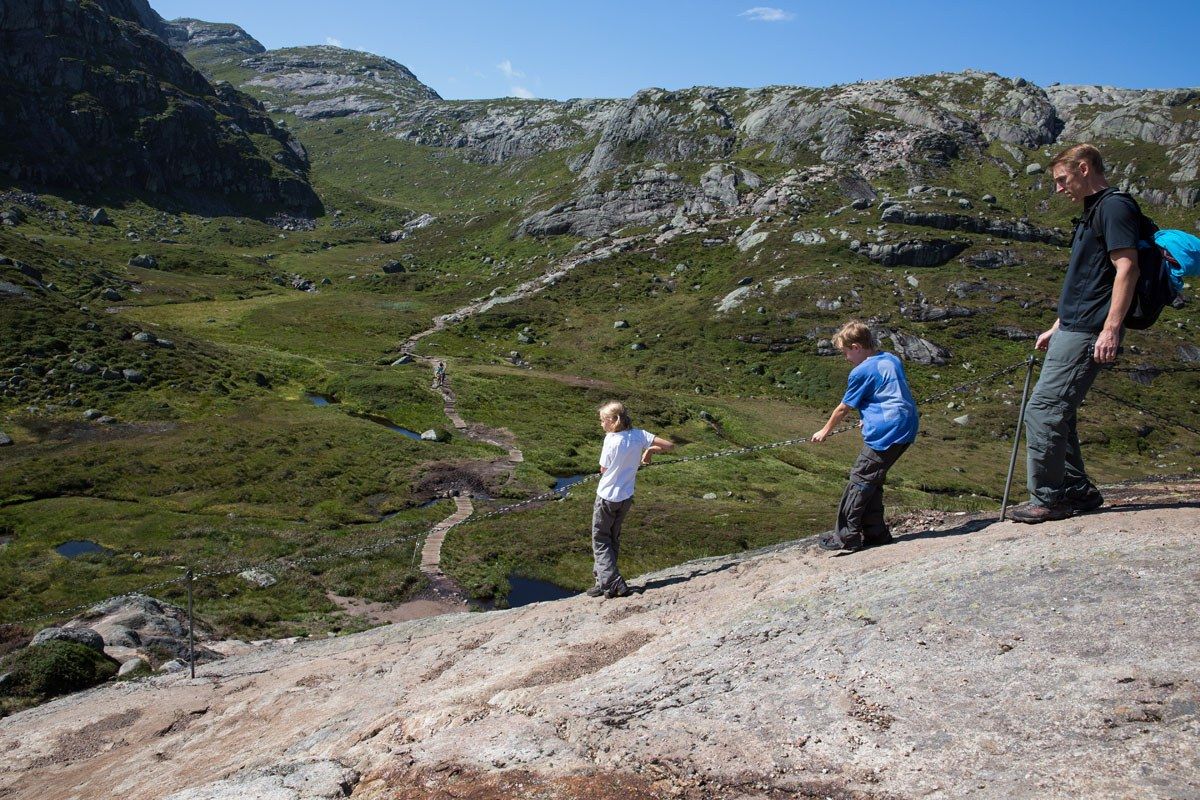
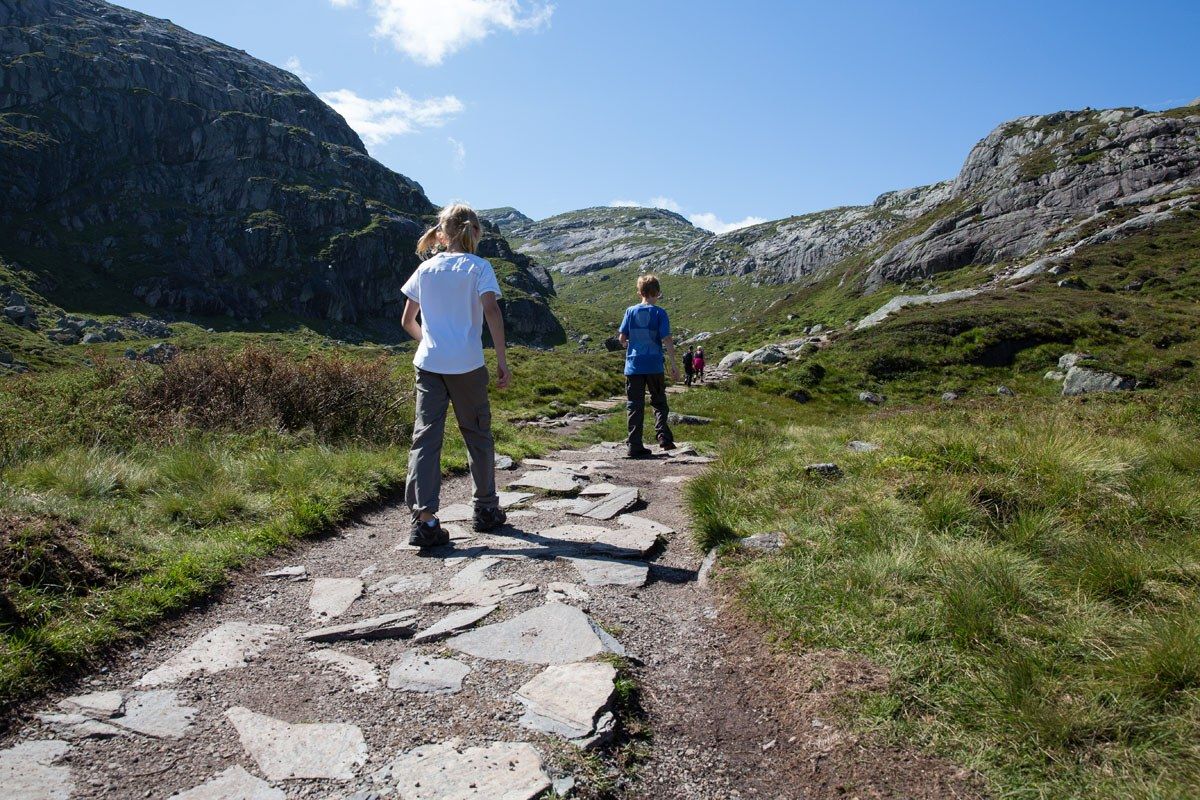
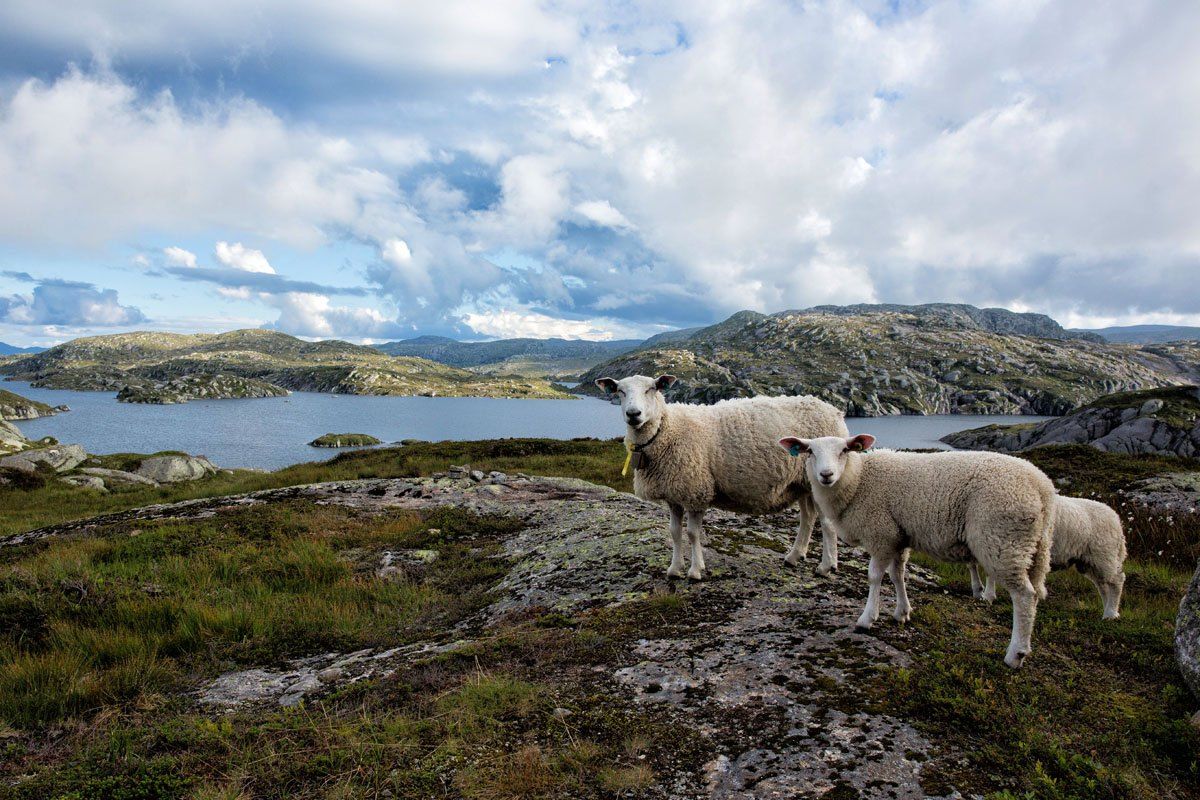
Now we are down in the valley with the second climb in front of us. We saw some sheep here, munching on the grass, their bells clanging as they walked around. This place is awesome!
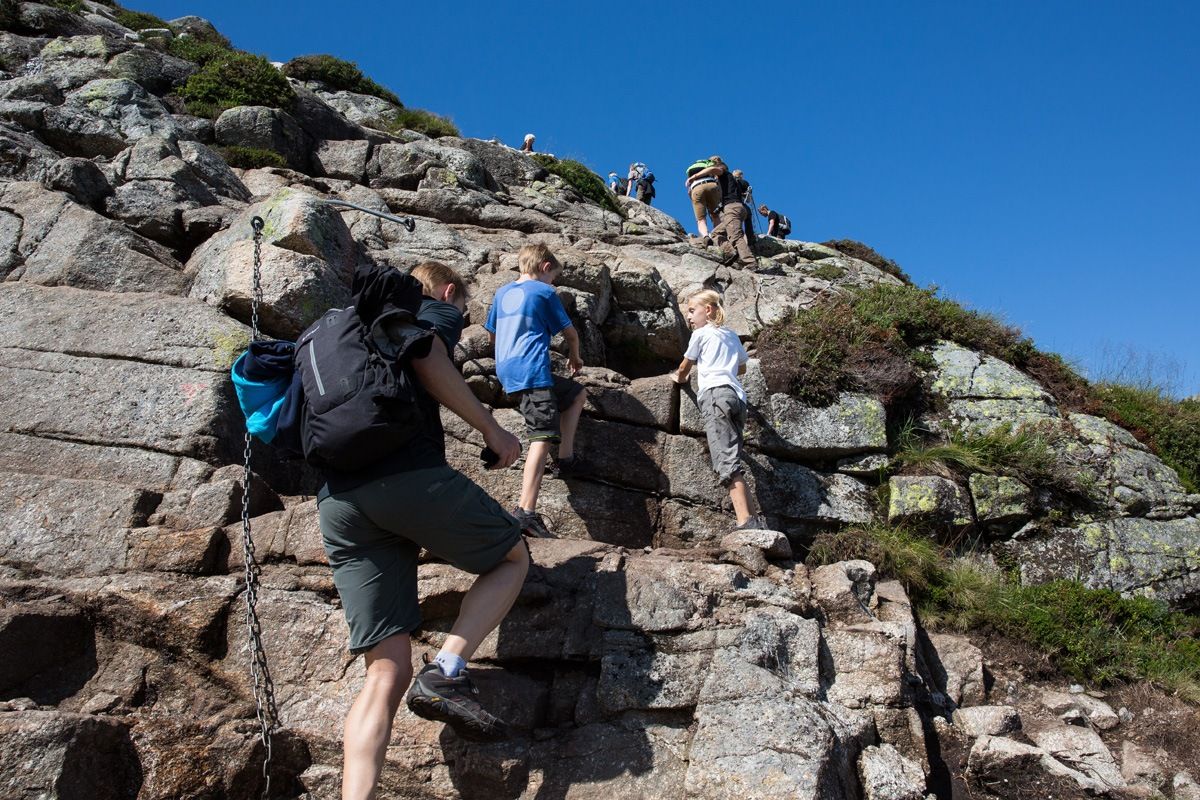
The second climb of the hike is the shortest but the steepest. This is the section where you will have to do some rock scrambling and use more chains. We had to give Tyler and Kara a boost up here but on the return journey they scrambled down on their own.
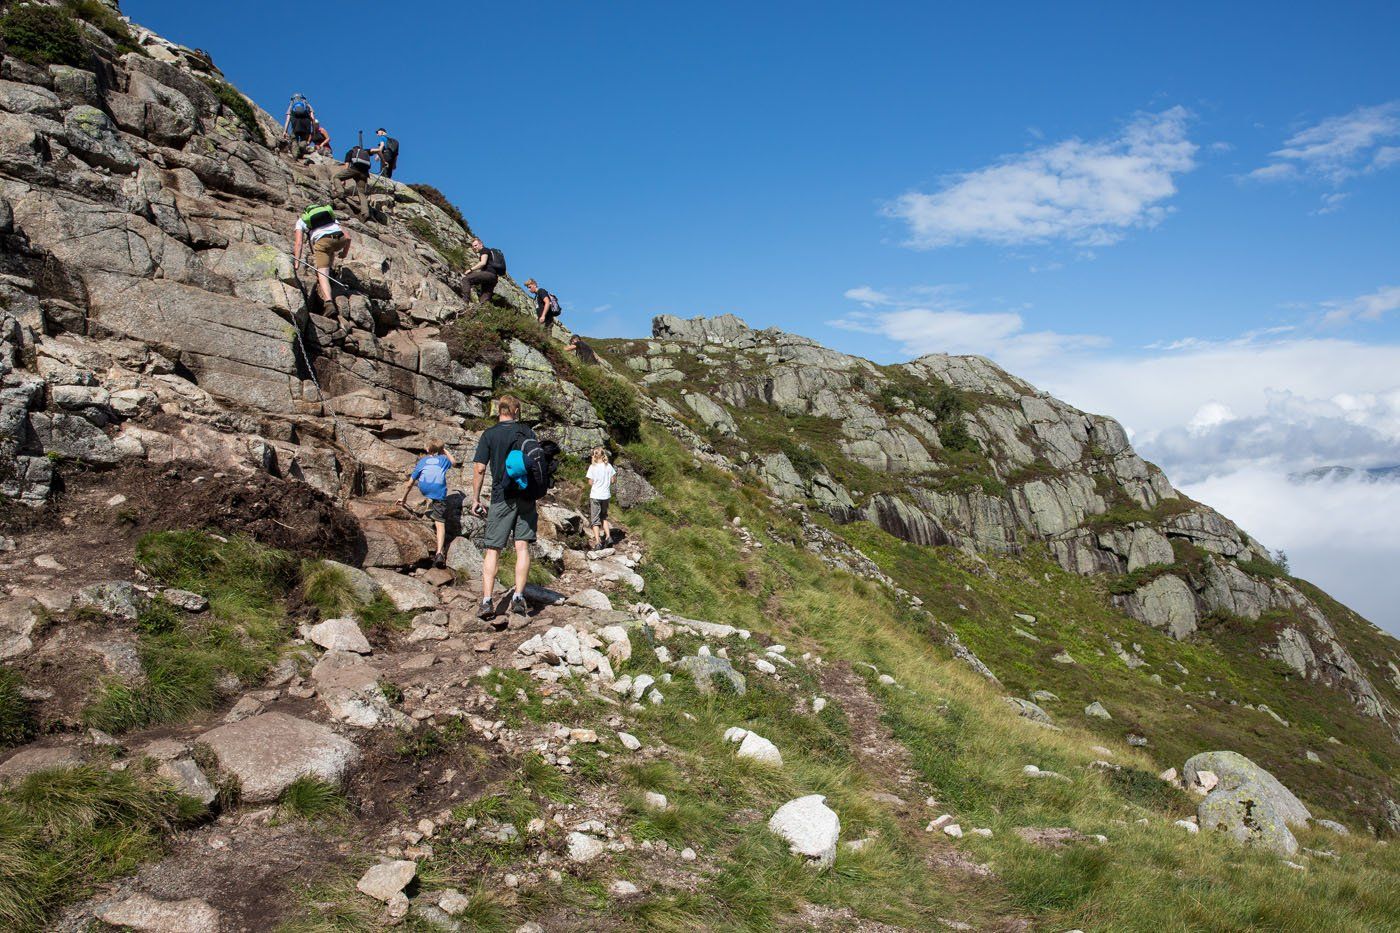
A closer view of the steepest section of the Kjeragbolten hike.
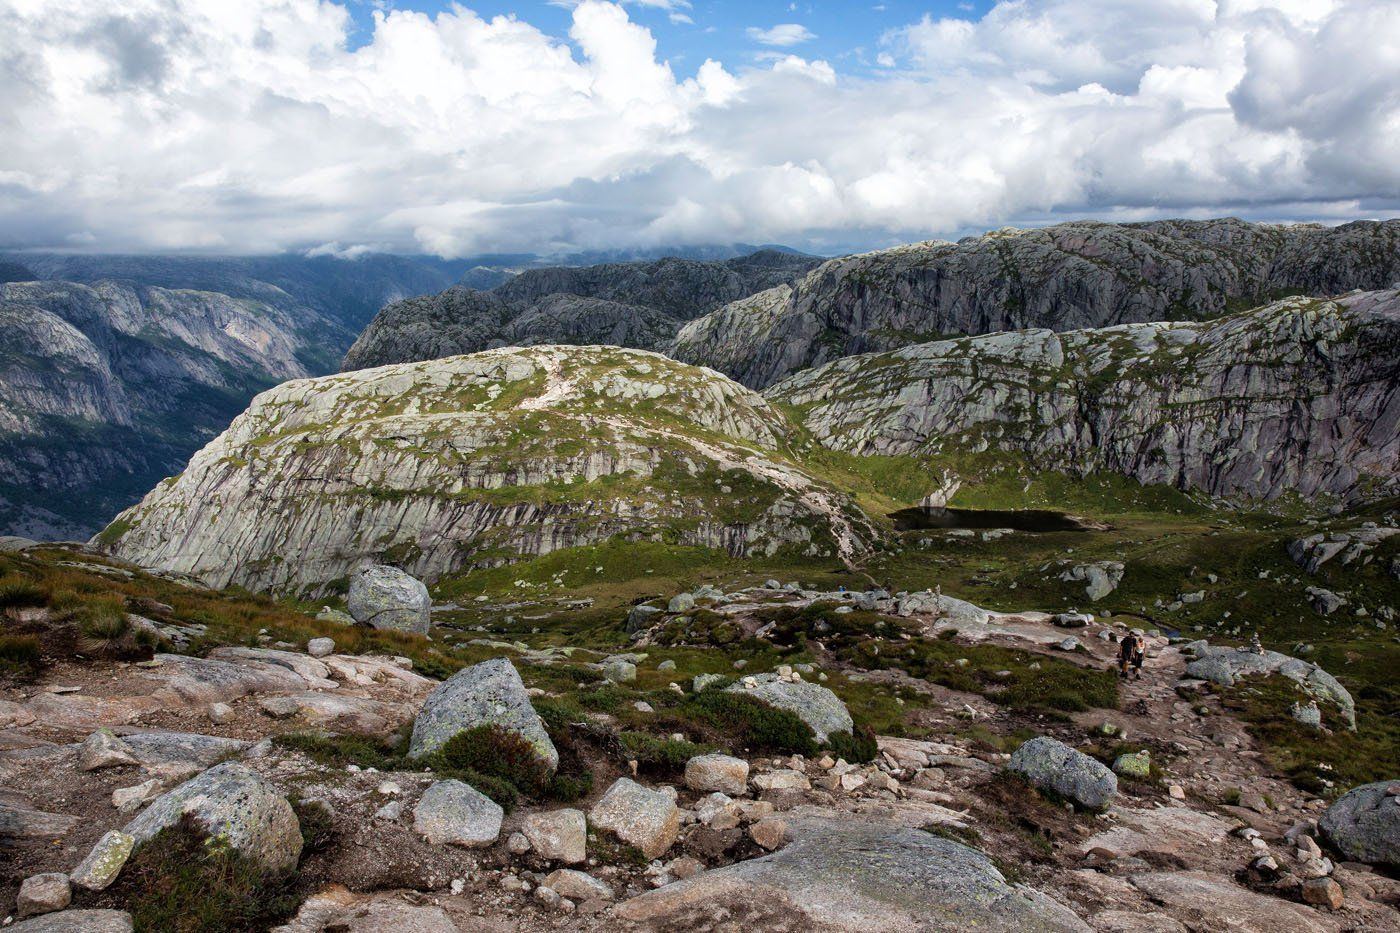
From the top of the second climb, this is the view back down into the valley. The trail climbs up the small ridge in the center of the photo and then disappears down the other side, where the car park is. Now that most of the clouds have cleared away you can see the real beauty of this place.
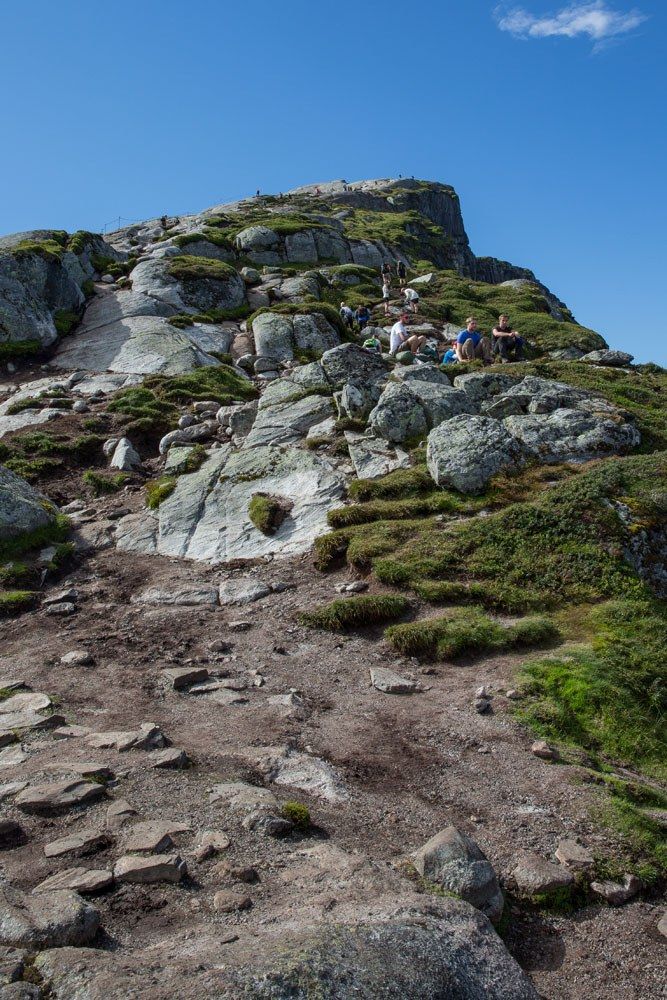
And then, here it is, the final climb of the Kjeragbolten hike. If you look closely, you can see tiny people on the trail. This is the longest climb of the hike but once you are at the top the views are unbelievable!
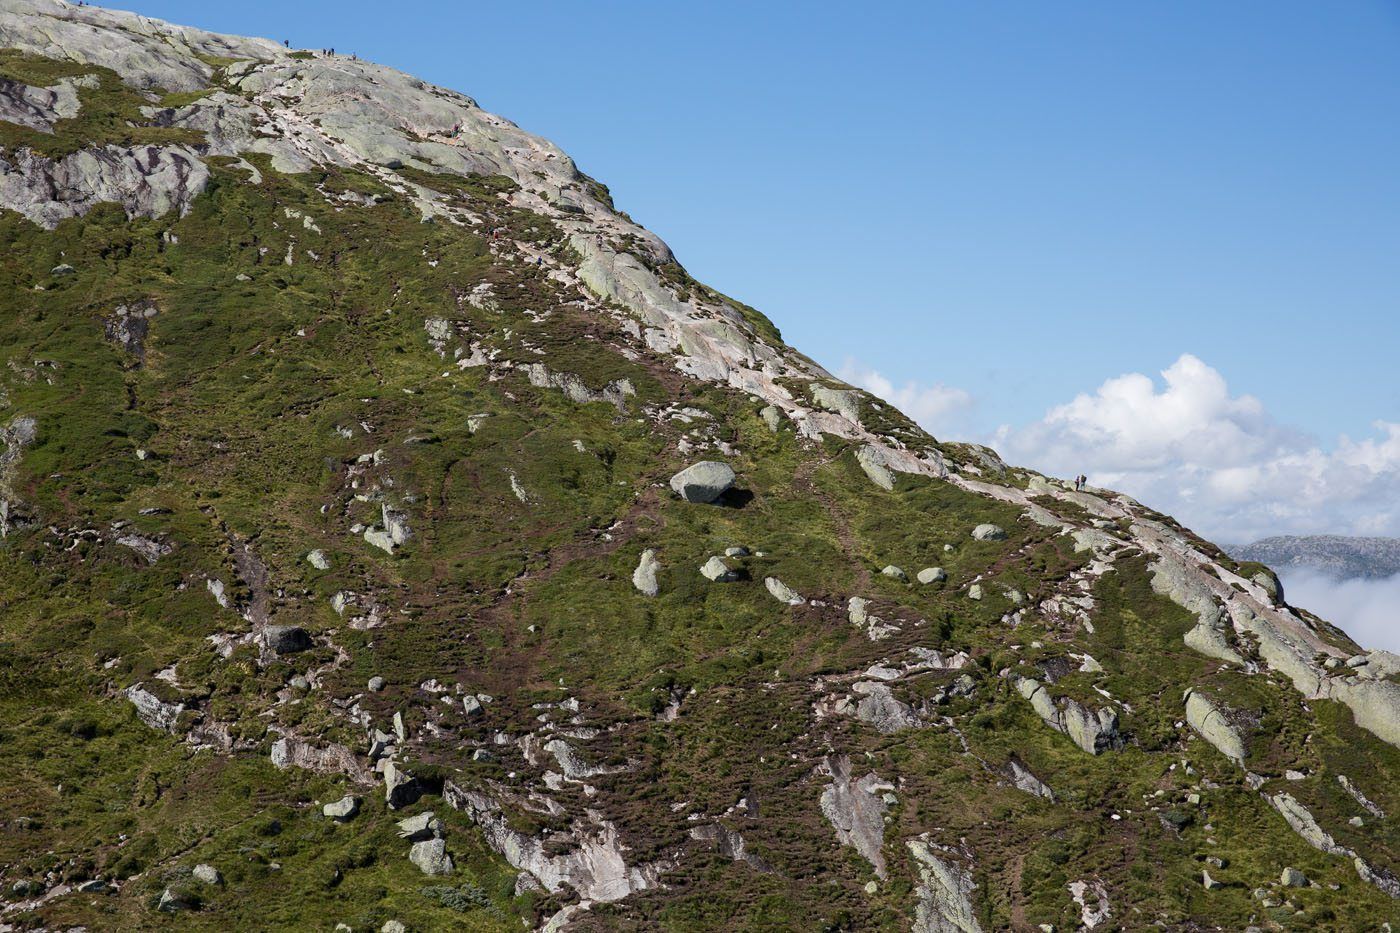
From the bottom, this is a look up at the final, long climb. Yes, those tiny specks are hikers.
Once you get to the top, the terrain levels out, and it is like you are walking on the top of the world. Now it is series of smaller climbs and descents until you get to Kjeragbolten.
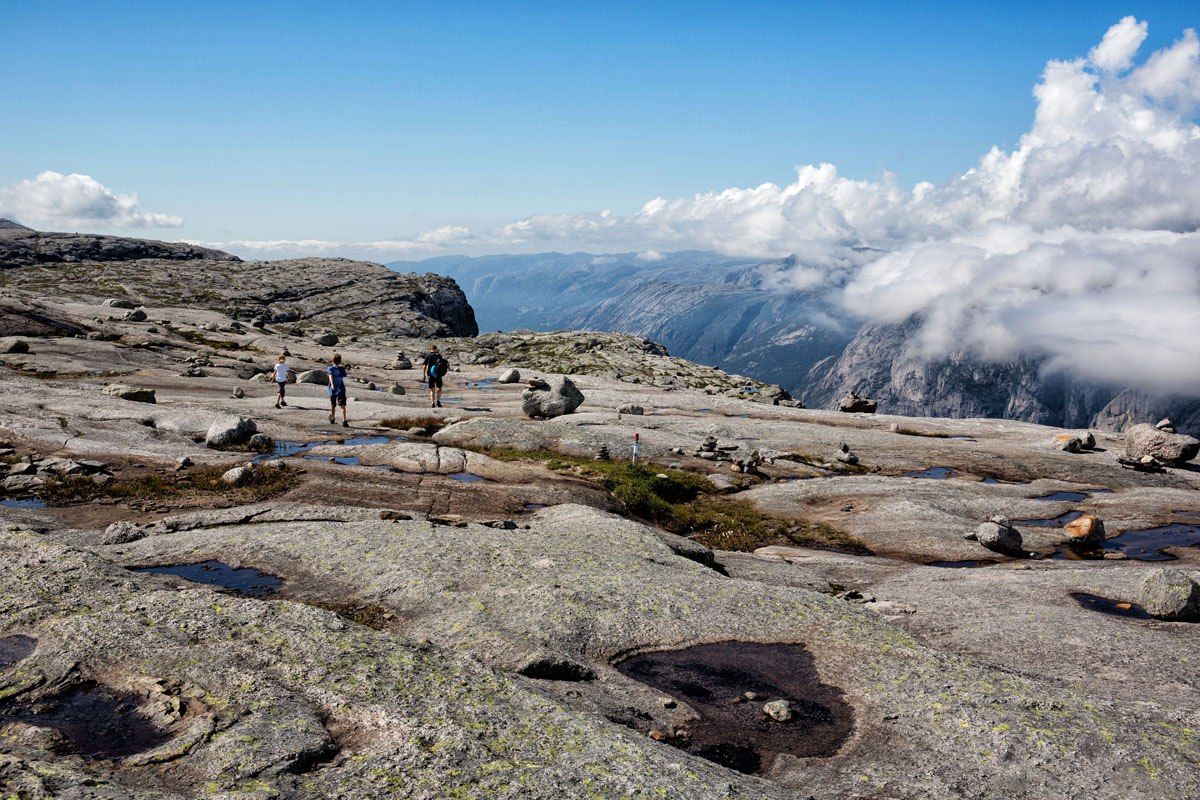
Once you get to the top, the terrain levels out, and it is like you are walking on the top of the world. Now it is series of smaller climbs and descents until you get to Kjeragbolten.
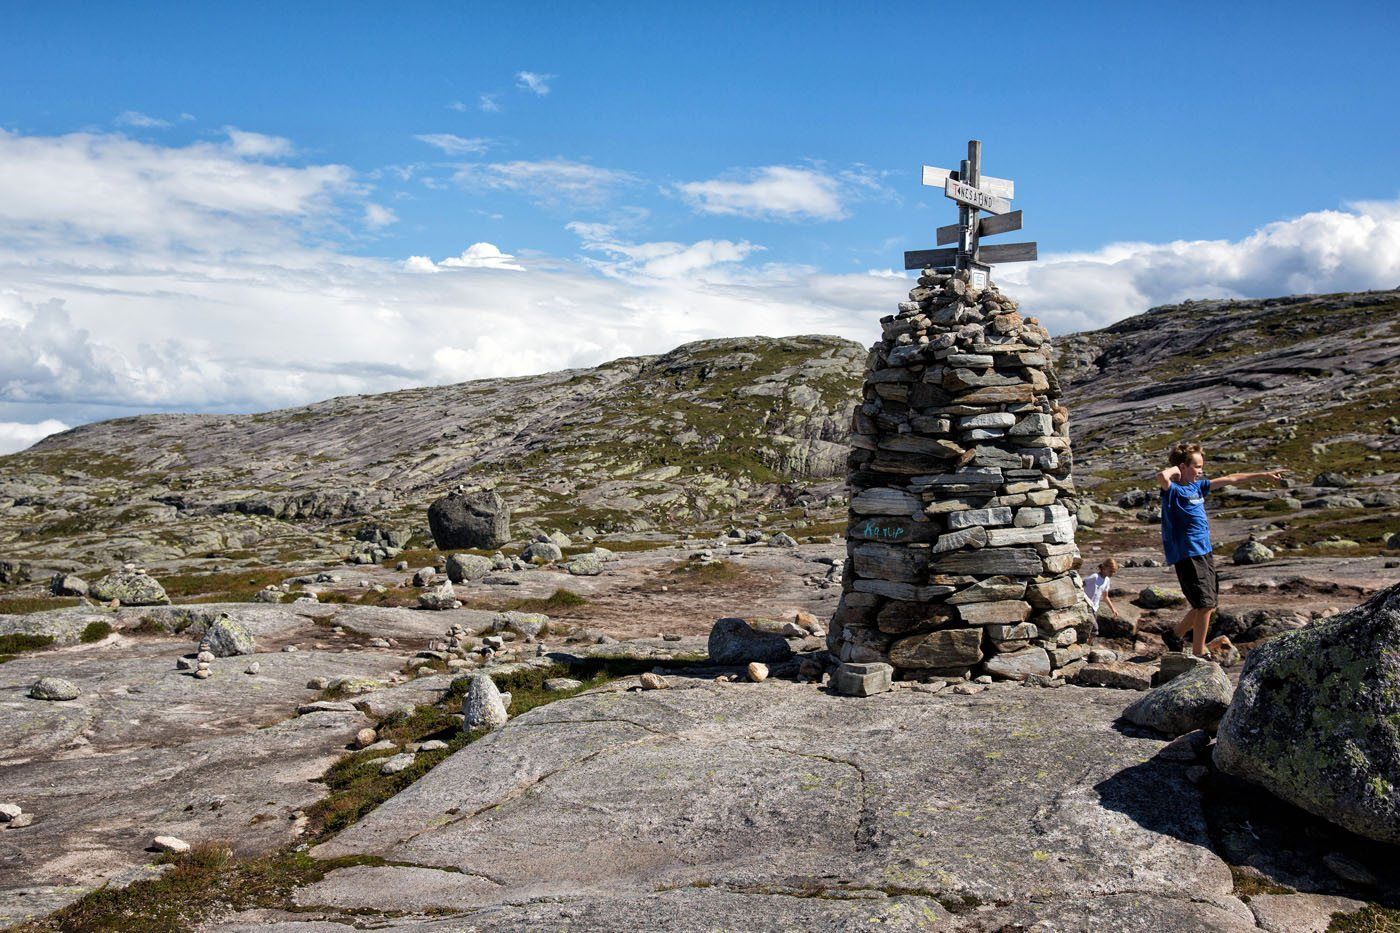
Along the way are signs posted, pointing hikers in the direction of Kjeragbolten. You can also follow the red T’s on the ground.
And then, there it is, Kjeragbolten. This is looking down on the boulder and the “waiting area.”
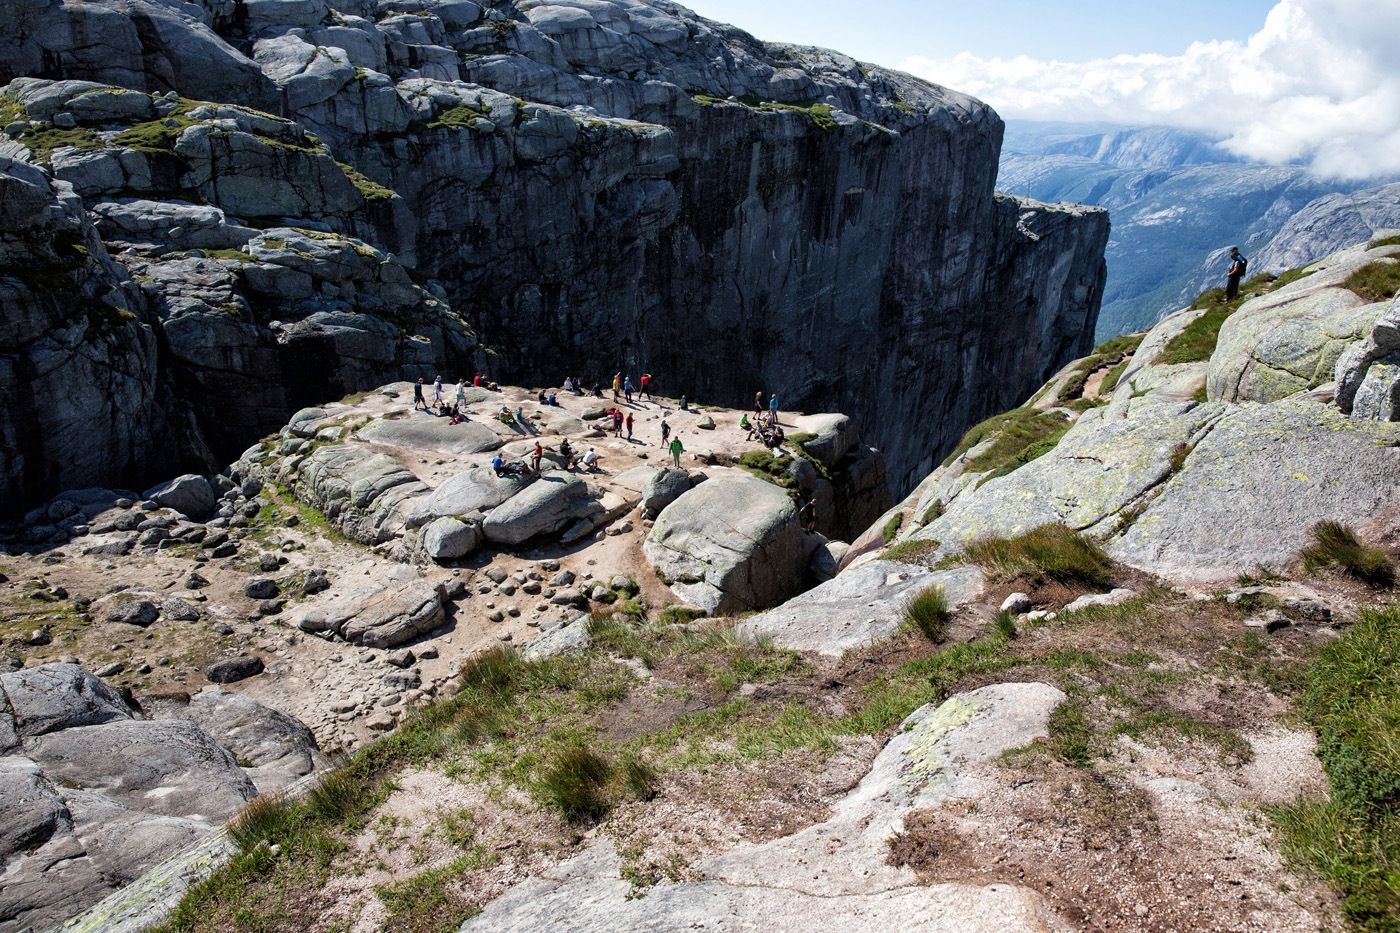
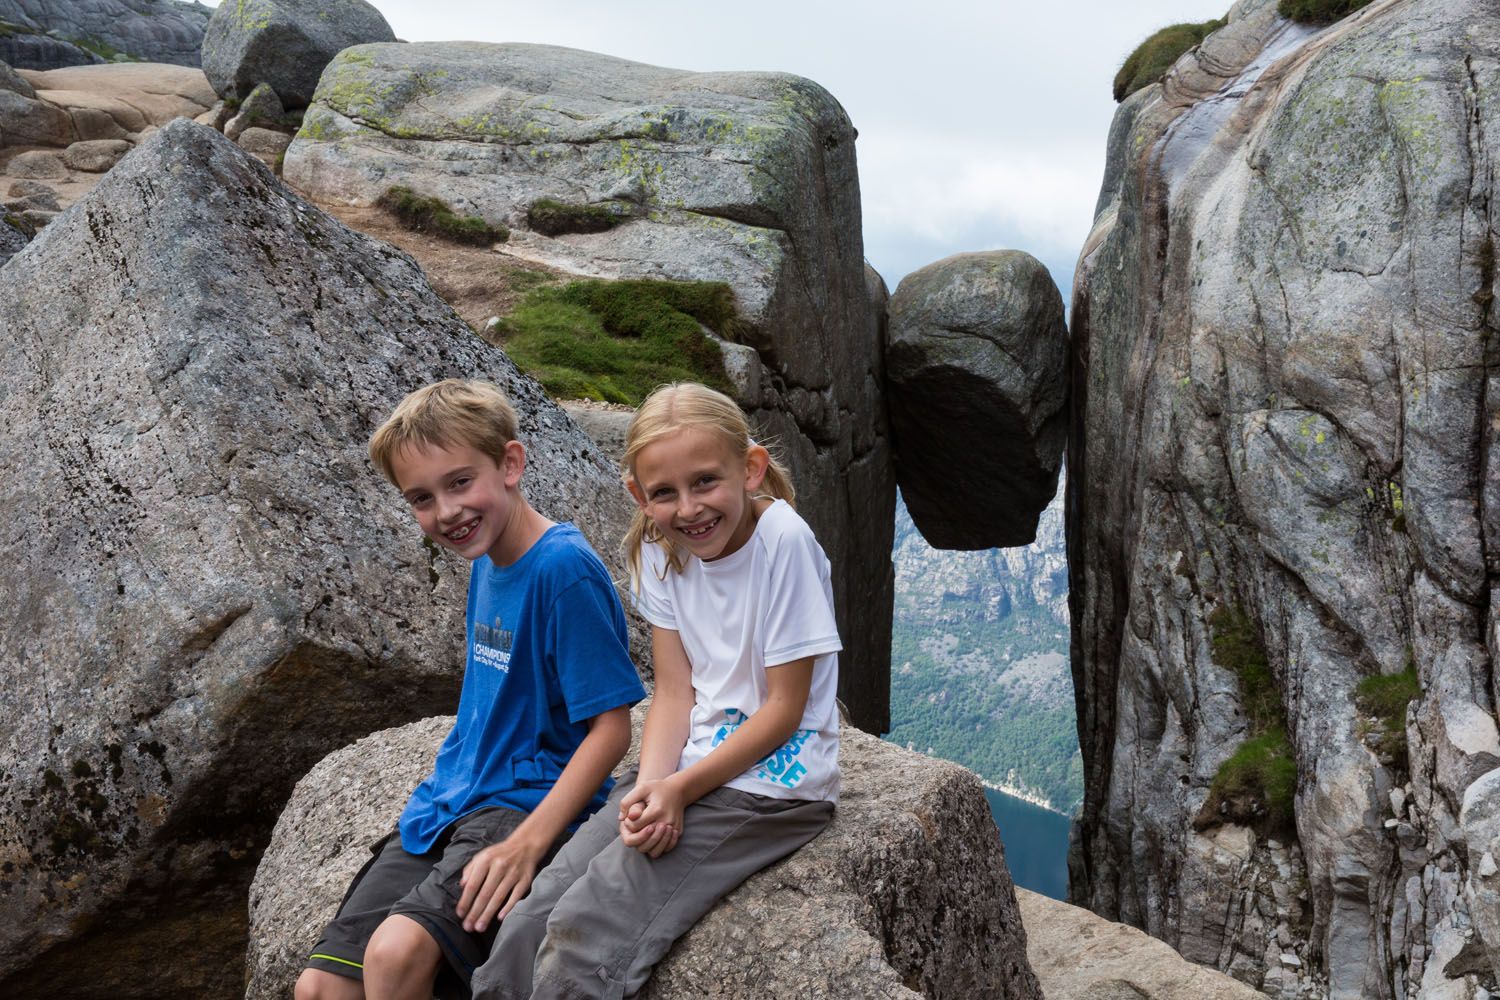
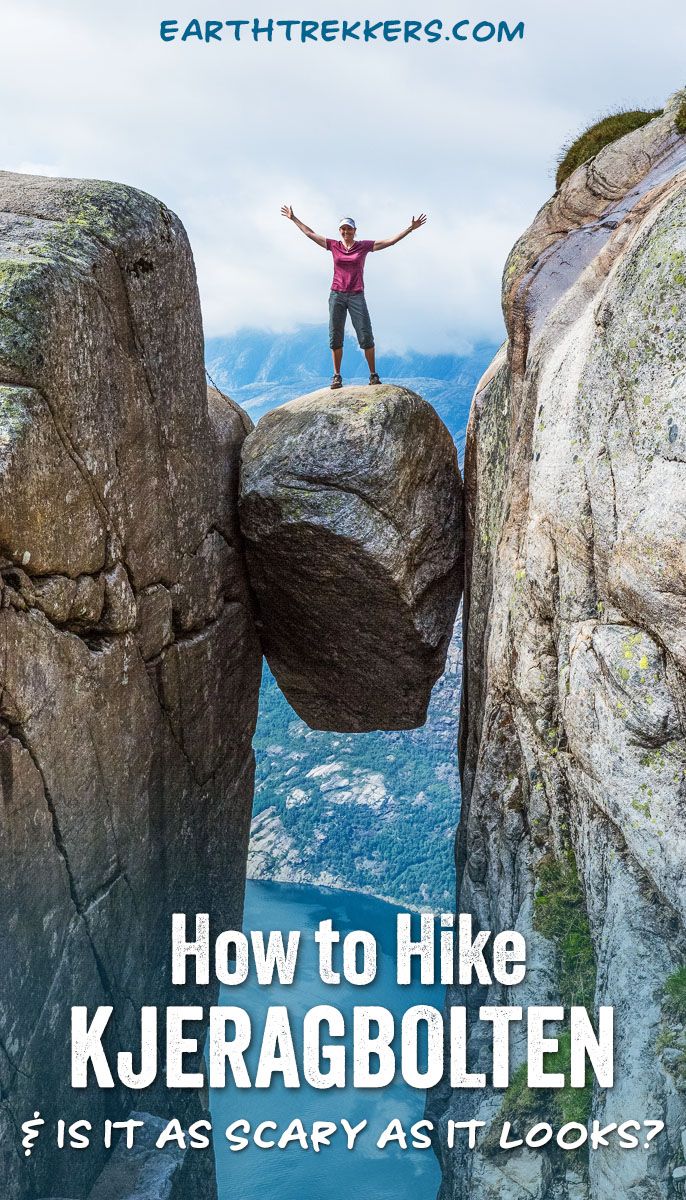
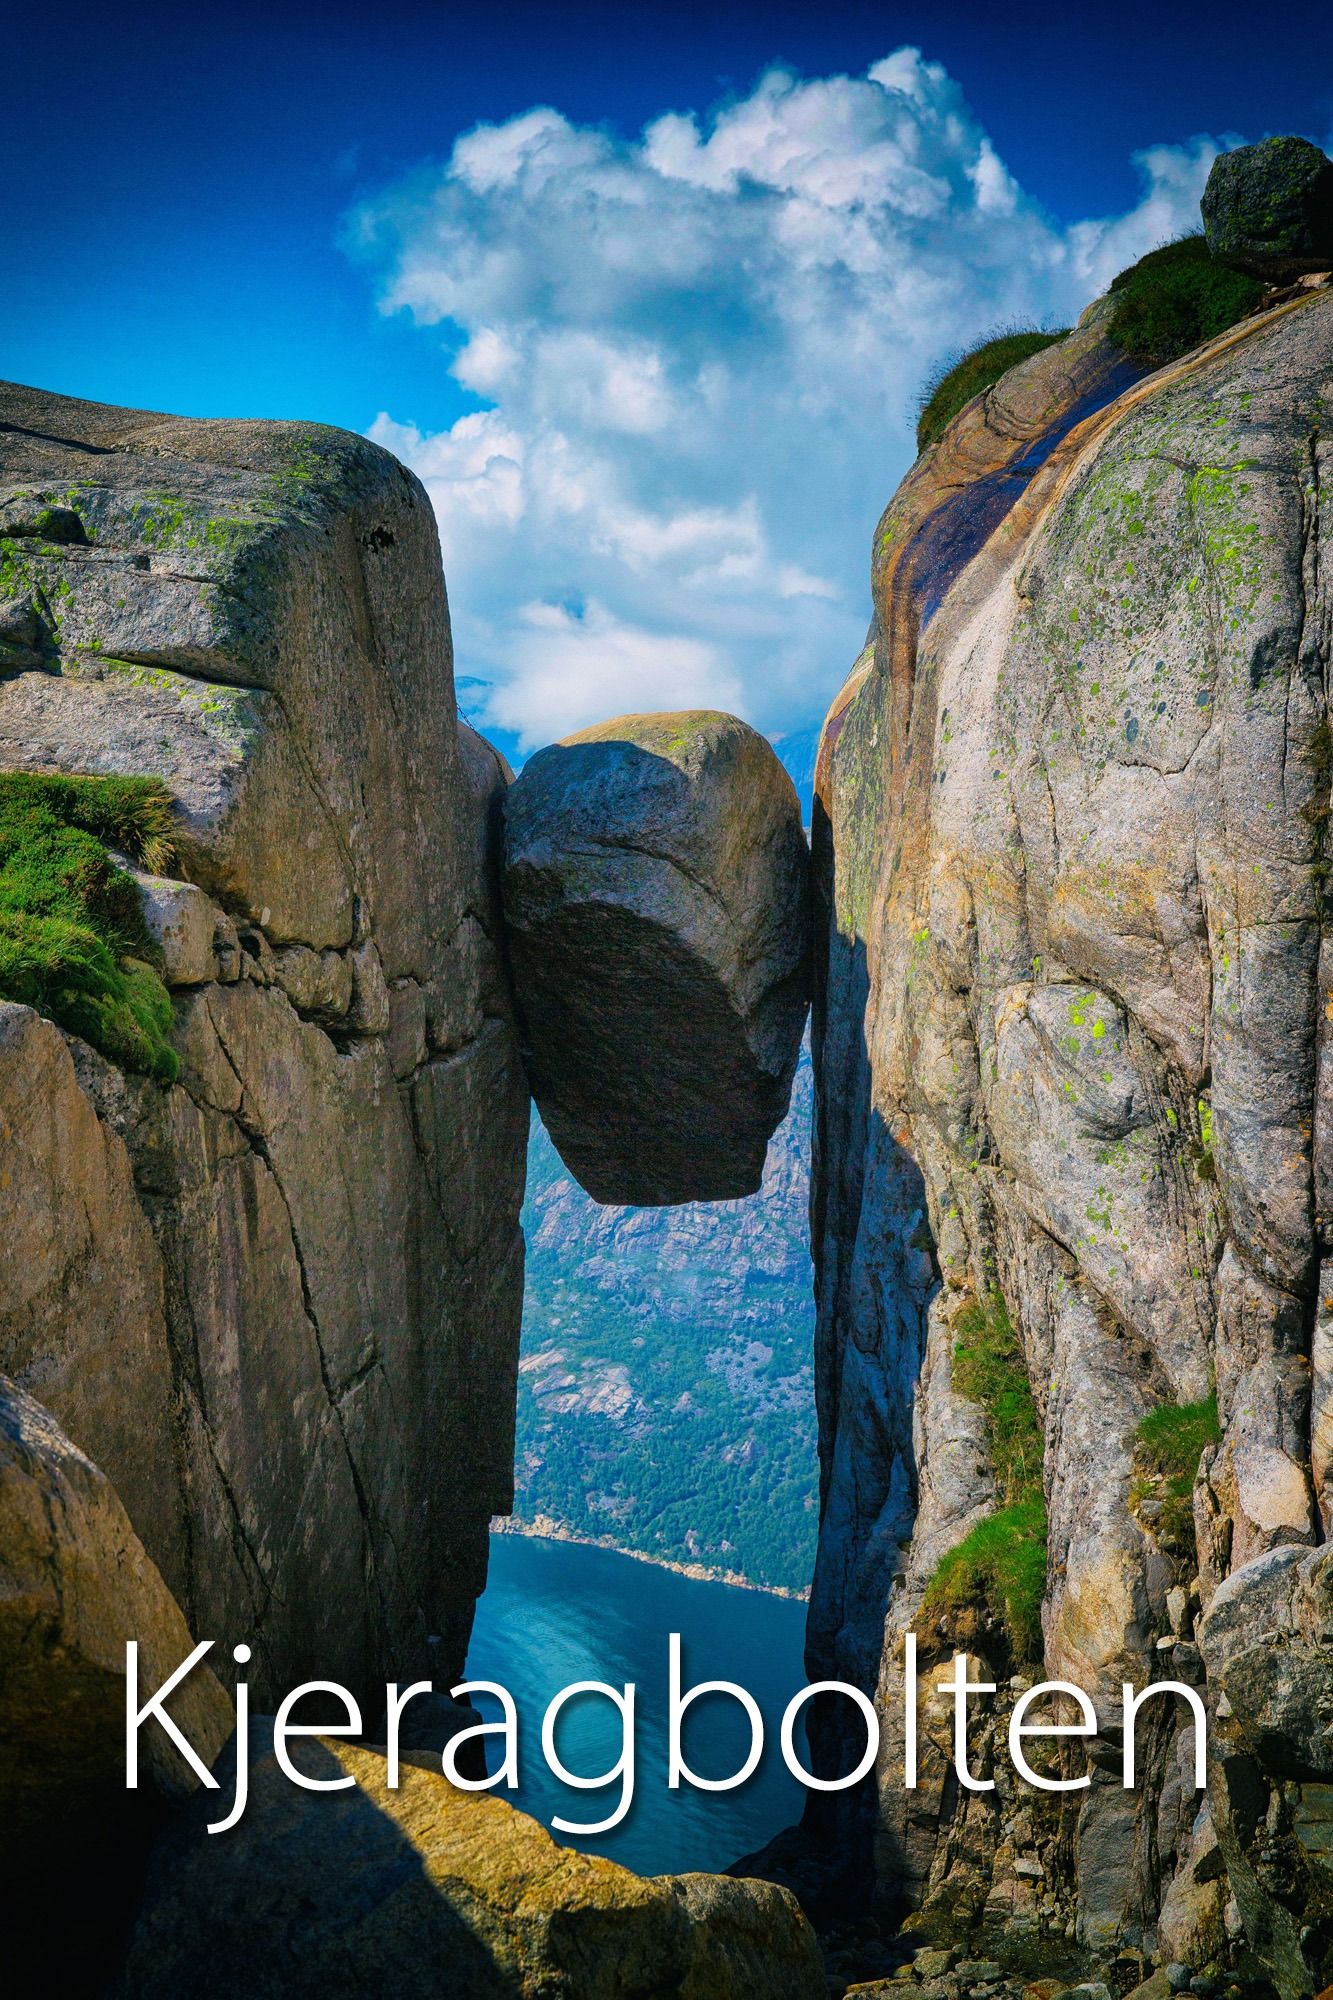
The boulder looked bigger than I had imagined it, but oh how high it was off of the ground. In fact, it sits 1000 meters off of the ground, which is about two-thirds of a mile. That’s a long way to fall.
Here is a closer view. You can see a person stepping out onto Kjerag.
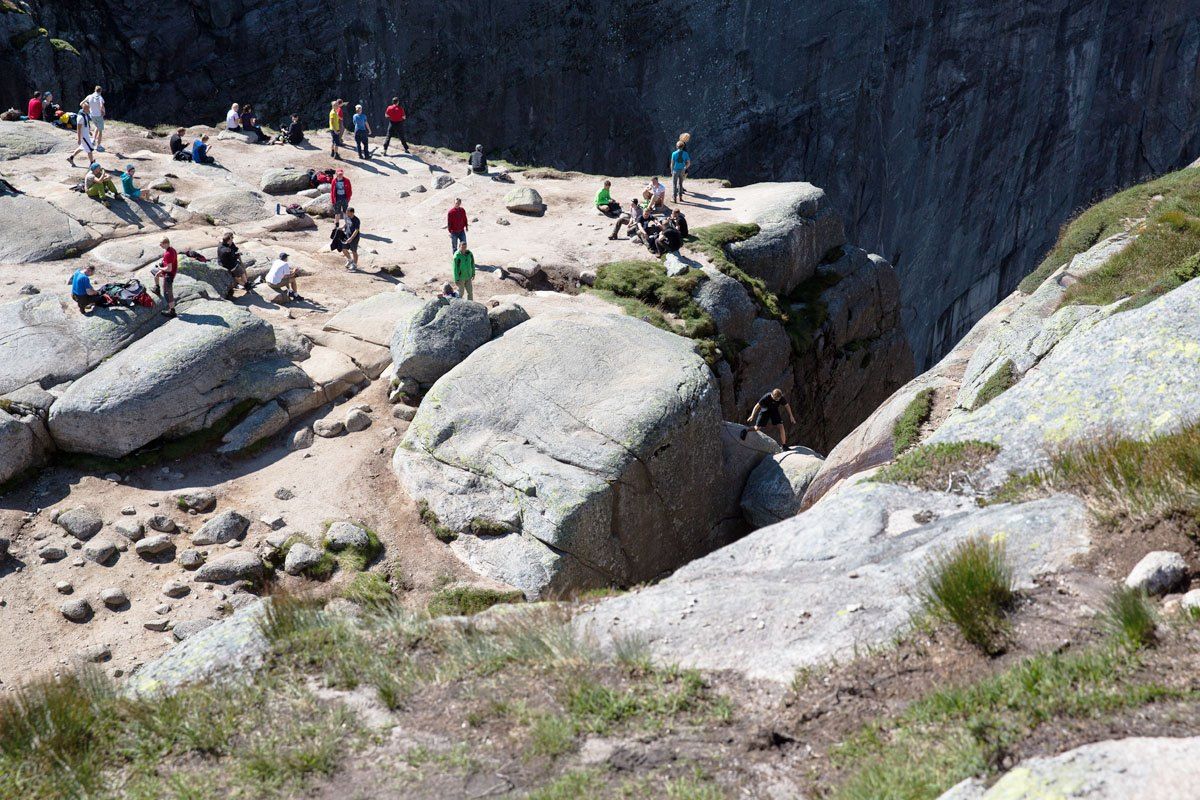
Here is Kjerag…do you dare?
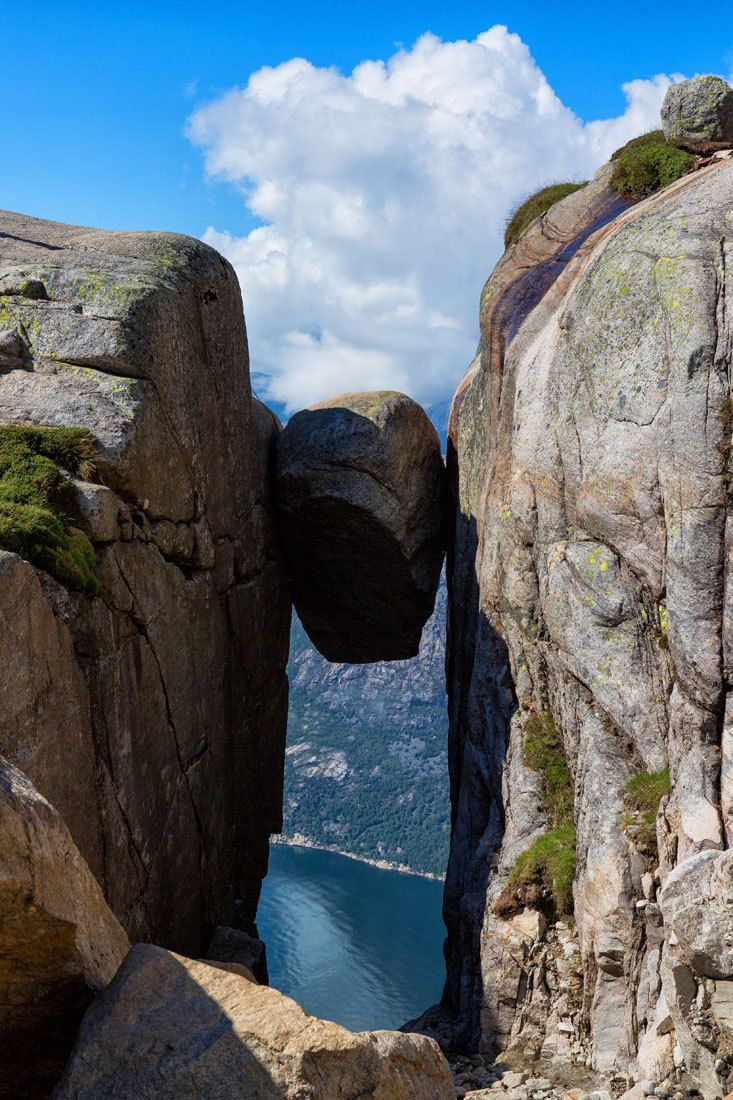
We went to the “waiting area” with the kids and got them situated so they could sit and wait. There was no way we would let them step out onto that boulder. This was for crazy parents only.
Tim decided to go first. I got in position with my camera while Tim waited in line. I know he must have been nervous, but the longer I stared at the boulder and watched everyone getting on and off the more nervous I became. Finally I saw Tim. He stepped onto the boulder like it was nothing, saw me, and smiled. Tim raised his arms overhead and I snapped away. Go Tim! But I was so relieved when I saw him hop back over onto solid ground.
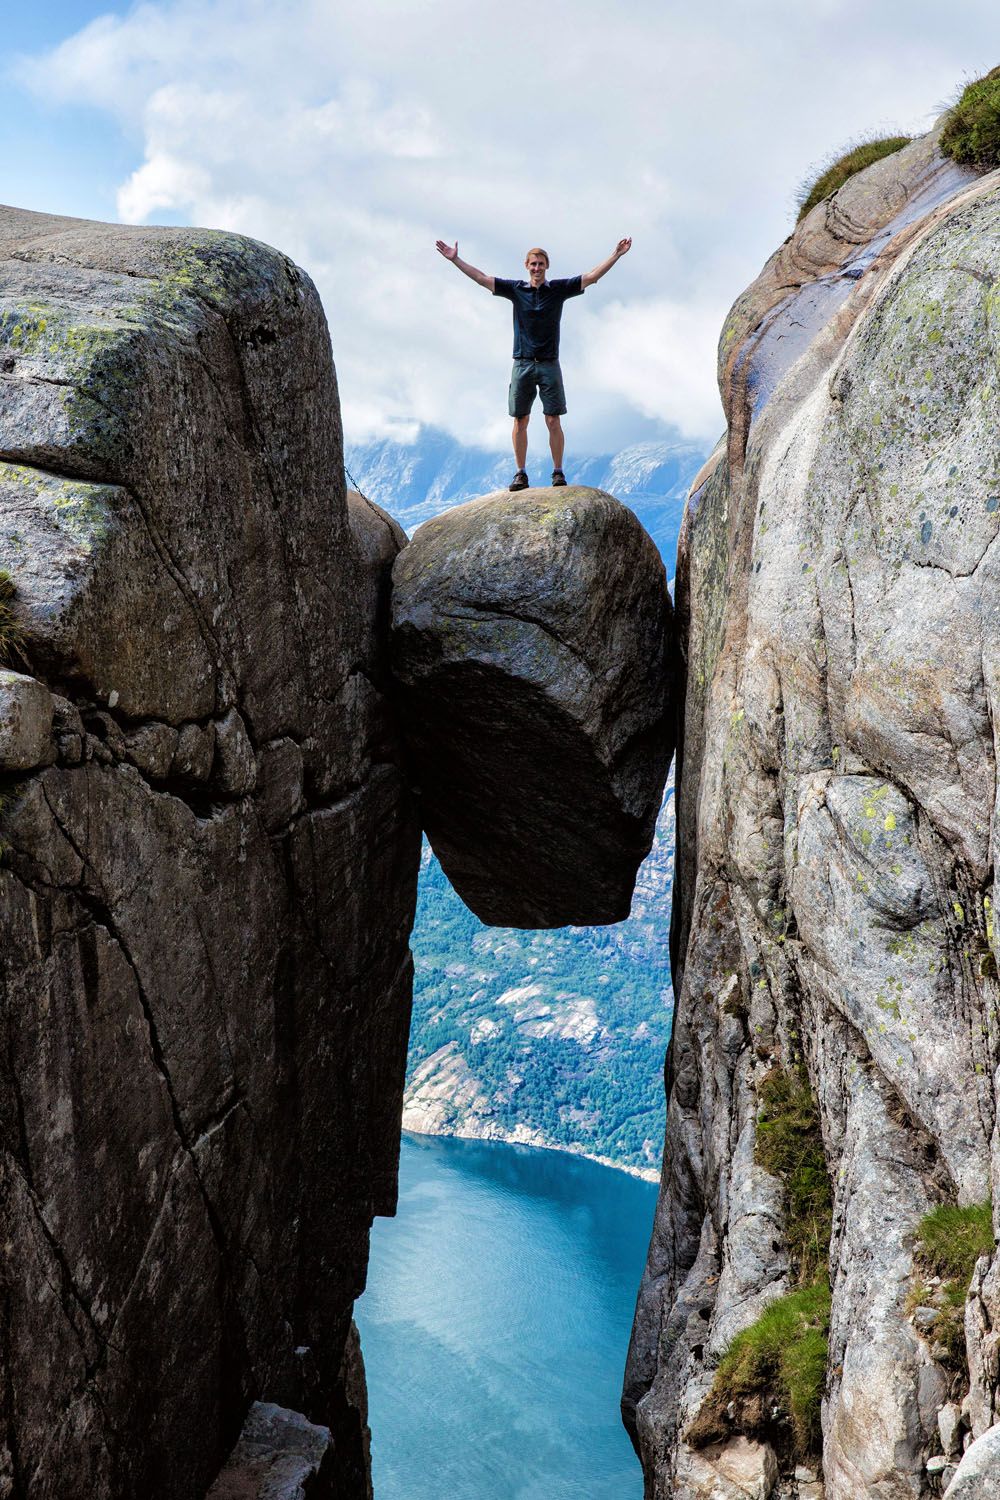
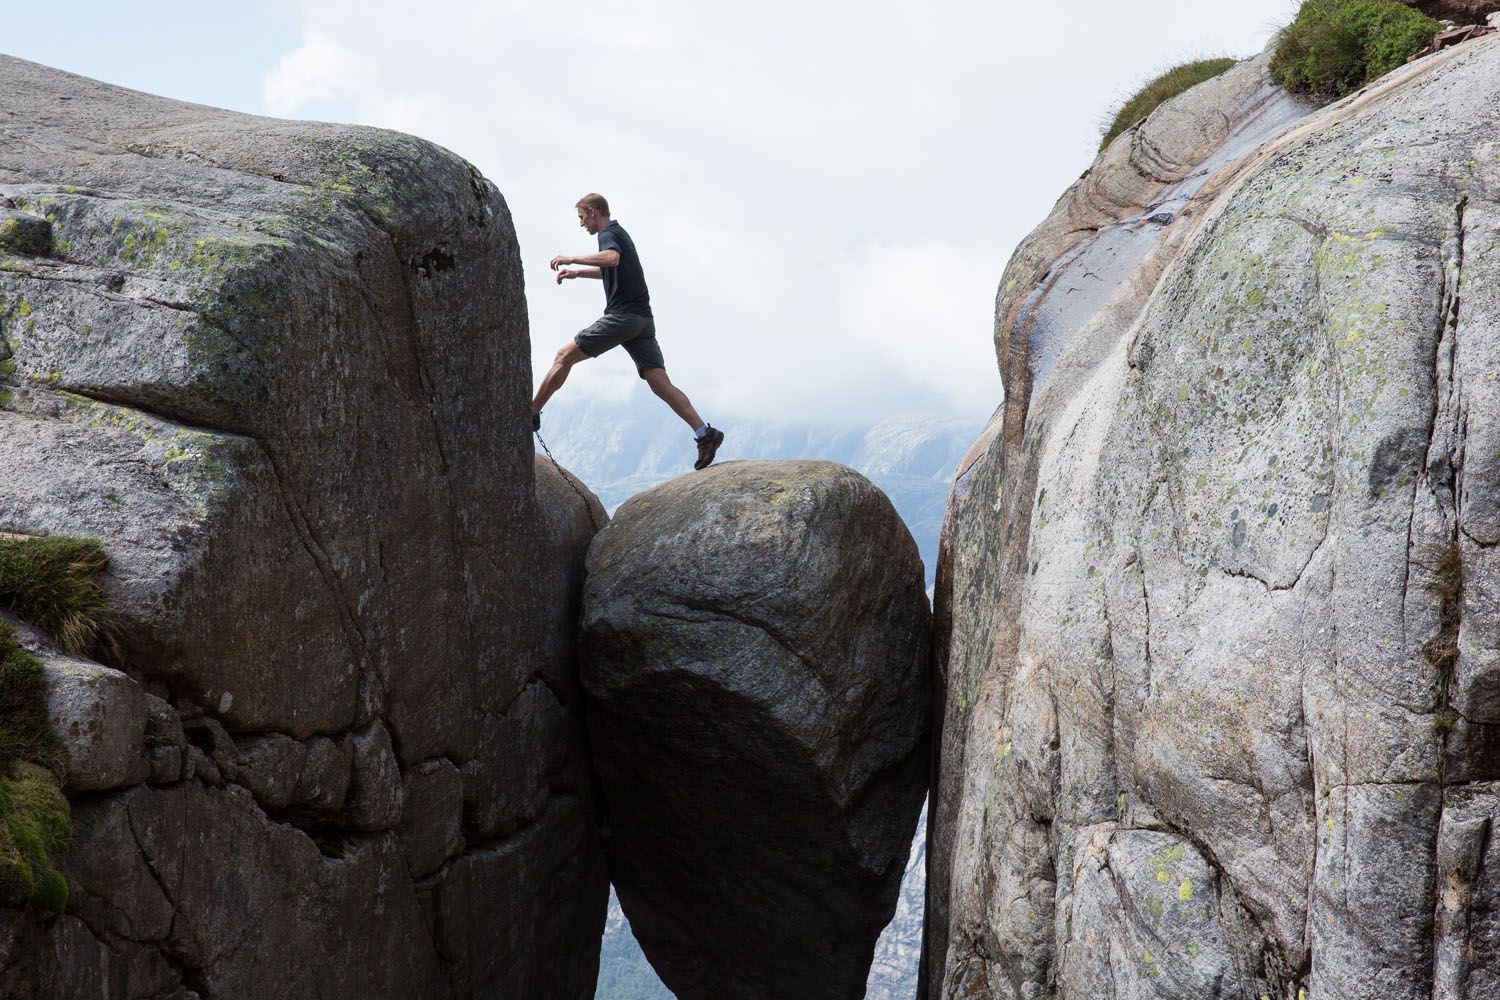
Tim and I changed positions. I waved over to Tyler and Kara, and I could tell they were worried about me. As I waited my turn in line, I tried not to look down at the fjord but I couldn’t help it. We were really high off of the ground!
And then it was my turn. I climbed up the step and there in front of me was the boulder. It was a very large boulder, nothing really to be afraid of, other than the fact that there was nothing below it.
I cautiously stepped out onto it, found Tim, smiled, and raised my arms for the photos. I was very excited to be on this rock, but also nervous and a little freaked out. Tim got his photos, then I happily stepped back onto solid ground. Tyler and Kara were very relieved their Mom was OK.
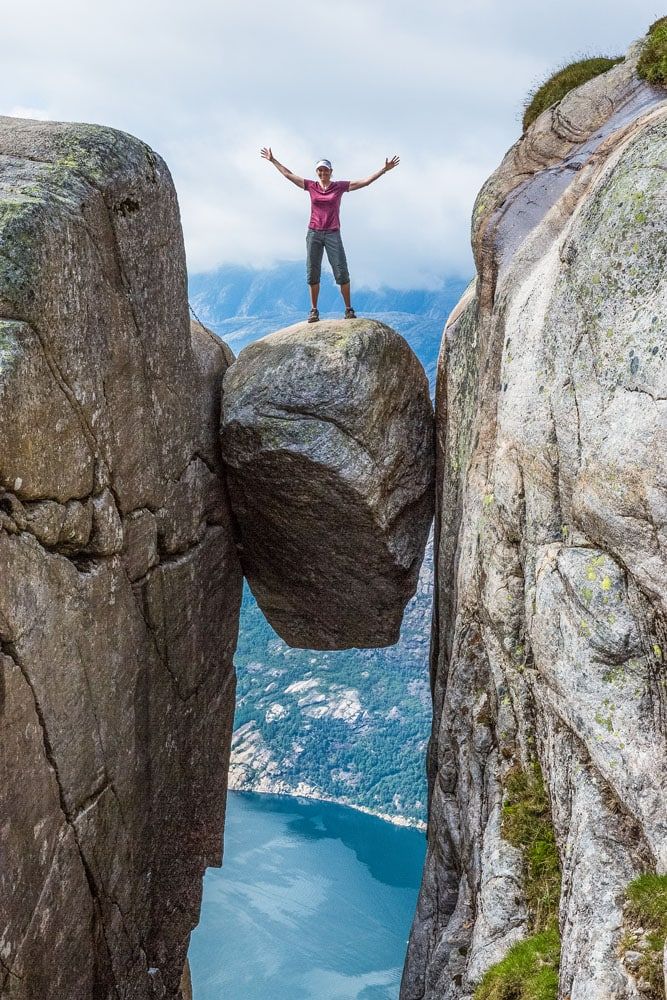
What was it like stepping out onto Kjeragbolten? It was scary, knowing that one misstep could send me plunging into Lysefjord far below. Yes, it’s crazy, but isn’t that the appeal of Kjeragbolten?
This is a view looking at the back of Kjerag, another crazy person posing for a photo, a lady waiting her turn, and Tim taking a video of 1000 meters of empty space below the boulder. There is a chain lying on the ground to help you step out onto Kjerag but it almost seemed more dangerous bending over to grab it than just stepping out onto the boulder unassisted. The top of Kjerag seemed larger in real life than how it looks in photos.
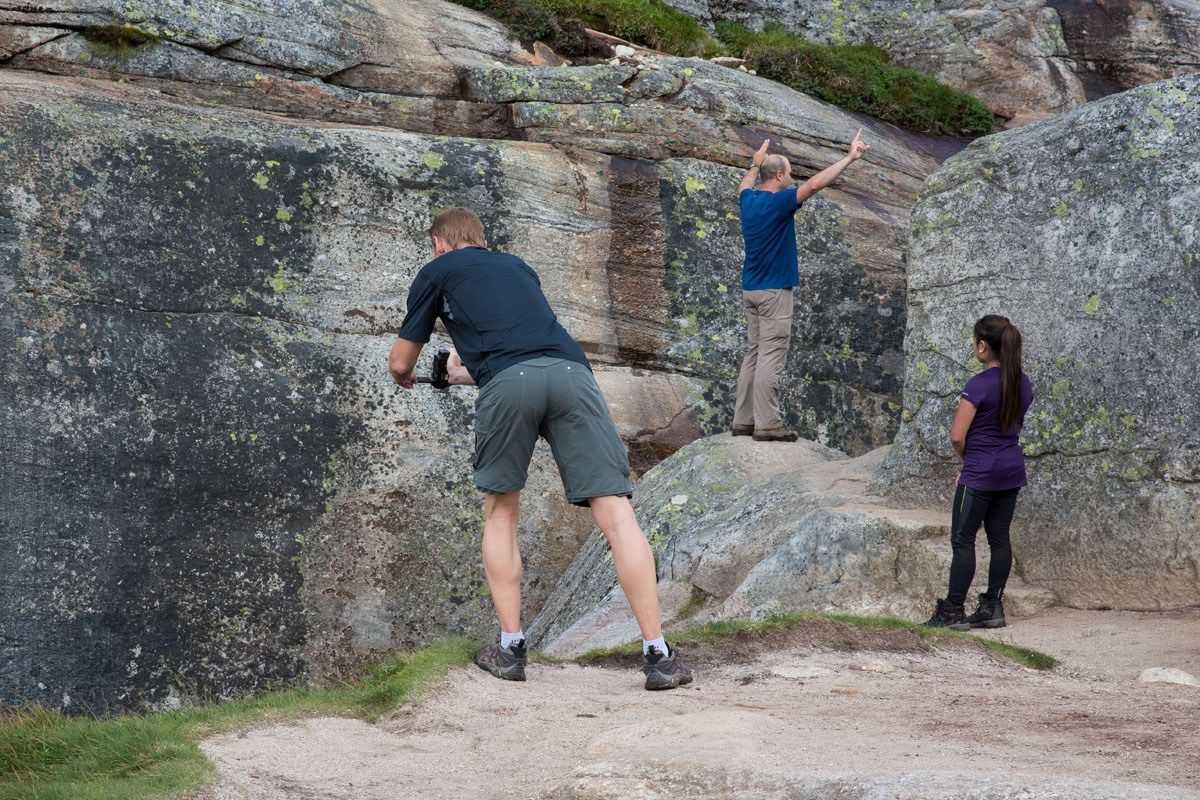
The hike back to our car went much faster than the hike to Kjeragbolten. Now we were walking mostly downhill and were were not stopping so often for photos. Our walk back took about an hour and forty-five minutes. We finished the hike with very tired legs!
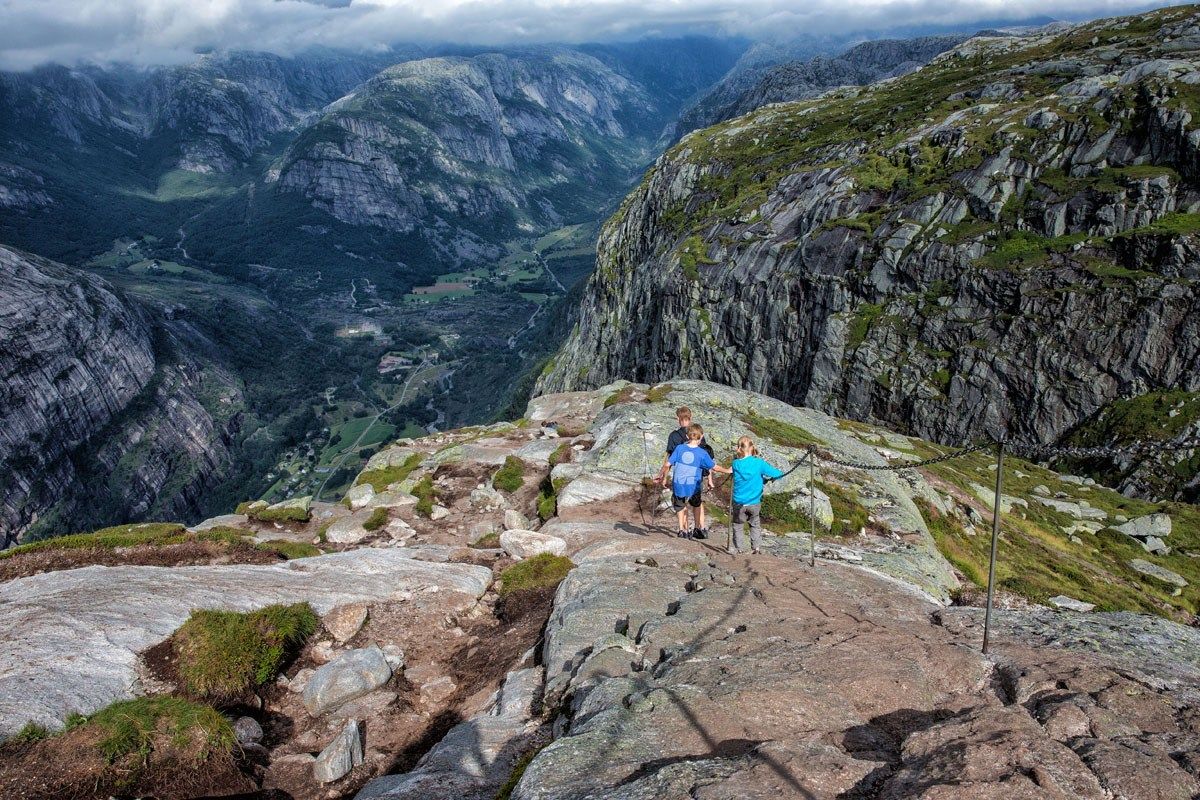
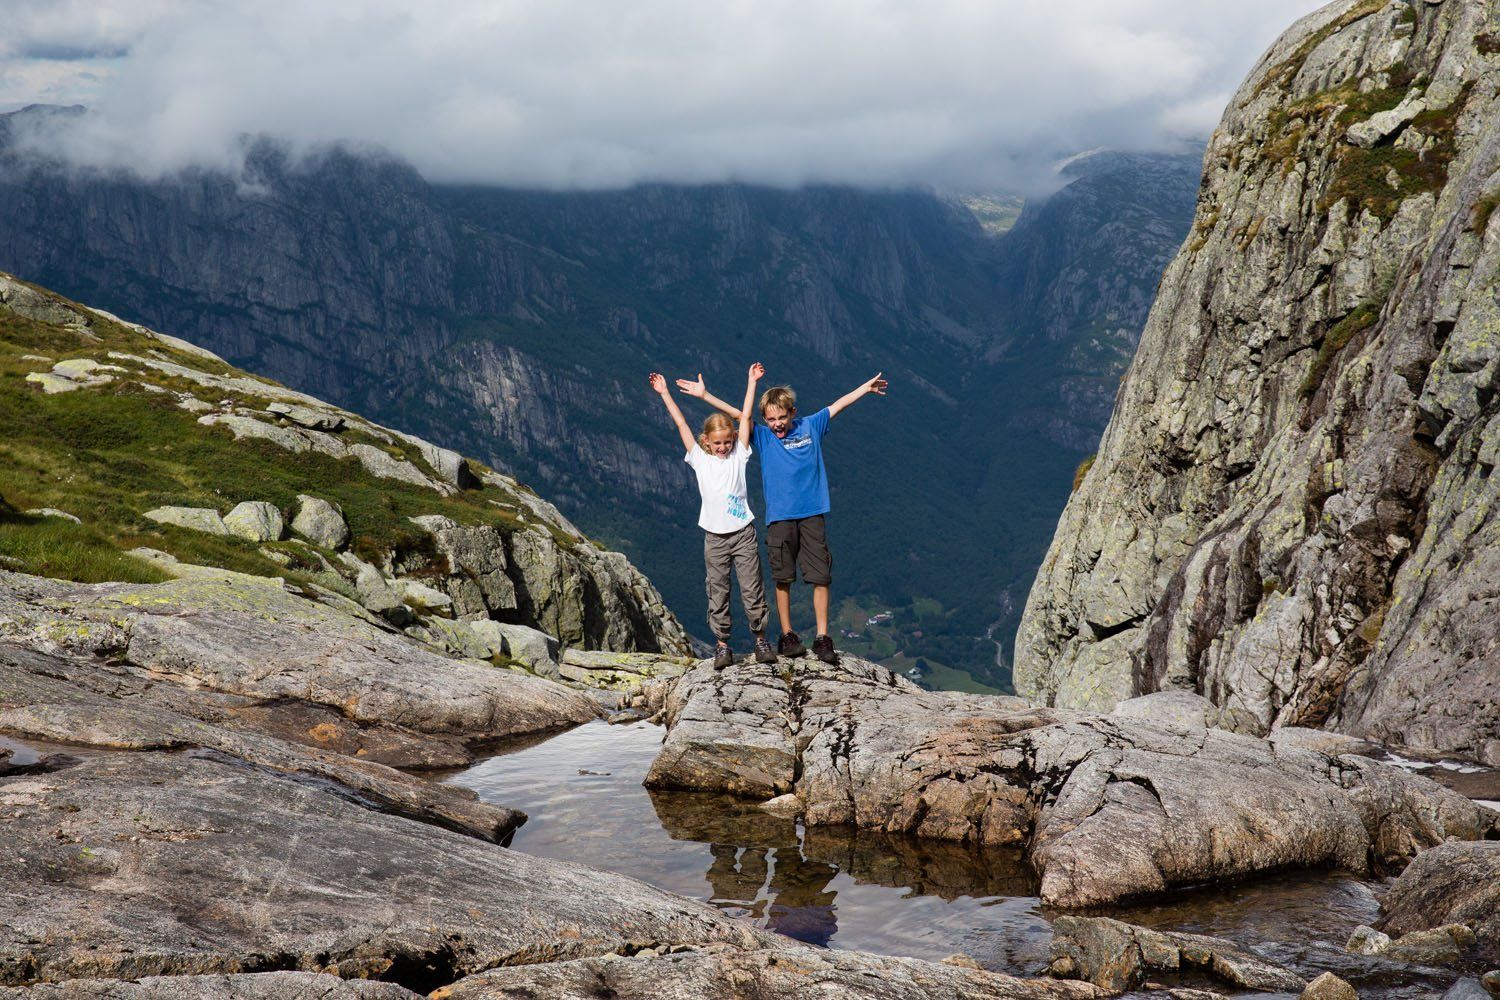
Those tired legs deserved a treat! We stopped at the restaurant at the car park for a dinner of hot dogs and french fries. The views from the restaurant and out over Lysefjord were amazing.
The drive back to Stavanger took another two hours. The views were beautiful. I know I keep saying that but in this part of Norway around every bend is another fabulous view. Plus, Tim was having a great time driving these narrow, winding roads.
Tim and I are so glad we stepped out onto Kjeragbolten. It was a risky and crazy thing to do but also very exciting and memorable. All four of us were so happy we decided to go through with the hike. The entire hike was absolutely amazing. Norway is awesome!
Even Tyler and Kara, who did not have the experience of stepping out onto the boulder, said this was their favorite hike in Norway (including the three that we did on our first trip to Norway, Pulpit Rock, Trolltunga and Romsdalseggen Ridge). Our kids loved climbing with the assistance of the chains, the steep climbs up the mountains, and the amazing scenery.
This hike did challenge them. It is a 12 km out and back hike with 570 meters of climbing. Our round trip hike took six and a half hours, including the time spent at Kjeragbolten. Our kids were the only children we saw on the hike, a theme that would continue through the next two hikes.
Please practice the seven principles of Leave No Trace: plan ahead, stay on the trail, pack out what you bring to the hiking trail, leave areas as you found them, minimize campfire impacts, be considerate of other hikers, and do not approach or feed wildlife.
Where is Kjeragbolten? / How to Get There
Kjeragbolten is located in southern Norway, near the town of Lysebotn. Most people base themselves in Stavanger, about a 2.5-hour drive from the trailhead, with no ferry required on this route.
The starting point is Øygardstøl, where you’ll find a car park (300 NOK), bathrooms, and a restaurant. Search “Kjerag parking” in Google Maps to find it directly.
If you don’t have a car, Gofjords operates a seasonal bus that runs from Stavanger to the trailhead (roughly mid-June through the end of September). Learn more on the Kjerag website.
Best Time to Hike Kjeragbolten
Plan this one for June through September. Outside that window the road to Øygardstøl closes for snow, and the hike itself can be dangerous. Snow can linger on the trail well into late May, even after the road reopens.
There’s no shoulder season to work around here the way there is on some other Norway hikes; the terrain and weather just don’t allow it outside of summer.
Who Can Do This Hike
You don’t need technical climbing experience, just reasonable fitness and a sense of adventure.
The trail has three steep, strenuous climbs, and chains are bolted into the rock to help on the steepest sections.
The one thing to watch for: when it’s wet, those climbs and descents get slippery fast, which is exactly why checking conditions before you go matters (more on that below).
Hiking Kjeragbolten with Kids
Our kids handled this hike better than we expected. Tyler was 10 and Kara was about to turn 9 when we did it, and it was their first time using chains on a climb, which they thought was pure fun. There was one steep section where we gave them a boost, but otherwise they climbed it themselves.
We didn’t let them step out onto the boulder. That part was for the adults only.
As a general guideline, an active, adventurous kid who’s at least 9 and has some hiking experience under their belt should be fine on this trail.
What to Bring on the Kjeragbolten Hike
- Sturdy hiking shoes or boots with good grip — the granite gets slick when wet
- Trekking poles, if you use them
- Rain layer — weather here changes fast (see below)
- Plenty of water and food for 6-8 hours of hiking
- Camera — you’ll want it both for the boulder and for the views along the way
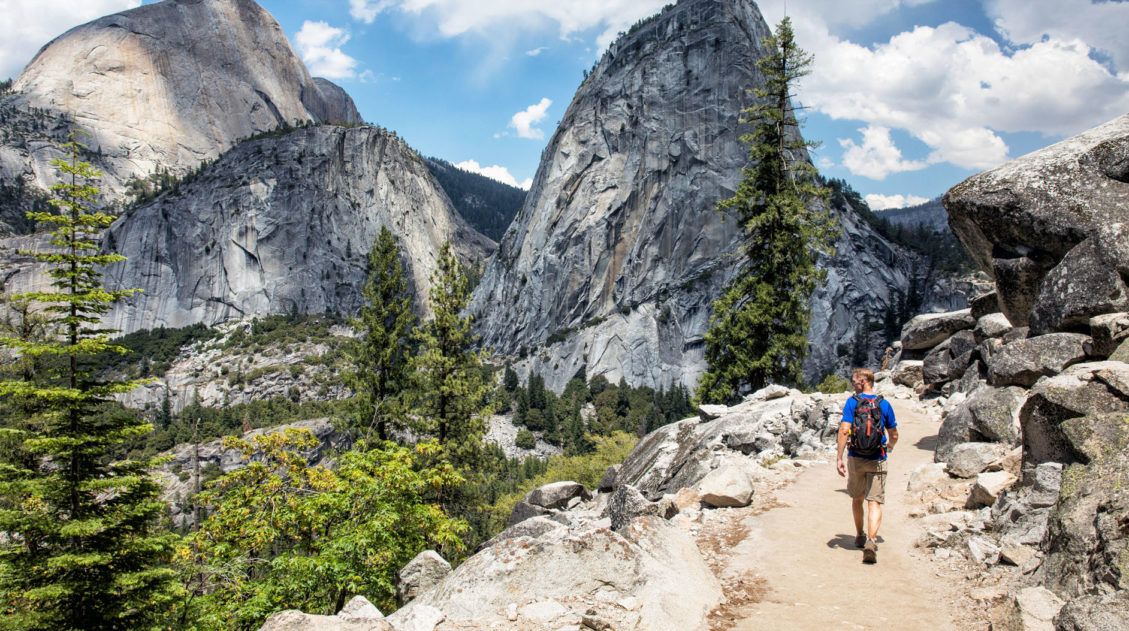
Essential Hiking Gear: What Should You Bring on a Day Hike?
If you are new to hiking or are curious about what you should bring on a hike, check out our Hiking Gear Guide. Find out what we carry in our day packs and what we wear on the trails.Check the Weather Before You Go
This is very important. The weather can change quickly and this is a hike that you do not want to be attempting in rainy, foggy weather. Weather conditions can vary dramatically between Stavanger and Kjeragbolten. Just because it is raining in Stavanger it doesn’t mean that it will also be raining at Kjerag (or vice versa).
We drove in and out of rain showers to get to the start of hike and we questioned if we should even be making the drive out to Kjeragbolten. Well, I am glad we did. Right at noon the rain stopped, the clouds disappeared, and we made one of our best travel memories ever.
However, if you arrive at the car park and it is rainy or foggy, do not attempt this hike. There are reports every year of people losing their way in the fog and then needing to be rescued. Don’t be one of these people.
Guided Hike of Kjeragbolten
If you would prefer to hike Kjeragbolten with a guide then the following guided tour gets excellent reviews. Plus the tour includes your transportation.
What Else to Do in the Area
If you have your own car, it is worth driving down to Lysefjord. This is a crazy road!! It rapidly descends 1000 meters and the road is a constant series of hairpin turns. It doesn’t take long to drive it and it was something we thought was cool to do.
Hike to Pulpit Rock. Preikestolen, also known as Pulpit Rock, sits across from Kjeragbolten on Lysefjord. Pulpit Rock is much shorter and easier than Kjeragbolten. It’s also a lot more crowded. If you only have time for one hike, skip Pulpit Rock and do the Kjeragbolten hike.
Where to Stay
Lysebotn is the closest town, with a handful of bed and breakfast options.
Stavanger is a farther drive (2.5 hours) but has far more options for dining and lodging, plus an airport connecting to Oslo. It’s also the right home base if you’re pairing this with Pulpit Rock.
- Hotel Victoria: This historic hotel is located on the waterfront in Stavanger.
- Home Again Apartments Kirkegata: One and two-bedroom apartments in the heart of Stavanger, perfect for families or anyone wanting more space.
- Radisson Blu Atlantic Hotel and the Clarion Hotel are both located in downtown Stavanger and get excellent reviews.
- Central Stavanger Guesthouse is a good option for those traveling on a budget.
Frequently Asked Questions about the Kjeragbolten Hike
How difficult is the Kjeragbolten hike?
Strenuous but not technical. Three steep climbs add up to 570 meters of elevation gain over a 12 km round trip. You need reasonable fitness, but no climbing skills. There are chains to assist you on the steepest sections.
How long does the Kjeragbolten hike take?
Plan for 6-8 hours round trip. Our family, including two kids, finished in six and a half hours, including time spent waiting to get photos at the boulder.
Can kids hike Kjeragbolten?
Yes. Our kids were 9 and 10 when they did it, and an active, experienced 9-year-old should be fine. We didn’t let them step onto the boulder itself.
Is Kjeragbolten dangerous?
The hike itself is safe in good weather, with chains on the steep sections. It becomes genuinely dangerous in rain or fog, when hikers have lost the trail and needed to be rescued. Stepping onto the boulder itself is optional. Plenty of hikers do the trail and skip that part entirely.
Is Kjeragbolten worth hiking if you don’t plan to step onto the boulder?
Yes. We found this to be a beautiful, fun hike from start to finish, boulder or no boulder. The views along the trail are great on their own, and if you’re hiking with a group, you’ll still have a great day. That said, if standing on Kjeragbolten isn’t the goal, you might get more value putting that day toward Pulpit Rock or Trolltunga instead.
Do you need a guide to hike Kjeragbolten?
No, the trail is well-marked with signs and red T markers. If you’d rather not navigate or drive yourself, guided tours are available and include transportation.
Where do you park for the Kjeragbolten hike?
At Øygardstøl. There’s a 300 NOK parking fee, plus on-site bathrooms and a restaurant.
Plan Your Trip to Norway
- Figuring out where Kjeragbolten fits in a bigger Norway trip → Our 10-Day Norway Itinerary through the fjord region combines Kjeragbolten with three other iconic hikes across southern Norway.
- Discover more hikes in Norway → Our Best Hikes in Norway guide covers 14 epic trails from the fjords to the Lofoten Islands.
- Starting your Norway planning from scratch → Our Norway Travel Guide covers everything from the best time to visit to how to get around the country.
- Explore Norway beyond the hiking trails → Our Best Things to Do in Norway rounds up the top experiences from the fjords to the far north.
- Making sure you’re geared up for a long mountain day → Our Hiking Gear Guide covers everything we pack for strenuous, full-day hikes.
Continue Exploring Norway
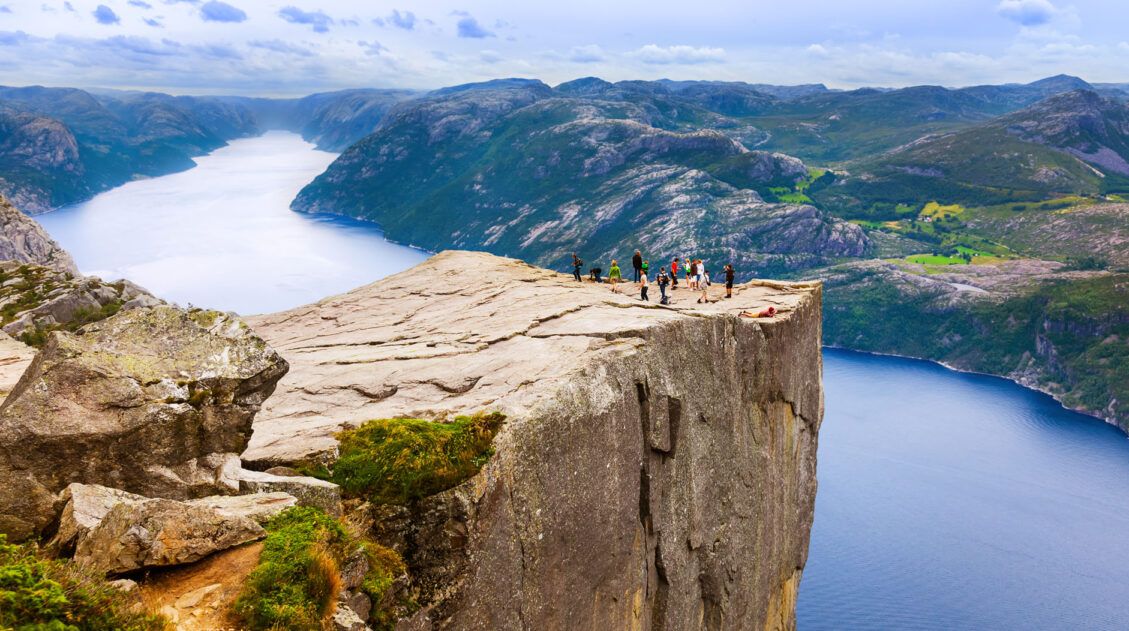
Hiking Pulpit Rock (Preikestolen): What to Expect, Trail Guide & Tips
Pinterest Facebook Flipboard The hike to Pulpit Rock (Preikestolen) was the first hike our kids ever did in Norway and it set the bar high. Tyler was 10, Kara was 8, and we’d spent the previous months wondering whether they were really ready for Norwegian hiking. We’d taken them on Old Rag in Shenandoah as […]
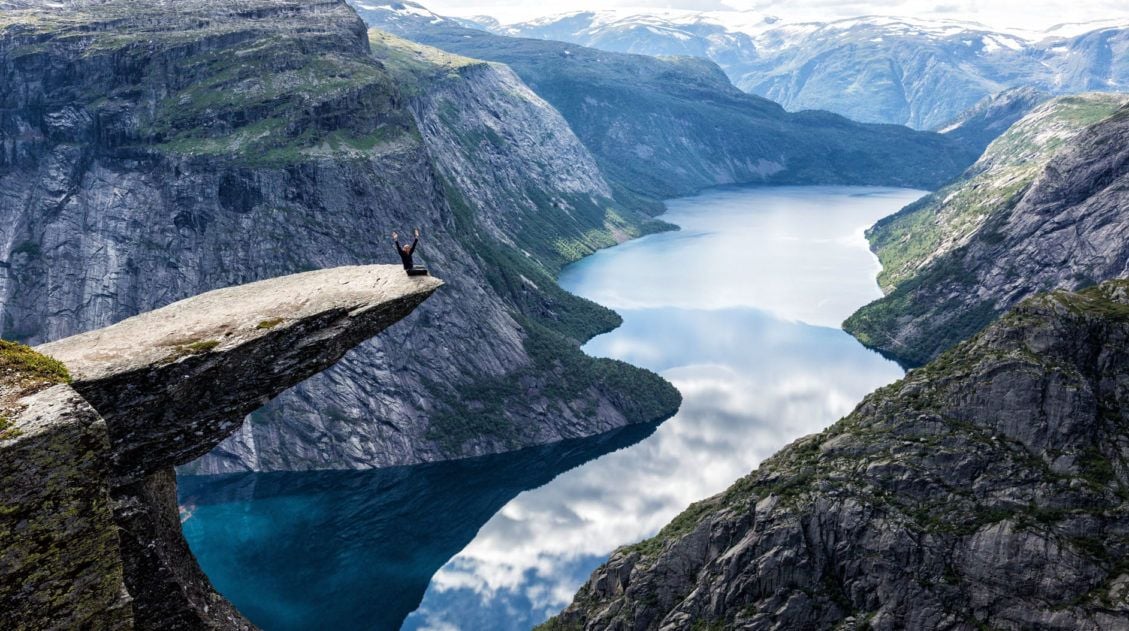
How to Hike Trolltunga: Everything You Need to Know
Trolltunga was the third hike on our first Norway trip, and by then we had a pretty good read on what Tyler and Kara could handle. They’d already done Pulpit Rock and Kjeragbolten, two hikes that would have been on most adults’ bucket lists, and they hadn’t complained once. Tyler was 10. Kara was 8. […]
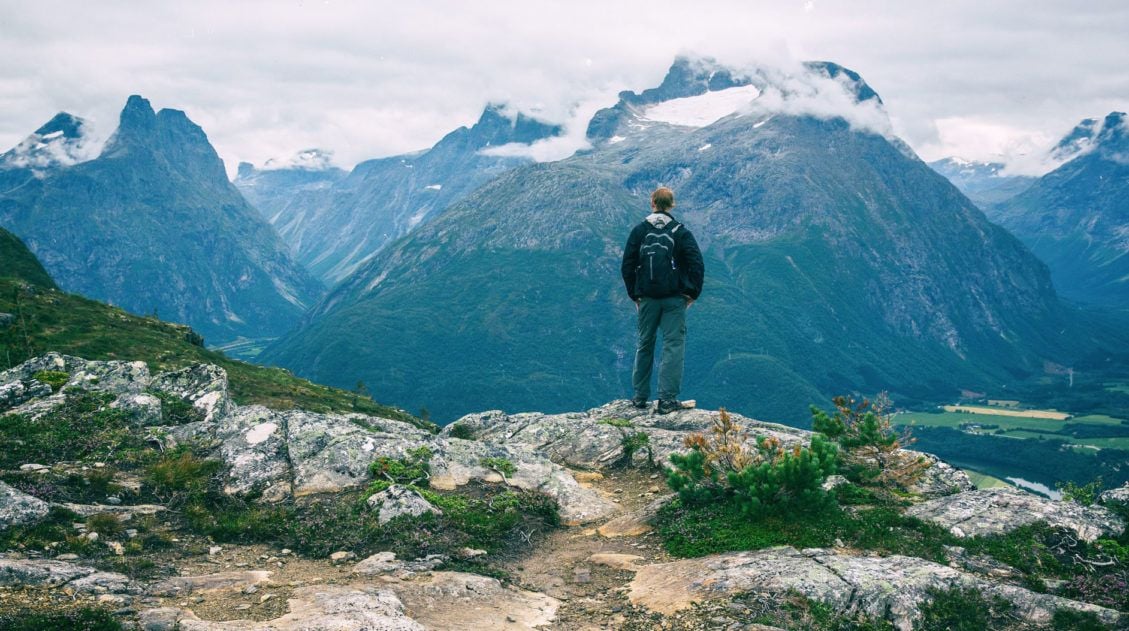
Hiking Romsdalseggen Ridge in Norway (+ Photos & Helpful Tips)
The Romsdalseggen hike is a point to point hike that traverses the Romsdalseggen Ridge, with views over the fjords, the town of Åndalsnes, and even out to the western coastline of Norway to the Atlantic Ocean. On our first trip to Norway, this was the hike that I was looking forward to the most. The […]
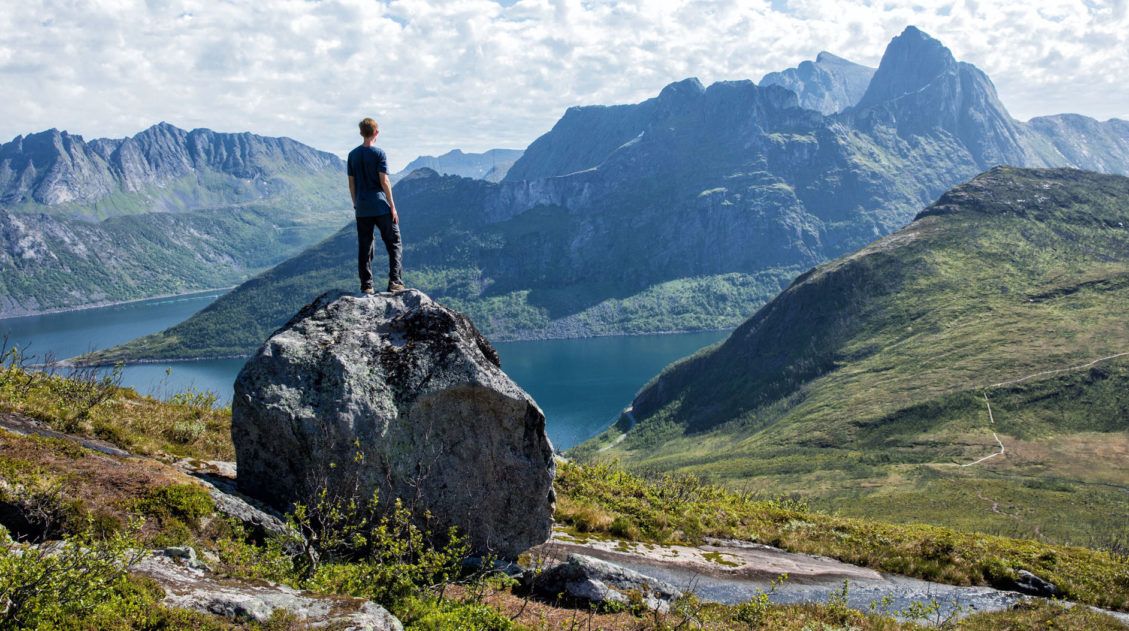
Best Hikes in Norway: 14 Epic Trails for Every Level
For hikers, few places in Europe can match Norway. The hikes in Norway are endlessly varied and genuinely world-class, from the fjords of southern Norway, the jagged peaks of the Lofoten Islands, and the remote coastline of Vesterålen and Senja. Alongside the Dolomites and the Swiss Alps, this is one of our absolute favorite places […]
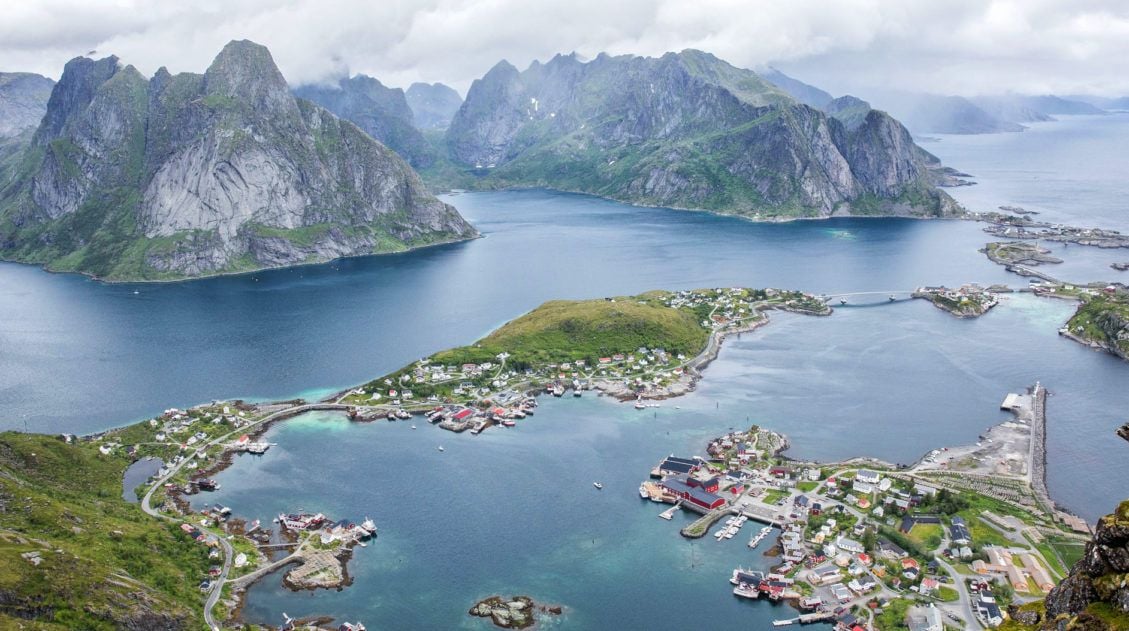
Norway Bucket List: 20 Epic Things to Do in Norway
Norway is the land of fjords, quaint fishing villages, Vikings, trolls, the northern lights, the midnight sun, scenic drives, and some of the best hikes in the world. If you are planning a visit to this amazing country, here are 20 of the best things to do in Norway. So far, we have visited Norway […]
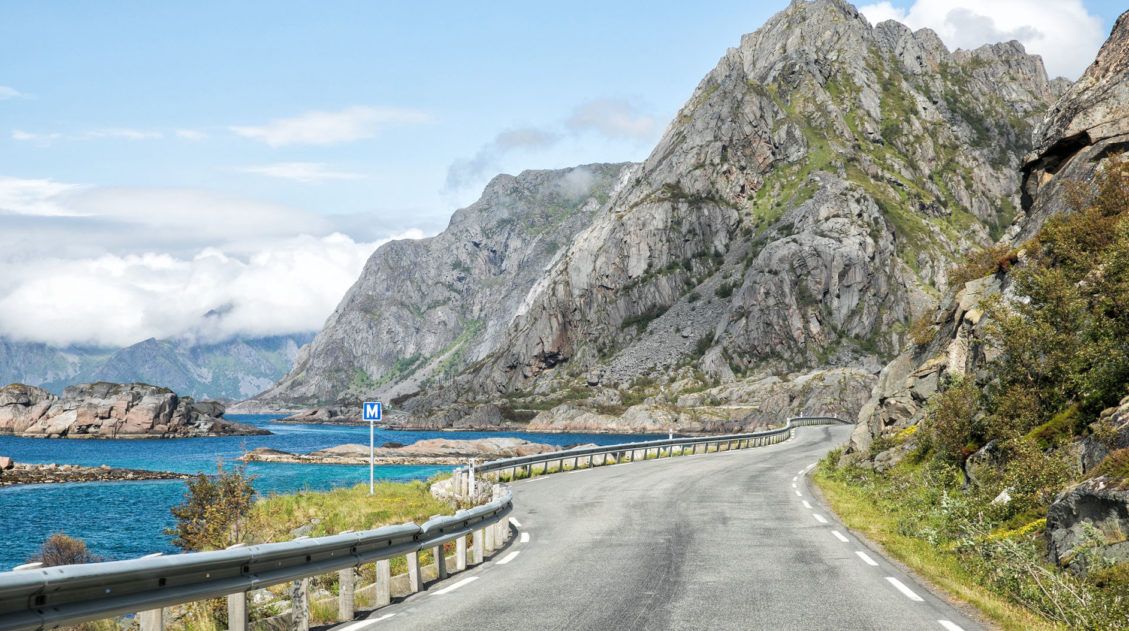
10 Days in Norway: How to Combine the Fjords and the Lofoten Islands
After two trips to Norway, one through the fjord region, one through the far north, we started getting the same question over and over in our comments: Can we combine both into one trip? How do we do the fjords AND the Lofoten Islands in 10 days? That’s exactly what this post is for. We’ve […]
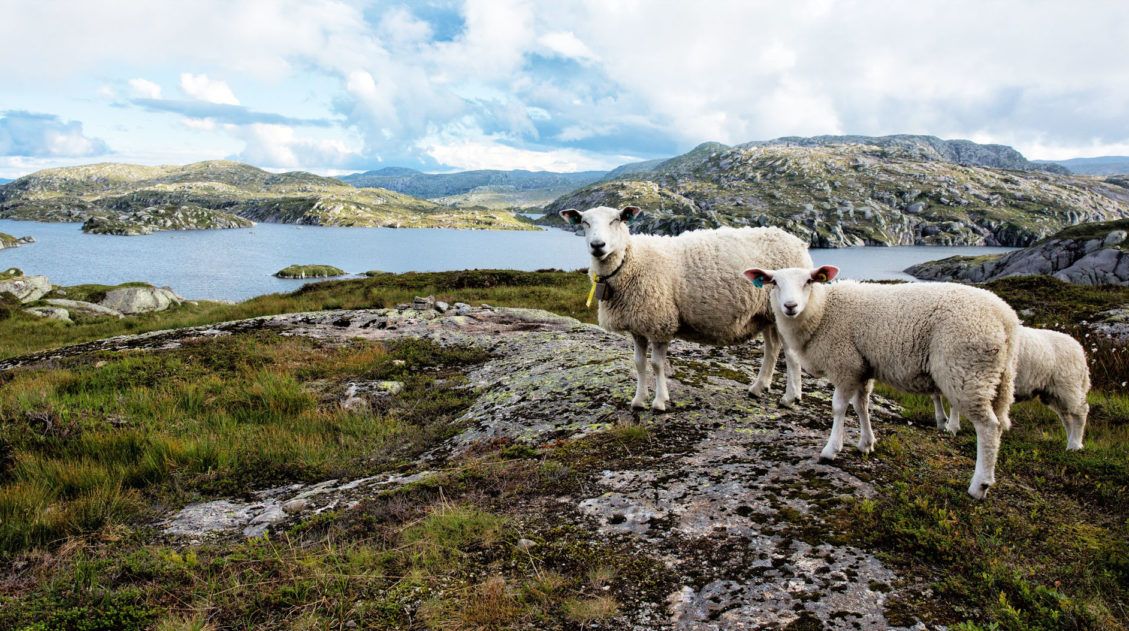
10 Day Norway Itinerary: Summer Road Trip through the Fjord Region
For hikers and outdoor enthusiasts, this Norway itinerary is perfect. In 10 days, you will be able to do four amazing hikes. Be daring and stand on Kjeragbolten, hike out to Trolltunga and pose for the camera, enjoy epic views out to the Atlantic Ocean from Romsdalseggen Ridge, and hike Norway’s most popular hike, Pulpit […]
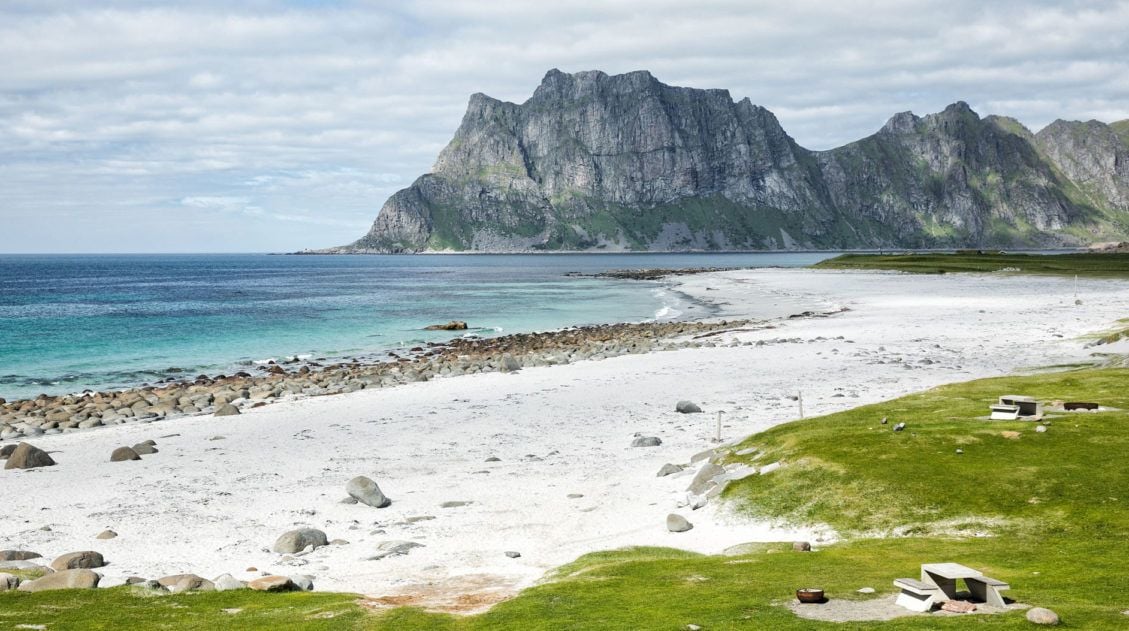
Lofoten Islands Itinerary: 4 to 5 Days in Norway’s Most Spectacular Islands
There are places that stop you in your tracks the moment you arrive. The Lofoten Islands are one of them. We pulled over constantly, not because we planned to, but because we couldn’t drive past another mountain plunging straight into the fjord, another stretch of white sand beach backed by jagged cliffs, or another cluster […]
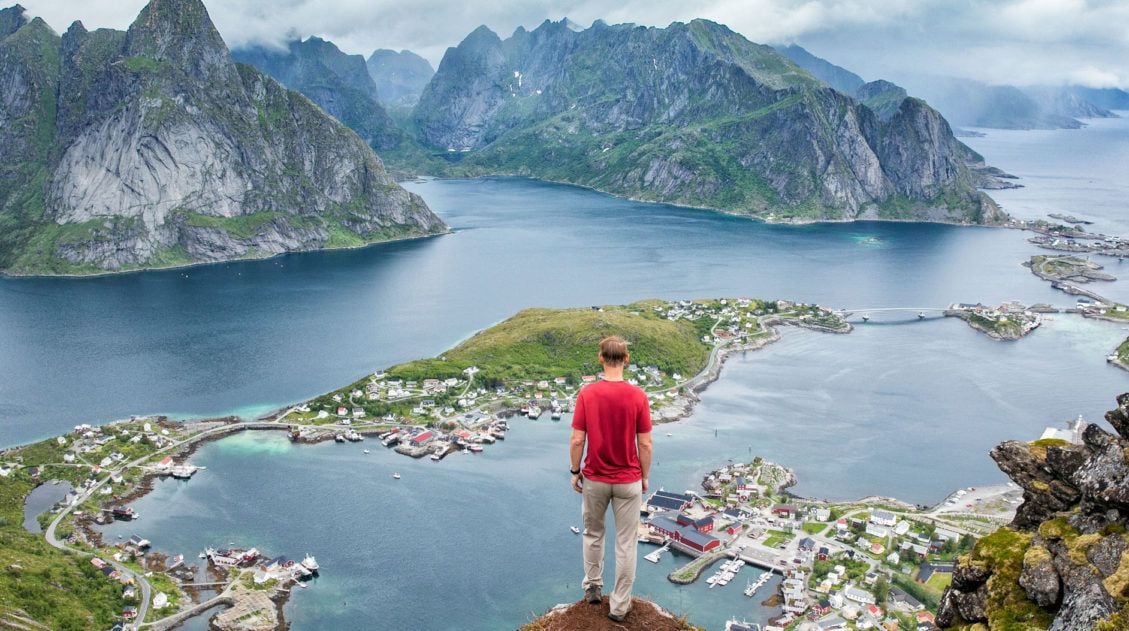
How to Hike Reinebringen (+ Where to Park)
Reinebringen, with its dazzling view over the fishing villages of Reine, Sakrisøy, and Hamnøy, is the most popular hike in the Lofoten Islands, and one look at the panorama from the top tells you exactly why. We hiked Reinebringen in 2018 with our kids, who were 13 and 15 at the time, before most of […]
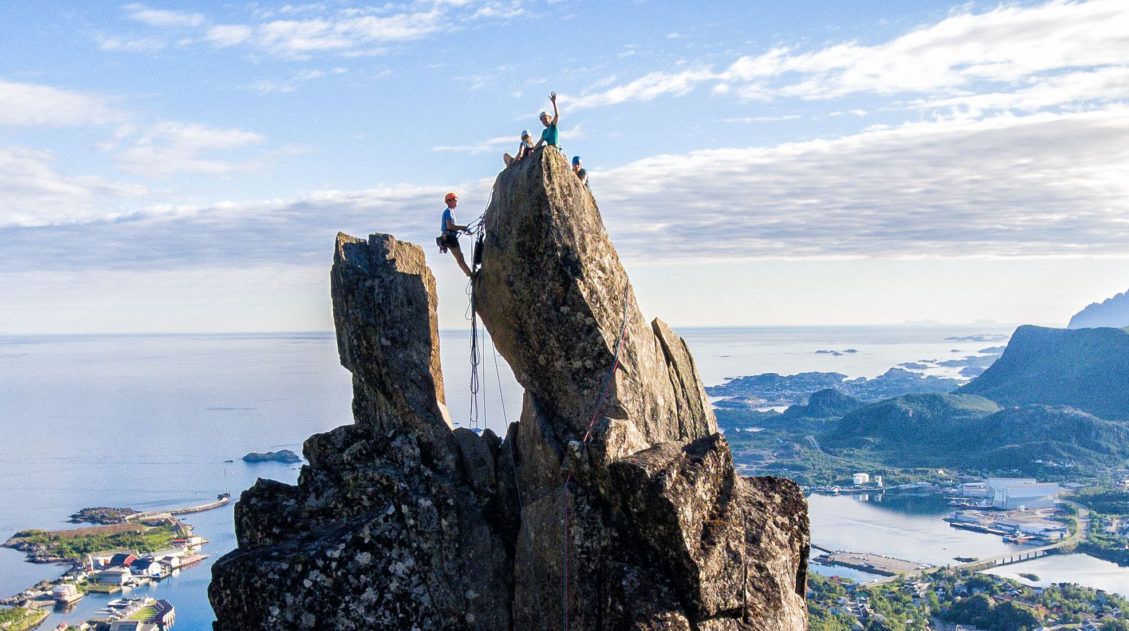
Complete Guide to Climbing Svolvaergeita in the Lofoten Islands
Svolvaergeita, also called “The Goat,” is a pinnacle of rock that is a popular rock climbing spot in the Lofoten Islands. It is named The Goat because of the two horns of rock that sit atop the rock. Those with a sense of adventure can climb to the top of Svolvaergeita and those who are […]
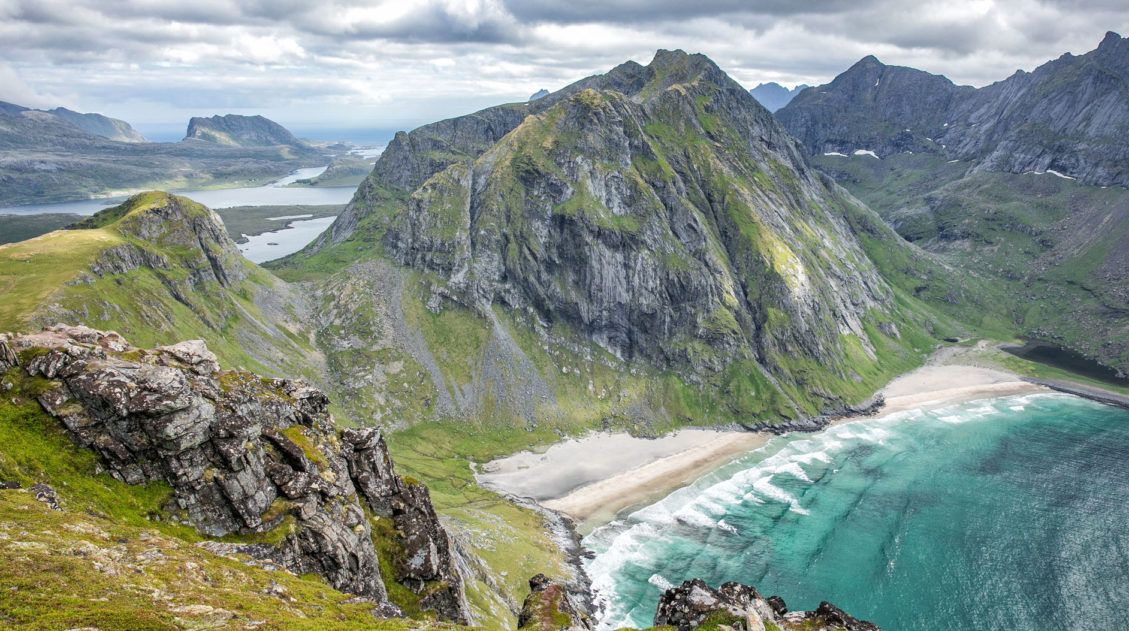
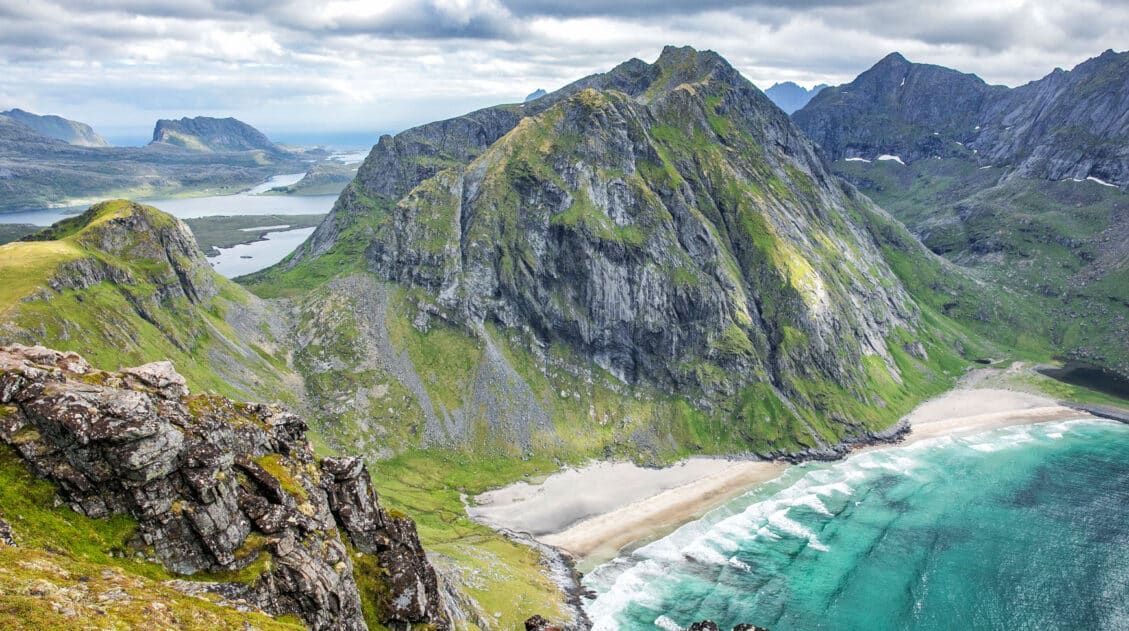
Hiking Ryten: Kvalvika Beach Views & Lofoten’s Mini-Trolltunga
The hike to Ryten has all of the ingredients of a perfect Lofoten Islands hike: sweeping vistas across the mountains and fjords, a fun but slightly strenuous hike to a mountain peak, and a breathtaking view of a white, sandy beach. The icing on the cake is a “mini Trolltunga,” an outcropping of rock where […]
Best Hikes in Europe: 25 Incredible Hikes for Every Level
From the dramatic cliffs of Norway to the jagged peaks of the Dolomites and the volcanic landscapes of Iceland, Europe is packed with some of the most unforgettable hikes in the world. In this guide, we share our favorite hikes in Europe, trails that stand out for their scenery, uniqueness, and overall experience from start […]


Comments 85