
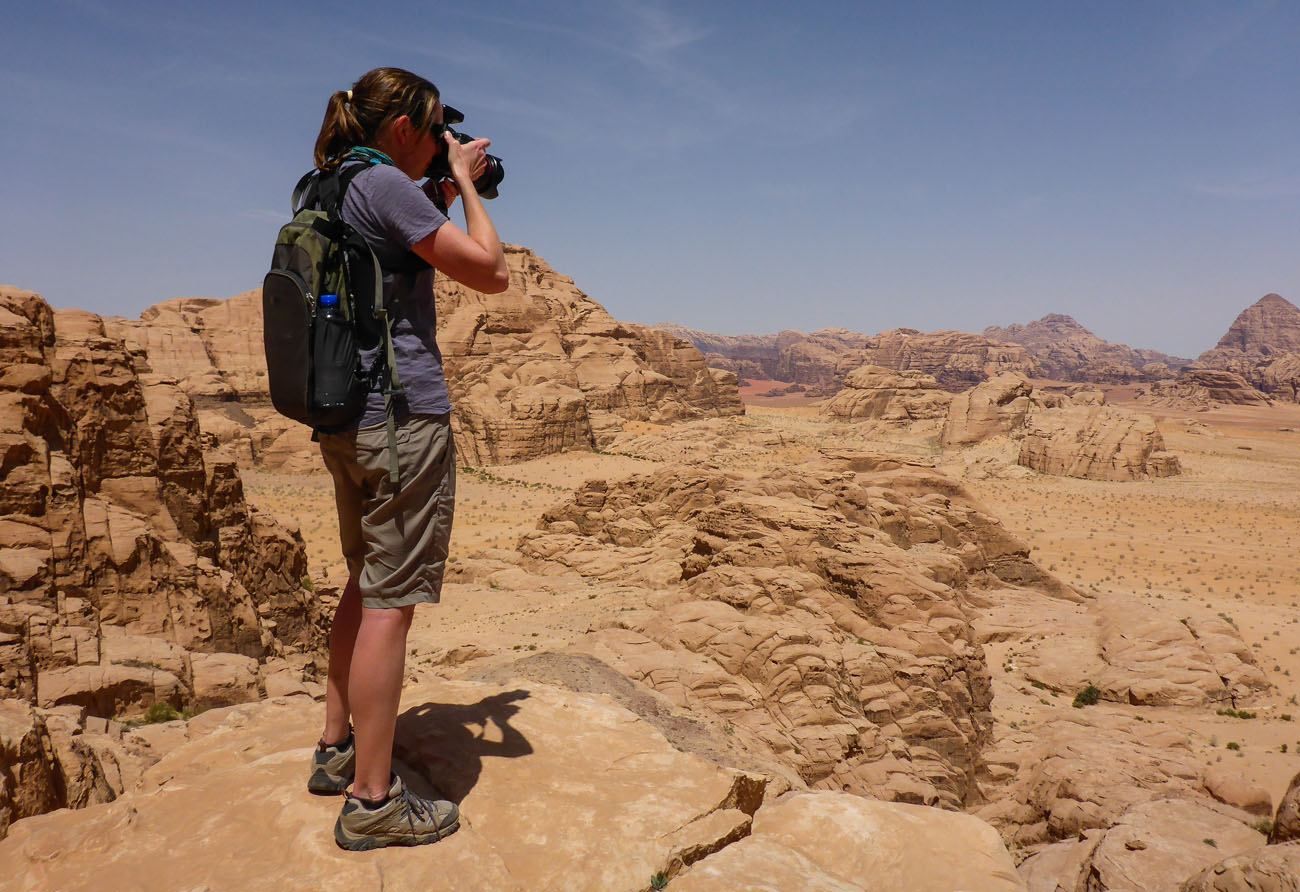
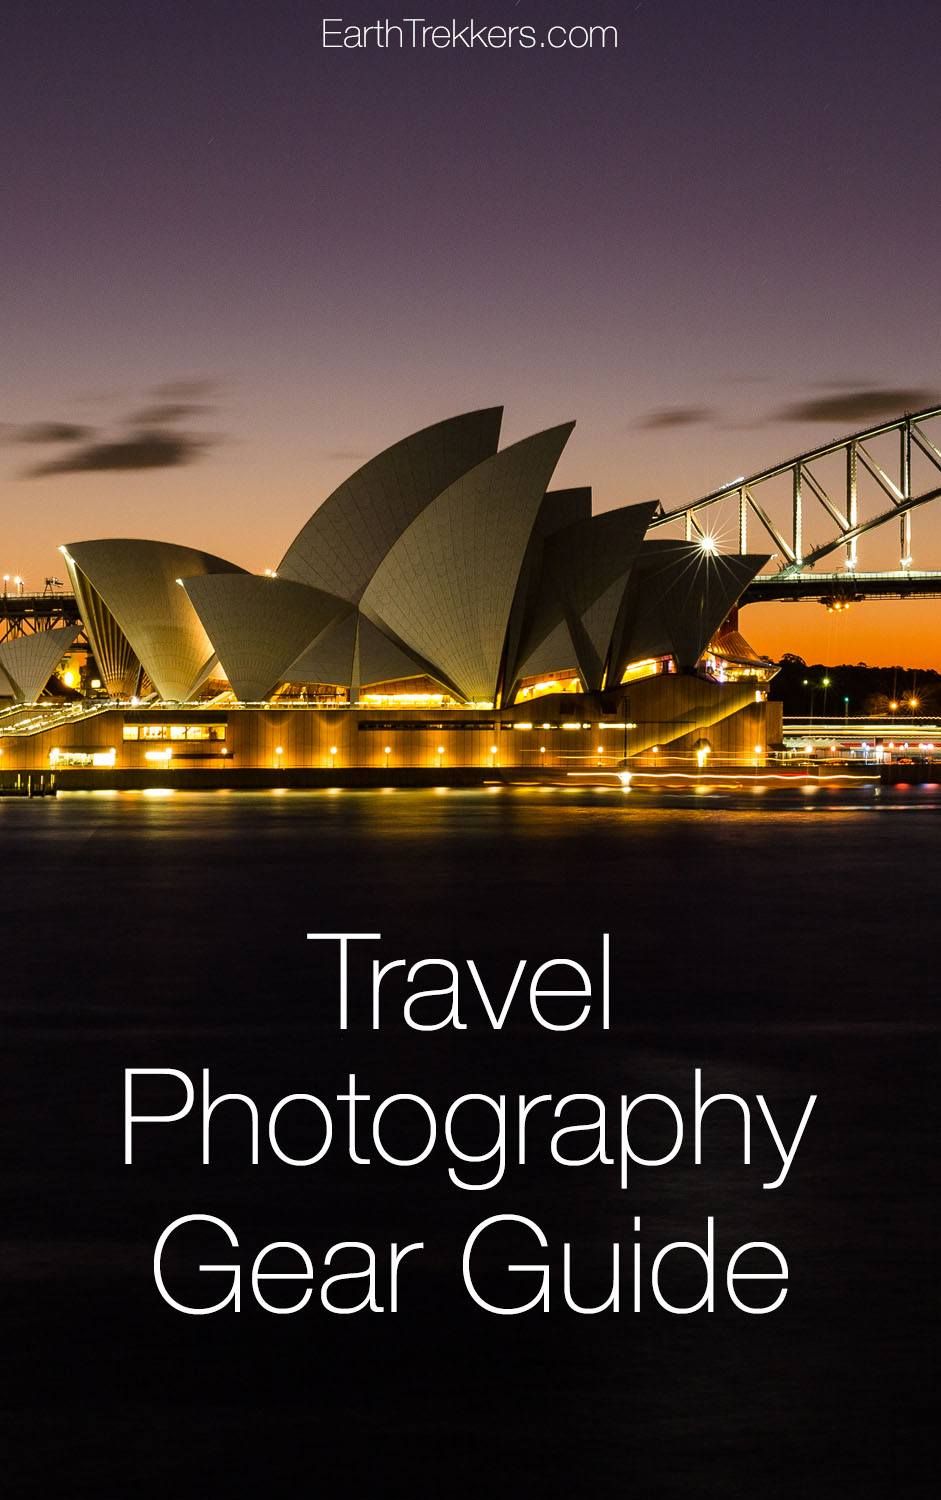
Do you want to know how we capture the images that you see on our website? Here is our photography gear guide, with links and explanations of our photography gear and accessories. At the end of this post, we offer tips and tricks on how to take better photographs while traveling.
October 2025 Update: We added a new camera (the Canon EOS R5 Mark II) and a new lens (the Canon RF15-35mm F2.8 L is USM Lens) to our camera bag. Information about this camera and how it compares to our other camera gear were also added to this guide.
Photography Gear Guide
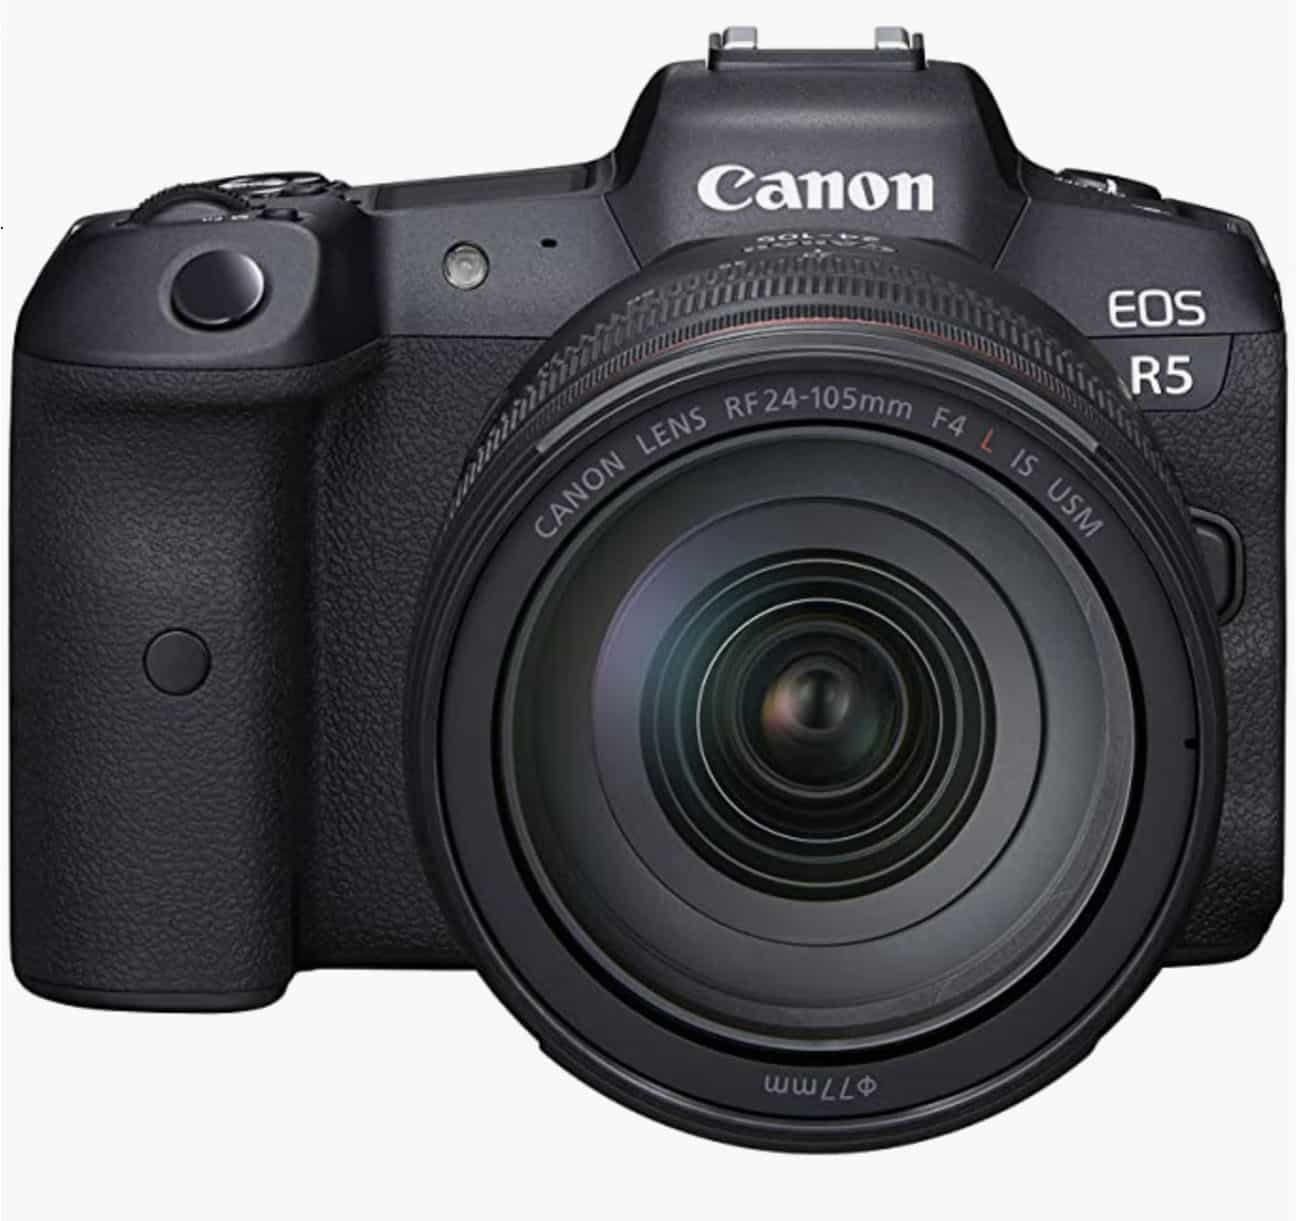
The Canon EOS R5 Full-Frame Mirrorless Camera
There are two versions of the R5, the Canon EOS R5 and the Canon EOS R5 Mark II. We have both.
We started using the Canon EOS R5 in early 2022. We added the Canon EOS R5 Mark II to our camera bag in January 2025.
The Canon R5 has a 45-megapixel full-frame sensor, shoots 8K video, has an ISO range of 100-51200, and can shoot up to 20 frames per second.
The Mark II has a redesigned 45-megapixel full-frame sensor and can shoot 30 frames per second. It has a DIGIC accelerator chip, focusing time is faster, and there are additional focusing priority modes. It’s also a bit lighter than the R5 (although the difference is negligible), but we find it helpful, since we do carry these hefty cameras with us on hiking trails.
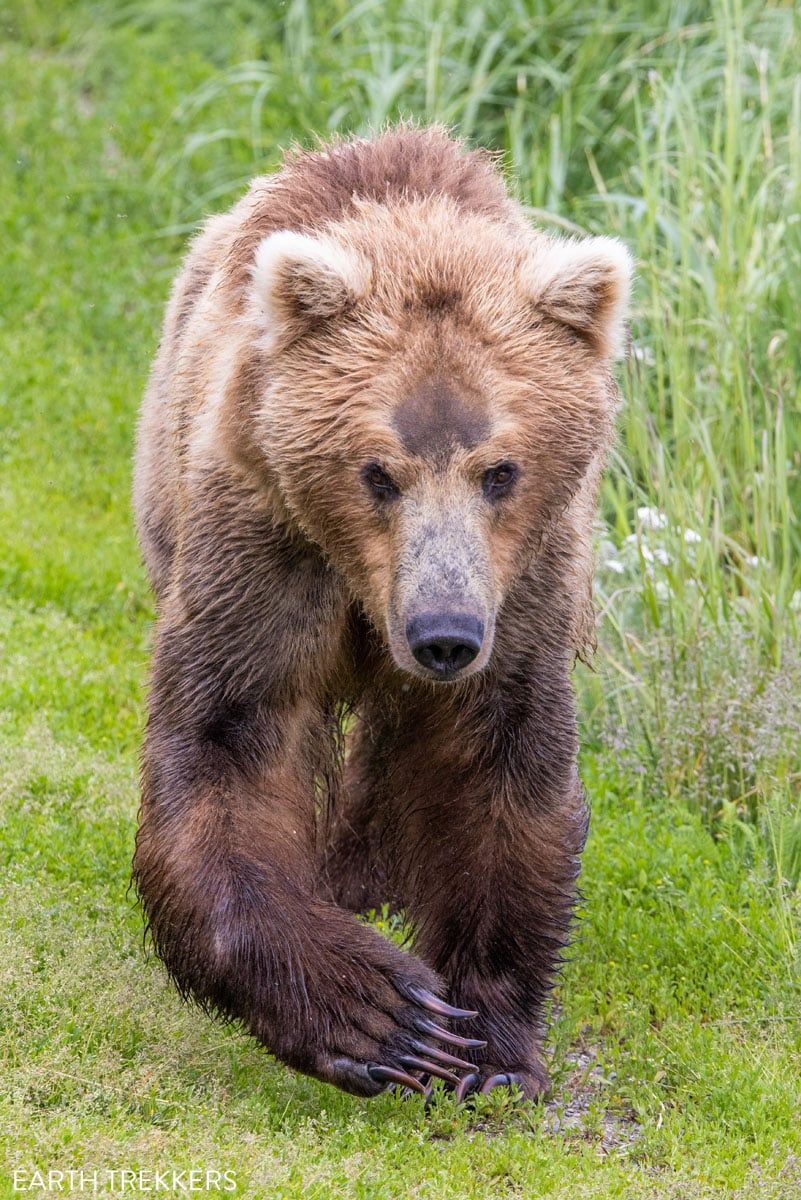
But the thing that really stands out about the Mark II is its AI tracking features. We tested this out in Costa Rica and took some amazing photos of the wildlife. The AI feature keeps the focus on the animal’s eye, so even shooting sloths and birds from 100+ away, we got super sharp photos, something I probably wouldn’t have gotten with AI’s help.
There is a massive price difference between these cameras, and despite using the Mark II for 10 months (as of the last update of this guide), I’m still not sure if the Mark II is worth the extra cost.
Both are amazing. I LOVE the original R5. The Canon R5 is amazing in low light, captures an incredible amount of detail, and is very easy to use. I love the touch screen, being able to rotate the viewing screen on the back of the camera, and the quality of photos that we get.
The Mark II is very similar, with the main thing we notice being the tracking modes. However, if you don’t need the tracking feature (for example, if you will mainly be shooting landscapes), I don’t think the Mark II is worth the additional cost over the original R5.
I have one major complaint about both cameras, and it is that the cameras do not geotag the photos with your location. For a camera as advanced and expensive as the R5, this should be included, in my opinion.
Currently, our set up is the Canon EOS R5 body plus the Canon RF 24-70mm F2.8 L IS USM lens and the Canon EOS R5 Mark II body with either the Canon RF15-35mm F2.8 L is USM Lens (for landscapes) or the Canon RF 100-500 mm F4.5-7.1 L is USM Super-Telephoto lens (for wildlife photography).
Yes, you’ll now see us carrying around two cameras. The photos we capture are very important to us, and based on the comments we frequently get from our readers, our photos are one of the things people love the most about our website.
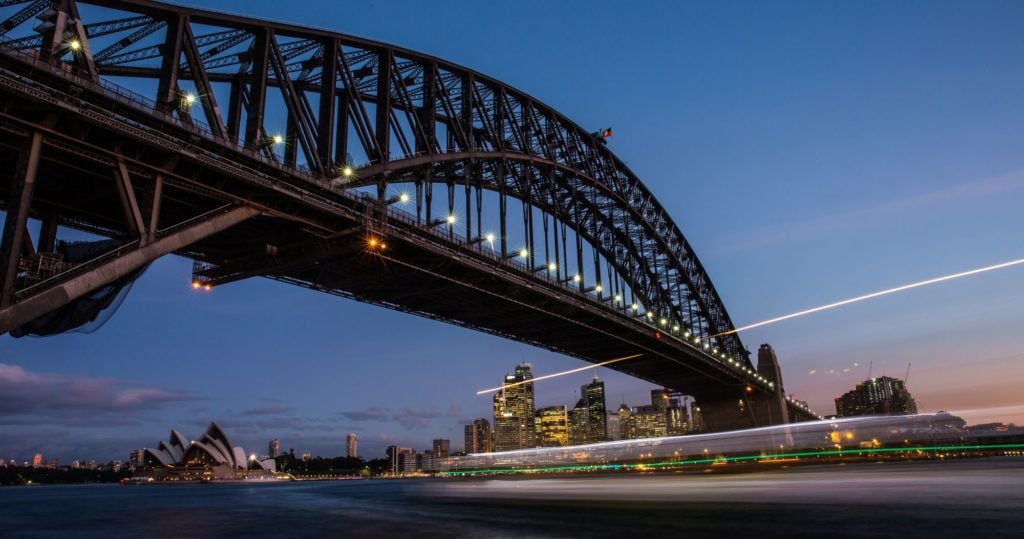
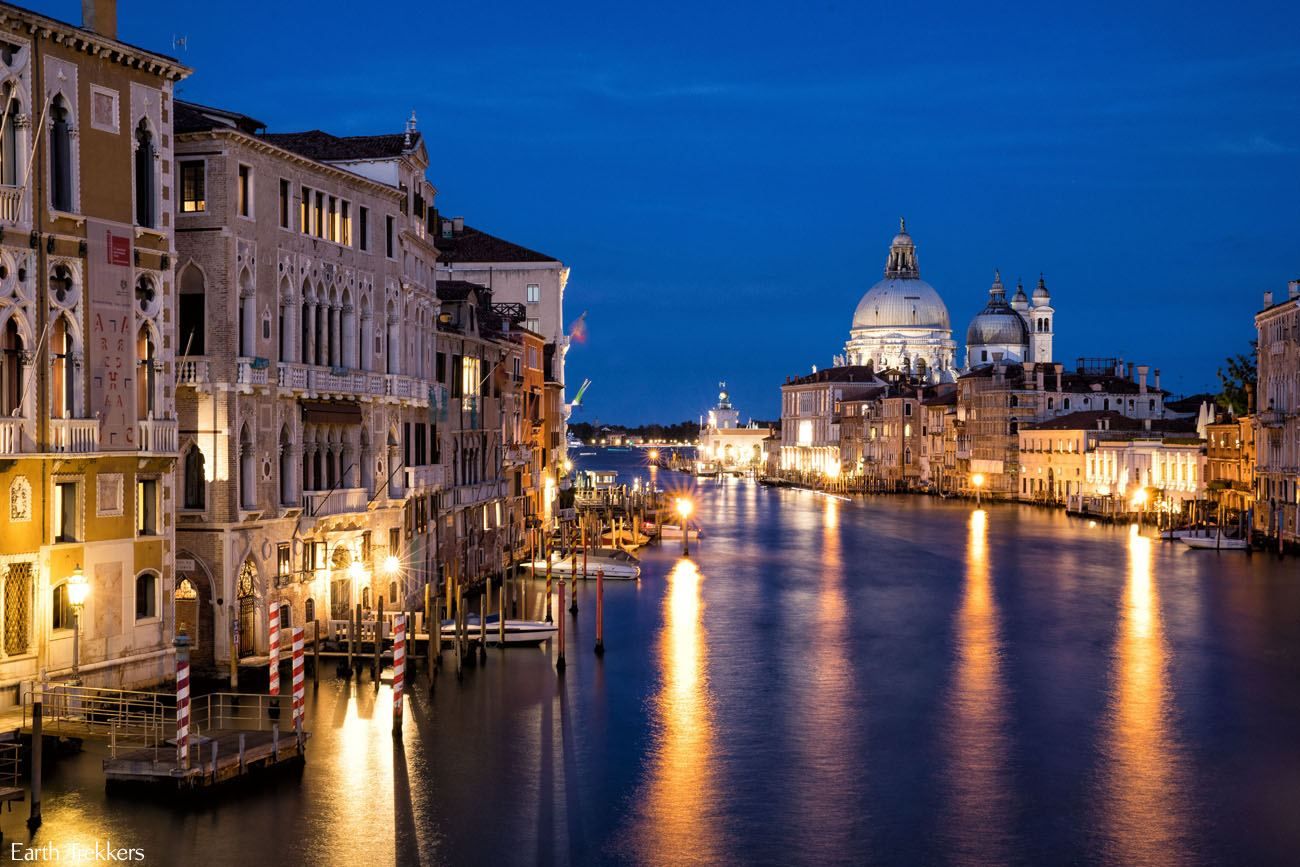
Here are some of our photos taken with the Canon EOS R5 with the Canon RF 24-70 mm 2.8 L IS USM lens.

Sunset in Rome
And here are some photos taken with the Canon EOS R5 Mark II with a 100-500 mm lens.
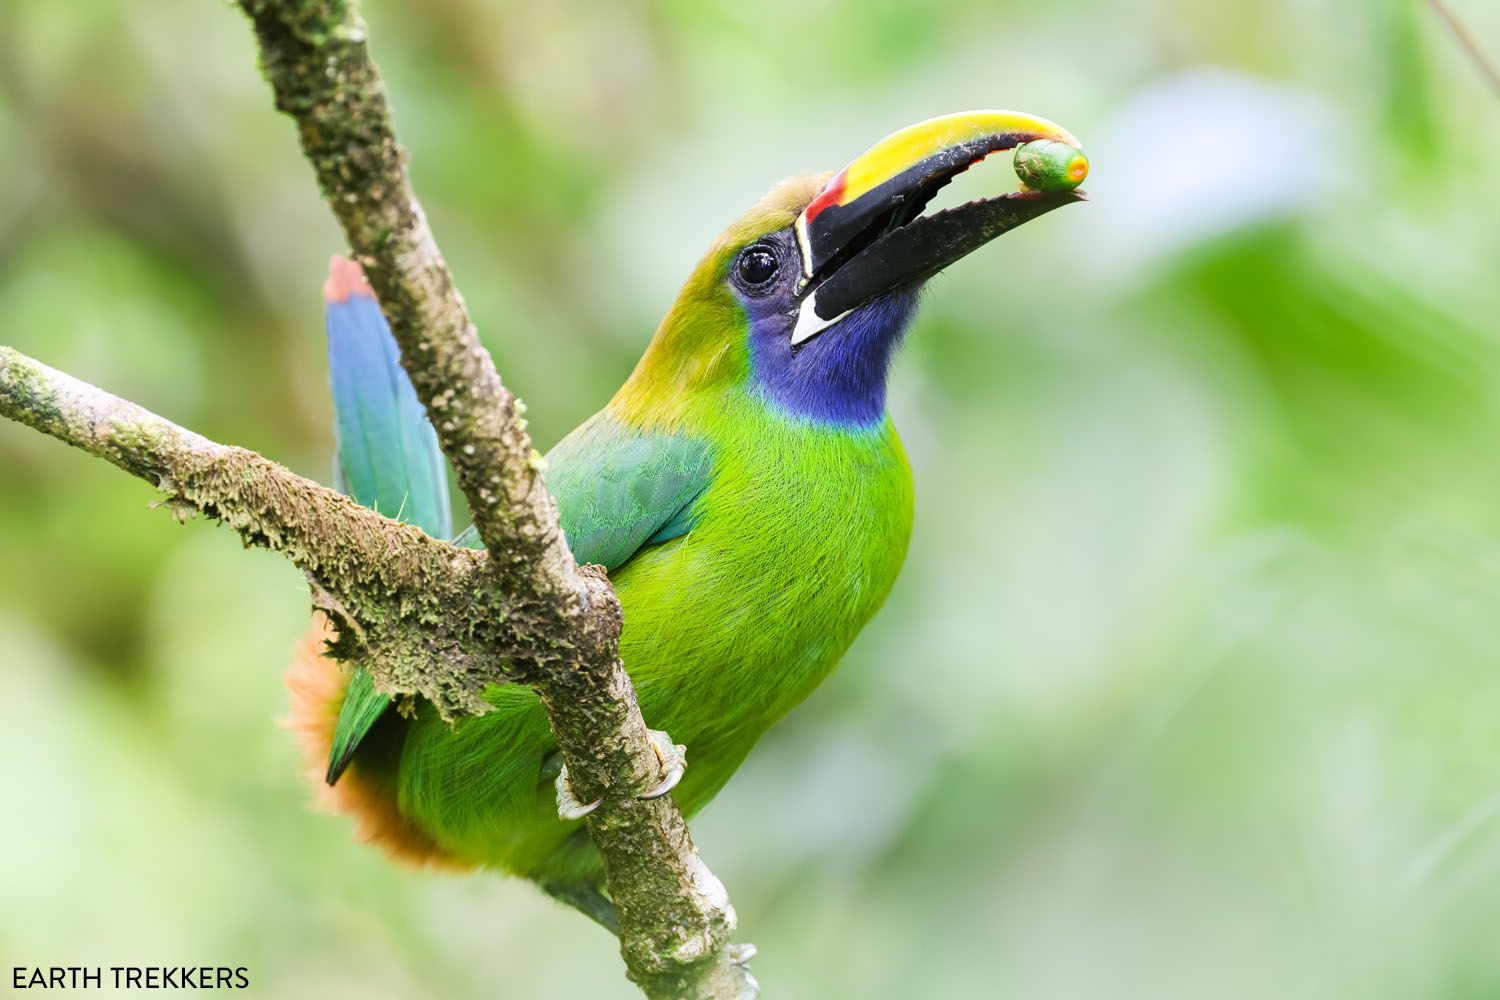
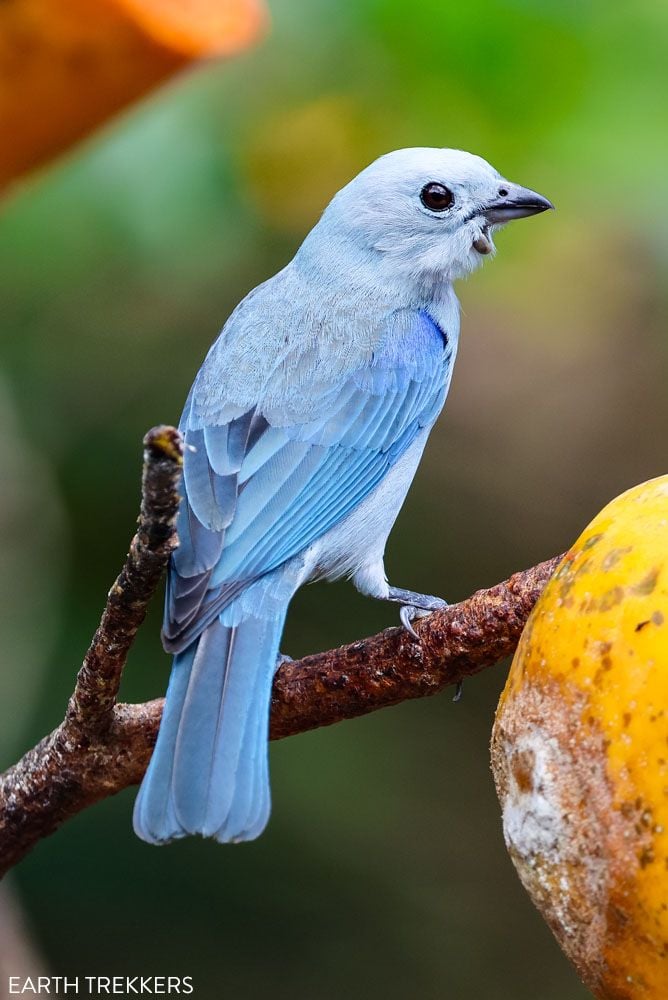
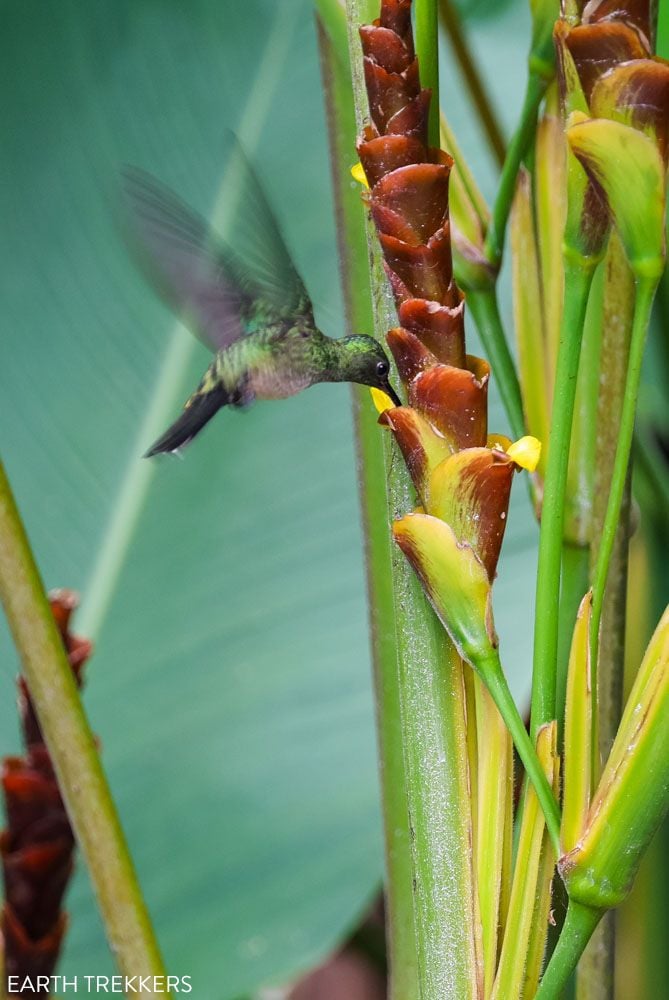
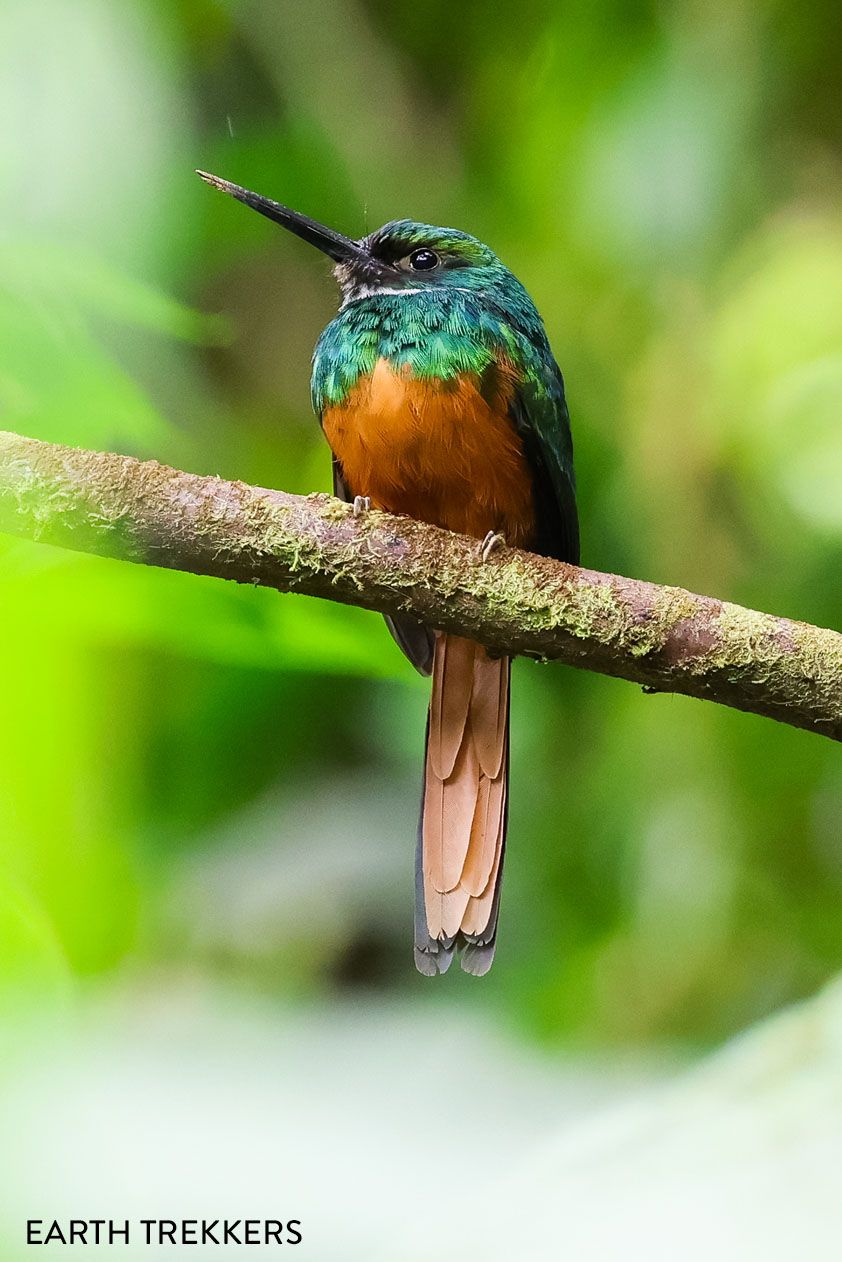
These photos were taken on our trip to Costa Rica.
The Canon 5D IV, Our Backup Camera
The Canon 5D Mark IV has been our primary camera from 2017 through the end of 2021, so many of the photos on this website were taken with this camera. Prior to 2017, we used the Canon 5D Mark III, which is almost as good (several features were added to the Mark IV, which make it a much better camera).
Canon 5D Mark IV
With the Canon 5D Mark IV, all photos can be geotagged using the built-in GPS, so I have the exact GPS coordinates for all of my photos.
There are numerous other upgrades I love over the Mark III…a better, larger touch-screen LCD screen, an upgraded photo processor, and faster, more accurate focusing. The Canon 5D Mark IV is 30 MP full frame camera with the ability to shoot 4K video. The photos I get with the Mark IV are crisper and clearer than the Mark III, although it is only a mild improvement.
We are big hikers and the Canon 5D Mark IV with a 24-70 mm lens is a beast of a camera to carry on a hike. But we do it…Tim carried it all the way across the Grand Canyon when we hiked it rim-to-rim in a day.
Here are some of my favorite photos taken with the Canon 5D Mark IV.
Canon EF 24 – 70 mm f/2.8 II USM Zoom Lens
The Canon EF 24-70 mm f/2.8 II USM lens is our “walking around” lens. 99% of the photos on this website were taken with this lens. We use this lens with both the Canon R5 and the R5 Mark II.
At 24 mm, it is just wide enough for landscape shots. The 70 mm gives just enough zoom to hone in on the action. This is one of the best Canon lenses you can buy and it is worth the price.
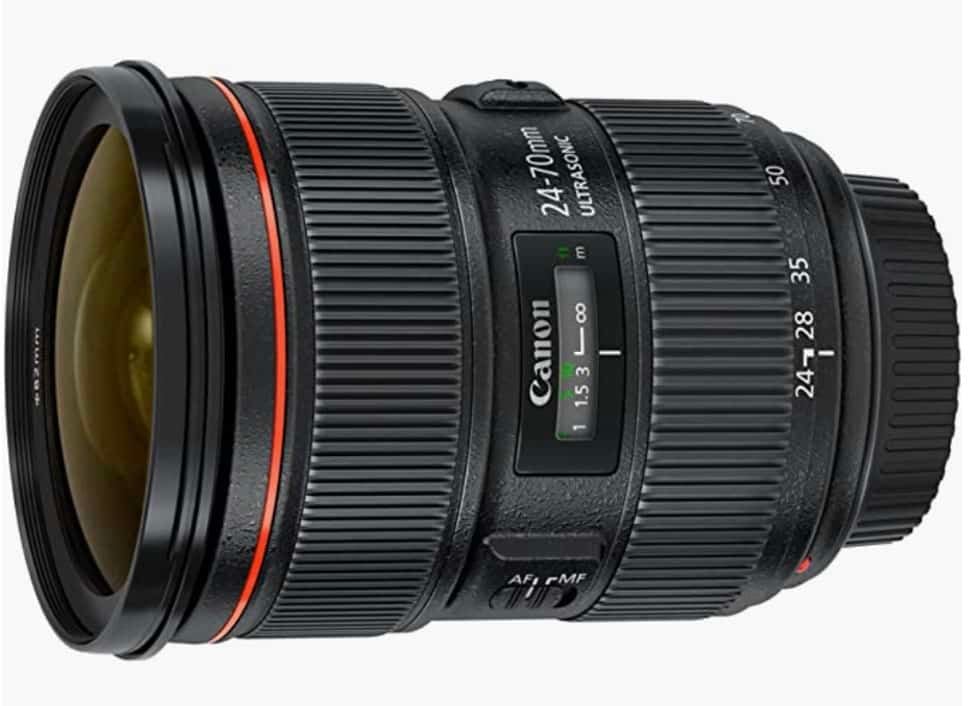
Canon EF 24-70 mm f/2.8 II USM lens
Wide-Angle Lens
We use wide angle lenses for landscape photography. We also take these lenses on most of our hikes.
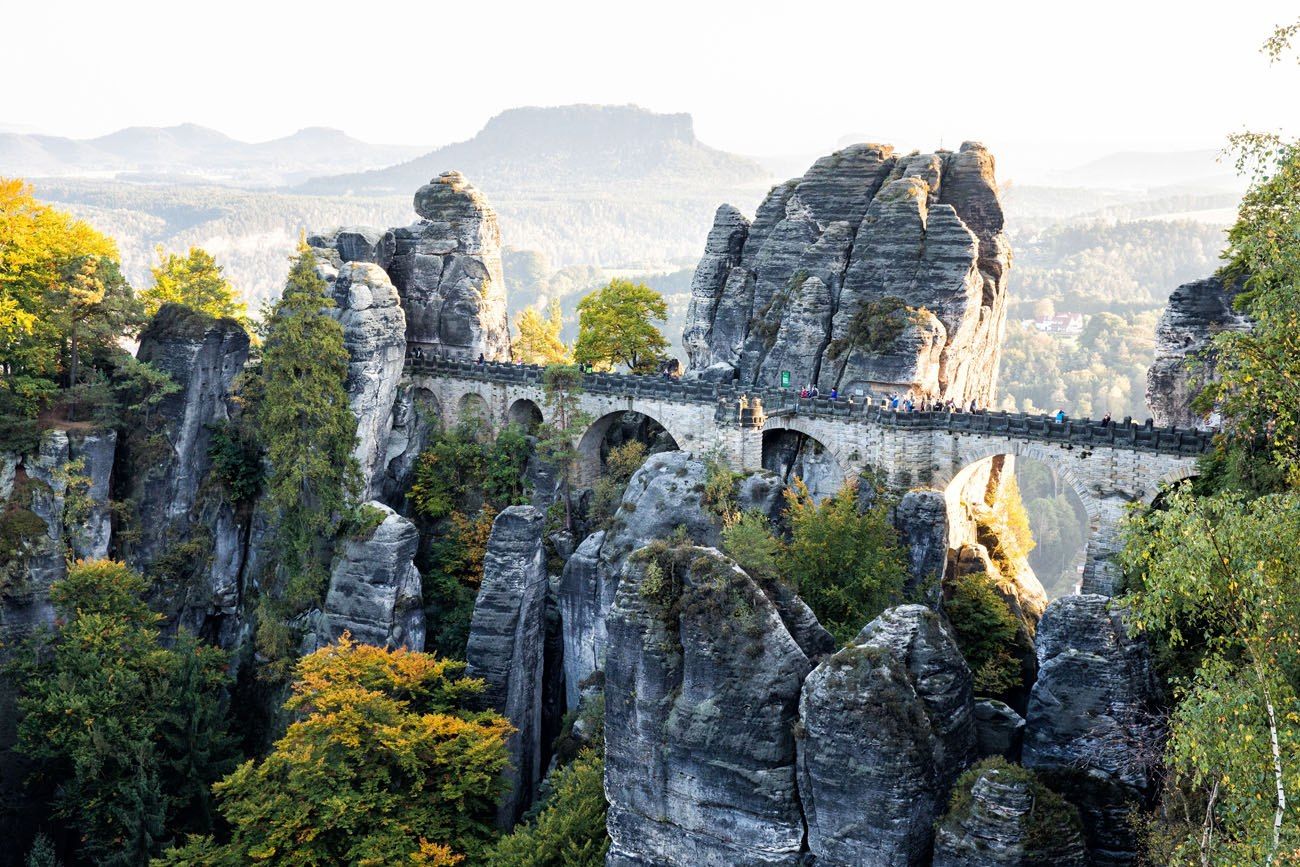
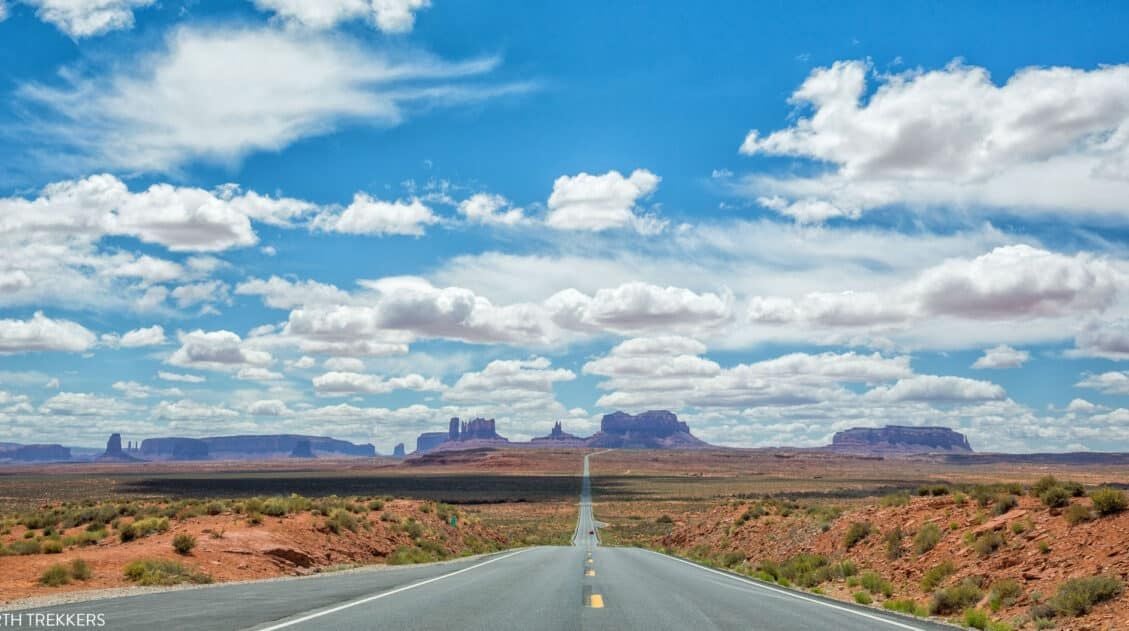
This is our newest wide-angle lens. The Canon RF15-35mm F2.8 L is USM Lens is compatible with mirrorless cameras, such as the Canon EOS R5 and R5 Mark II. Below is a photo taken with the Canon R5 Mark II and the 15-35mm lens.
I use the Canon EF 16-35mm f/4L IS USM lens for landscape photography. I use this lens with Canon 5D Mark IV and Mark III.
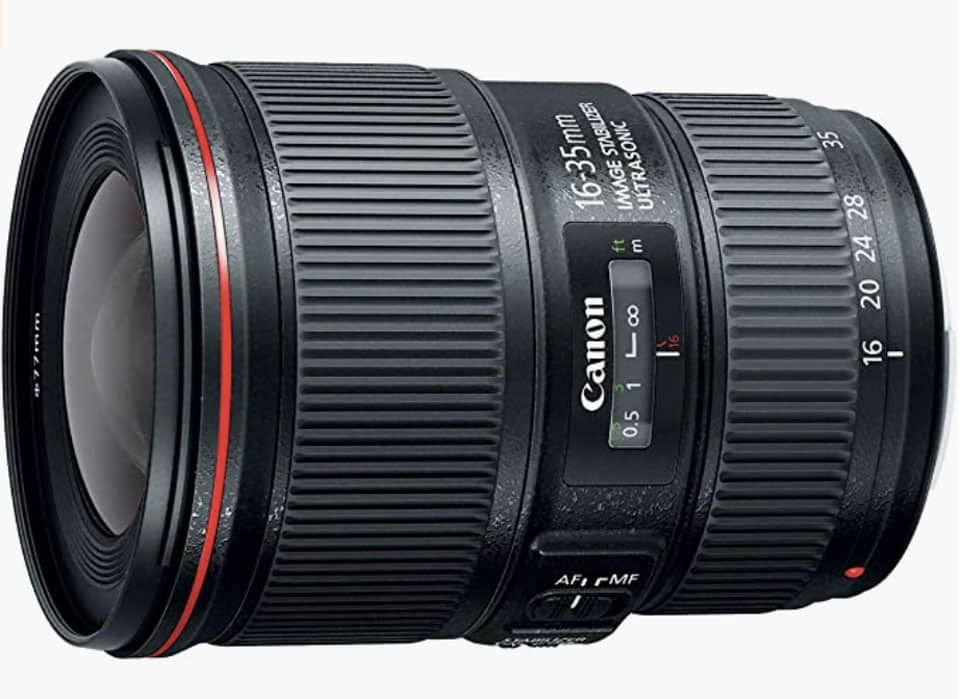
Canon EF 16-35mm f/4L IS USM lens
Many of our photos of the Dolomites were taken with the Canon 5D Mark IV plus this wide angle lens. I got some gorgeous landscape shots, like this one taken in Iceland.
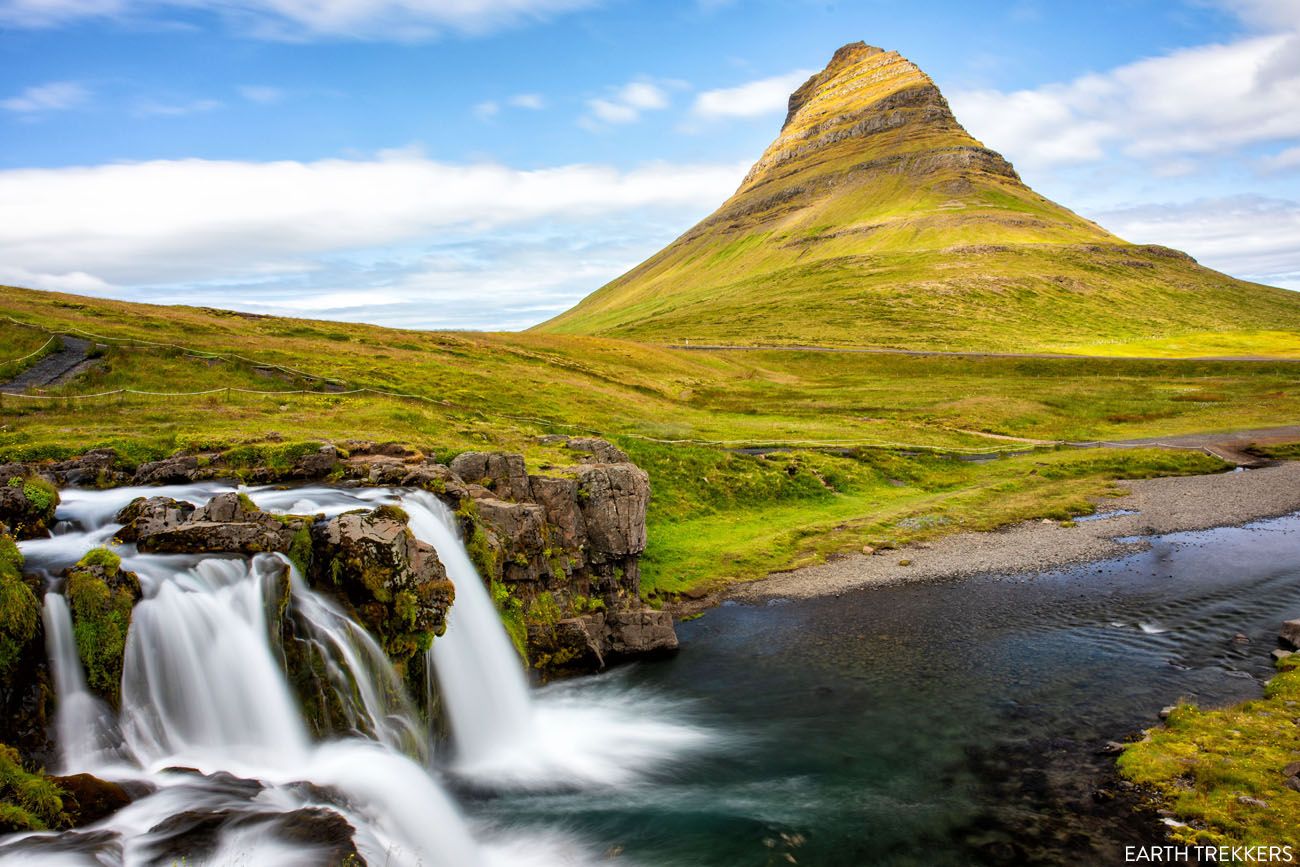
Kirkjufell on the Snaefellsnes Peninsula
This is an expensive lens, but it is cheaper than the Canon EF 16-35mm f/2.8L III USM lens. This lens, with its f/2.8 maximum aperture, has an advantage in low light situations. However, it is a heavier lens and it does not have image stabilization. Not to mention that is almost double the price. But if you want a top of the line wide angle lens, have the money to spend, and don’t mind the extra weight, take a look at the Canon EF 16-35mm f/2.8L III USM lens.
Telephoto Zoom Lens
We have two telephoto zoom lenses.
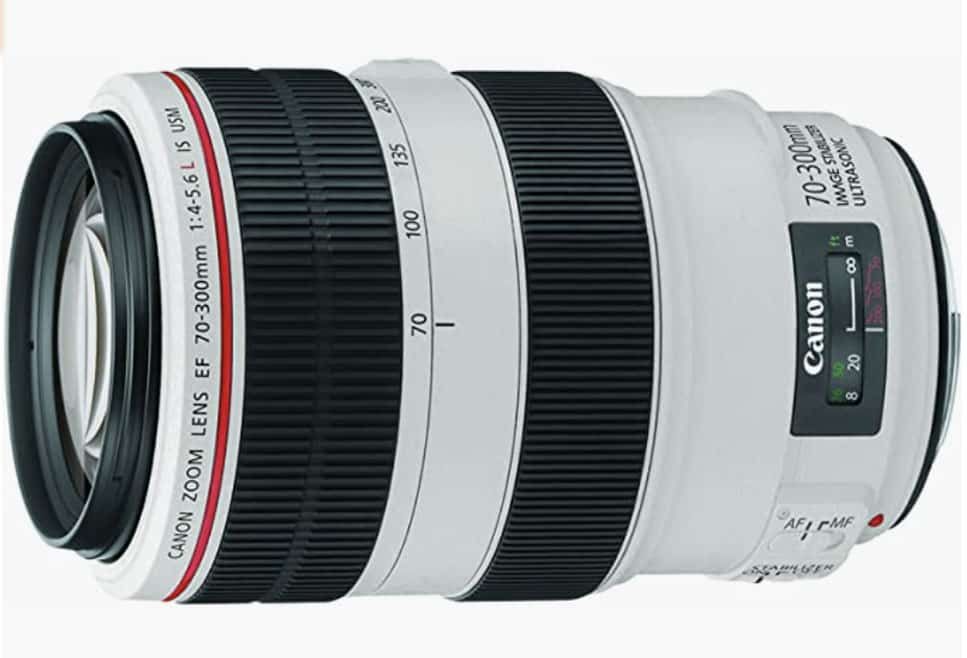
I used the Canon 70-300mm EF f/4-5.6L IS USM Telephoto Zoom Lens when on safari in Africa. I have also used it photographing our kids’ sports events. This is a great telephoto lens for the price you pay.
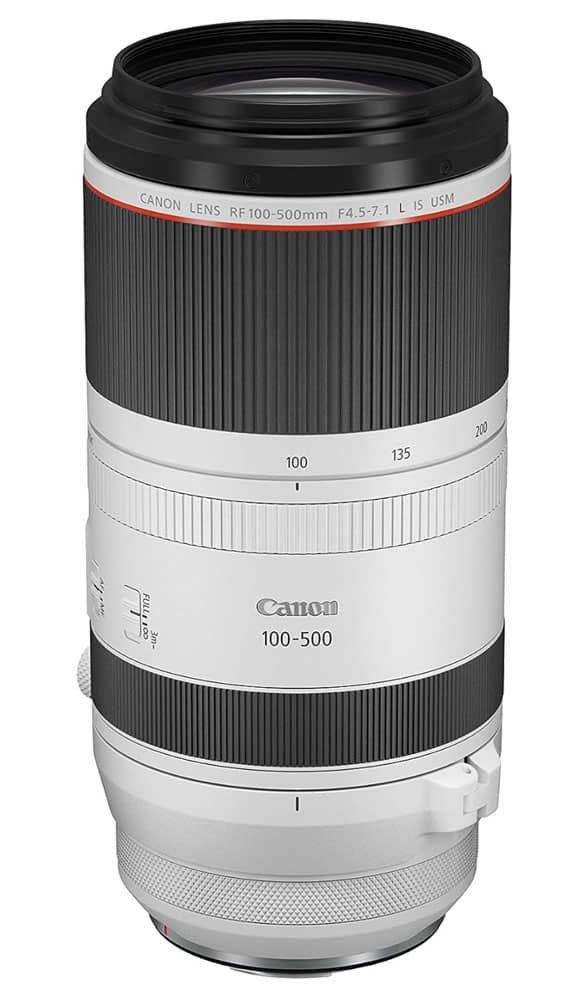
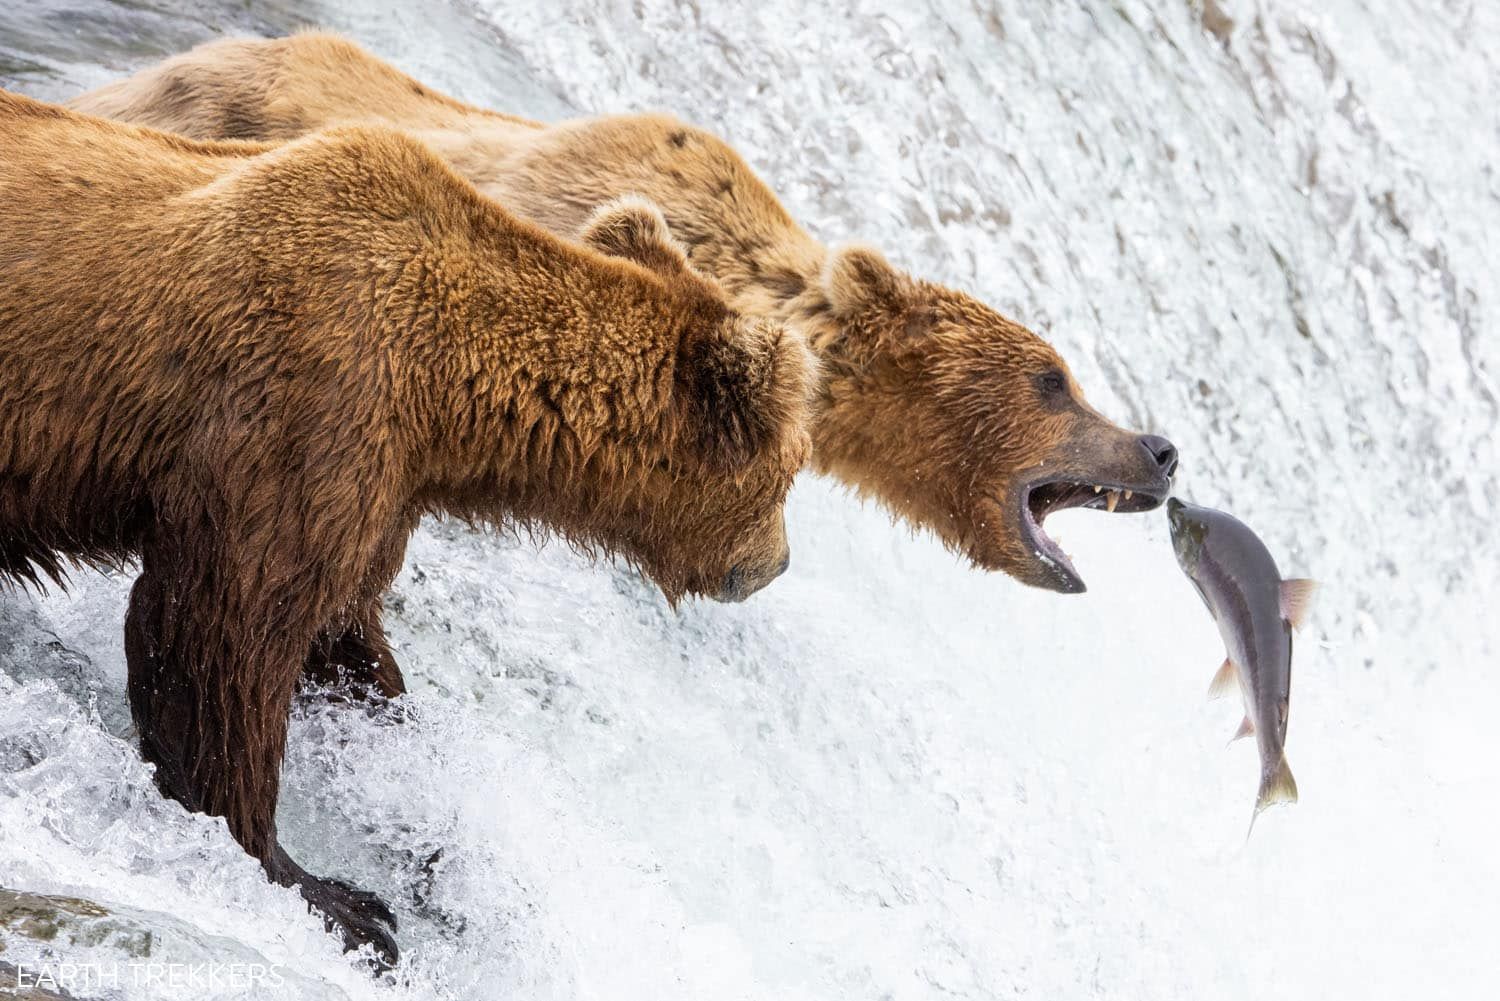
Before our most recent trip to Katmai National Park, we purchased the Canon RF 100-500 mm F4.5-7.1 L is USM Super-Telephoto lens. This is pricier than the 70-300 mm lens, but it really closes in on the action. For safaris and wildlife photography, this is a great lens. It’s still relatively affordable but has image stabilization and is excellent at autofocusing.
Here are some of the photos taken with the 100-500mm lens (these photos were also taken with the Canon EOS R5).
Memory Cards for the Canon EOS R5
The Canon R5 has two slots for memory cards, a high-speed CFexpress card slot and a universally compatible SD card slot.
We shoot in camera RAW, which are large file sizes, so we invest in memory cards with fast speeds and lots of storage.
Our primary card is the ProgradeCFexpress 4.0 Type B 800 GB Card. It’s super fast and has an enormous storage capacity. I use this card in the R5 Mark II.
In our Canon EOS R5, we use the Lexar Professional CFexpress 256 GB Type-B Card. We shoot in camera RAW and these files are recorded onto this memory card.

The Canon R5 cameras allow me to shoot a second file onto an SD card simultaneously. I designate this second file as a JPEG file, which gets recorded onto a ProGrade Digital SDXC UHS-II V90 300R memory card. This is my backup, just in case my main memory card fails (which I’ve never had happen).

Memory Cards for the Canon 5D Mark IV
The Canon 5D Mark III and Mark IV have two slots for memory cards, a Compact Flash slot and a SD card slot. My primary card is the Lexar 1066x 128 GB Compact Flash card. I shoot in camera RAW and these files get recorded onto this compact flash card.
The Canon 5D camera allows me to simultaneously shoot a second file onto an SD card. I designate this second file as a JPEG file, which gets recorded onto a SanDisk Extreme Plus 32 GB SD card. This is my backup, just in case my main memory card fails (which I’ve never had happen).
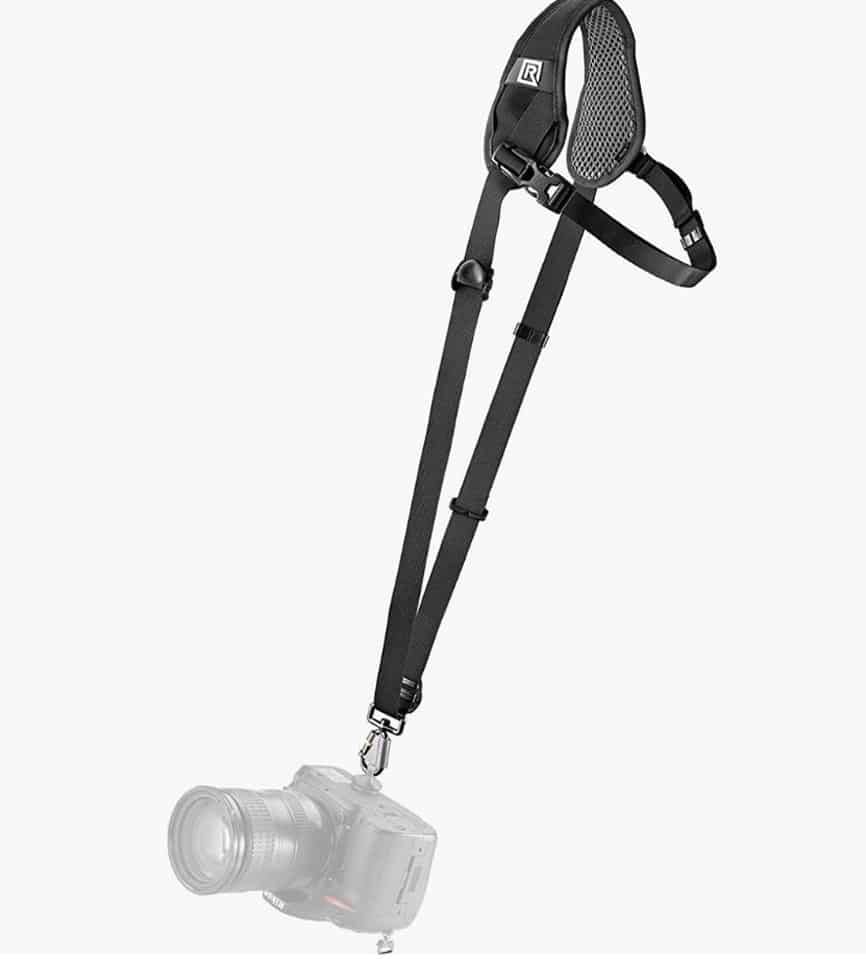
Black Rapid RS-7 Camera Strap
In my opinion, a good quality camera strap is a necessity. I use the Black Rapid Breathe Curve Camera Strap, a durable, comfortable strap that screws into the base of the camera and is worn across the body. It’s not the most fashionable accessory, but it does keep the camera safe from thieves or from accidentally dropping it.
Tripod
A tripod is another invaluable camera accessory. If you want to take photos with a long exposure time, a tripod is a must. There are a lot of expensive tripod options out there. What you are paying for is a lightweight tripod that is durable and will be stable when you attach your camera to it.
Peak Design Travel Tripod
I just started using the Peak Design Travel Tripod and I love it. It’s extremely fast to set up and put away, very durable and sturdy, lightweight, easy to use, and folds up into a compact cylinder. It’s also very expensive, coming in at around $600 USD, but for a travel tripod with these features, it makes it worth it for the serious photographer, especially if you plan to take a tripod hiking.

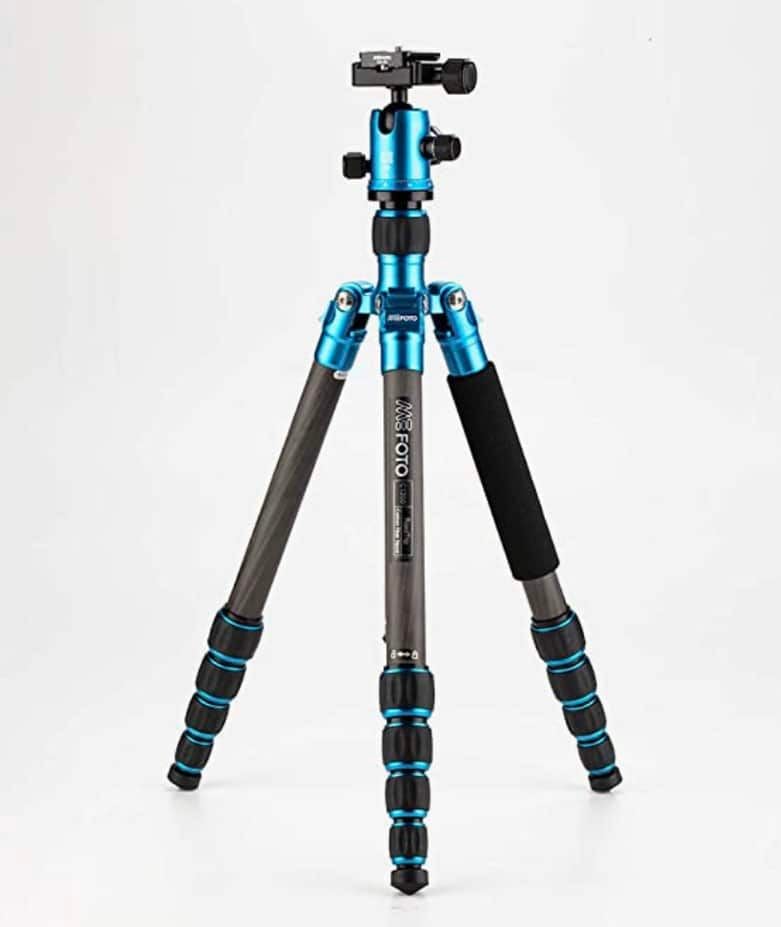
MeFOTO Tripod
The MeFOTO tripod was our first tripod and I highly recommend this one, too. It’s been around the world and Tim has carried it on numerous hikes and trips through cities. Even though this tripod has a low price compared with those on the higher end, the MeFOTO tripod has proven to be durable, lightweight, and dependable. On uneven slopes and surfaces we have not had a problem with it.
If you are looking for a cost conscious tripod that does a good job, check this one out.
JOBY Gorillapod Tripod
We recently added this great little tripod to our collection of camera gear. It’s small and it’s lightweight so it doesn’t take up much room or add a lot of weight to your backpack. The moldable legs can be curled around fence posts, railings, and trees. I’ve done this a bunch of times and it works great. This is a great tripod to throw into your hiking backpack rather than hiking with a larger, heavier tripod.
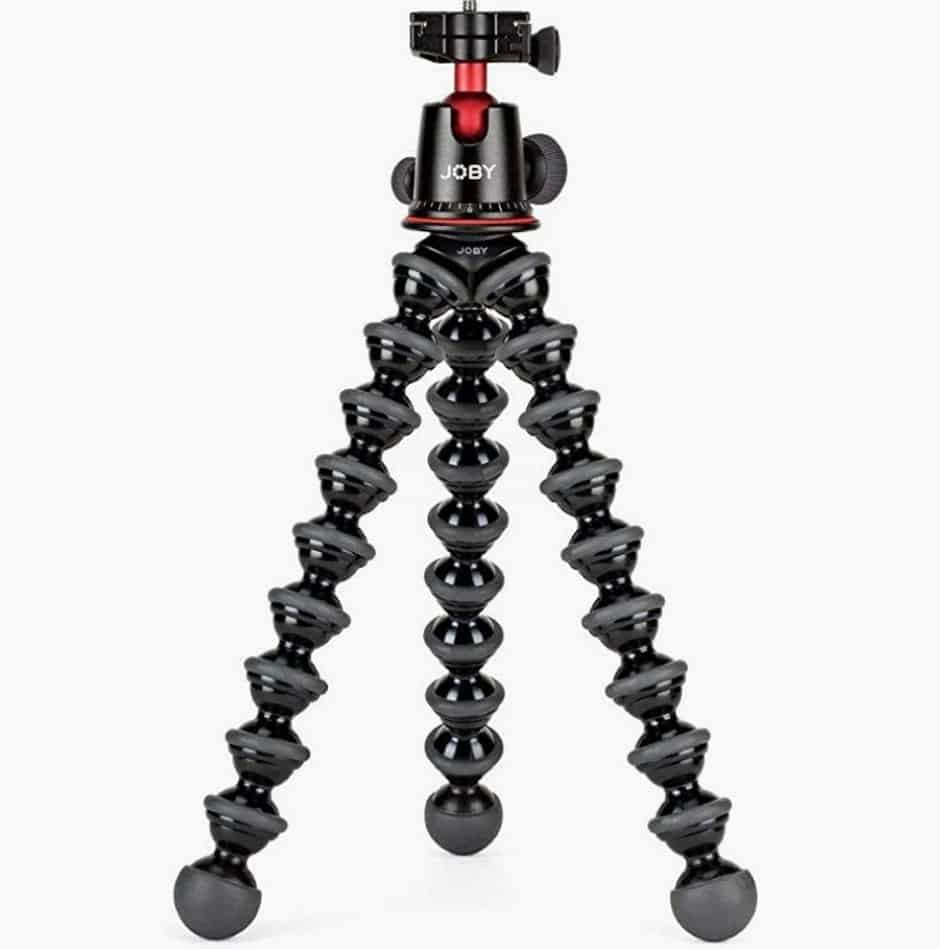
The Gorillapod comes in several sizes. We use the 5K stand because it is the only one large enough to hold our Canon 5D. If you purchase it as a kit, you also get the Ballhead, which allows you to swivel the camera on the tripod. I recommend purchasing the ballhead because it makes it much easier to level the camera when taking photos.
Canon Powershot GX7 Mark II
This point-and-shoot camera, the Canon Powershot GX7 Mark II, is lightweight, tiny, and shoots great video. We upgraded to this point and shoot camera in June 2018 to use for our videos.
This camera shoots 1080p full HD video and it is an excellent compact camera if you are not looking to lug around a DSLR. 90% of the time we use it to shoot video but I have used it on occasion for photography when I did not feel like carrying a big camera around town.
This 20 MP camera can shoot time lapse video, take long exposure shots, and offers awesome image quality for a camera that is so small. You can almost keep this camera in your pocket.
If you are looking for a nice, small, inexpensive camera that also shoots quality video, check this one out!
Tyler used this camera and our drone to capture our most recent videos of 2018. Check them out our Earth Trekkers YouTube channel.
DJI Phantom 4 Drone
With a drone, you can capture some very unique photos and videos of the places you visit. It’s worth it, but it is another bag to carry onto airplanes and lug around with the rest of your luggage. Plus, there are a lot of rules about where you can and cannot fly a drone, so before you travel, you need to be prepared to do some research. There have been a number of times that we were unable to use our drone because of local laws.
We have two drones, the DJI Phantom 4 drone and the DJI Mavic 2 Pro.
Most of our drone photos and videos were taken with the DJI Phantom 4 Drone. We purchased in 2016 for our trip to Scotland and Ireland and used it on several subsequent trips.
In December 2019, we purchased the DJI Mavic 2 Pro, which is smaller, quieter, lighter, and takes much better photos and videos than the Phantom 4. Well, we all know what happened in 2020. With COVID and our travels taking us mainly to US national parks for the next two years (where drones are illegal), our drone just sat on a shelf in our house.
Recently, we began using it, but with new drone rules and regulations, and not wanting to disturb those around us, you won’t see many photos on our website with the Mavic 2. However, it is an amazing drone. We love the size and how quiet it is. Drones can be very disruptive to those around you, and the Mavic 2 isn’t as obnoxious as some other drones.
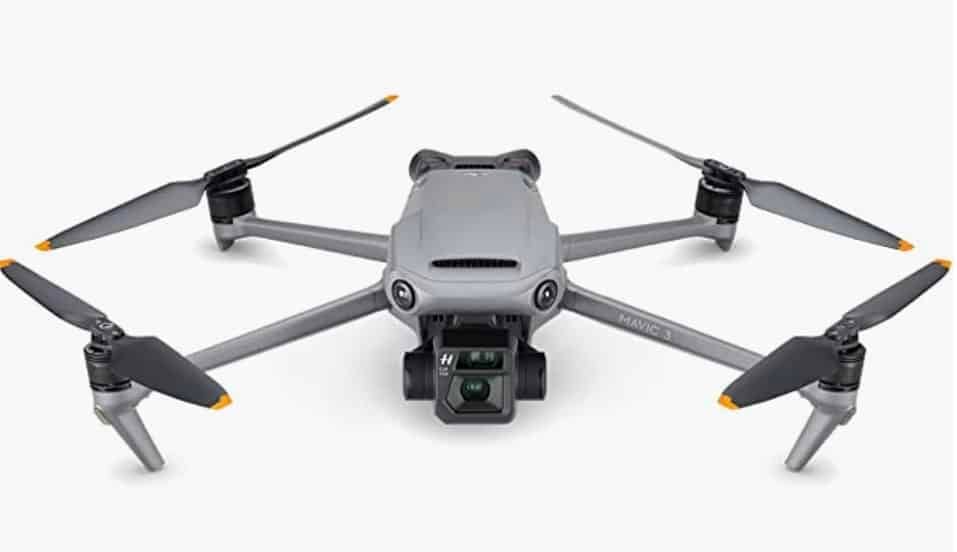
If you are looking into buying a drone, take a look at the DJI Mavic 3, which is an upgraded version of what we have.
Storing Your Photos
So, what do you do with all of those gorgeous photos you just took? Back them up!!
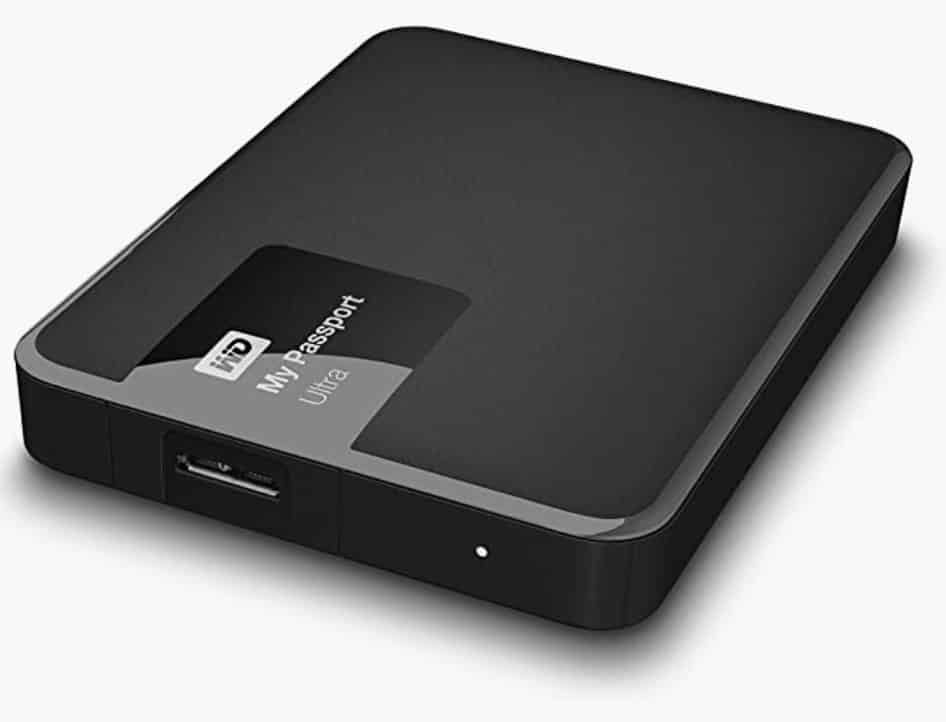
I keep a copy of our photos on my laptop and a back up copy on an external hard drive. We love the WD My Passport External Hard Drives. They are small, very durable, and are travel friendly. You can purchase them with 2 TB of disk space, more than enough room for years of photos.
How to Take Better Photos
I am a self-taught photographer. Everything I know about photography I learned from reading in a book and then by practicing it over and over again. If you want to be a good photographer, you have to take photos everyday.
Learn all of the controls on your camera and practice using them as much as possible. If you want to take truly great photos, you have to take your camera out of its automatic mode, and start shooting in aperture, shutter, or manual mode.
Here are some books that taught me how to take a better photo.
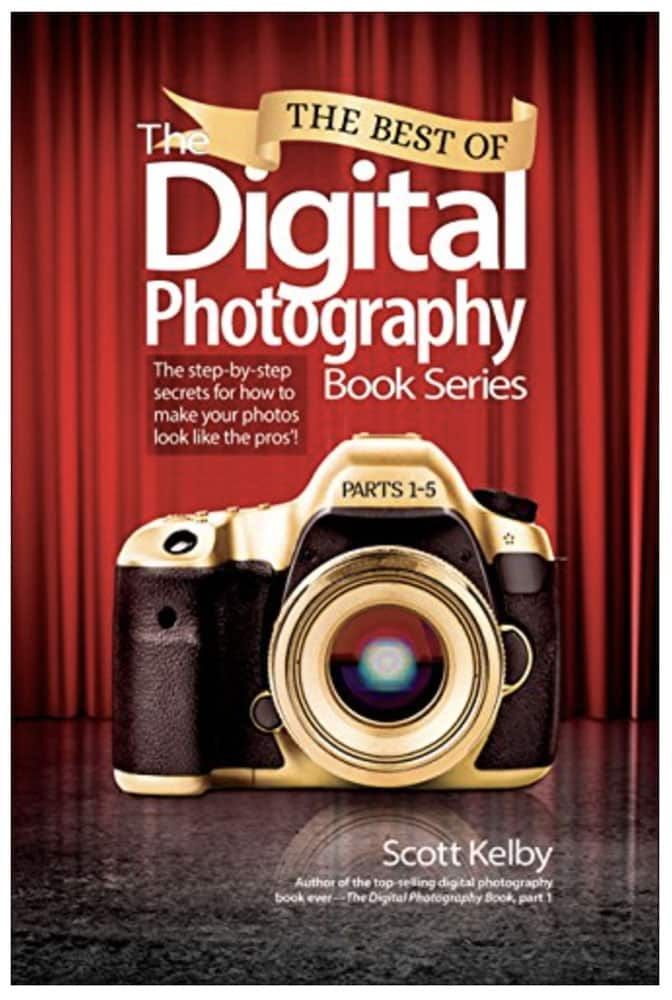
The Best of the Digital Photography Book Series
Scott Kelby teaches photography in a practical, slightly comedic sort of way. I am a big fan of his digital photography series. This book takes the best of his advice from the entire series and condenses it down into one manual.
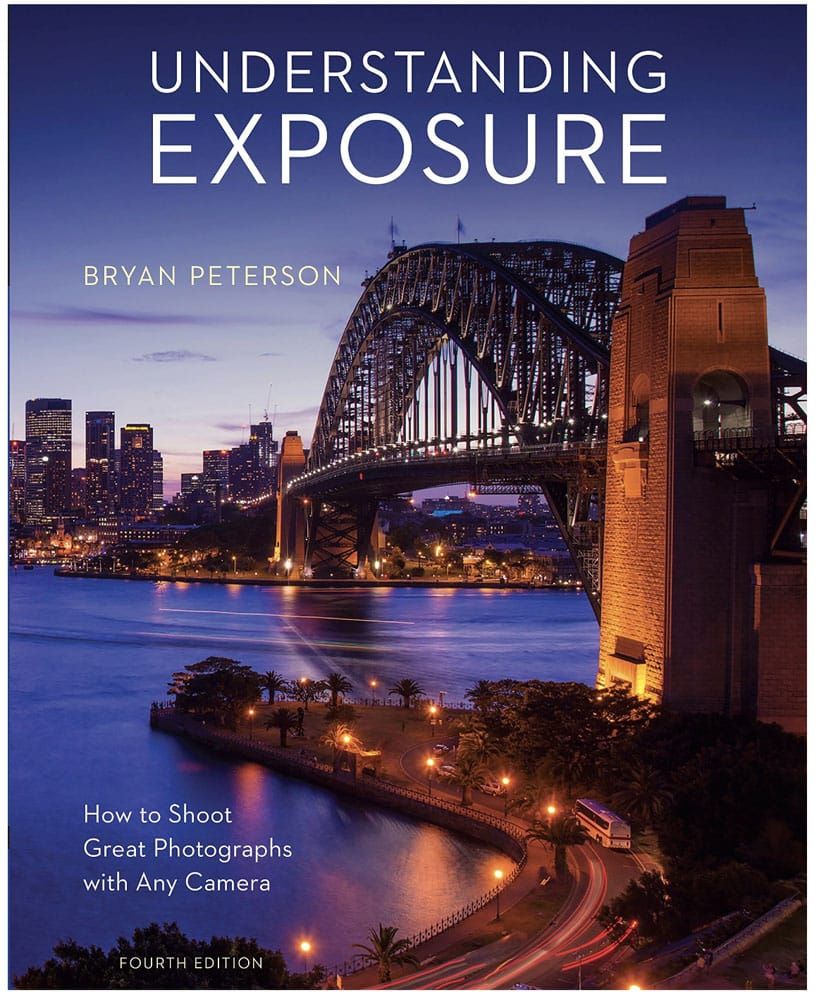
Understanding Exposure
Whether you are a beginner or advanced photographer, this is a great resource. In this book you will learn all about exposure, one of the most important ingredients in taking your photography to the next level.
Learn more about travel photography: Capturing the Action: How to take Great Photos While Traveling
If you have any further questions, let us know in the comment section below!
More Travel Inspiration & Photo Guides
Capturing the Action: How to Take Great Photos When Traveling
Pinterest Facebook Flipboard Traveling and photography go hand in hand. When you are in a new place and experiencing new things, it’s only normal that you would want to get that perfect photo, something to remember the moment by. I love photography. When I travel, one of the things I look forward to most is […]

The Photographer’s Guide: 20 Iconic Views of Rome
Rome is filled with some of the world’s most famous landmarks…the Colosseum, St. Peter’s Basilica, the Trevi Fountain, the Pantheon, and the Roman Forum. One of the best things to do in Rome is to get a bird’s eye view of these iconic spots. From panoramic views from the highest spots in Rome to lovely […]
Faces in the Stone: A Visit to Bayon, Cambodia
Every year, millions of tourists travel to Siem Reap, Cambodia to tour famous Angkor Wat. But did you know that there is so much more to see than Angkor Wat? There is ancient Ta Prohm, a temple that was swallowed up by the jungle and now has enormous tree roots snaking along the walls and […]
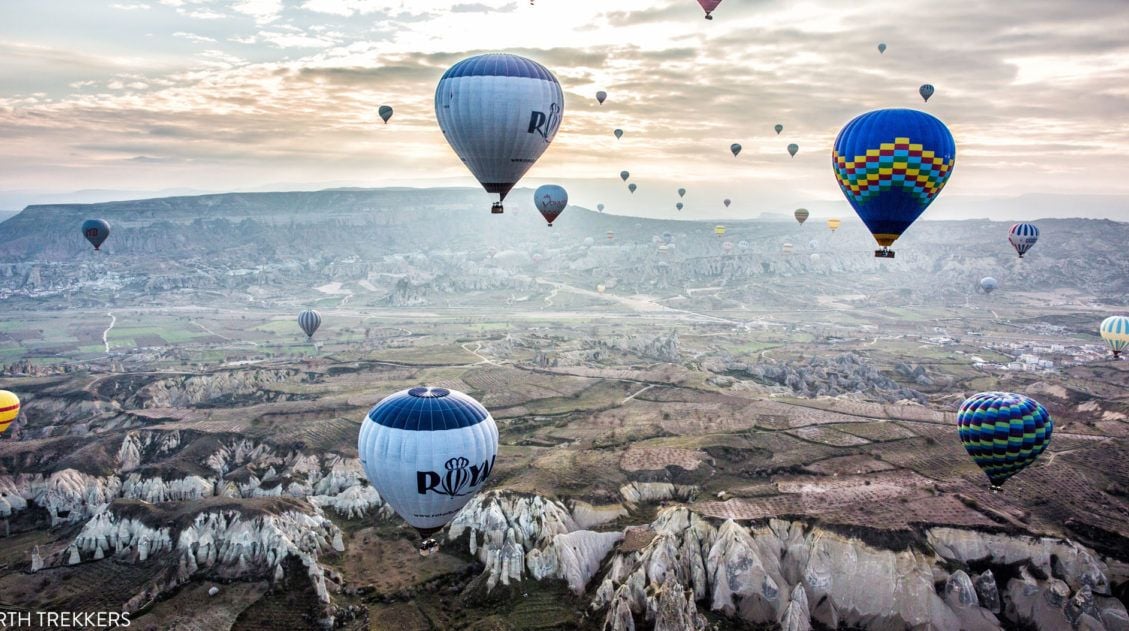
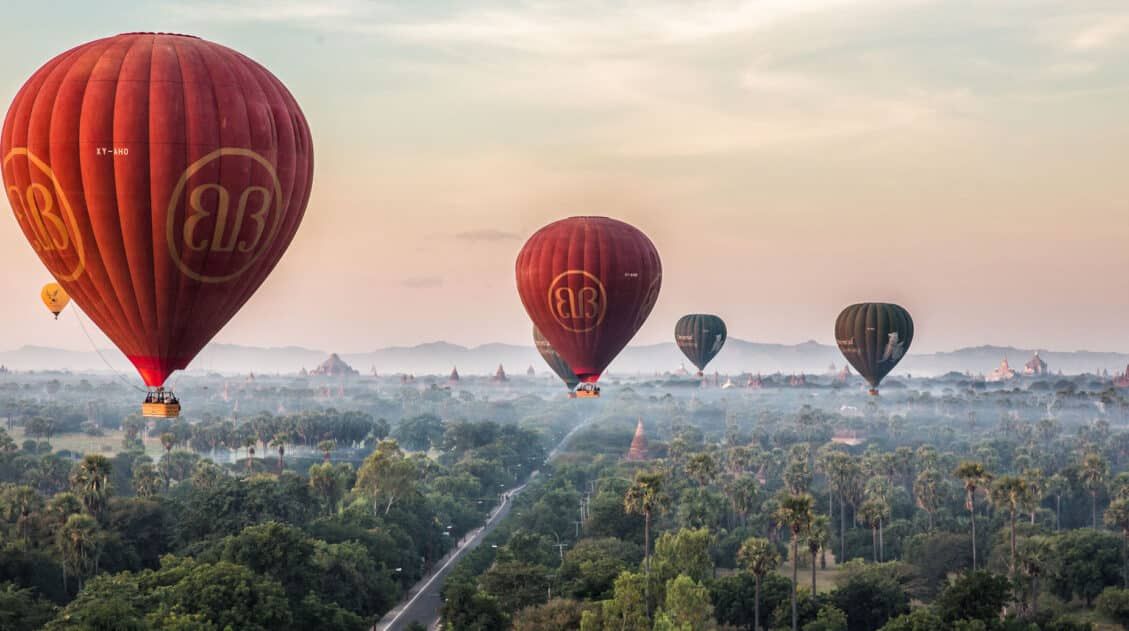
A Hot Air Balloon Ride Over Cappadocia in Photos
Seeing the unique scenery of Cappadocia from the vantage point of a hot air balloon is an unforgettable experience. Imagine floating over the surreal landscapes of fairy chimneys, rock formations, and small towns. Going for a hot air balloon ride in Cappadocia was our favorite experience in Turkey. Gazing out over these magical landscapes at […]
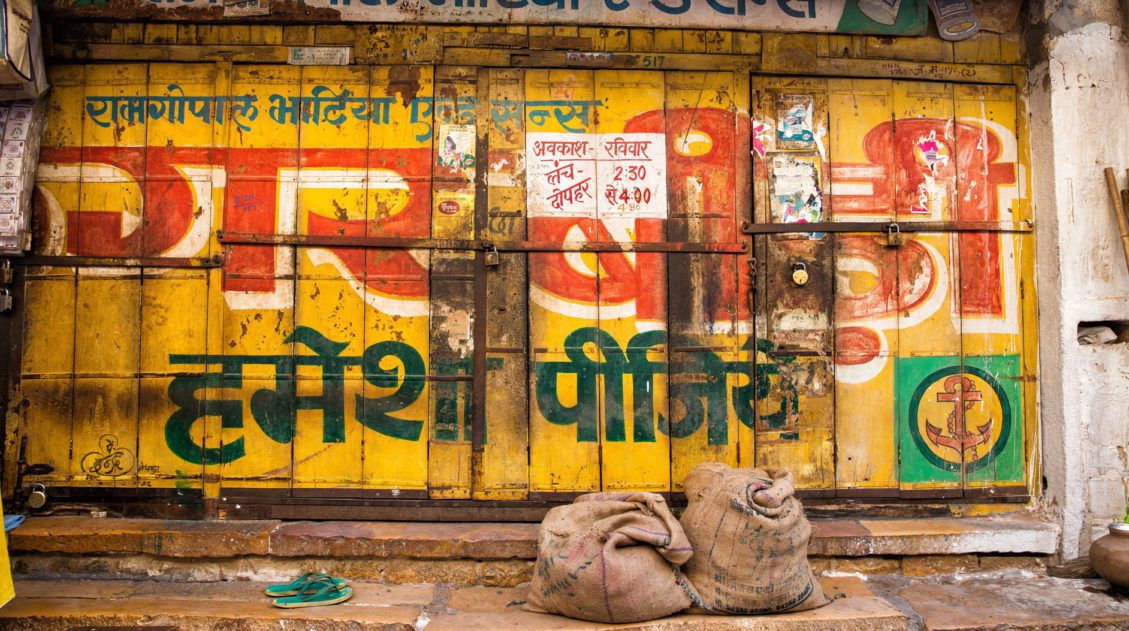
A Journey through India in Photos
India is a country of stark contrasts. This is a country of magnificent beauty, ancient temples, towering mountains, steamy jungles, and hot, dry deserts. It’s also a country that is overpopulated and in some areas impoverished. Travel to India and you will love it and hate it, rejoice in its beauty and become disheartened with its […]
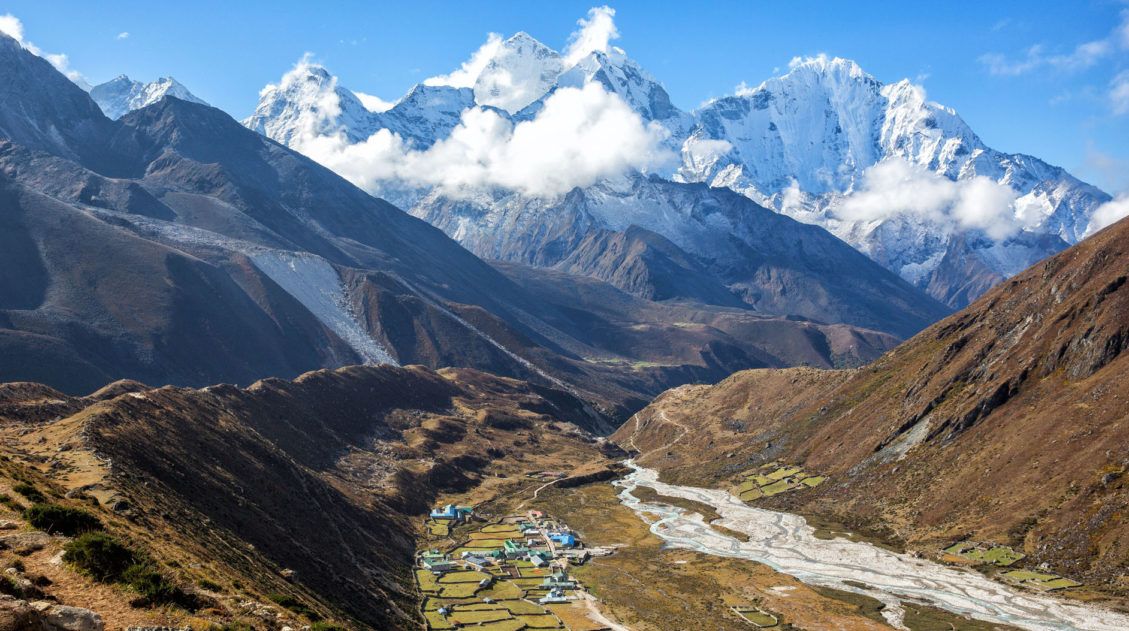
Everest Base Camp Trek in 18 Amazing Photos
The Everest Base Camp Trek takes those willing to do it through some of the most gorgeous terrain in the world. While trekking, ascending hundreds of meters every day, fighting for oxygen, and dealing with fatigue and the symptoms of early altitude sickness, it was difficult to appreciate the true beauty of the trek. Yes, we were […]
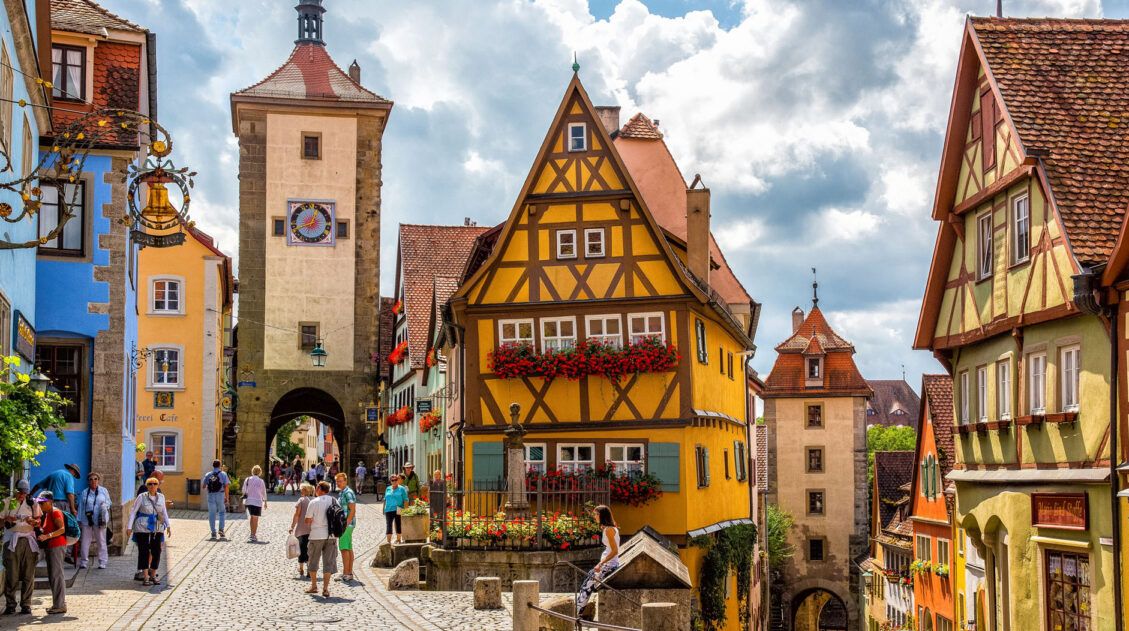
Fairytale Destinations: 15 Magical Places to Visit in Your Lifetime
When you think of fairy tales, what comes to mind? Breathtaking castles, quaint, colorful villages, majestic mountains, all set in a landscape that seems like something out of this world? Well, there are spots on this planet that look like they are plucked right out of the pages of a children’s book. If you want […]
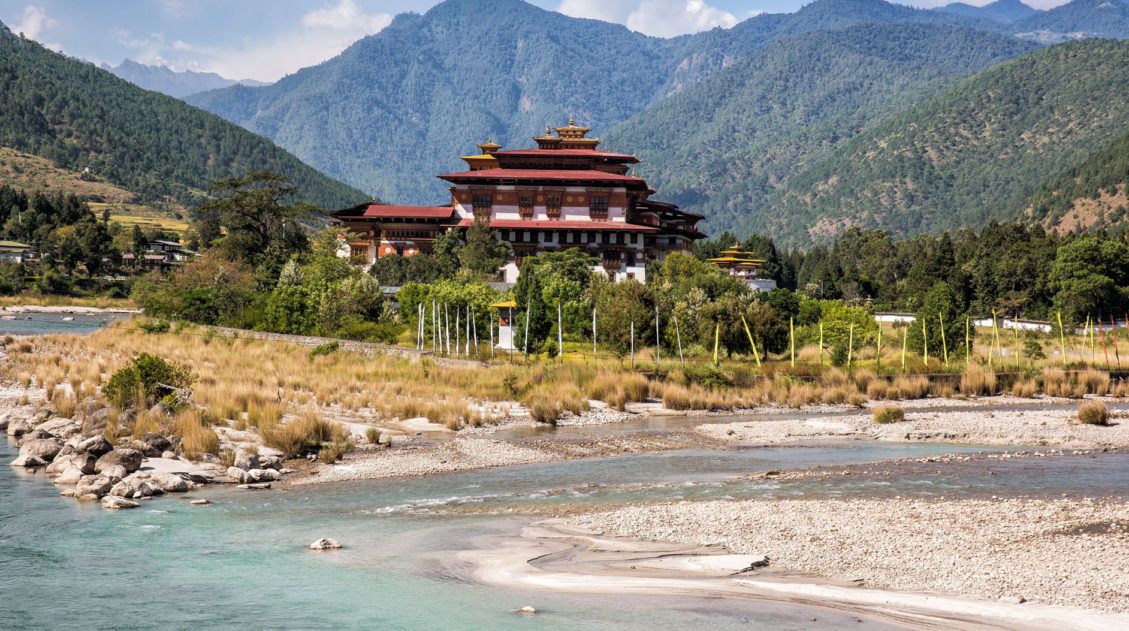
A Journey through Bhutan in Photos
Bhutan is a tiny country nestled away in the Himalayas. This is the land of dramatic mountain scenery, Buddhism, prayer wheels, dzongs, ancient traditions, chilies and cheese, rice terraces, and some of the most beautiful woodworking you will ever see. We spent an unforgettable week here and fell in love with this country. Come journey […]
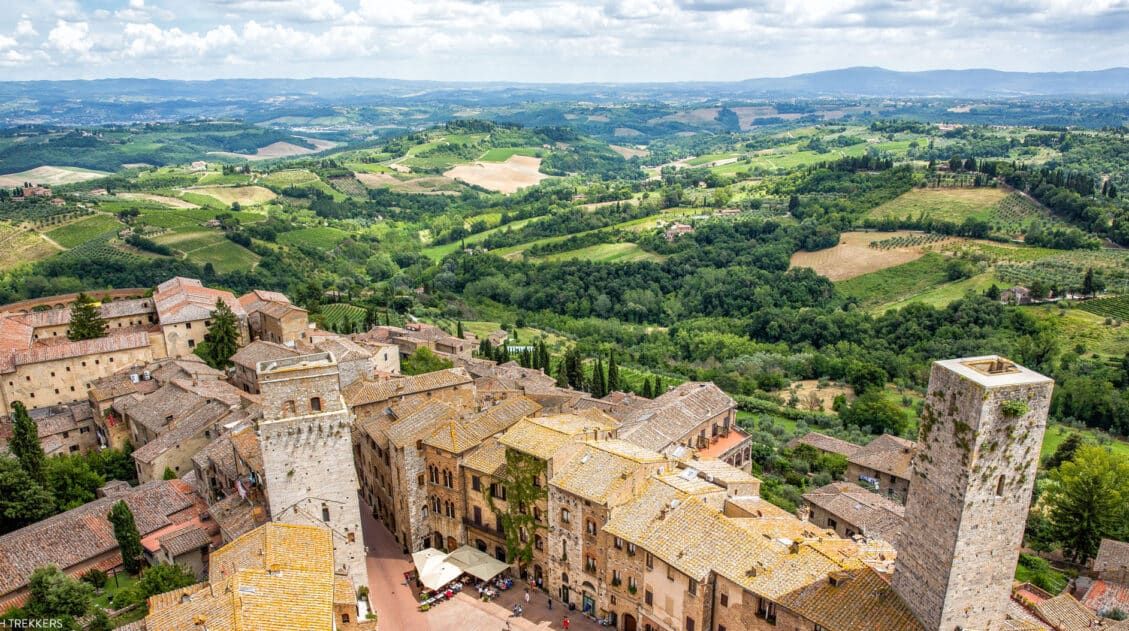
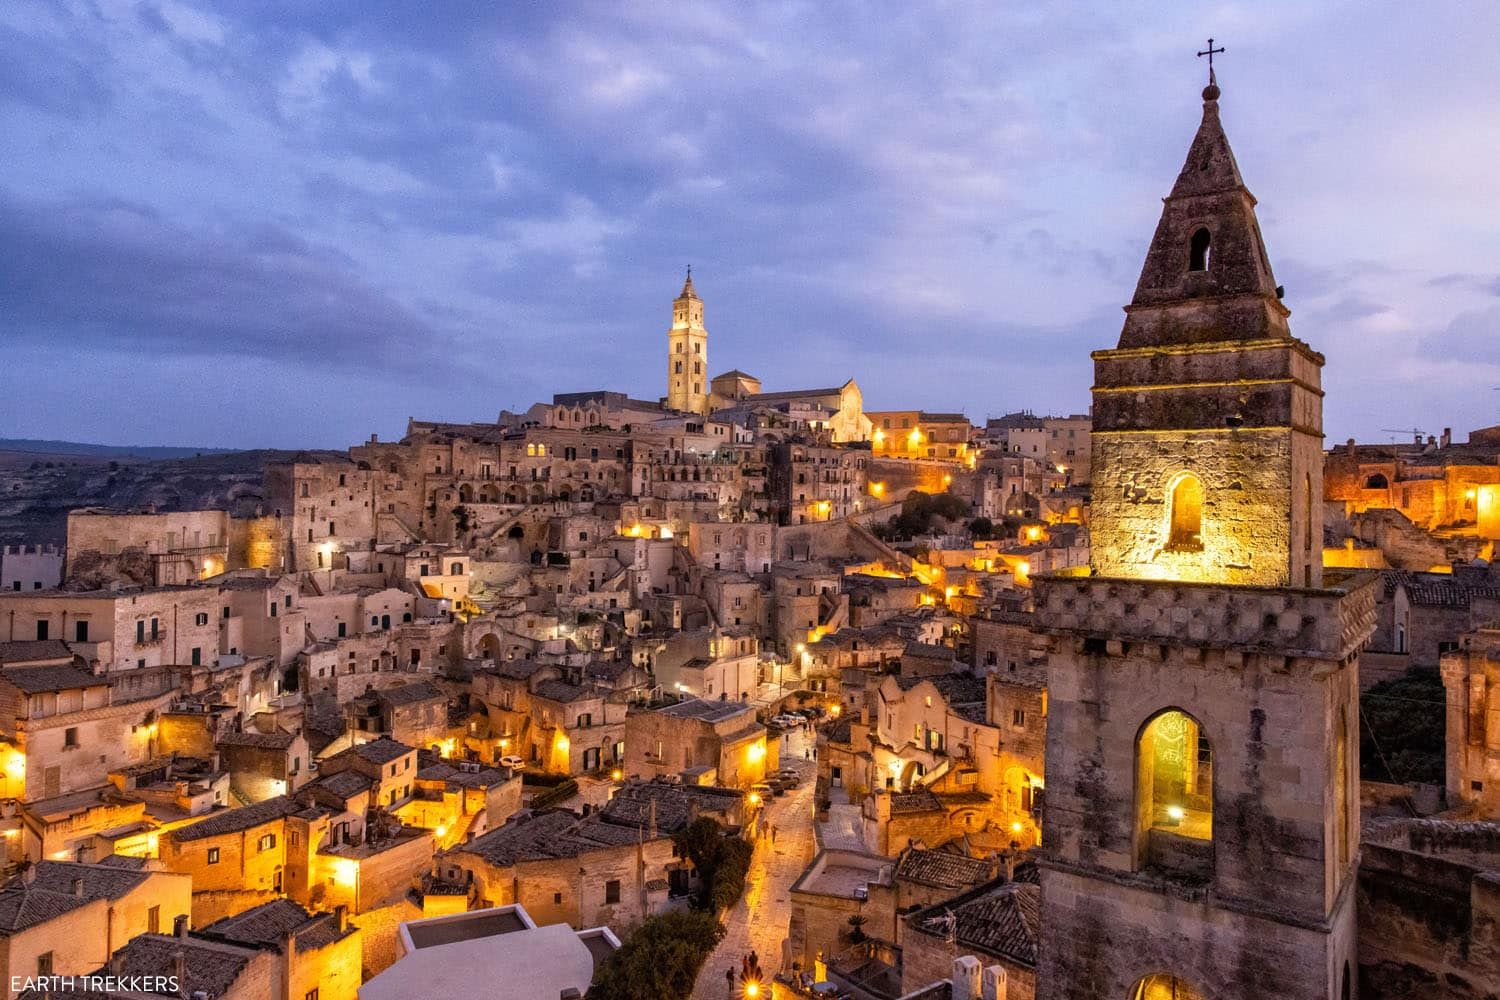
20 Gorgeous Views of Italy and Where to Photograph Them
Italy is one of the most photogenic countries in the world, and after six trips here, we’ve stood at a lot of viewpoints, from clifftop villages in Tuscany to the jagged peaks of the Dolomites to the canals of Venice at twilight. The views never get old. In this guide, we share 20 of our […]
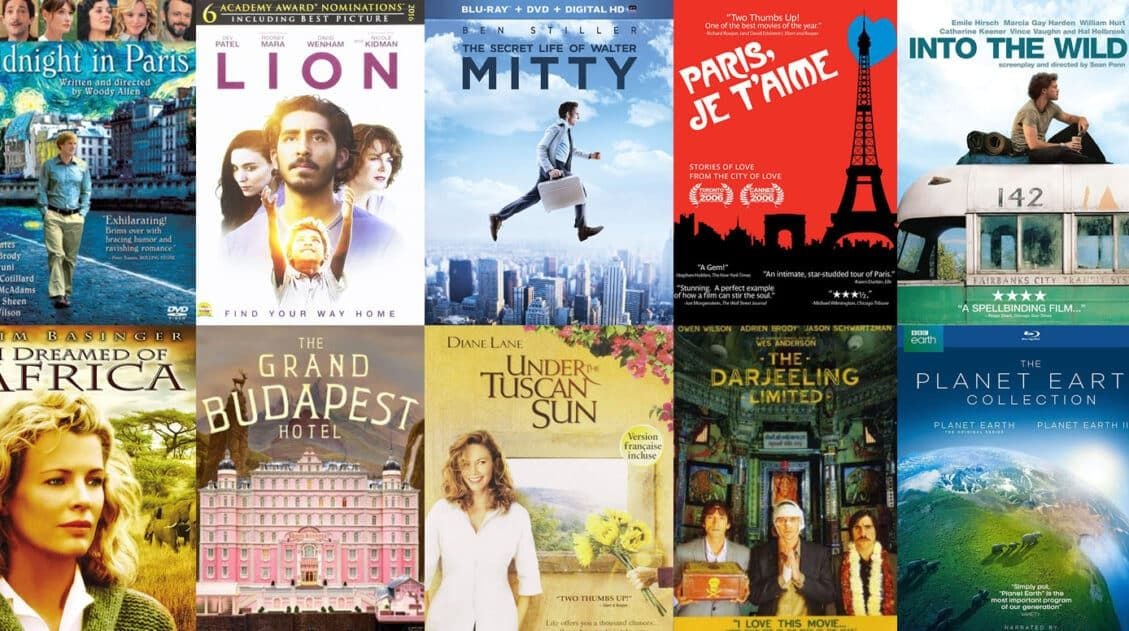
Our Favorite Travel Movies to Inspire the Wanderer in You
Have you ever been inspired to visit a new place just because you saw it in a movie? Movies have a way of bringing the world to our TV sets. They can be inspiring, they can be motivational, and they can make us want to go out and explore the world. Here are 20 of […]
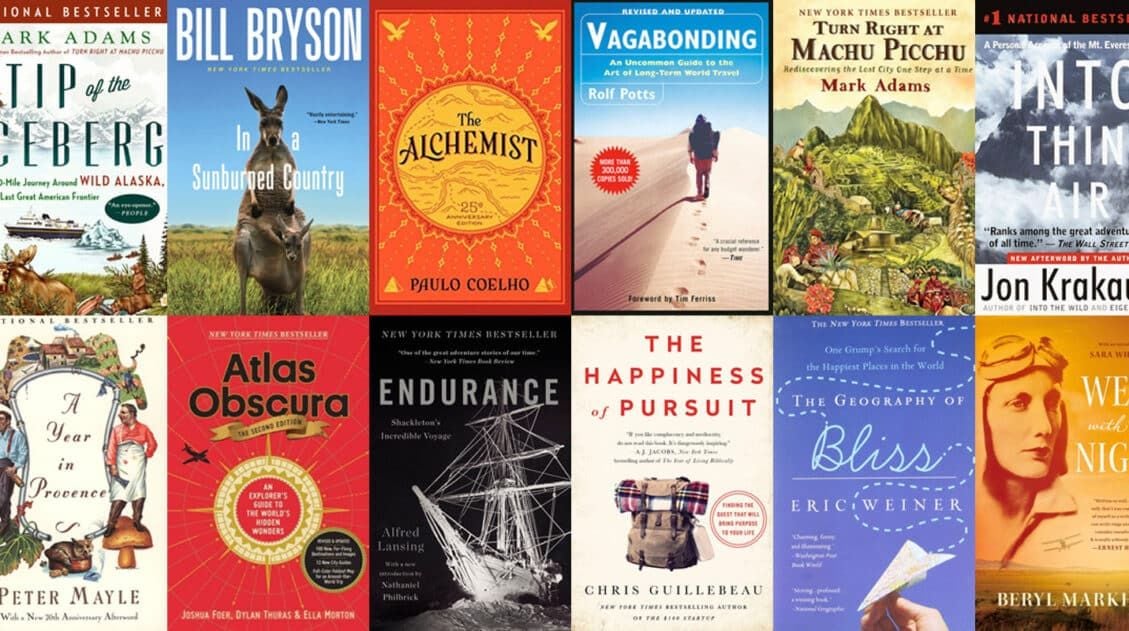
30 Amazing Travel Books to Feed Your Wanderlust
Reading goes hand in hand with traveling. Books open you up to new places, new experiences, and new adventures, all from the comfort of your own home. They broaden your horizons and sometimes inspire you to travel to new places. Here is a list of our favorite travel books of all time. Best Travel Books […]
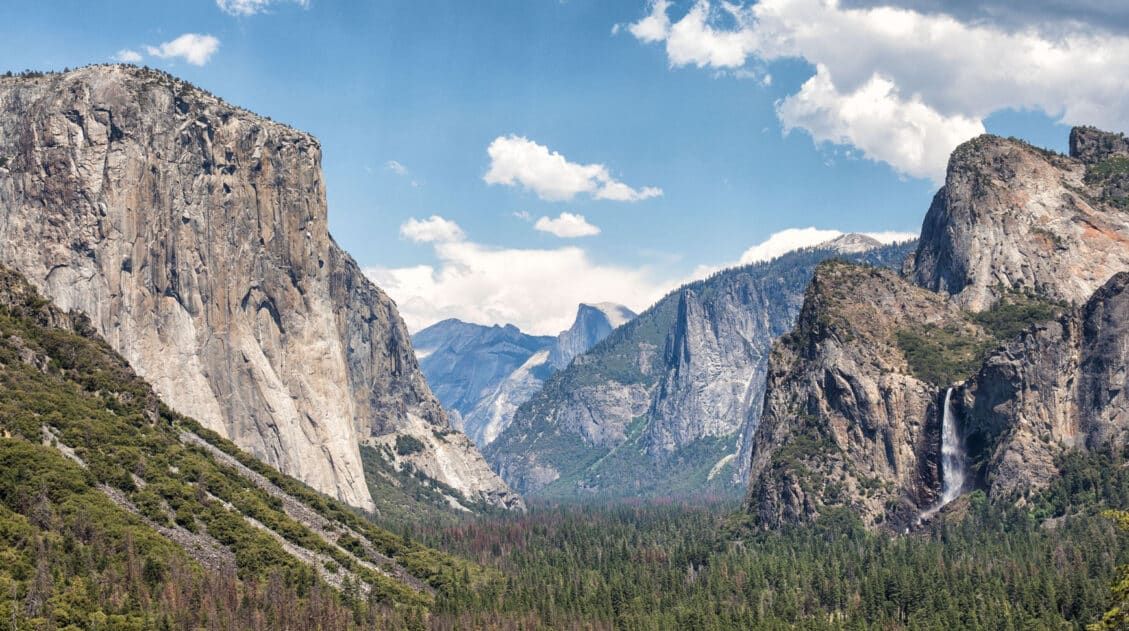
The Ultimate Guide to the 63 US National Parks
Stretching from the South Pacific, across the United States to the Caribbean, are 63 national parks. These national treasures preserve iconic landscapes, majestic mountains, primordial forests, arid deserts, misty coastlines, immense canyons, wildlife, and historic landmarks. We have visited 56 of the 63 US national parks, from the towering granite walls of Yosemite and the […]
Travel Advice & Photography
Need travel advice? After traveling long-term around the world with kids, here are our best tips and tricks make travel safe and enjoyable.
Comments 90