
This 10-day itinerary through Norway’s fjord region features Stavanger, Bergen, Geirangerfjord, and Ålesund, with four bucket-list hikes — Pulpit Rock, Kjeragbolten, Trolltunga, and Romsdalseggen Ridge — plus hotel recommendations and practical planning advice based on our own road trip through Norway.
This was the first road trip we ever did in Europe, but this is the one that started it all. We were amazed day after day as we traveled from Stavanger to Bergen to Geirangerfjord to Ålesund, with four iconic hikes woven through the drive. It was the landscapes and the hiking, Kjeragbolten and Trolltunga especially, that got us hooked on Norway, and this itinerary is modeled very closely on the trip we actually took.
It’s a great mix of bucket-list hikes, scenic drives, and small towns. The driving alone is worth the trip: roads that hug fjords and lakes, wind past mountains, and drop you into tiny fjordside villages that feel like they’ve barely changed in a century.
Even though this was one of the very first road trips we ever did in Europe, since then we’ve road-tripped Iceland’s Ring Road, across Bavaria, through the Italian Dolomites, and much more, and this one is still right up there with our all-time favorites, including our northern Norway itinerary.
If this is your first time planning a trip to Norway, start with our Norway Travel Guide, where we cover when to visit, transportation tips, regional breakdowns, and links to all of our in-depth city and regional guides.
10-Day Norway Itinerary: At a Glance
DESTINATIONS | Stavanger → Bergen → Trolltunga (Odda/Tyssedal) → Geirangerfjord → Ålesund
START / END | Fly into Stavanger (SVG) via Oslo · Fly home via Oslo from Ålesund (AES)
BEST FOR | Hikers, road trippers, and first-time visitors to Norway
GETTING AROUND | Rental car required (two separate rentals — one in Stavanger, one in Bergen)
BEST TIME TO VISIT | Late June–early September
TRIP STYLE | Fjord road trip with four bucket-list hikes and scenic drives
TOTAL NIGHTS | Stavanger (3) · Near Trolltunga (2) · Balestrand (1) · Geiranger (1) · Åndalsnes (2)
July 2026 Update: We gave this itinerary a full refresh, adding day-by-day trip details for planning at a glance. We verified current logistics throughout and updated hiking season windows for all four hikes. We also added a full breakdown of how to do this itinerary with just one rental car instead of two.
Why This Norway Itinerary Works
The four hikes get progressively harder, building toward Trolltunga as the biggest physical test of the trip. You start with Pulpit Rock, an easy 5-mile hike that almost anyone can do, then step up to Kjeragbolten, a longer and more demanding day with some rock scrambling. By the time you reach Trolltunga on Day 5, the longest and hardest hike of the trip at up to 10 hours and 28 km, you’ve had a few days to build up your legs and your confidence.
The route runs one-way from Stavanger to Ålesund, and the two rental cars reflect a real logistics decision, not an oversight. Stavanger and Bergen aren’t connected by a practical drive, the overland route takes the better part of a day, so this itinerary flies between them instead and picks up a second rental car in Bergen. That short flight buys you an extra half-day for sightseeing instead of sitting in a car or on a ferry.
After Trolltunga, the itinerary gives you three lower-key days before the final hike. Norway in a Nutshell, the drive to Geiranger, and a free day in Geiranger are all scenic, but none of them demand tired legs. That stretch is deliberate recovery time before Romsdalseggen Ridge on Day 9, which is a different kind of demanding: less about distance and more about an exposed, narrow ridge walk that punishes fatigue and bad weather in equal measure.
About This Norway Fjords Itinerary
This itinerary is designed as a road trip, and the version below uses two separate rental cars. Pick up your first car in Stavanger on Day 1 and return it there on Day 3, after Kjeragbolten. Fly to Bergen on Day 4 and pick up a second car, which you’ll keep until you reach Ålesund on Day 10. This is what we did, because it saved time and made it easier for us to see Bergen and still have time for the hikes.
If you prefer to skip the flight between Stavanger and Bergen, and keep one rental car for the entire trip, skip to How to Do This Itinerary With One Rental Car near the end of this post for the tradeoffs.
Expect long driving days on Day 7 and Day 8, when you cover the ground between Balestrand, Geiranger, and Ålesund. The roads are scenic but slow, single-lane in places, with constant stops for viewpoints, so budget more time than the raw drive distance suggests.
This itinerary puts a big emphasis on hiking. Four hikes anchor the ten days, and each one has its own trail guide with full logistics. Seeing the fjords from the road is beautiful, but seeing them from a mountain ridge or a boulder wedged 1,000 meters above a fjord is a different experience entirely.
⚠️ Important Note About Hiking Season This itinerary only works as written from late June through September, and that’s a harder deadline than it sounds. Kjeragbolten and Trolltunga are only accessible without a mountain guide from June 1 through September 30, and the shuttle bus for Romsdalseggen Ridge doesn’t start running until June 30. If you’re traveling outside this window, you’ll need to either hire guides for these hikes, accept that some are off the table, or swap in easier alternatives. Pulpit Rock is more forgiving and hikeable April through October.
One more thing to plan ahead of time: Trolltunga’s P3 Mågelitopp parking, the upper trailhead that cuts the hike from 10+ hours down to 7–10, now requires an advance online reservation and fills up during peak season. We cover the full decision, whether to book P3 or start from the lower lots, in the Day 5 section below.
10 Day Norway Itinerary
Day 1: Arrive in Oslo, fly to Stavanger
Day 2: Pulpit Rock hike
Day 3: Kjeragbolten hike
Day 4: Bergen
Day 5: Hike to Trolltunga
Day 6: Norway in a Nutshell
Day 7: Scenic Drive to Geiranger
Day 8: Geirangerfjord
Day 9: Romsdalseggen Ridge Hike
Day 10: Ålesund, fly to Oslo
How to Use This Map: Click the tab in the top left corner of the map to see a list of the points of interest and to turn layers on/off. Click the icons on the map to get more information about each point of interest.
To take this map with you, click the star next to the title of the map which adds it to your Google account. Next, within your Google Maps app, select ‘Saved’ and then select ‘Maps’. This map title will now appear in your list.
10 Day Norway Itinerary
Day 1: Arrive in Oslo, Fly to Stavanger
On the Road: Arrival day; international flight to Oslo, then a domestic connection to Stavanger (approx. 1 hour); airport to hotel in Stavanger (approx. 15 min)
Highlights: Stavanger harbor, Gamle Stavanger’s old town
Overnight: Stavanger
Arrive in Oslo and catch a connecting flight to Stavanger. Stavanger will be your home base for the next three nights, and from here, you’ll hike both Pulpit Rock and Kjeragbolten.
A rental car isn’t strictly required for this part of the trip. Both hikes are reachable by public bus or guided tour from Stavanger, so if you’d rather not drive, that’s a real option, not just a workaround. That said, we recommend renting a car at the airport. It gives you more flexibility with timing, especially for an early start on Pulpit Rock, and lets you skip coordinating your schedule around bus departures.
Once you’re settled, spend the afternoon and evening in Stavanger. Walk the cobblestone lanes of Gamle Stavanger, the old town’s cluster of white wooden houses, and have dinner near the harbor.
Where to Stay in Stavanger:
- Hotel Victoria: This historic hotel is located on the waterfront in Stavanger.
- Home Again Apartments Kirkegata: One and two bedroom apartments in the heart of Stavanger, a great option for families or anyone wanting more space.
- Radisson Blu Atlantic Hotel and the Clarion Hotel are both located in downtown Stavanger and get excellent reviews.
- Central Stavanger Guesthouse is a good option for those traveling on a budget.

Day 2: Hike to Pulpit Rock
On the Road: Stavanger to Pulpit Rock trailhead: approx. 45 min via the Ryfast Tunnel
Highlights: Pulpit Rock (Preikestolen), views over Lysefjord
Overnight: Stavanger
Get an early start to beat the crowds. Since the Ryfast Tunnel opened, connecting Stavanger directly to Tau, the drive to the trailhead is a straightforward 45 minutes by car, no ferry required.
If you don’t have a rental car, GoFjords runs a direct bus from Stavanger to the trailhead during the high season, and it’s easy to combine the hike with a Lysefjord cruise if you want to make a full day of it.
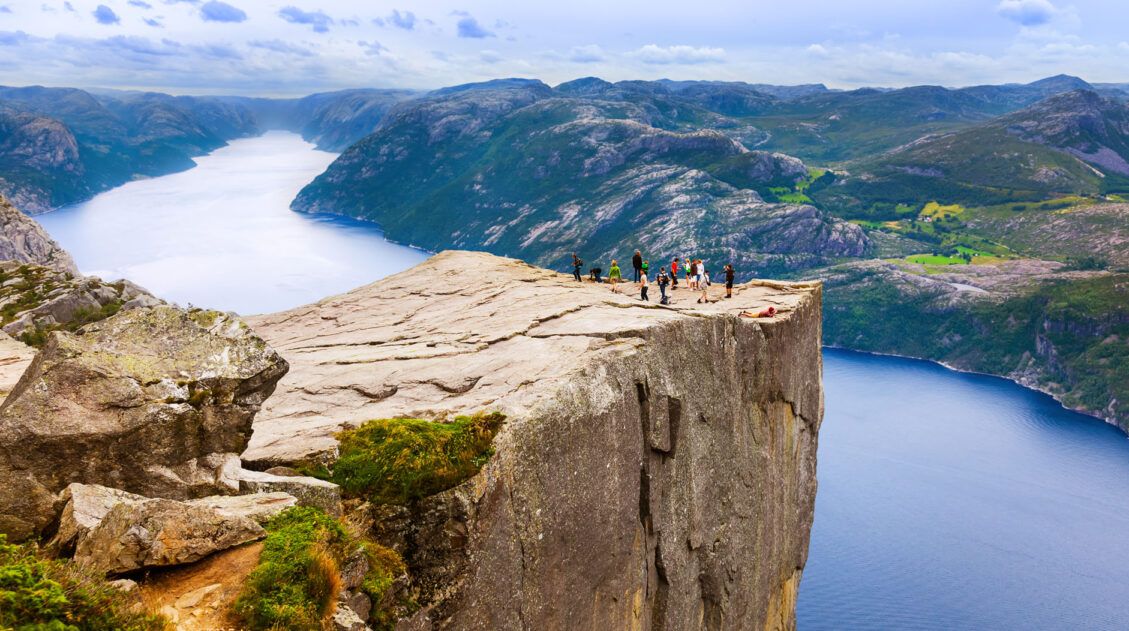
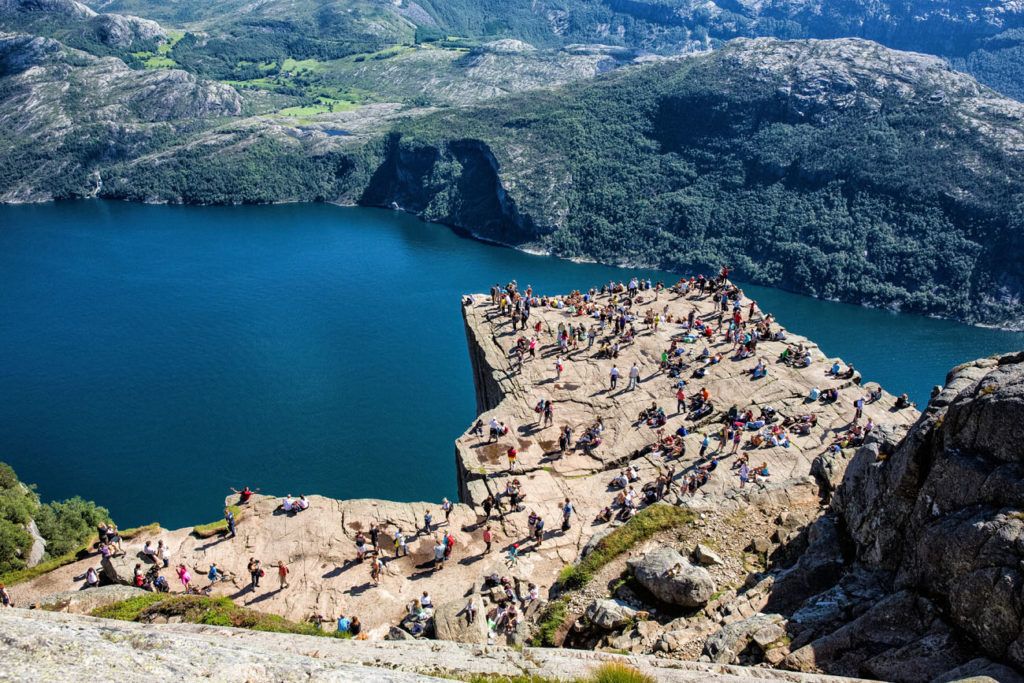
This was our introduction to hiking in Norway, and we did this when our kids were 8 and 10. The hike to Pulpit Rock is one of the country’s most iconic, ending at a massive, flat slab of rock that juts straight out over Lysefjord with nothing but air below it. It’s the perfect way to get your first fjord views and warm up your legs for the hikes still to come.
The hike is 7.6 km (4.7 miles) round trip and takes 4 to 5 hours, the shortest and easiest hike on this Norway itinerary. It’s suitable for adventurous kids ages 6 and up, though it does have a short stretch of cliffside just before the rock itself.
Since it’s Norway’s most popular hike, expect real crowds, especially through the peak season from June through August. Here’s how to do it ↓
How to Hike Pulpit Rock (+ How to Get There)
Everything you need to know to hike to Pulpit Rock.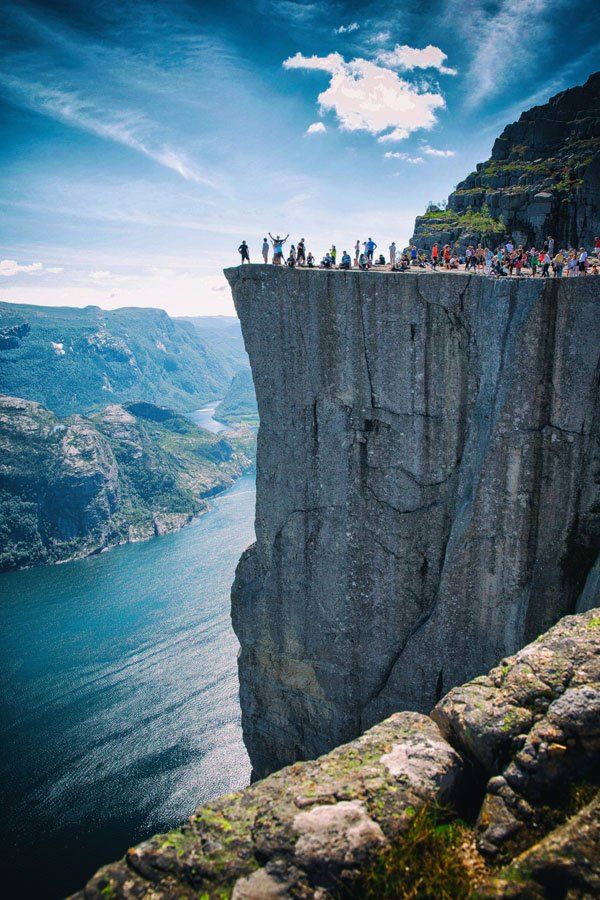
Pulpit Rock
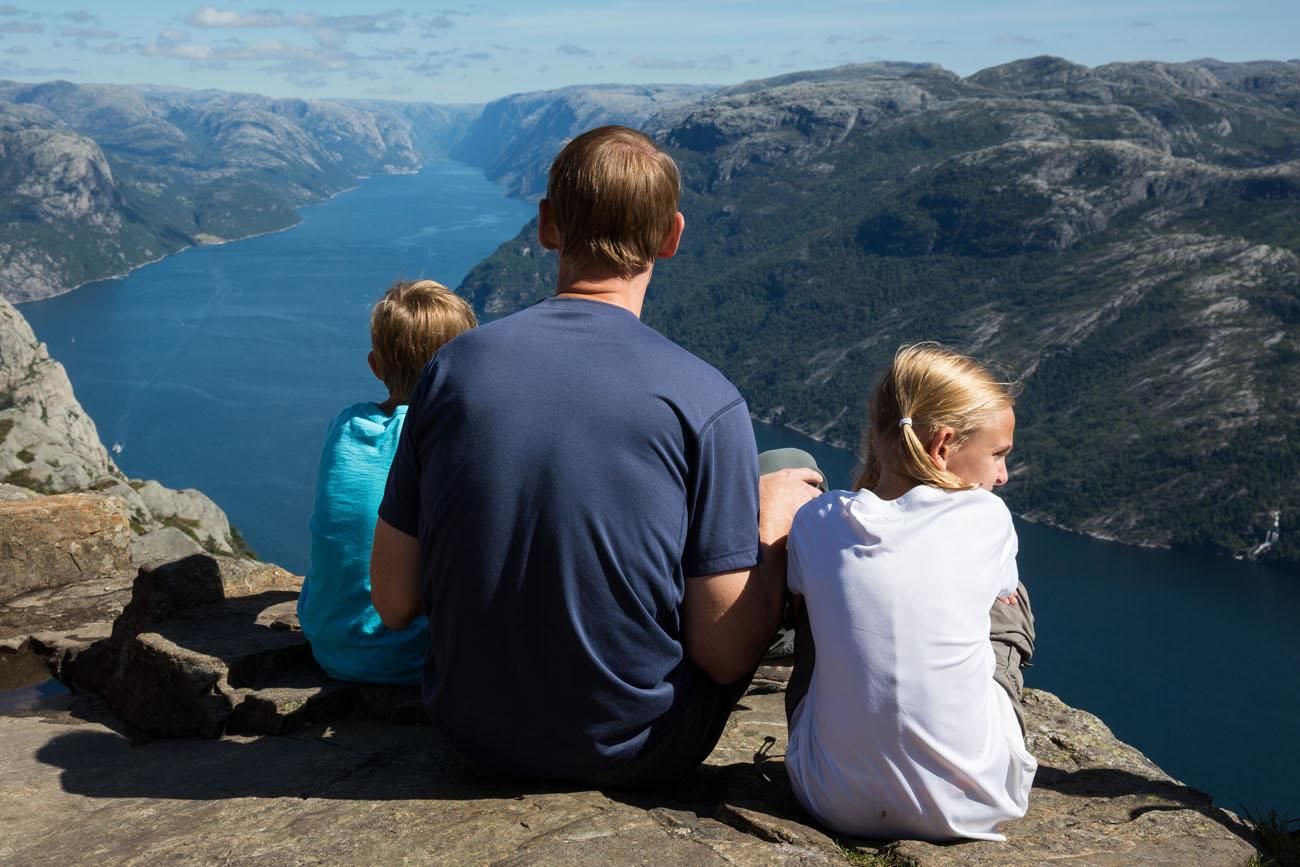
Return to Stavanger and have dinner.
Day 3: Kjeragbolten Hike
On the Road: Stavanger to Kjerag trailhead: approx. 2 hours / 140 km, via the Suleskard mountain road; return to Stavanger in the evening
Highlights: Kjeragbolten, Lysefjord views, optional Lysevegen Road detour
Overnight: Stavanger
This was our favorite day on this Norway itinerary. The hike to Kjeragbolten is epic, with some of the best views of the fjords in Norway, plus the chance to step out onto the boulder, if you dare.
Kjeragbolten is about two hours from Stavanger (140 km) via the Suleskard mountain road. There are two ways to get there: a seasonal bus that only runs in peak summer, check the current schedule before you rely on it, or by rental car, which is what we did and what gives you the most flexibility.
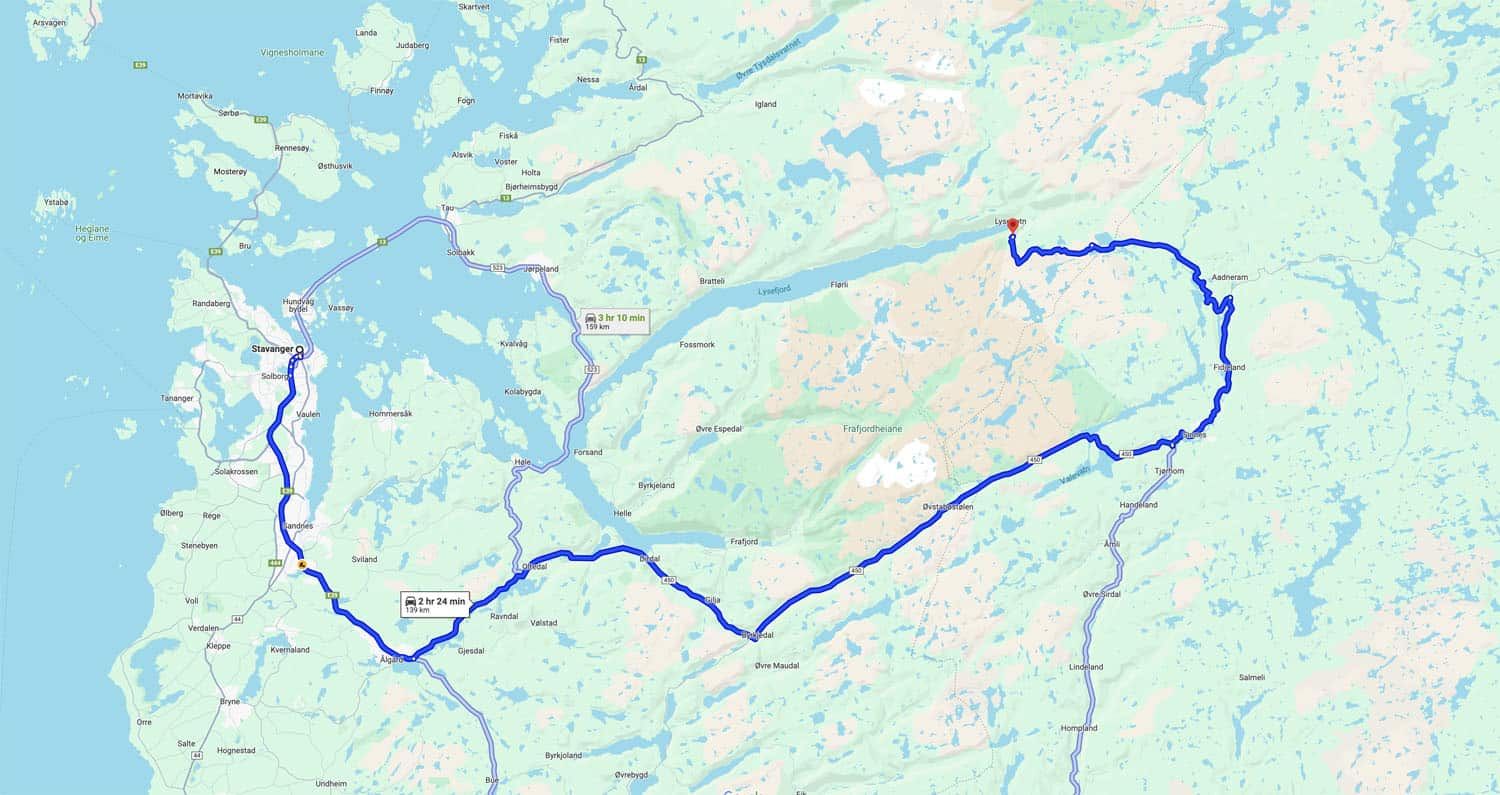
The hike to Kjeragbolten is 12 km round trip, taking hikers between 6 and 8 hours to complete the hike. It is longer and more strenuous than Pulpit Rock, with sections of rock scrambling and chain-assisted climbing, which made this the favorite hike in Norway for Tyler and Kara. The views along the way are unbelievable.
Even if you have no plans to step out onto Kjerag, this hike is still absolutely worth it for the views along the way.
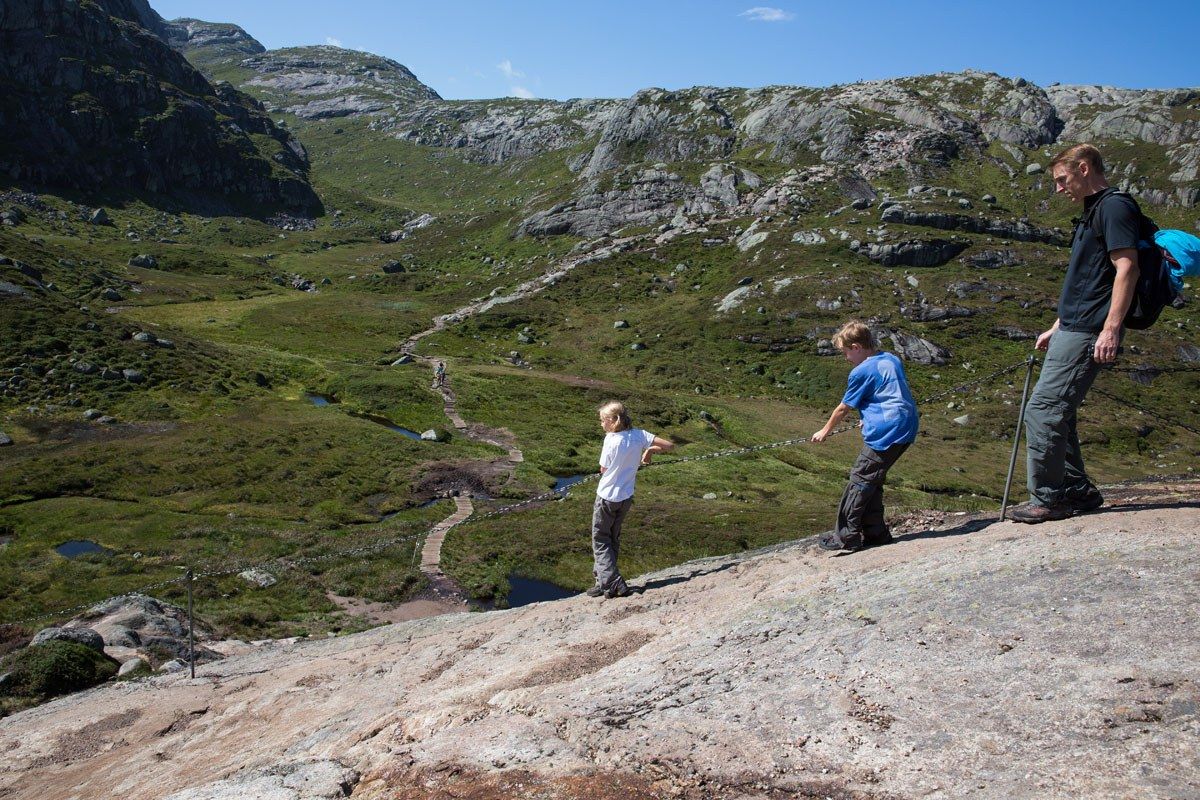
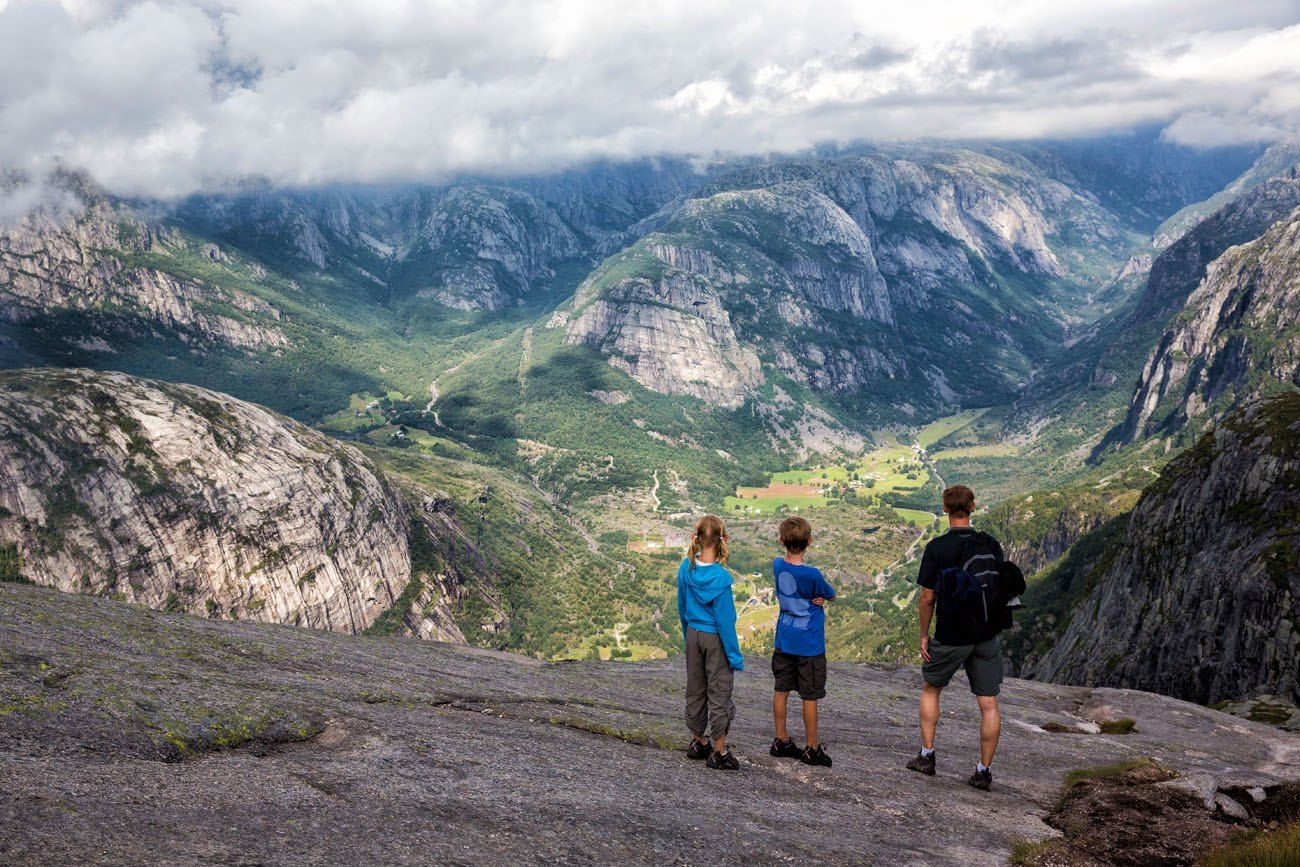
View from the trail to Kjeragbolten
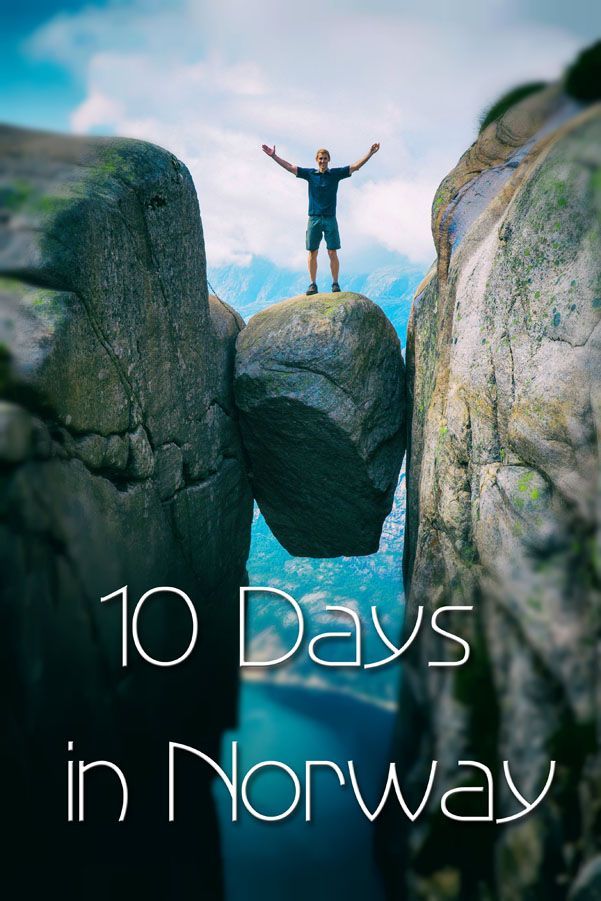
The infamous boulder is wedged between two rock faces 1000 meters off of the ground. It’s a crazy thing to do but one of our favorite traveling memories.
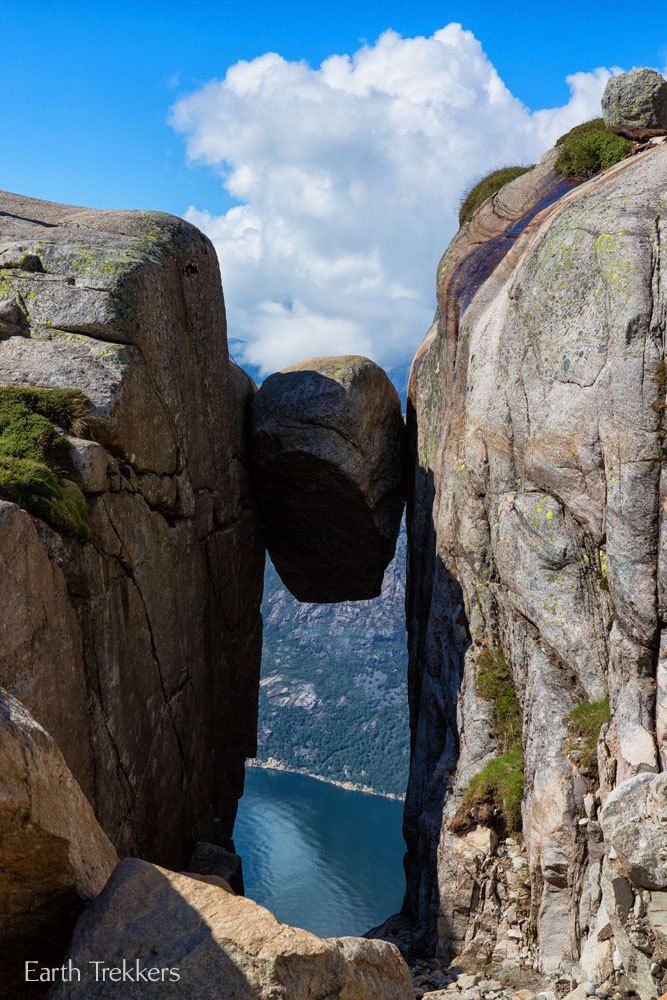
Kjeragbolten
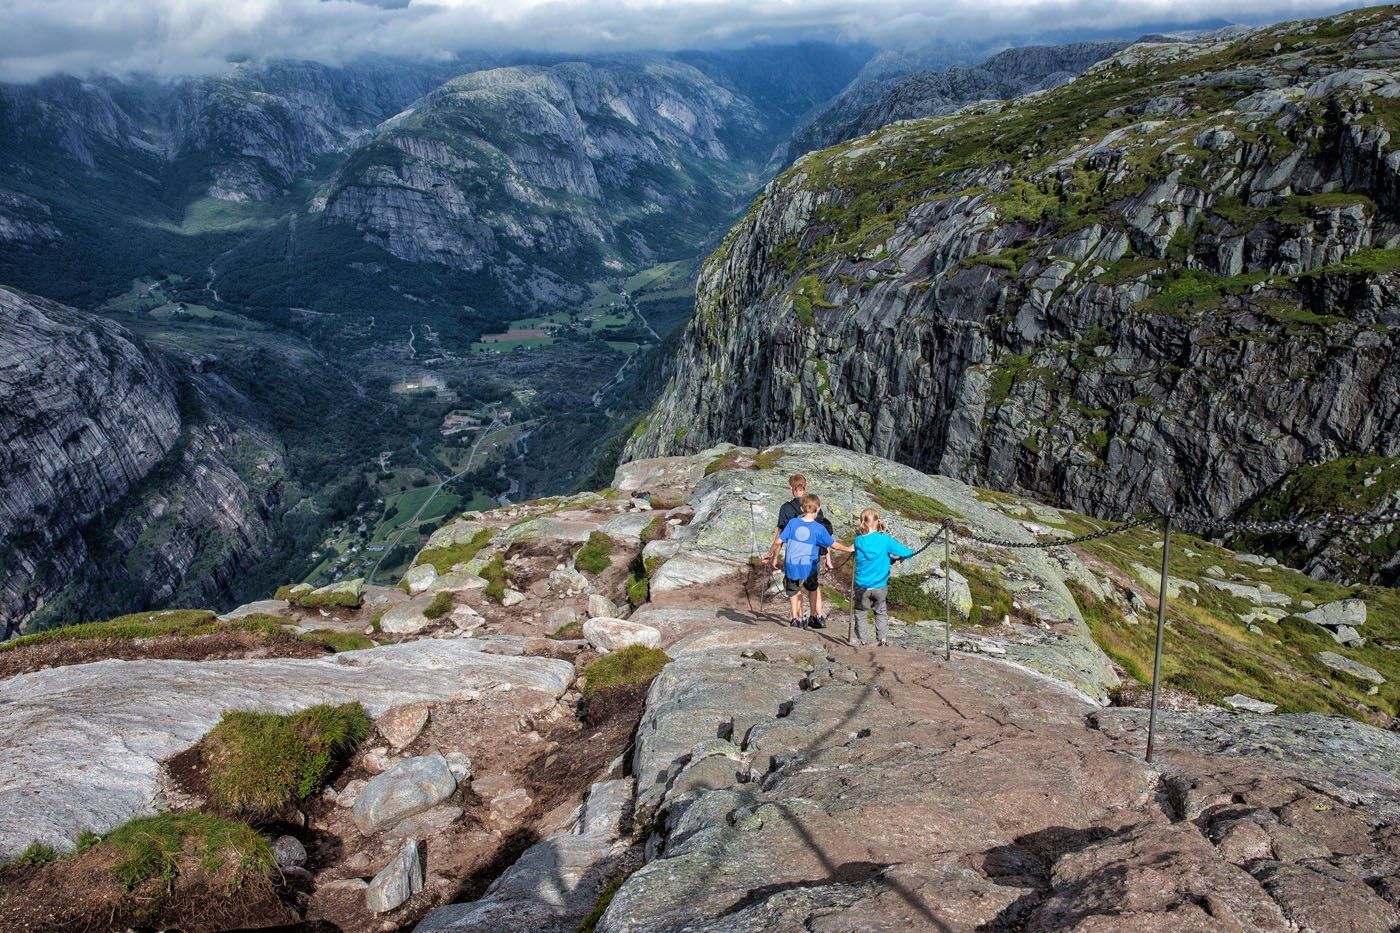
If you’re up for another adventure after the hike, consider driving down, and back up, Lysevegen Road: 27 hairpin bends dropping 900 meters to the village of Lysebotn. It’s not for the faint of heart, but it’s one of the most memorable drives in Norway. If you’d rather use that same road to continue north instead of doubling back to Stavanger, skip ahead to our one-car alternate route near the end of this post.
Drive the two hours back to Stavanger, return the rental car, and get a good night’s sleep.
Day 4: Bergen, Then On to Trolltunga
On the Road: Fly Stavanger to Bergen (approx. 40 min); pick up second rental car; Bergen to Trolltunga-area town — approx. 3 hours
Highlights: Bryggen, Bergen fish market, Steinsdalsfossen or Vøringsfossen waterfall
Overnight: Odda/Tyssedal or Kinsarvik/Eidfjord
Take a morning flight from Stavanger to Bergen. You could take a bus or ferry instead, but that eats five hours you’ll want for exploring Bergen today.
Once in Bergen, pick up your second rental car. You’ll have this one until you reach Ålesund on Day 10.
Most of the day is free for exploring Bergen, a coastal city that was once a Hanseatic trading settlement. Have lunch at the fish market, wander the cobblestoned streets, ride the funicular up the hillside for the best views over the city, and walk through Bryggen, the row of colorful wooden Hanseatic houses along the harbor.
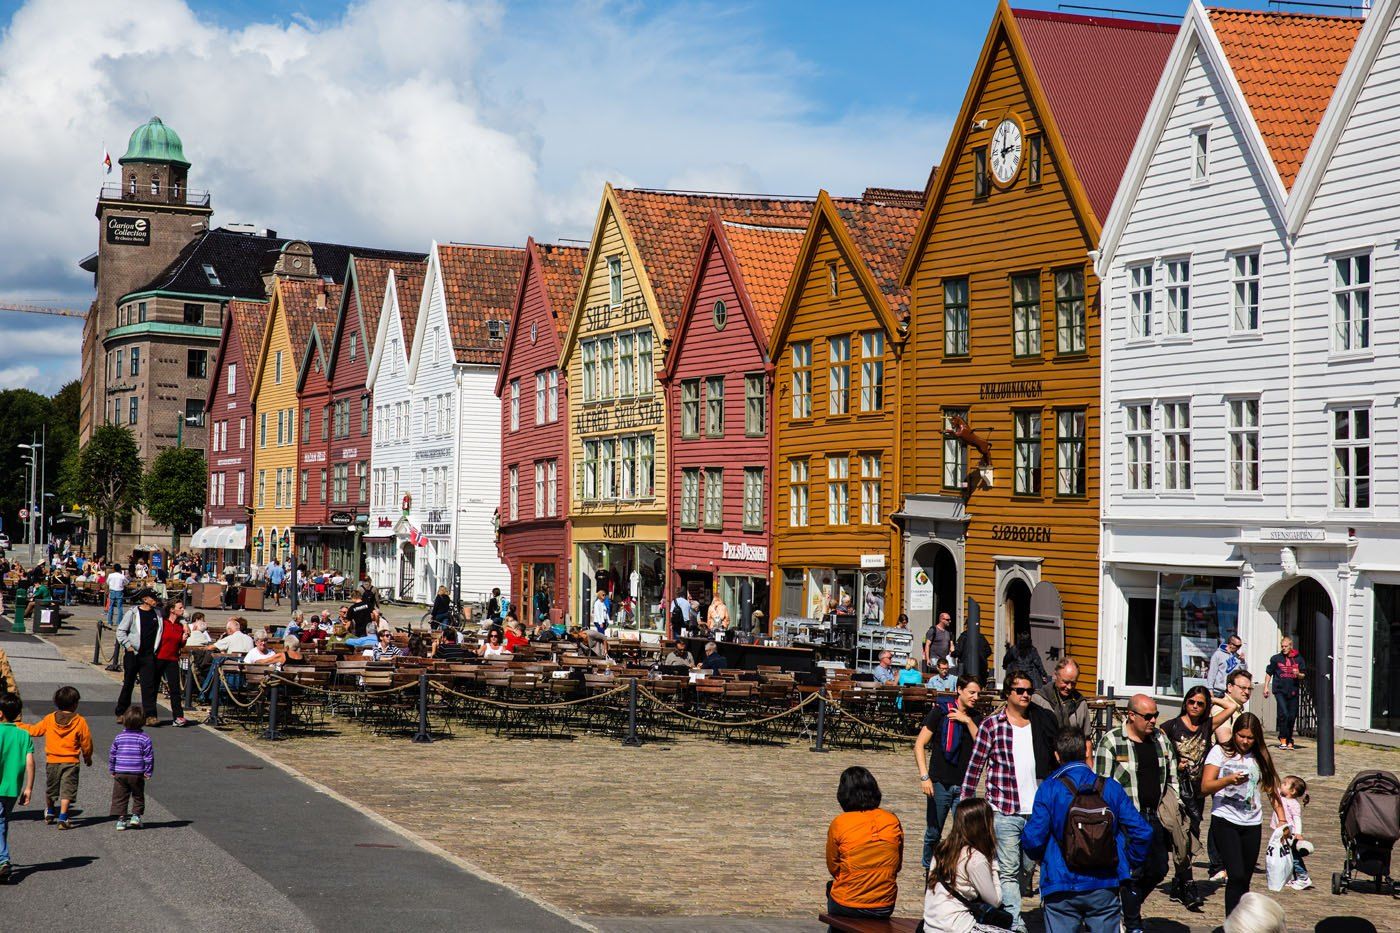
Bryggen
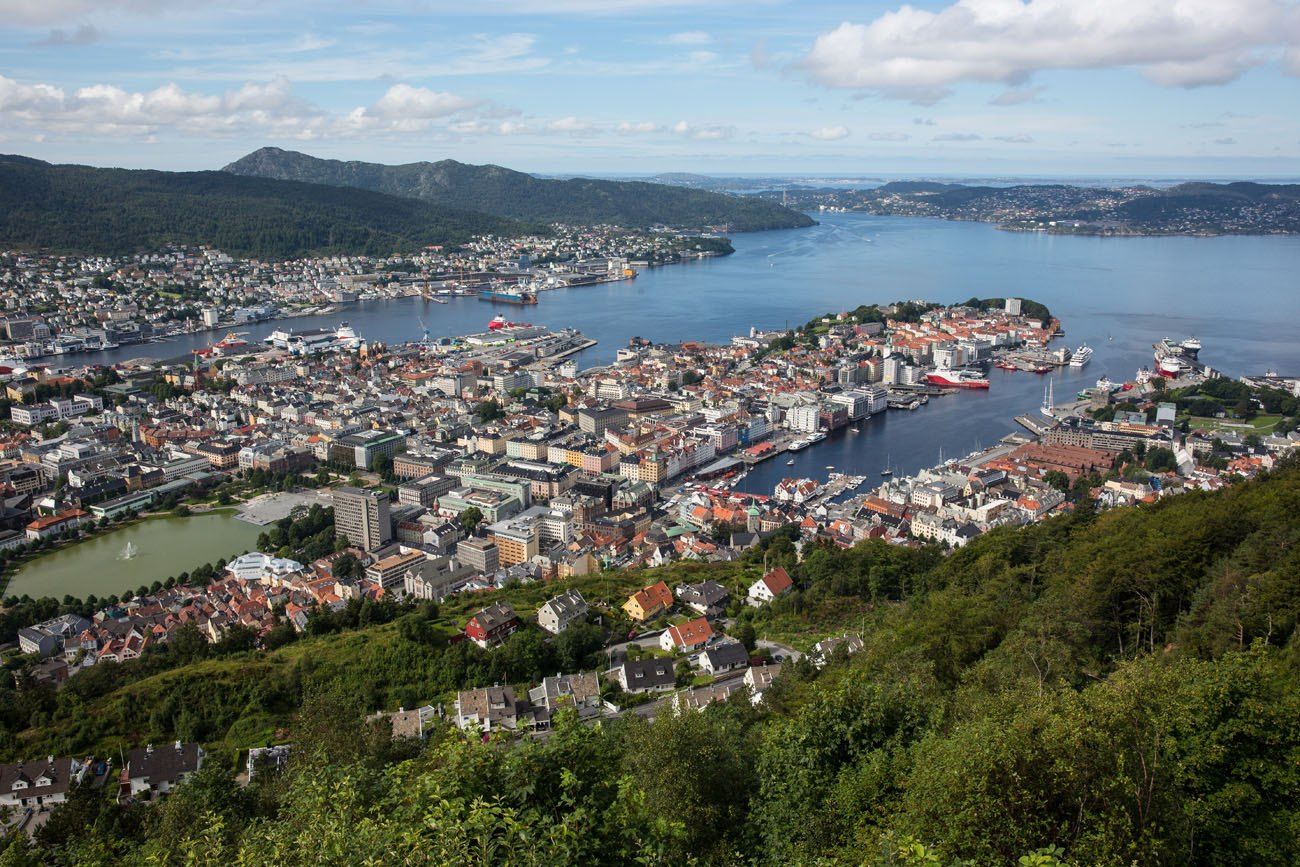
Bergen
When you’re done in Bergen, drive to a town near the Trolltunga trailhead.
On the drive, there are two waterfalls you can stop and visit. Steinsdalsfossen is a waterfall that is visible from the road. You can follow the footpath behind the waterfall. Twenty minutes east of Eidfjord is Vøringsfossen, a stunning waterfall that you can hike to. There is now a footbridge that crosses the river, offering views of the waterfall.
You have two options for where to stay:
- Kinsarvik or Eidfjord sit north of Trolltunga, so you’ll have a longer drive to the trailhead tomorrow, but a shorter drive to Flåm on Day 6.
- Odda or Tyssedal are the closest towns to the trailhead, about three hours from Bergen.
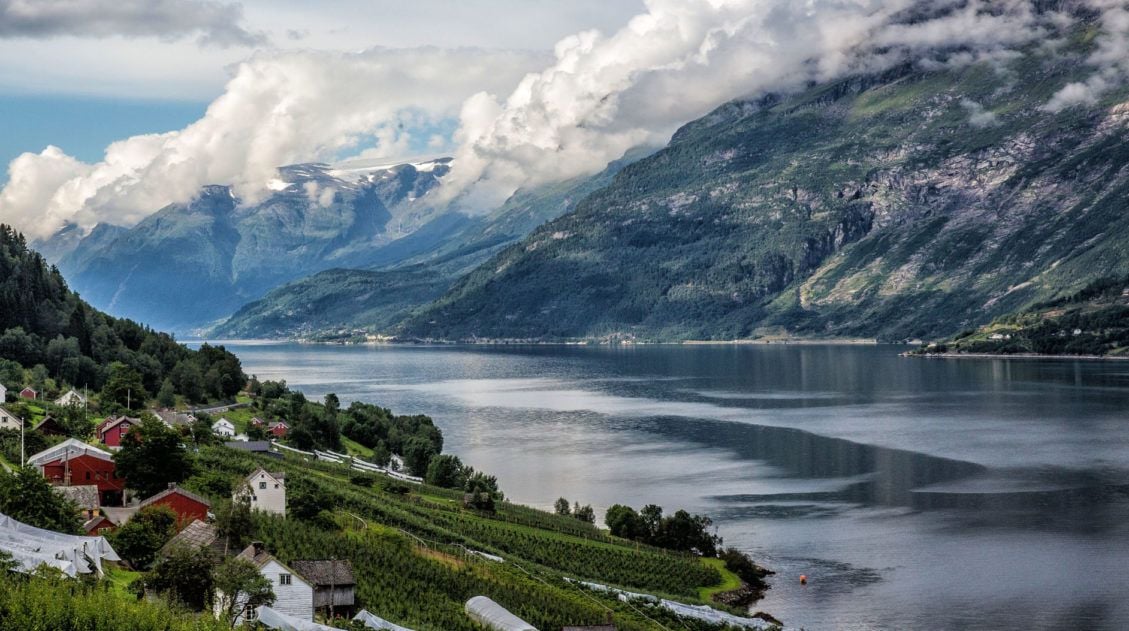
Where to Stay Near Trolltunga: Budget Hotels to Apartments with a View
Best places to stay near the Trolltunga hike.One thing to handle tonight, if you haven’t already: if you’re planning to park at P3 Mågelitopp tomorrow to shorten the hike, that reservation needs to be booked online in advance, it’s not a same-day option. See the full breakdown in the Day 5 section below.
Day 5: Trolltunga
On the Road: Trailhead is a short drive from Odda/Tyssedal or Kinsarvik/Eidfjord; P2 Skjeggedal or P3 Mågelitopp parking
Highlights: Trolltunga, Lake Ringedalsvatnet
Overnight: Same town as Day 4
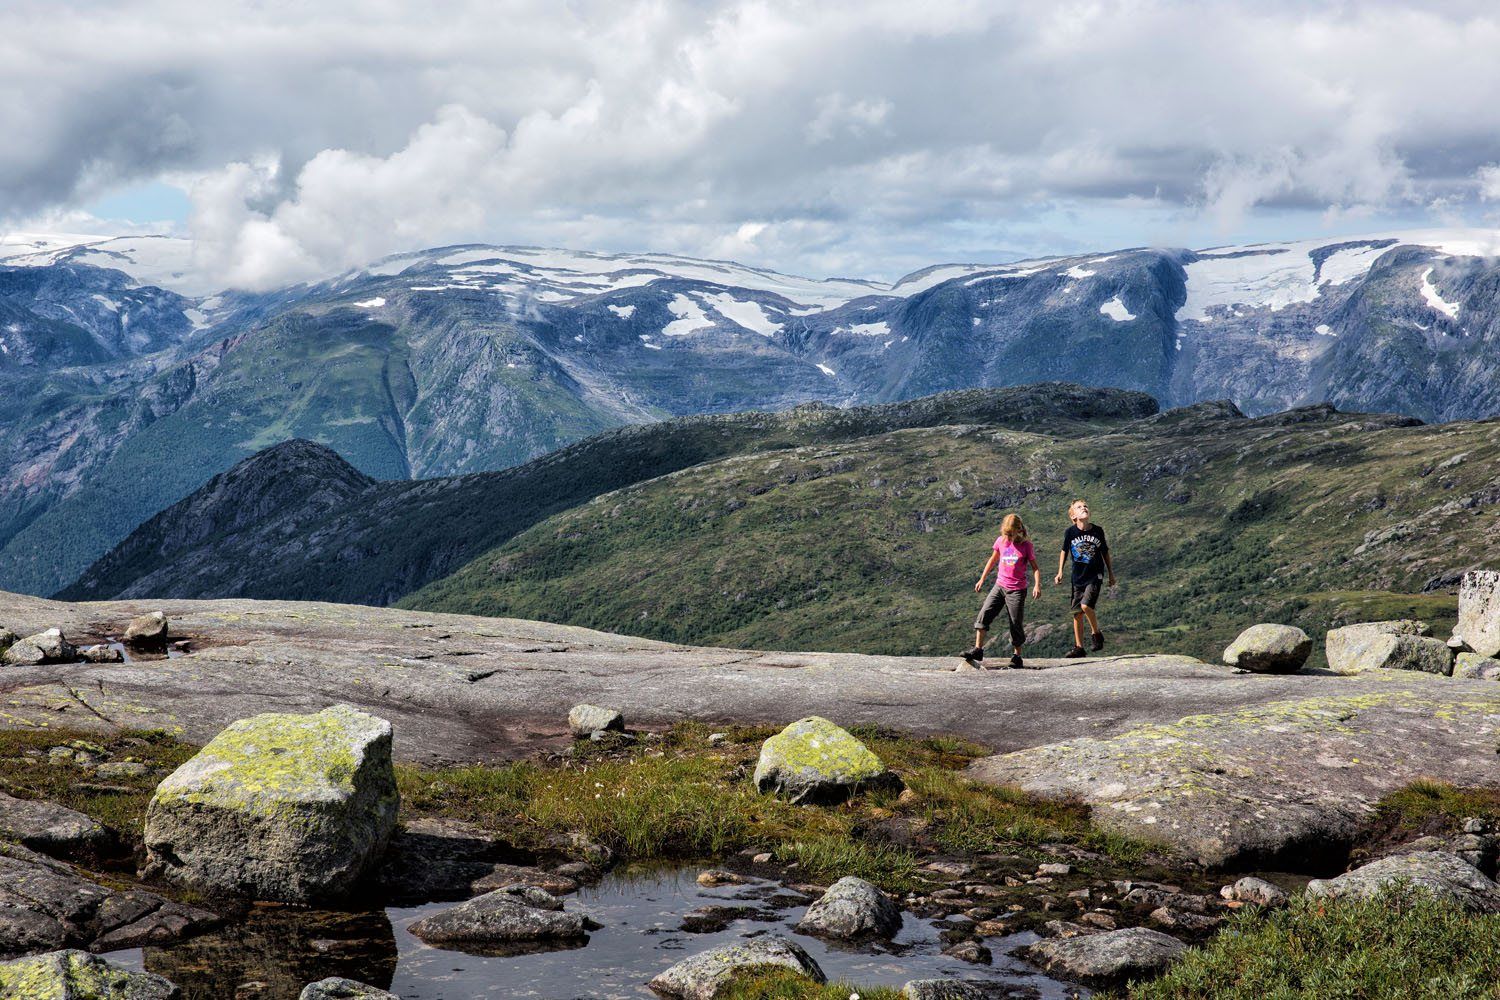
Today is the longest and hardest day of this itinerary, and for many people, the highlight of the whole trip.
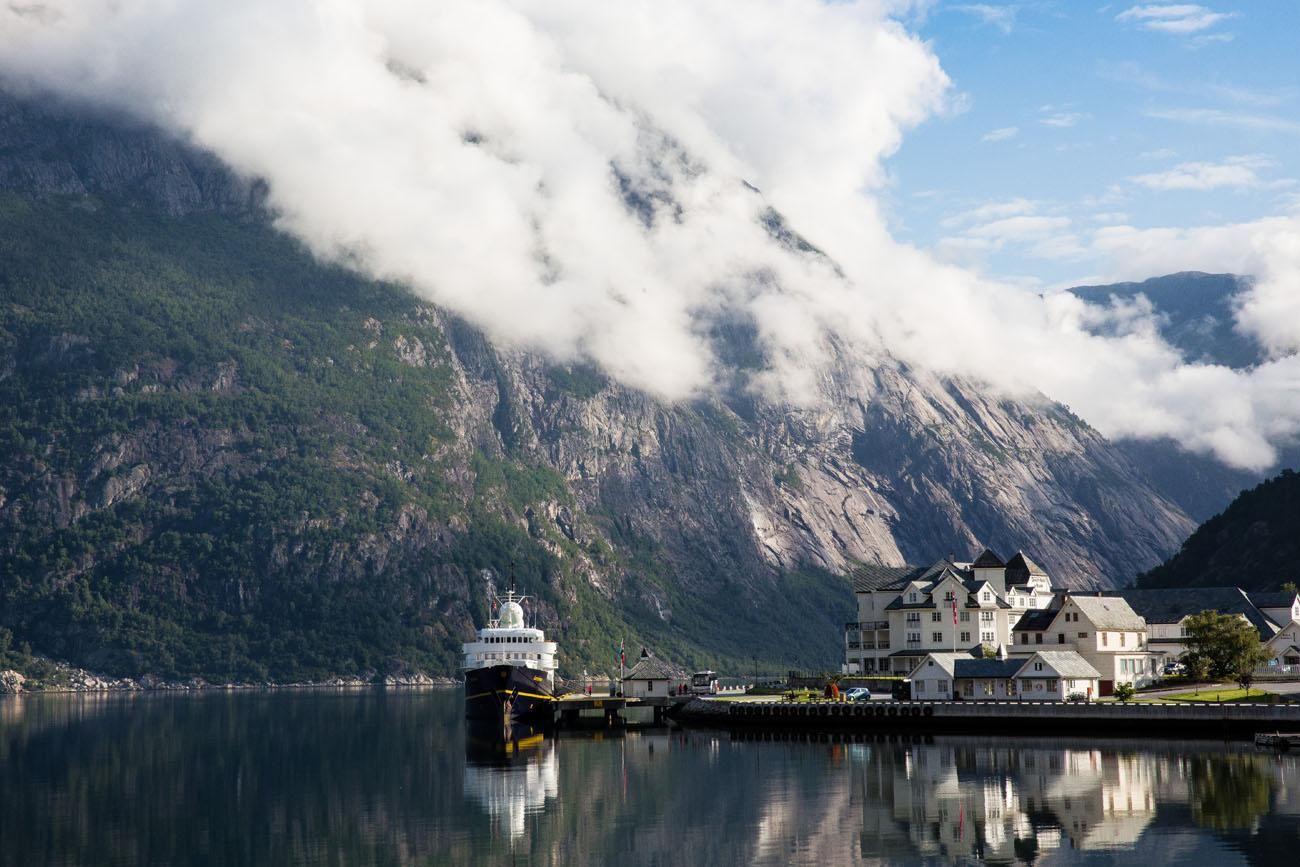
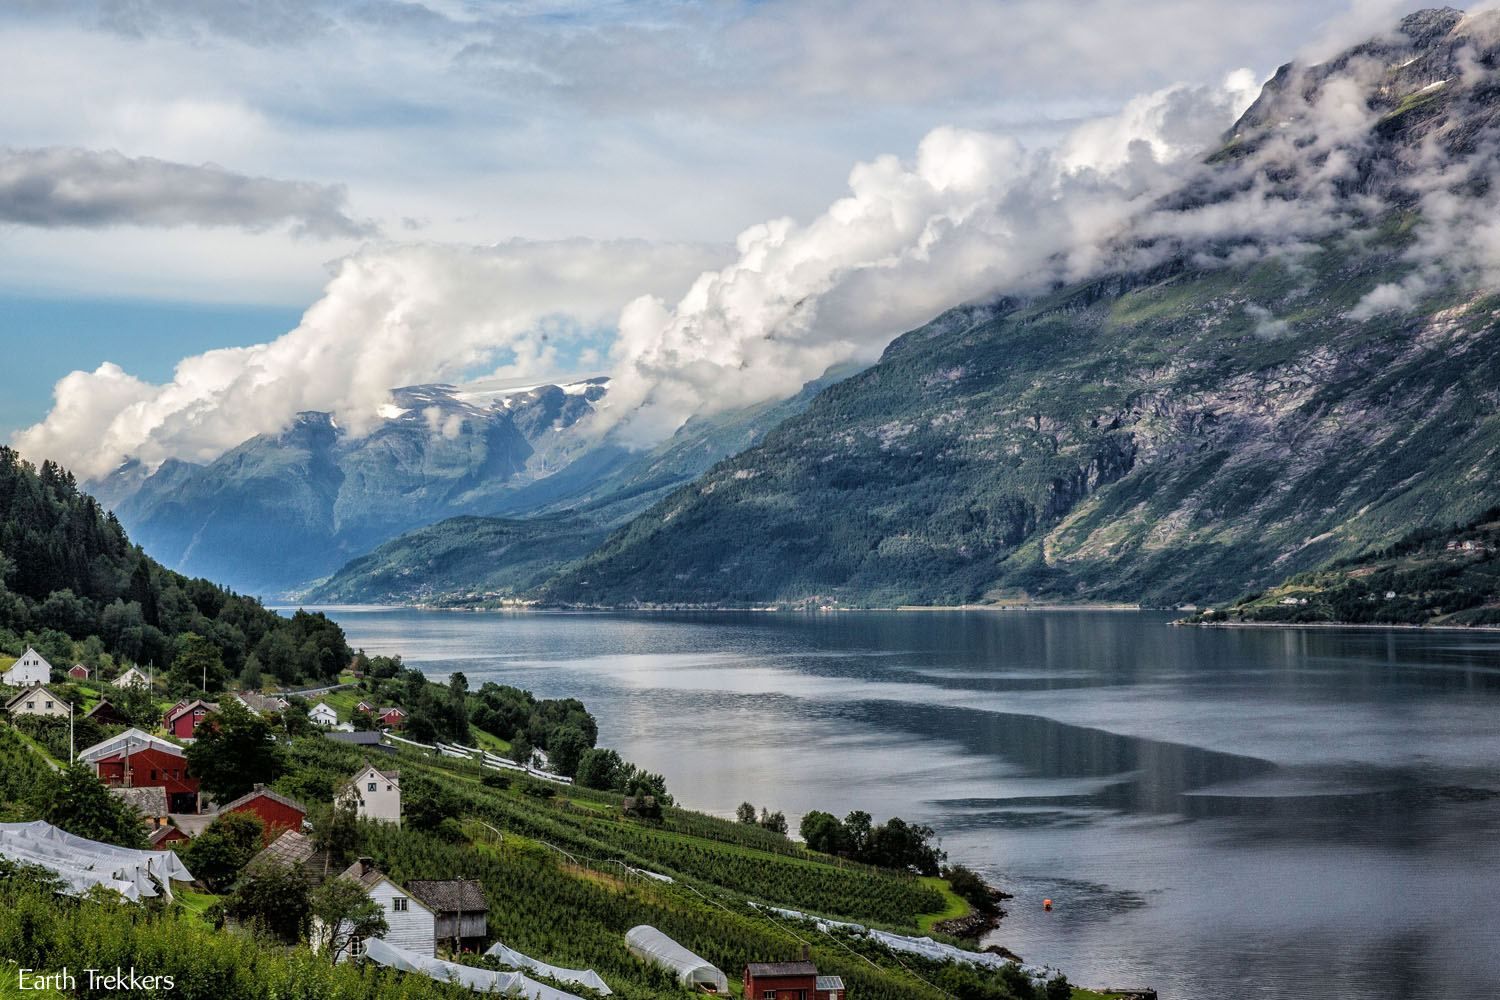
If you stayed in Eidfjord or Kinsarvik, it is an hour drive south to Tyssedal and the start of the Trolltunga hike. The views along the way were some of my favorites in Norway.
Your first decision is where to park, and it changes your entire day. P2 Skjeggedal is the standard lower lot: 180 spaces, no reservation needed, but the full hike from here is 28 km with 800 meters of elevation gain and 10 to 12 hours on your feet. P3 Mågelitopp, the upper lot, cuts that down to 20 km, 300 meters of gain, and 7 to 10 hours, by skipping the brutal first climb. The catch: only 30 spaces, gate opens at 6:30 am, and it now requires an advance online reservation, arriving early is no longer enough to guarantee a spot. Book P3 parking here if you want it.
Whichever lot you choose, start early. This is a genuinely long day, and you want every hour of daylight available.
Trolltunga
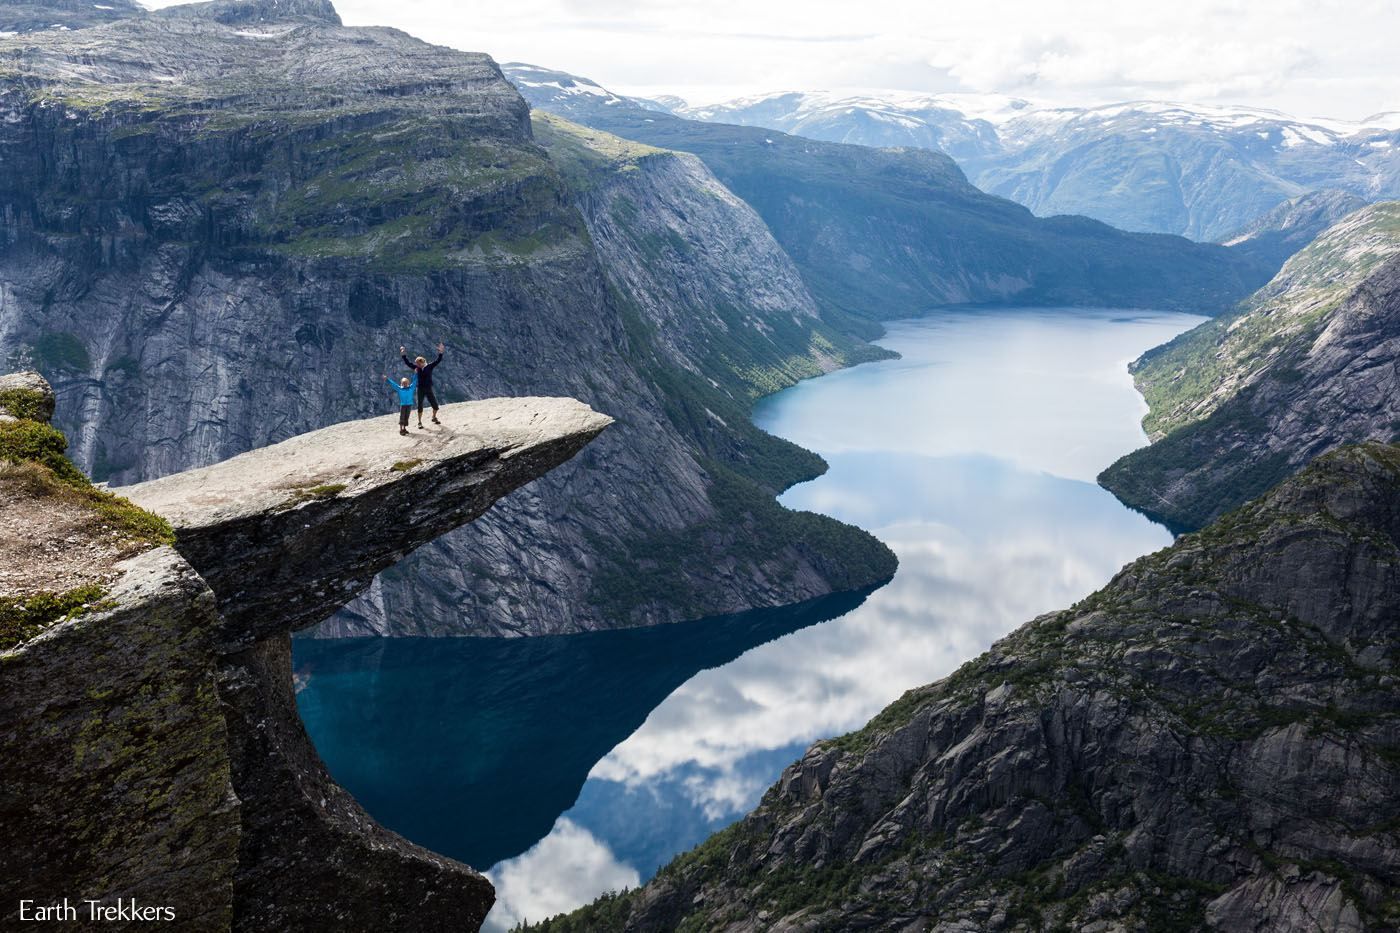
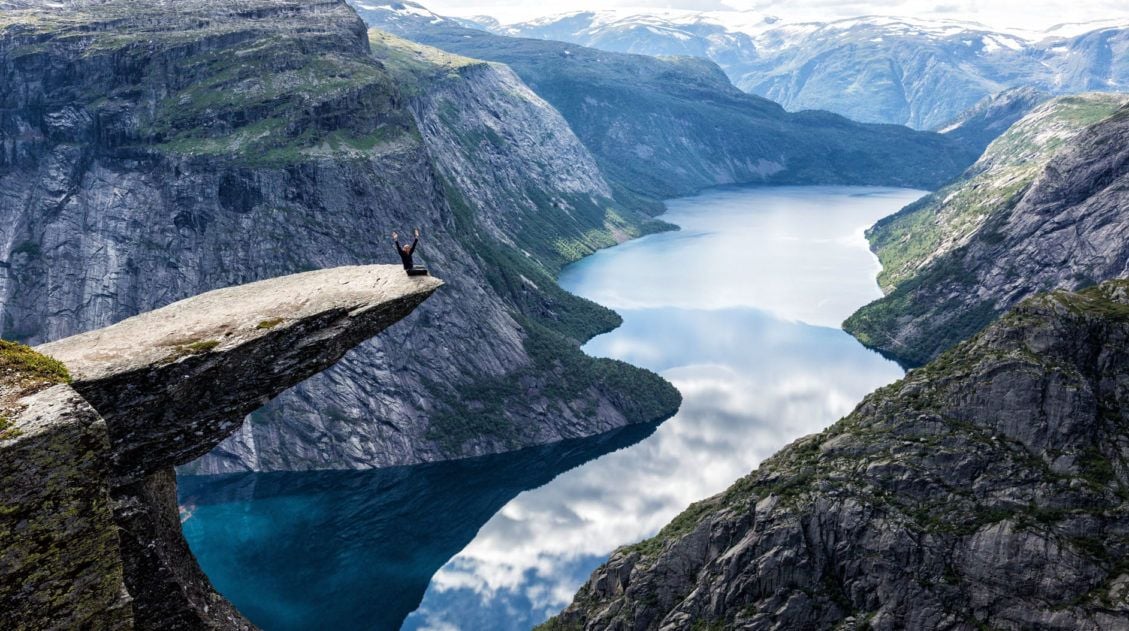
The reward at the end is Trolltunga itself, a thin, horizontal shelf of rock jutting out over Lake Ringedalsvatnet, 700 meters below. It looks exactly like the photos, and it still takes your breath away in person.
We did the full hike, kids included, and it really tested our daughter’s limits (she was just 8 at the time) but what a memorable day! Like Kjeragbolten, the views along the trail are spectacular, and even though it is a long hike, it’s one of those experiences where the journey is just as good as the destination.
Here’s everything you need for the hike:
How to Hike Trolltunga: Everything You Need to Know
Detailed trail guide for Trolltunga, plus where to park for the hike.Don’t try to day-trip this from Bergen. It’s technically possible, Bergen to the trailhead is about 3 hours each way, but combined with 10 to 12 hours of hiking, you’re looking at an 18-hour day minimum, with the drive home coming after the hardest part. Stay another night near the trailhead instead.
Day 6: Norway in a Nutshell
On the Road: Self-guided Nutshell route (cruise + train) + drive to Balestrand, approx. 2–2.5 hours after the tour wraps up
Highlights: Nærøyfjord cruise, Flåm Railway, Stegastein Viewpoint
Overnight: Balestrand
The Norway in a Nutshell tour is one of the most popular excursions for first-time visitors to Norway, combining a cruise on Nærøyfjord (a UNESCO World Heritage Site and the narrowest fjord in Norway) and Aurlandsfjord with a railway journey to and from Myrdal.
Since you have your own car, you don’t need the official packaged tour. It’s really just a bundle of separately bookable tickets, the fjord cruise, the Flåm Railway, and connecting transport, and piecing it together yourself is both cheaper and more flexible. Our full guide walks through exactly how to book each piece:
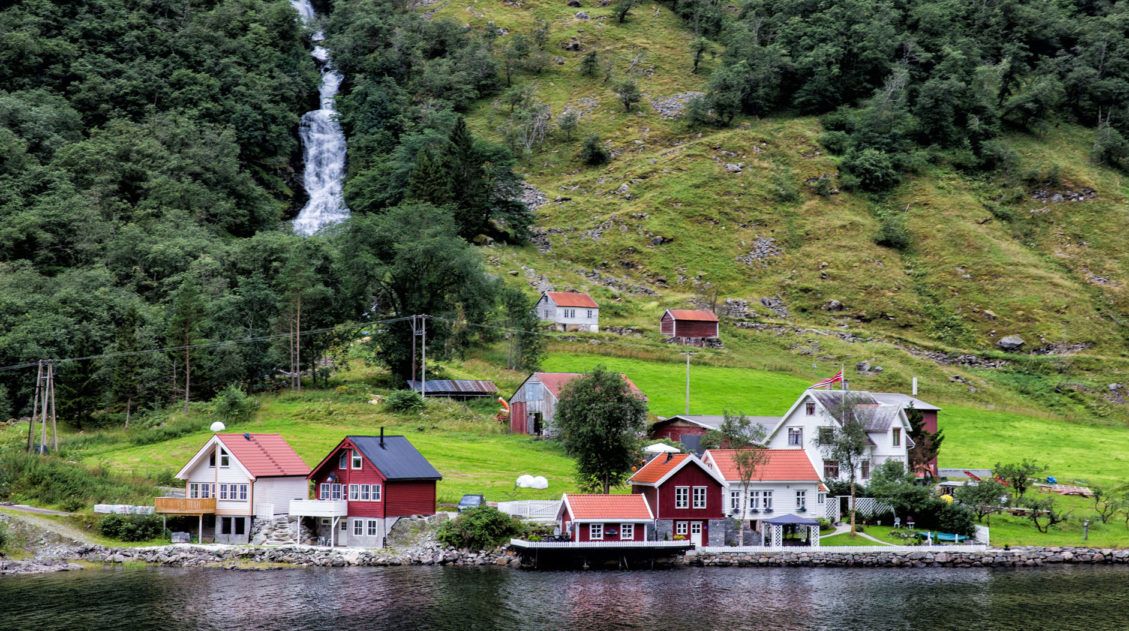
How to Do Norway in a Nutshell on Your Own
Read more about this full day itinerary, including what to see on the drive from Eidfjord to Flåm.One routing tip: consider starting the cruise from Gudvangen instead of Flåm. With a round-trip ticket, you’ll cruise Gudvangen to Flåm, then take the bus back to Gudvangen, leaving you free to drive yourself back to Flåm afterward for the Flåm Railway on your own schedule.
⚠️ One outdated route to be aware of: if you’ve seen older trip reports mention the Stalheimskleiva, the dramatic hairpin road linking Gudvangen and the Stalheim Hotel, it’s been permanently closed to vehicle traffic since 2021 due to heavy tourist congestion; it now exists only as a pedestrian and cycling path. The Stalheim Hotel is still worth a stop and still reachable by car, just not via that particular road.
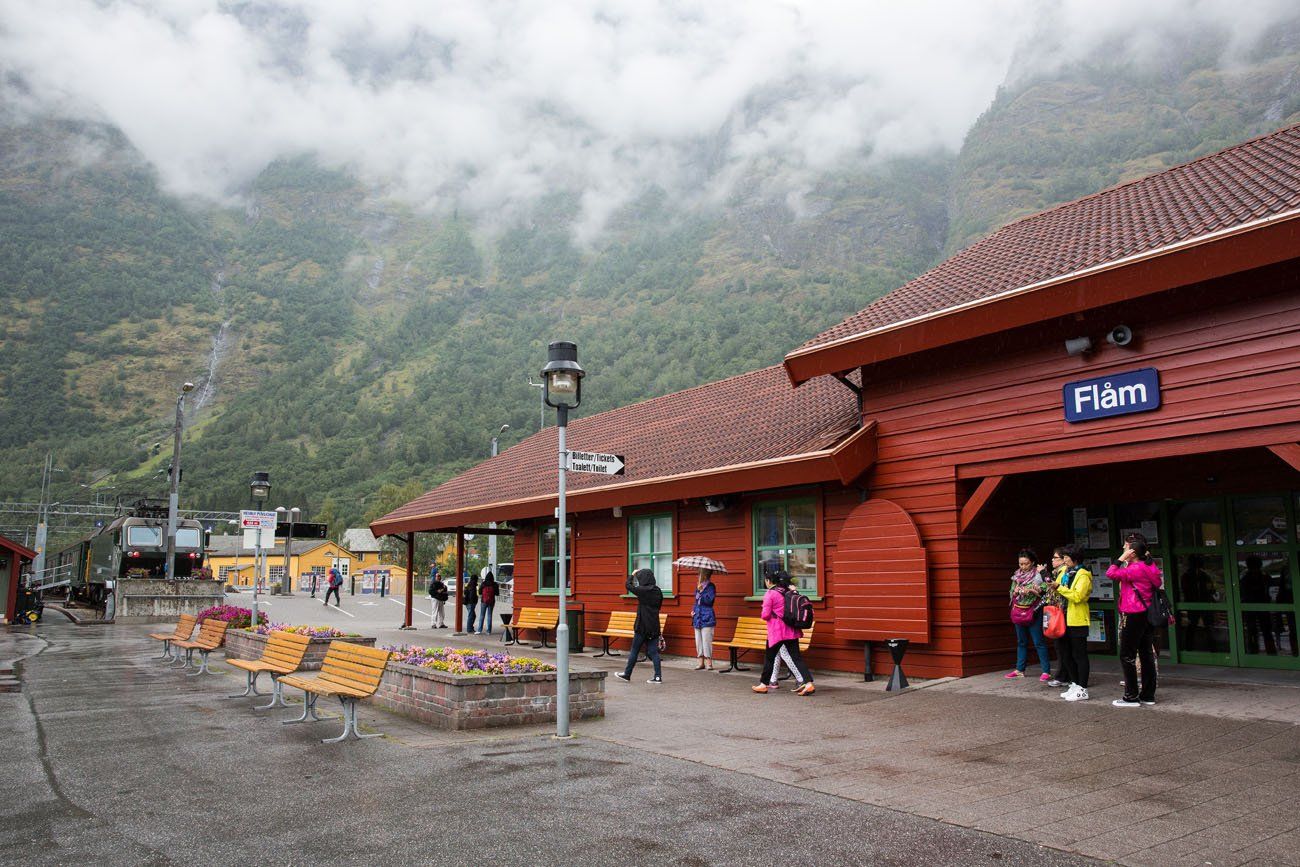
Flåm
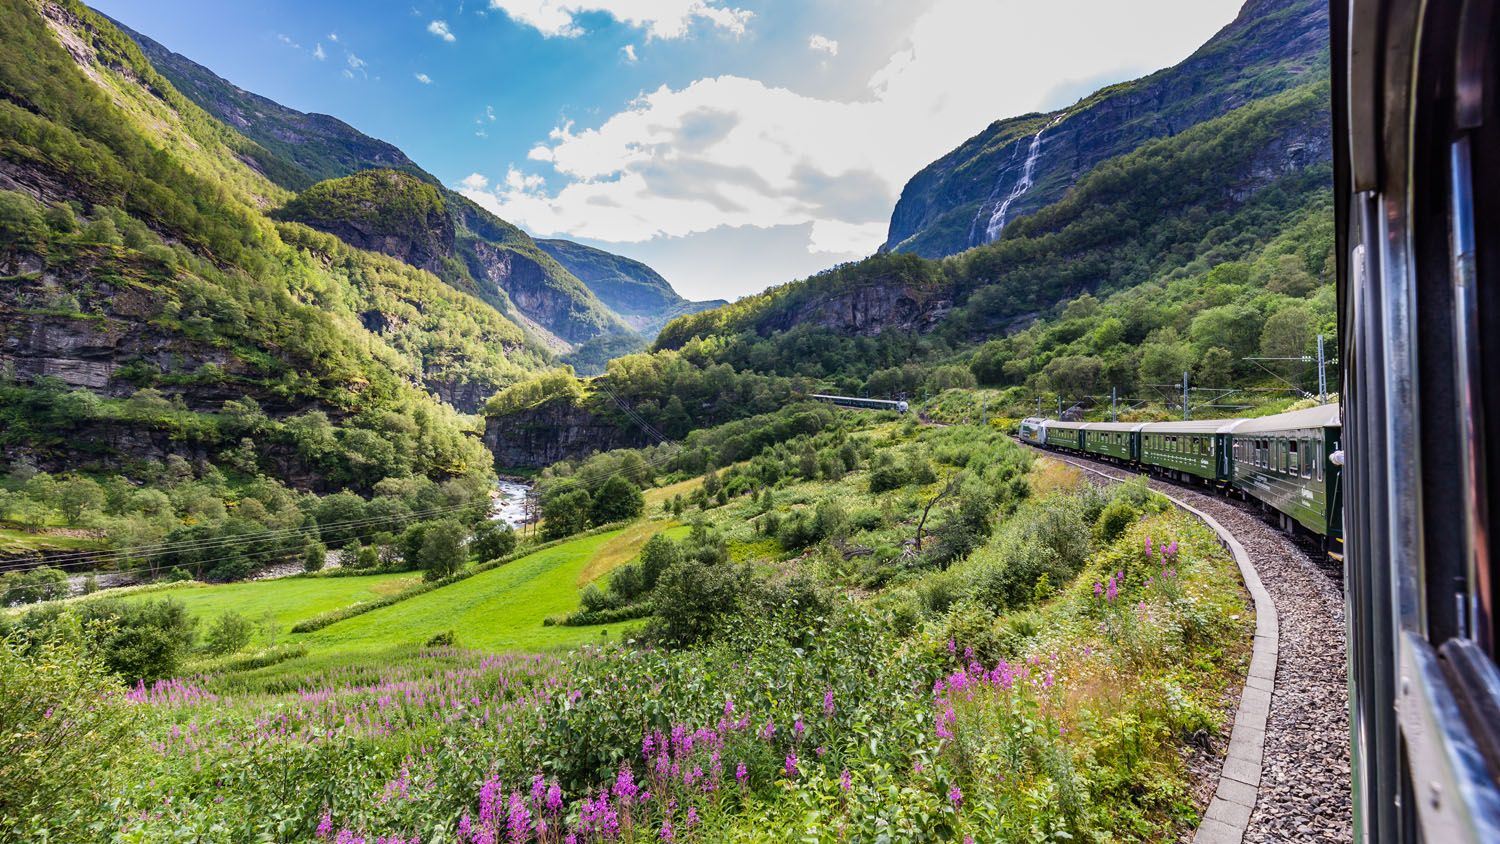
Flåmsbana
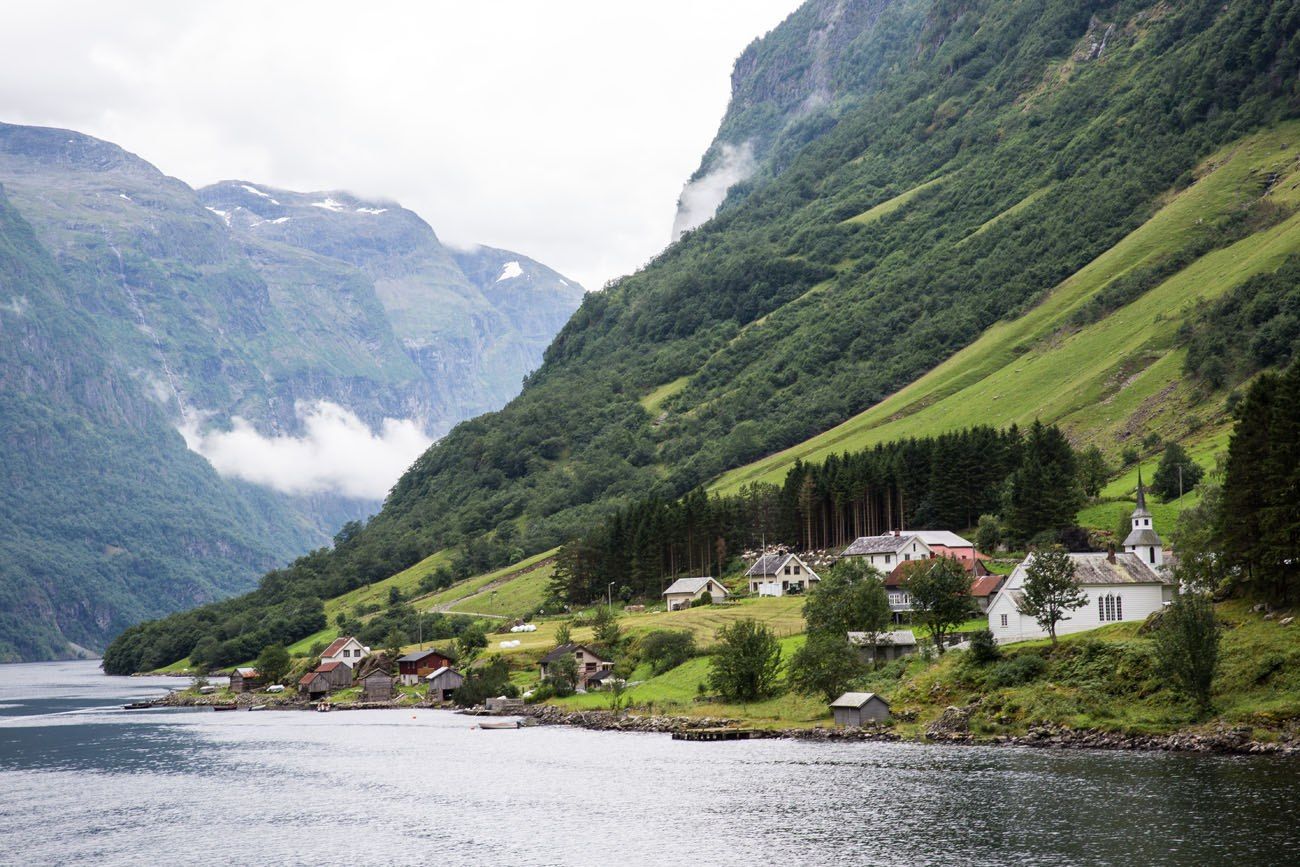
Nærøyfjord
Once the tour wraps up, drive to Balestrand. From Flåm, it’s about 30 minutes to the Stegastein Viewpoint, a dramatic cantilevered lookout over Aurlandsfjord. From there, continue on the Aurlandsvegen Snow Road, a high mountain road with spectacular scenery, or backtrack down and take Lærdalstunnelen, the world’s longest road tunnel at 24.5 km (15.2 miles).
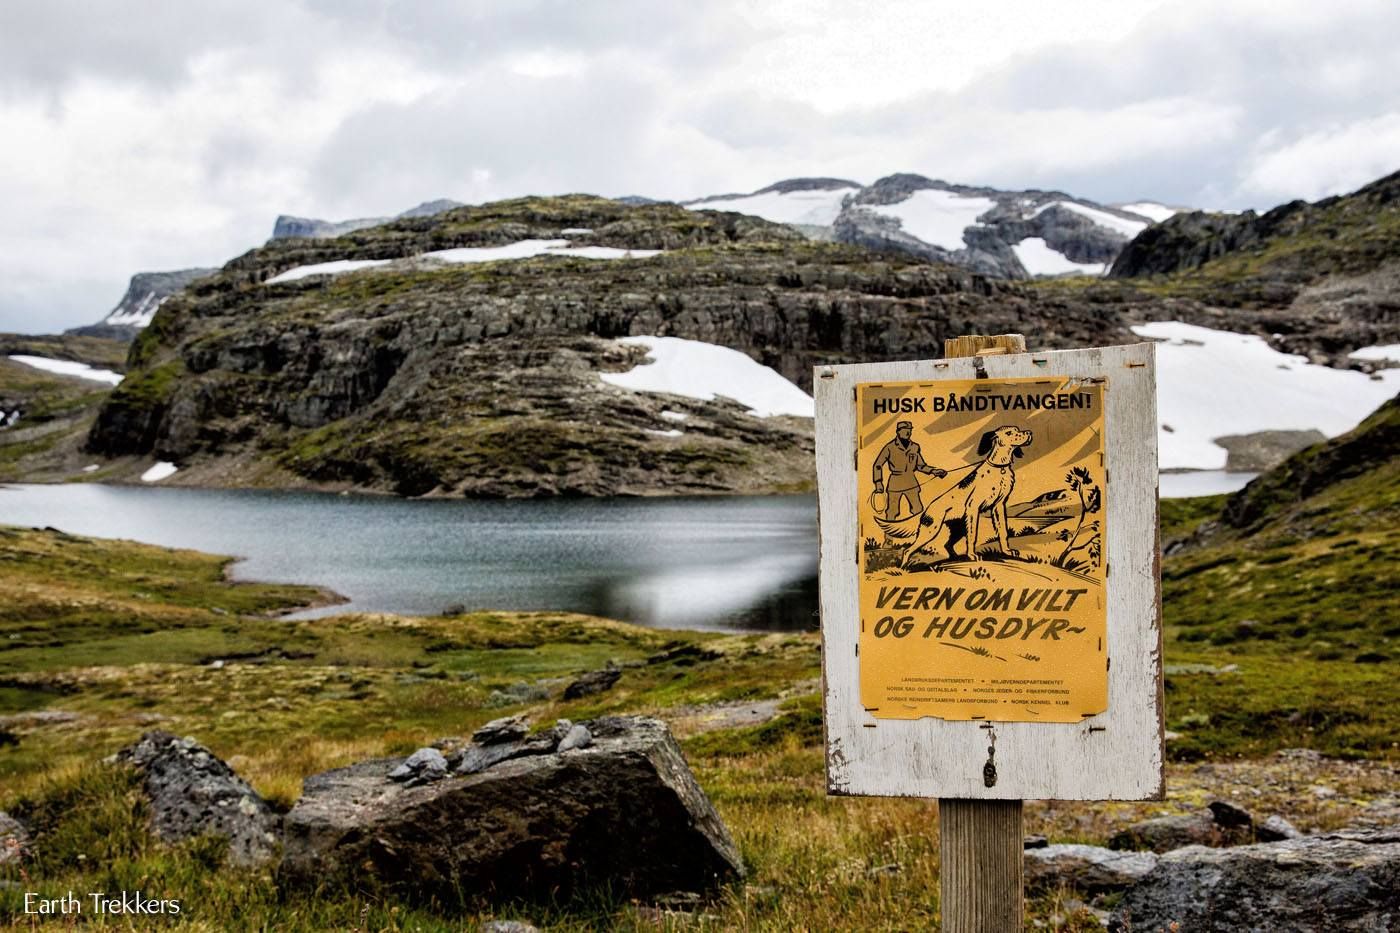
Where We Stayed in Balestrand: We stayed in the Balestrand Hotel, a nothing fancy, family-run hotel. If you want a nice view, request a room overlooking Sognefjord.
Day 7: Drive to Geiranger
On the Road: Balestrand to Geiranger — a full day of driving, with stops
Highlights: Jostedalsbreen glacier center, Dalsnibba Viewpoint, Flydalsjuvet
Overnight: Geiranger
Today is a full day of driving, and if you get lucky with the weather (we did not), the scenery is amazing. The drive takes you along fjords and through small towns, with plenty of opportunities to stop for food along the way.
Sites to see on the drive between Balestrand and Geiranger include:
- Likholefossen, a waterfall visible from the road (we ended up not stopping here ourselves due to a late start)
- Jostedalsbreen National Park Centre (listed on Google Maps as Jostedalsbreen Nasjonalparksenter), for an education on Europe’s largest glacier
- Old Strynefjell Mountain Road (Old Road 258), for the views alone
- Videseter Hotel, for a look at the valley below (located on Old Strynefjell Mountain Road)
- From Videseter Hotel, it’s a short walk to Videfossen Waterfall (listed on Google Maps as Buldrefossen)
As you approach Geiranger, a few viewpoints are worth the stop:
- Flydalsjuvet Viewpoint, a classic photo stop closer to the village.
- Dalsnibba Viewpoint, the highest view of the valley and fjord, and reportedly Europe’s highest fjord view accessible by road. It’s a toll road (roughly 330 NOK per car), open seasonally from late May through October, so check conditions before you commit to the detour, and skip it if the summit is socked in fog.
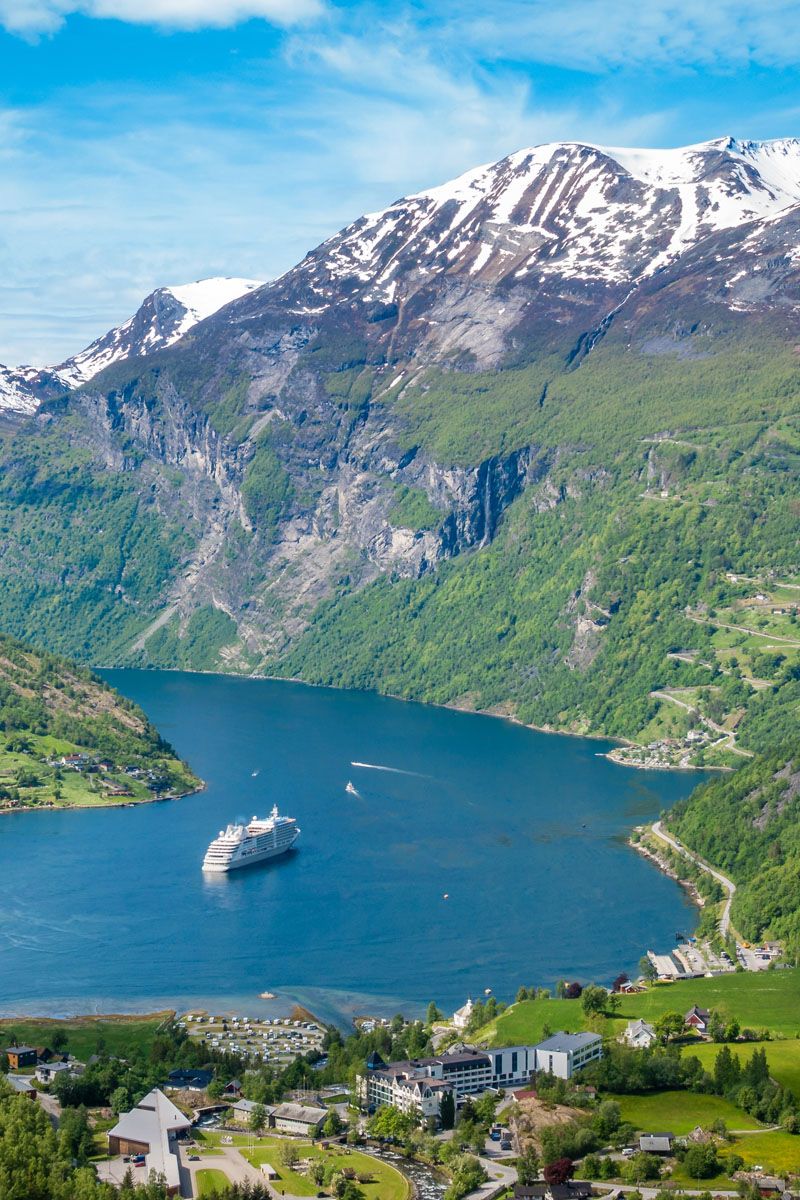
In the afternoon, you will arrive in Geiranger, a UNESCO World Heritage Site and a fjord known for being one of the most spectacular in Norway.
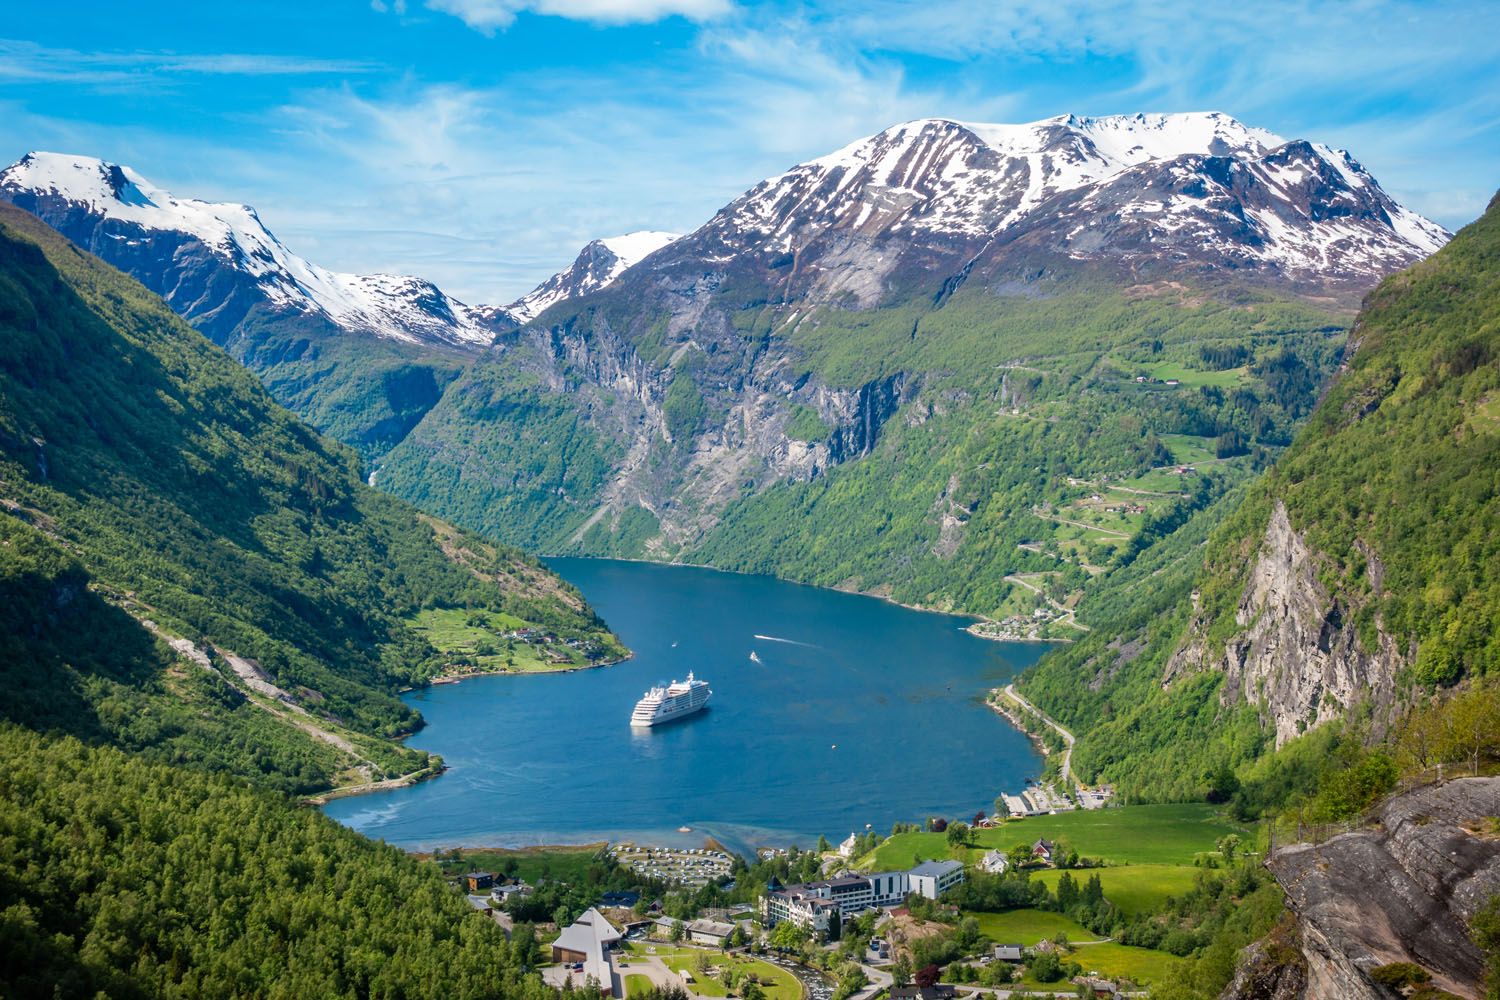
Where to Stay in Geiranger:
- We stayed at Hotel Utsikten. We chose this hotel for its awesome views over Geirangerfjord. Unfortunately, during our stay in Geiranger, it was wet and foggy and at times we could barely see the fjord from the hotel. If you chose to stay here, hopefully you will have better luck. The hotel is within walking distance of the town, where you can rent kayaks and go shopping. We enjoyed hanging out at the hotel bar at the end of the day, and overall really enjoyed our stay here, despite the rainy weather.
- Grande Fjord Hotel: This highly rated hotel is located on the fjord and offers single rooms to studio rooms, plus a 6th floor panoramic restaurant.
- Hotel Union Geiranger Bad & Spa: This beautiful spa hotel has a rooftop garden, indoor and outdoor pools, spa, and children’s playground.
- Grande Hytteutleige og Camping: Stay in a one or two-bedroom cottage on the waterfront.
Day 8: Geiranger, Then Trollstigen to Åndalsnes
On the Road: Free morning in Geiranger; Geiranger to Åndalsnes via Trollstigen: approx. 2 hours
Highlights: Geirangerfjord, Trollstigen switchback road, Stigfossen waterfall
Overnight: Åndalsnes
There’s plenty of time this morning to explore Geirangerfjord before moving on. There are hiking and biking trails, kayaks to rent, viewpoints to drive to, and the small town of Geiranger itself to wander and shop.
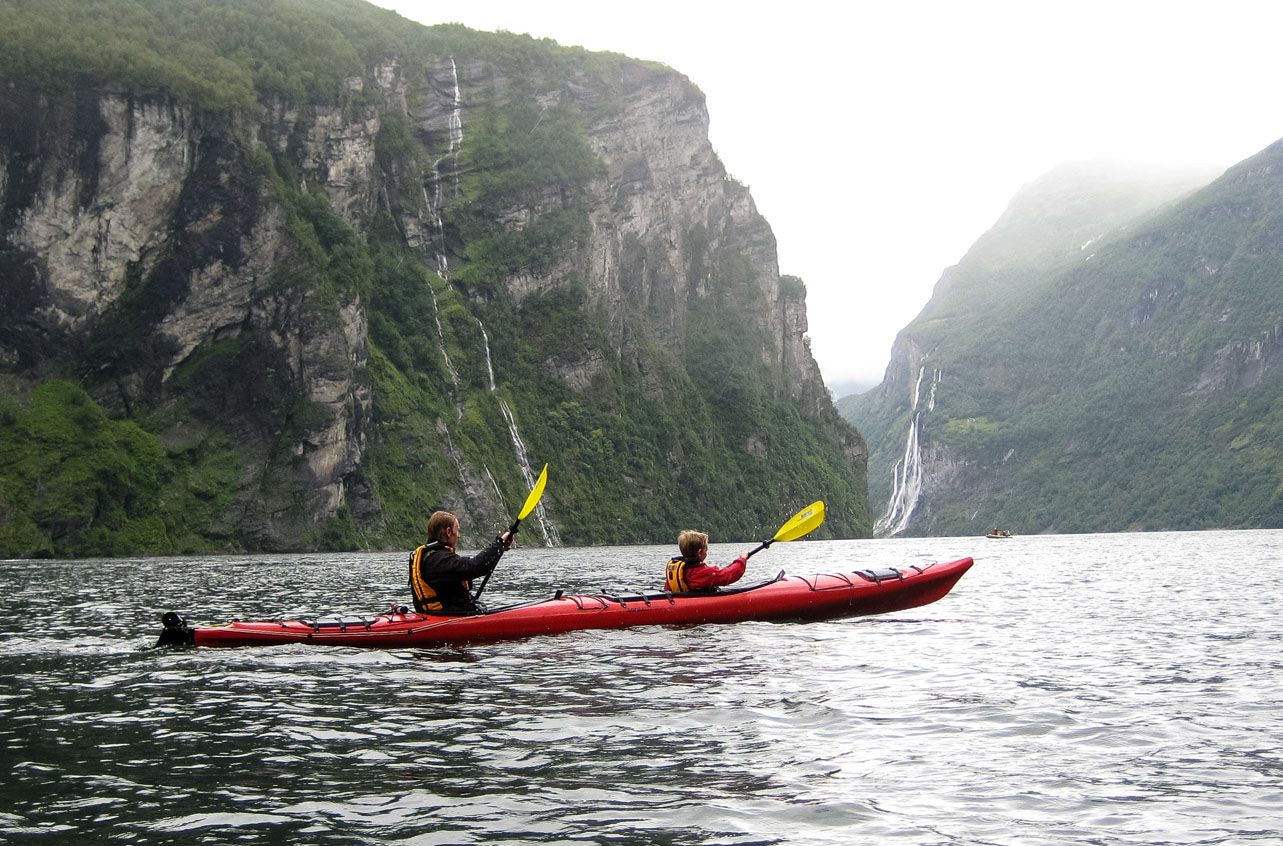
Tim and Tyler kayaking in Geirangerfjord
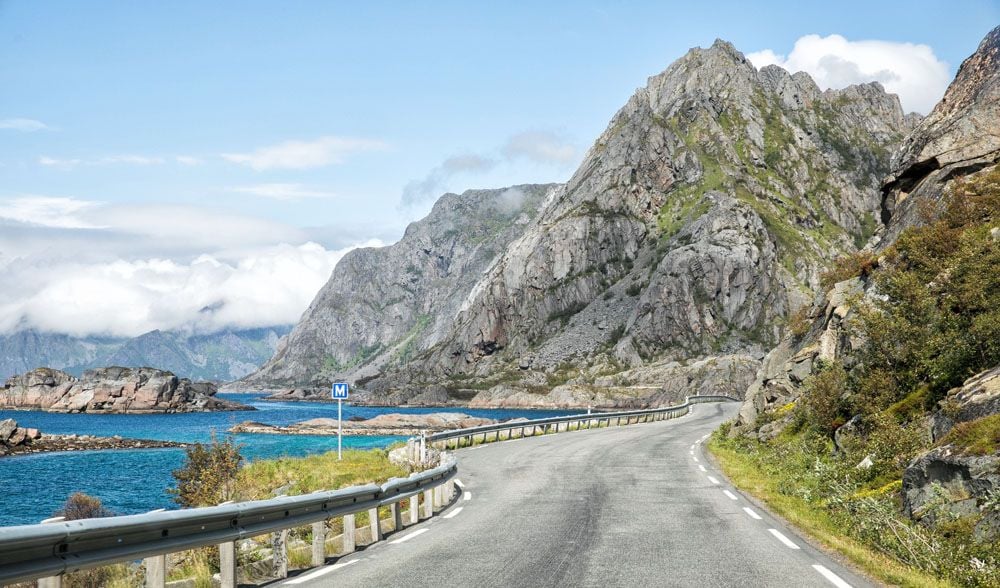
From Geiranger, it’s about a two-hour drive to the next town, Åndalsnes. This is another scenic drive, and just before you arrive, you’ll cross Trollstigen (Troll’s Ladder), a switchback road with eleven hairpin bends that’s one of the most photographed drives in Norway.
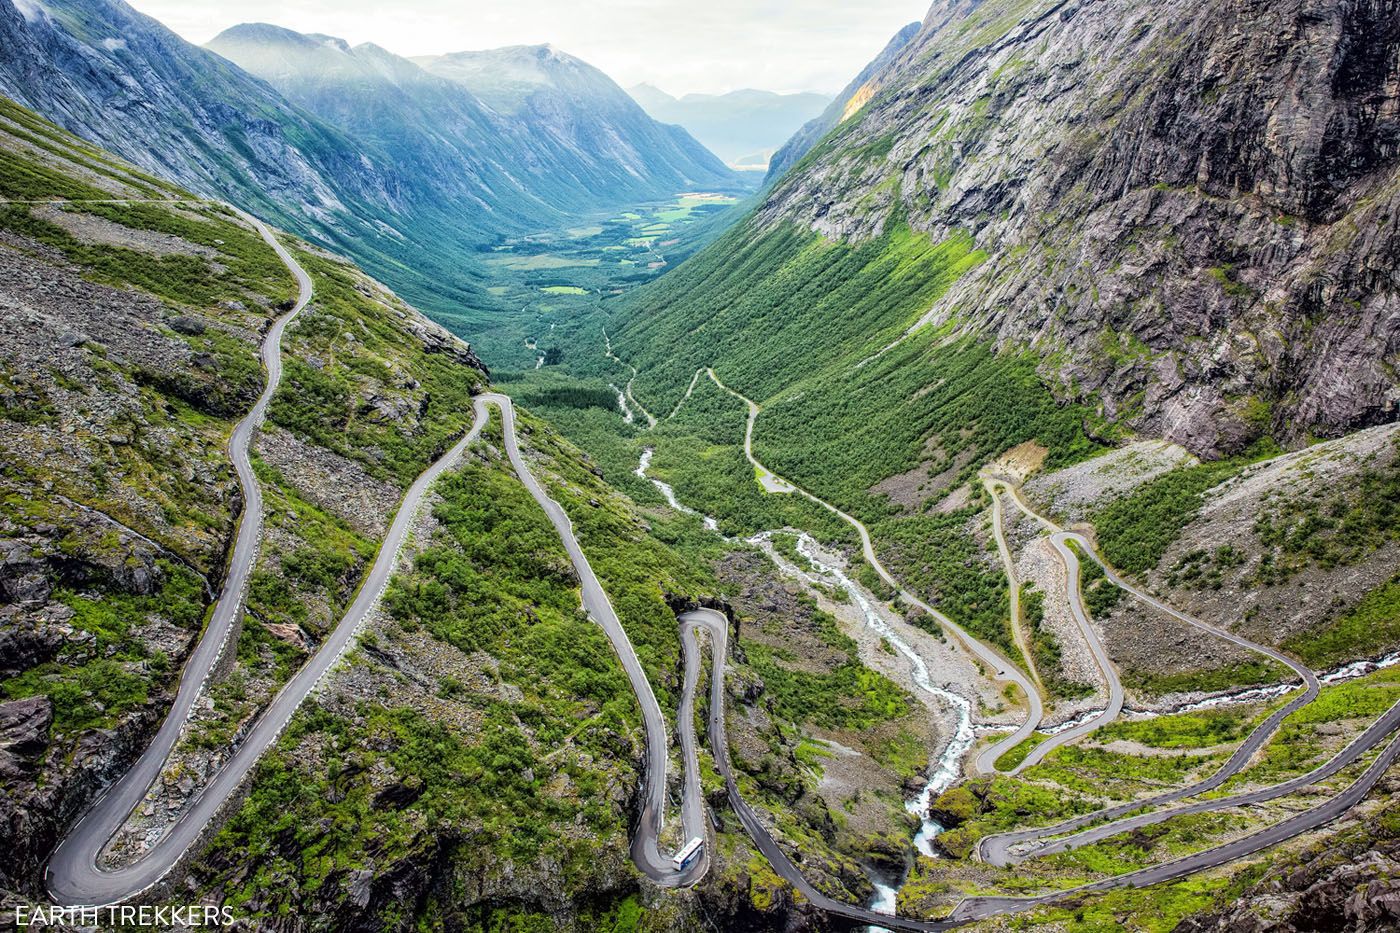
Trollstigen
A quick note on Trollstigen’s reliability: this road runs through genuinely unstable terrain, and it’s had real closures in recent years, including a landslide in 2024 that shut it down for close to a year. It’s normally open from mid-May through October or November, comfortably within this itinerary’s travel window, but it’s worth a quick check of current conditions before you go, since heavy rain can trigger short-notice closures even in season.
Have dinner in Åndalsnes and get settled into your accommodations. Tomorrow is an early morning.
Where We Stayed in Åndalsnes: We spent two nights at the Trollveggen Campground in Åndalsnes. We slept in cabin #3 and it was adorable. Tyler and Kara loved it. In fact, they described it as “epic.”
Day 9: Romsdalseggen Ridge Hike
On the Road: Bus from Åndalsnes to the Vengedalen trailhead (point-to-point hike back into town)
Highlights: Romsdalseggen Ridge, Trollveggen views, Rampestreken viewpoint
Overnight: Åndalsnes
Romsdalseggen Ridge is an 11 km hike along the spine of a mountain, and although it’s not the longest hike on this itinerary, we found it to be the most difficult. This hike can take 8 to 10 hours.
You can hike this trail from late June through late September, when the shuttle bus to the trailhead is running.
From Åndalsnes, a bus delivers hikers to the start of the hike. This is a point-to-point hike, starting in farmland at Vengedalen and ending in the town of Åndalsnes. Weather can be unpredictable, we were here in August and had a chance of snow in the forecast.
The hike starts with a strenuous climb up to the spine of the mountain. From there, on a clear day, you can see all the way out to the Atlantic Ocean. We weren’t so lucky, but even so, the views were still amazing.
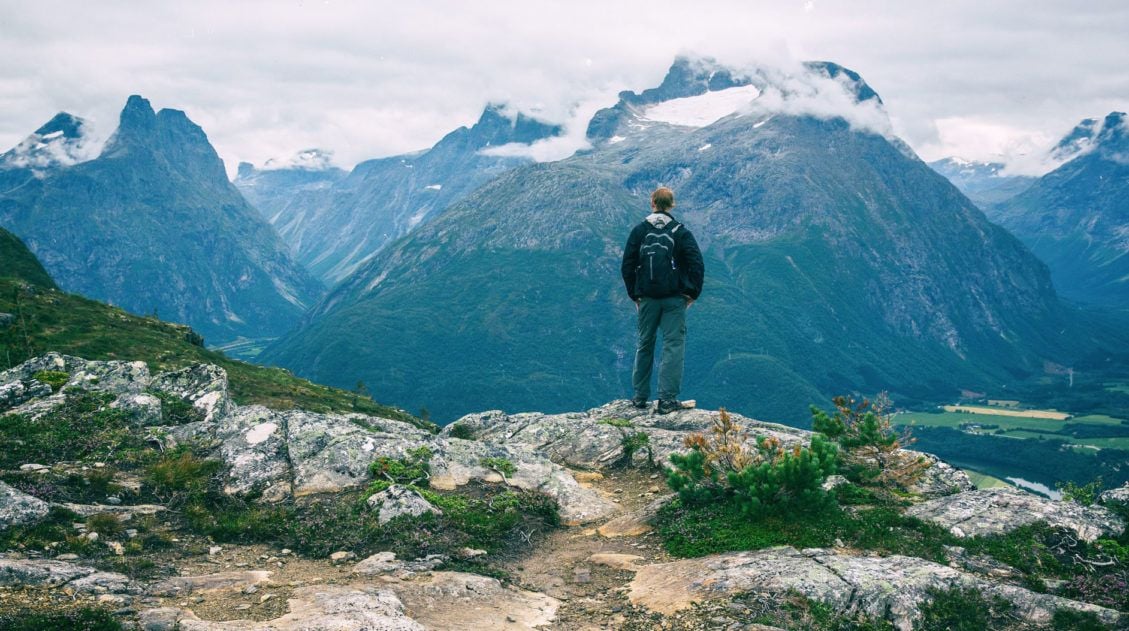
Hiking Romsdalseggen Ridge in Norway (+ Photos & Helpful Tips)
Detailed trail guide, plus how to handle transportation and riding the gondola to the Rampestreken viewpoint.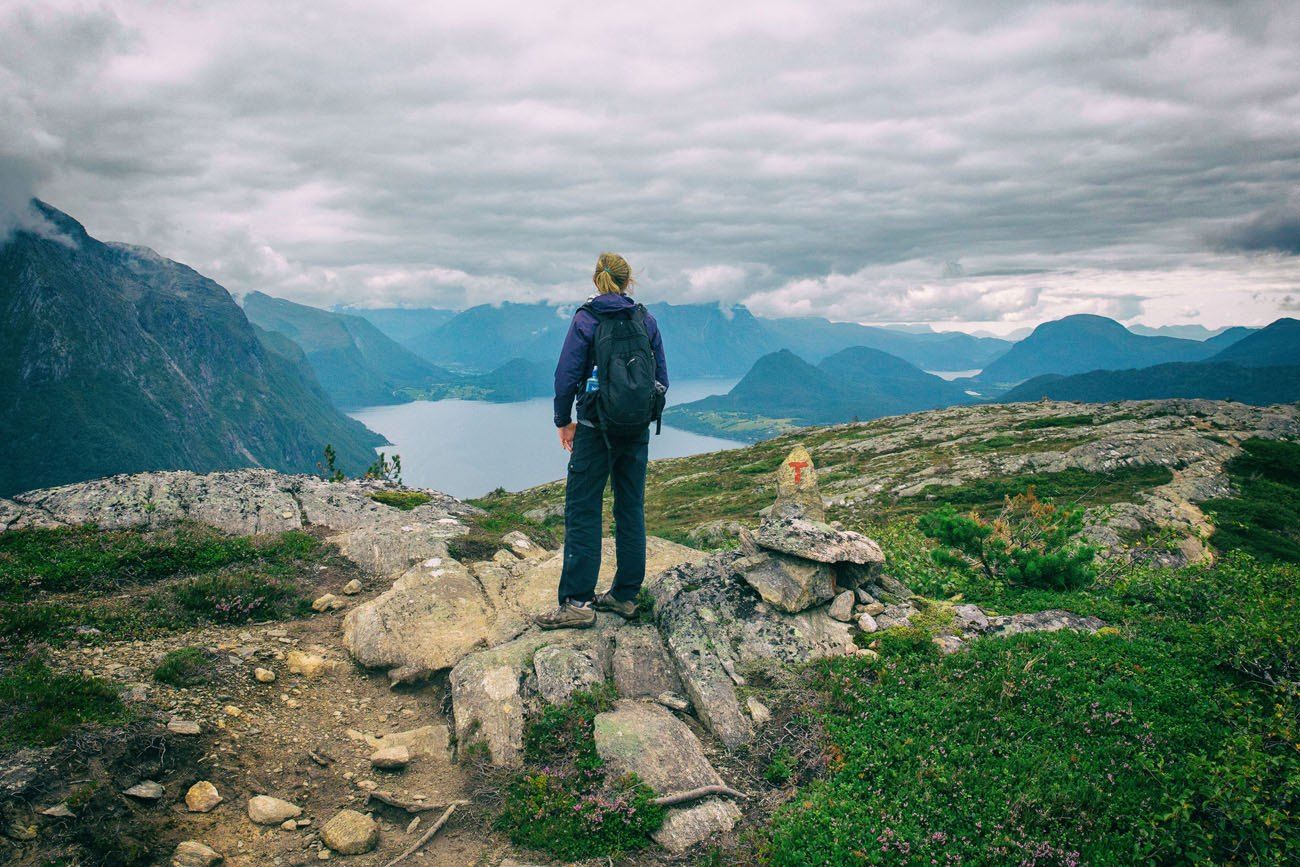
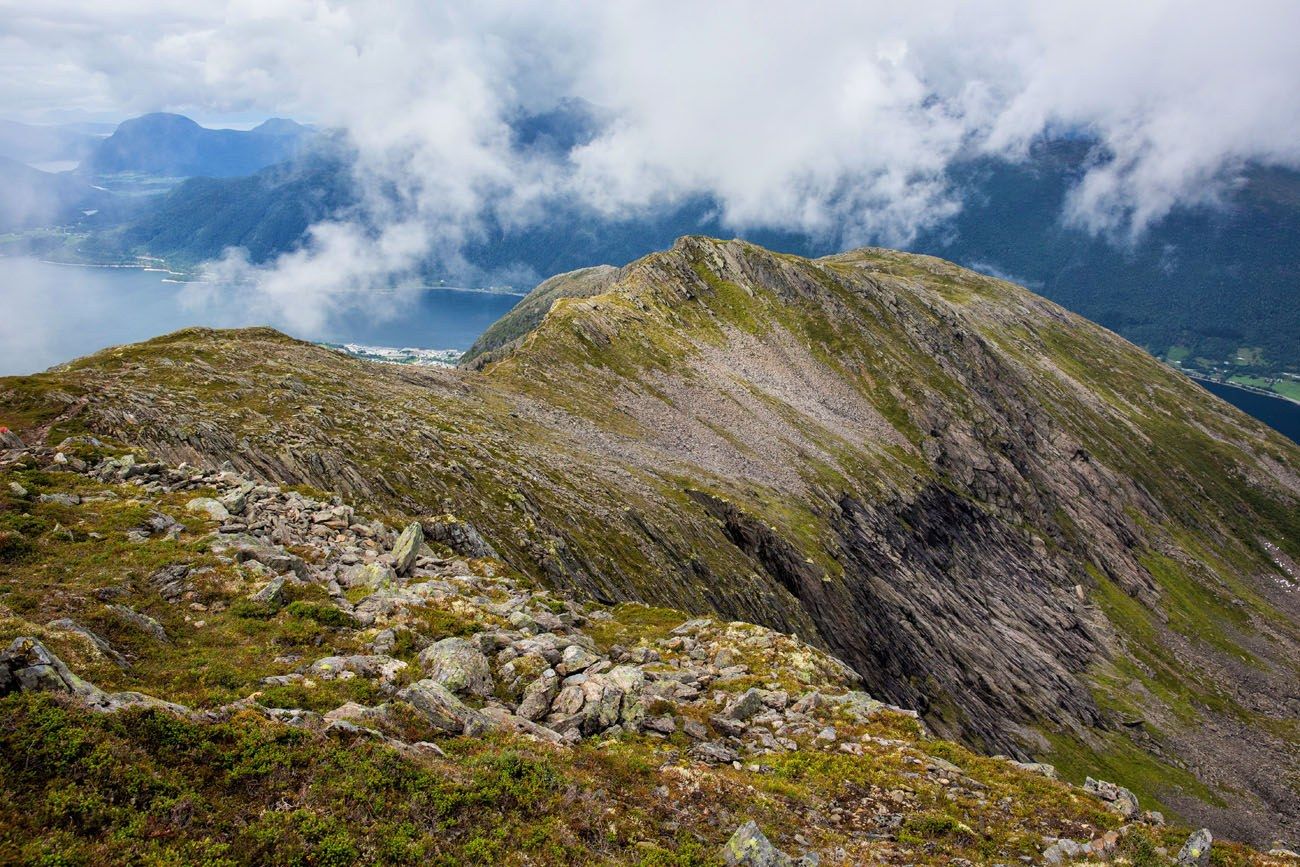
Watch for low cloud cover. This hike runs right along the edge of a mountain, and one false step could send you off over the side.
The final descent is now easier than it used to be. The Romsdalsgondolen, a cable car connecting the ridge trail to central Åndalsnes, didn’t exist when we hiked this. If you’d rather not do the full descent on foot, you can ride the gondola down instead, it also puts you right at the Rampestreken viewpoint, a short walk from the top station, for one more sweeping view before you’re back in town. If you don’t want to hike the ridge at all, or the weather isn’t cooperating, riding the gondola up and back is a real option too.
After your hike, enjoy dinner in town.
Day 10: Ålesund and Oslo
On the Road: Åndalsnes to Ålesund: approx. 2 hours; return rental car in Ålesund; afternoon flight to Oslo
Highlights: Ålesund’s Art Nouveau architecture, Fjellstua viewpoint
Overnight: Oslo, or home if your connection allows
From Åndalsnes, it’s a two-hour drive west to Ålesund, a coastal town known for its Art Nouveau architecture, rebuilt in that style after a fire leveled much of the original town in 1904.
Enjoy the day exploring Ålesund on foot, and don’t miss the walk up the hillside to Fjellstua for the best views over the town and surrounding islands.
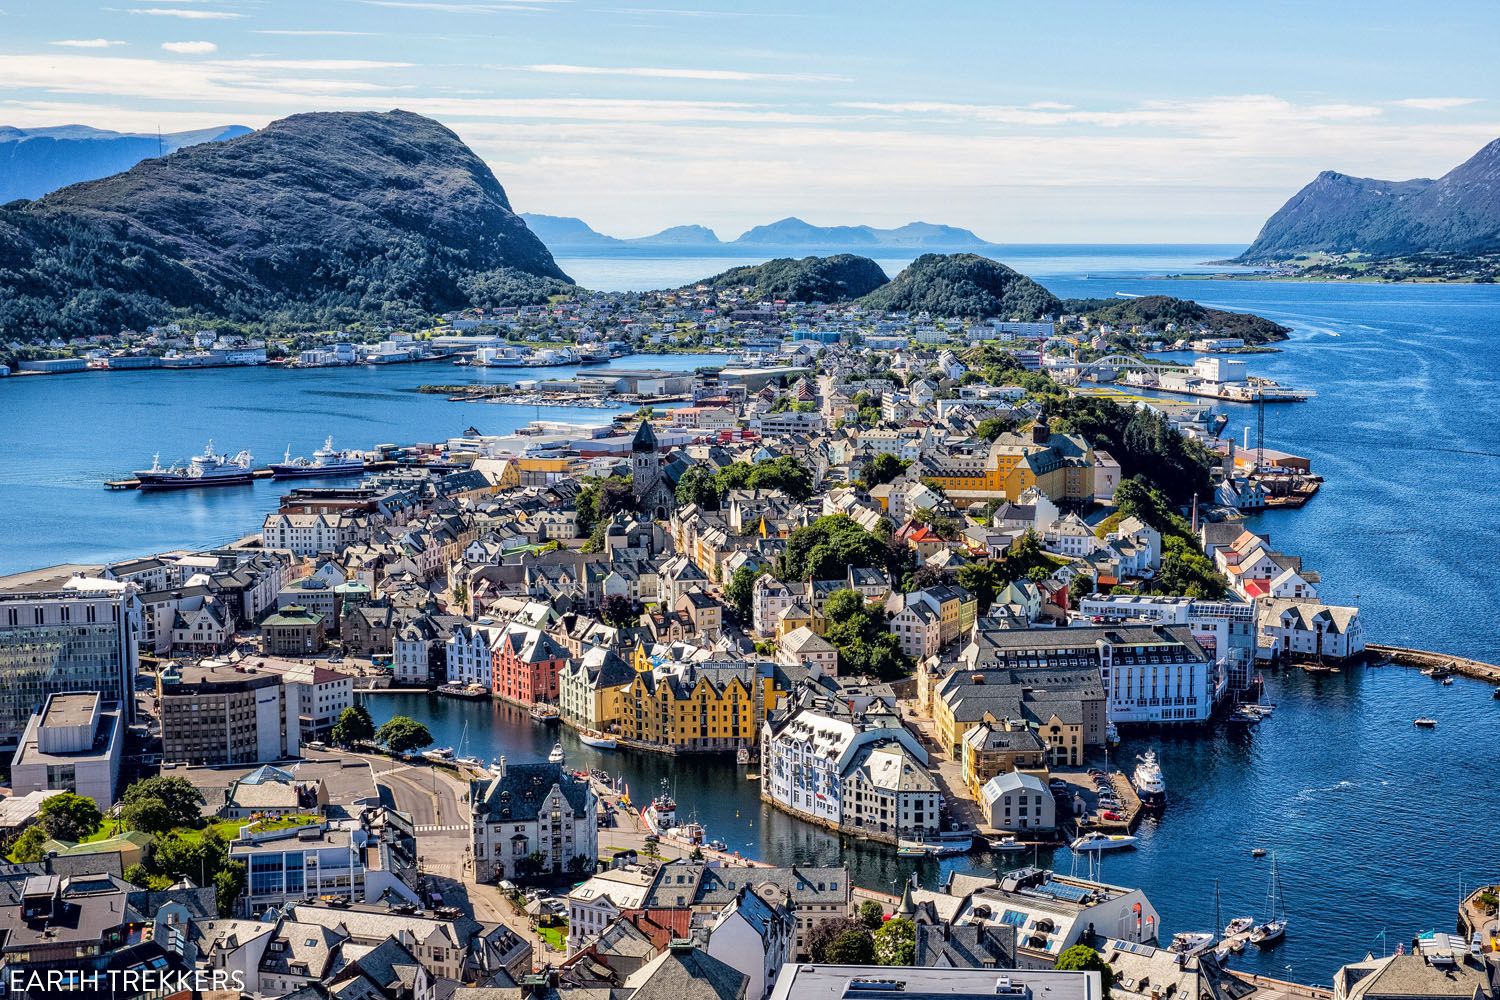
Ålesund
Return your rental car in Ålesund before your afternoon flight to Oslo. In the afternoon, fly to Oslo, completing your tour of the Norway fjord region.
Where to Stay in Oslo:
- Radisson RED Oslo Økern: With a rooftop terrace, restaurant, and bar, this is one of the top hotels in Oslo.
- Clarion Hotel Oslo: This is where we stayed. This hotel gets excellent reviews and a prime location in the city center.
- Hotel Bristol: This historic hotel has a great location in the city center plus an onside restaurant and sauna access.
- If you are traveling on a budget, take a look at Comfort Hotel Xpress Central Station or Citybox Oslo.
How to Modify This Norway Itinerary
How to Do This Itinerary With One Rental Car
If you’d rather skip the flight and a second rental car, here’s how to cover the same 10 days with one car the entire time.
Days 1–2 are unchanged: arrive in Stavanger, rent your car, hike Pulpit Rock.
Day 3 (Kjeragbolten) changes at the end of the hike. Instead of driving back to Stavanger, descend the Lysevegen Road’s 27 hairpin bends to Lysebotn, then continue on to Odda, about 4 hours from Lysebotn. It’s a long day on top of an already long hike, so know that going in.
Day 4 is Trolltunga, hiked from Odda or Tyssedal exactly as described above, minus the flight and second car.
Day 5 replaces the Bergen day with a single long transit day: Odda to Bergen to Flåm or Gudvangen. This is the real tradeoff of the one-car route. Odda to Bergen is about 2 hours 45 minutes, and Bergen to Flåm is another 2.5 hours, so you’re looking at over 5 hours of driving with Bergen sightseeing squeezed in between, versus the roughly 2 hours 45 minutes it would take to drive from Odda to Flåm directly. You’re not passing through Bergen on the way, you’re detouring to it and backtracking out. If a full, unhurried day in Bergen matters to you, this is the version of the itinerary where you don’t get one. If you’d rather not do it all in one day, split it: overnight in Bergen, then continue to Flåm or Gudvangen the following morning before Norway in a Nutshell.
Day 6 onward rejoins the main itinerary exactly as written: Norway in a Nutshell, then Geiranger, Trollstigen, Romsdalseggen, and Ålesund, all unchanged.
With Less Time
9 days: Skip Trolltunga. This is the single biggest way to shorten the trip, and it saves a full day. Hike Pulpit Rock and Kjeragbolten as written, then fly to Bergen on Day 4 and move straight into Norway in a Nutshell the next morning rather than driving to the Trolltunga area. Everything from Geiranger onward stays the same.
8 days: Also skip Romsdalseggen Ridge. Instead of overnighting in Åndalsnes for the hike, drive from Geiranger straight through to Ålesund the same day, enjoying the Trollstigen drive along the way without stopping for the full hike. You’ll lose one of the most demanding and rewarding days on this itinerary, but you’ll still get the scenic drive.
With More Time
The extra days that pay off most are contingency days for weather, not new destinations. These hikes are genuinely miserable, or outright not worth doing, in fog and rain, and Norway’s weather doesn’t always cooperate on your schedule.
- An extra night in Stavanger gives you a buffer day for Pulpit Rock or Kjeragbolten if the forecast looks bad on your original hiking day.
- An extra night in Odda does the same for Trolltunga, arguably the hike where good visibility matters most, given how much of the appeal is the view out over the lake.
- An extra night in Åndalsnes buys the same flexibility for Romsdalseggen, an exposed ridge hike that’s genuinely unsafe in low cloud, not just less scenic.
Beyond weather buffers, a few other additions are worth considering:
More time in Bergen or Ålesund so neither city feels rushed. As written, this itinerary treats both as a single afternoon or day, which is enough to hit the highlights but not much more.
An extra day or two in Oslo, at the start or end of the trip, is a natural addition for international travelers who’d otherwise be rushing straight through on a connection.
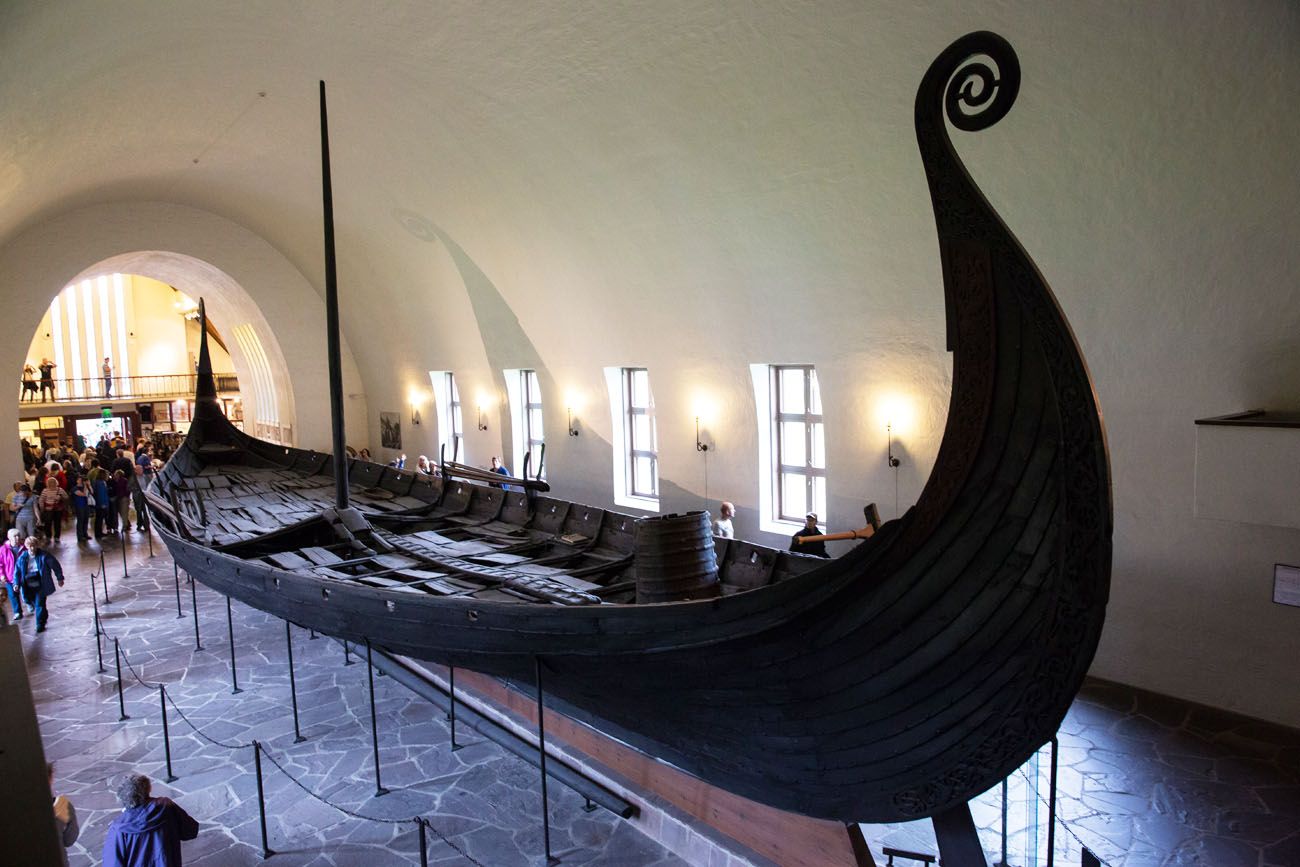
Viking Museum in Oslo
Best Time for this Norway Itinerary
The best time to do this Norway itinerary is between June and September, especially if you plan on hiking these trails. Snow lingers on some of these trails up until June. The earliest you can hike Trolltunga without a guide is June 1, according to the Visit Norway website.
The graphs below provide weather data for the towns of Oslo, Stavanger, and Bergen, which will help you plan your trip.
If you are planning a trip to Norway before June with the intent to go hiking, here are some things to consider:
Pulpit Rock: You can hike Pulpit Rock from April to October. For the remainder of the year, the trails will be covered with snow. It is only recommended that you hike Pulpit Rock from November through March with a guide.
Kjeragbolten: The best time to hike Kjeragbolten is from June 1 through September 30. The bus from Stavanger does not start running until June 1. Before June 1, snow can still cover the roads, so you may not even be able to drive to the start of the hike.
Trolltunga: June 1 to September 30. All other times of the year you should hike with a guide.
Romsdalseggen Ridge: June 30 to September 30 (when the shuttle bus is in service).
For your best chance of clear weather, visit Norway in the spring and early summer. In August, rainfall chances increase. It is not unusual to have rainy weather during September and October.
If you do not plan on hiking, some roads on this Norway itinerary can be closed from November through May. Trollstigen and the Aurlandsvegen Snow Road make it onto this list.
We did this same Norway itinerary in early August.
Average Trip Costs: Norway Fjords Itinerary
Norway has a reputation for being expensive, and this itinerary, with two rental cars, a domestic flight, and four separate hiking regions, doesn’t fight that reputation much. That said, the costs are predictable if you know where they’re coming from.
Accommodation: This is your largest daily expense. Budget hotels and apartments in Stavanger, Balestrand, and Geiranger run roughly $130–200 per night. Near Trolltunga, options in Odda and Tyssedal are more limited and priced accordingly. In Bergen and Ålesund, expect $150–250 per night for a well-located mid-range hotel.
Food: Restaurants in Norway are expensive across the board. Plan on $35–55 per person for a sit-down dinner, more at waterfront or tourist-facing spots in Bergen and Geiranger. Self-catering lunch is the single most effective way to control food costs, Norway’s supermarkets (Rema 1000, Kiwi, Coop) are well-stocked and reasonably priced, and several days on this itinerary practically require a packed lunch anyway (Kjeragbolten, Trolltunga). Budget roughly $65–100 per person per day if you’re eating dinner out and self-catering the rest.
Car Rental: Rental car fees range from $100 to $200 per day in southern Norway. Drop fees can be very expensive, ranging from $150 to $400+, depending on the two cities. On the main itinerary, there will be one drop fee (pick up in Stavanger and drop in Ålesund). You can avoid the drop fee by returning to Bergen, but this adds about 8 hours of driving and an additional day to the itinerary. If you plan to keep the rental car from Stavanger to Ålesund, be aware that the drop fee could be very high.
Parking & Tolls: This itinerary has more toll roads and paid parking than a typical road trip. The Ryfast Tunnel between Stavanger and Pulpit Rock runs about $13 each way. Trolltunga parking is $48 at P2 Skjeggedal or about $76 at P3 Mågelitopp, including the toll road fee. The Dalsnibba toll road near Geiranger runs about $31 per car. None of these are avoidable if you want to do the itinerary as written, so budget for them rather than being surprised at the toll booth.
Activities: Most of the hiking on this itinerary is free once you’ve paid for parking. The real activity expense is Norway in a Nutshell: booked independently, the Flåm Railway runs roughly $75 per person round-trip, and combining it with the Nærøyfjord cruise brings the total closer to $105–115 per person for the full experience. That’s still meaningfully less than the official packaged tour. The Romsdalseggen trailhead bus is about $24 per person.
Overall: For two people sharing accommodation and two rental cars, a realistic mid-range daily budget for this itinerary is $350–500 per day all-in, excluding international flights. The one-car version brings that down somewhat by removing the second rental and the Stavanger–Bergen flight. Traveling as a family of four brings the per-person cost down further, particularly on accommodation and car rental. Self-catering aggressively and choosing budget-oriented lodging on the Trolltunga and Geiranger nights can bring the figure down considerably.
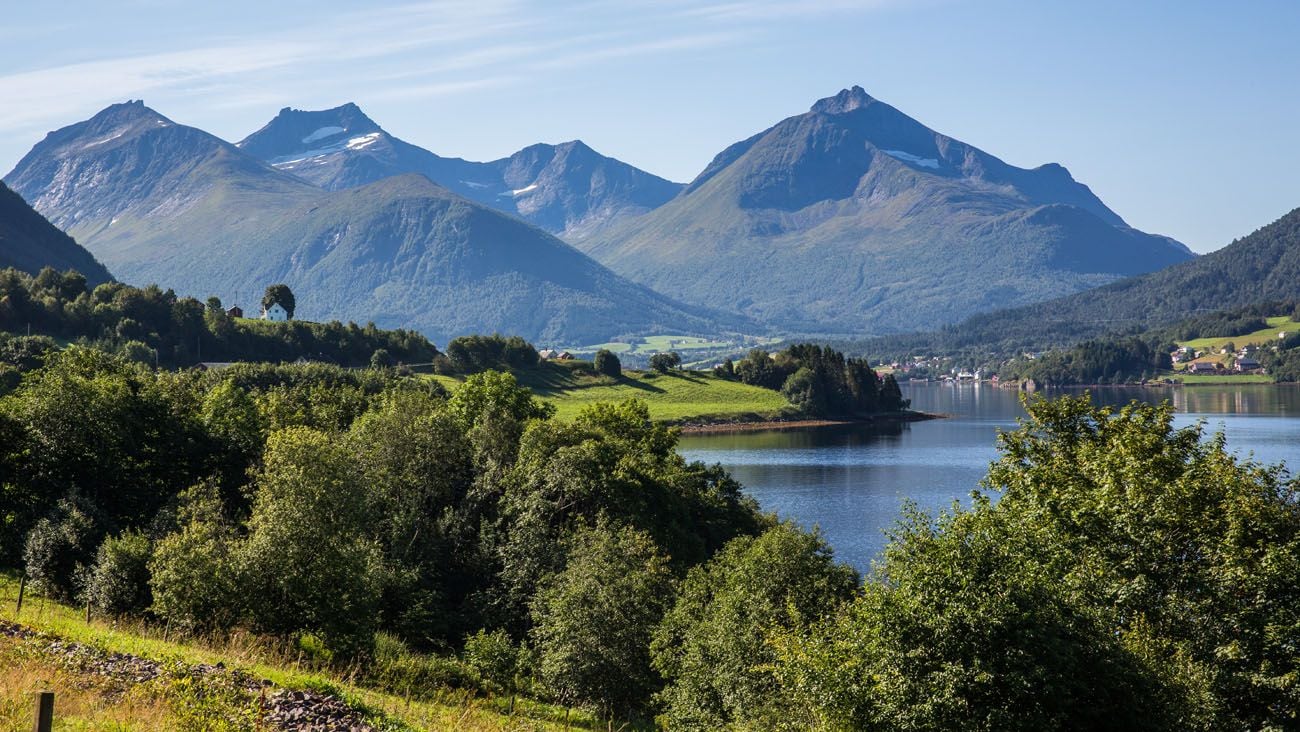
The view on the drive from Andalsnes to Ålesund
Frequently Asked Questions
How many days do you need for this Norway fjords itinerary?
Ten days is enough to do this route as written: three nights in Stavanger for Pulpit Rock and Kjeragbolten, two nights near Trolltunga, and the rest split across Norway in a Nutshell, Geirangerfjord, and Romsdalseggen Ridge before flying home from Ålesund. If you have extra time, put it toward a buffer day near Stavanger, Odda, or Åndalsnes in case weather cancels a hiking day, that’s the addition most likely to save your trip. If you’re shorter on time, skip Trolltunga first; it’s the single biggest day you can cut.
Do you need a car for this itinerary?
Yes, for most of it. A rental car becomes necessary starting Day 4, since Bergen, Trolltunga, Geiranger, and Åndalsnes aren’t practically connected by public transportation on this kind of schedule. For the first three days in the Stavanger area, though, a car is genuinely optional: both Pulpit Rock and Kjeragbolten are reachable by public bus or guided tour if you’d rather not drive.
Do I need to book Trolltunga parking in advance?
Only if you want P3 Mågelitopp, the upper lot that cuts the hike from 28 km down to 20 km. It has just 30 spaces, and they fill up, so an advance online reservation is effectively required in peak season. P2 Skjeggedal, the standard lower lot with 180 spaces, doesn’t require booking ahead, though arriving early is still a good idea in July and August.
Should I book the official Norway in a Nutshell tour, or do it myself?
Since you already have a rental car for this itinerary, book it yourself. The official tour is just a bundle of the same train, boat, and bus tickets you can purchase separately, at a markup, and booking independently lets you choose your own departure times and skip anything you’re not interested in. Our full guide walks through exactly how.
What are the best hikes on this route?
The four hikes on this itinerary get progressively harder: Pulpit Rock (moderate, 7.6 km, 4-5 hours) is the easiest and a great warm-up. Kjeragbolten (strenuous, 12 km, 6-8 hours) steps things up with some rock scrambling and the option to step onto the boulder itself. Trolltunga (strenuous, 28 km from the standard lot, 10-12 hours) is the longest day of the trip. Romsdalseggen Ridge (strenuous, 11 km, 8-10 hours) is shorter in distance but exposed along a narrow ridge, and we found it the most demanding of the four.
Can you do this itinerary with kids?
We did, with our kids at ages 8 and 10, and all four hikes are genuinely achievable for strong, experienced young hikers at that age. That said, it’s not a casual undertaking: Trolltunga in particular is a serious commitment for a child, our own Trolltunga guide recommends a realistic minimum age of 8 for very fit, experienced kids, and parking at P3 Mågelitopp to shorten the distance if you’re bringing them. Romsdalseggen was the hardest of the four for us as a family, with real exposure along the ridge. If your kids are strong, seasoned hikers, this itinerary is a fantastic family trip. If you’re not confident in their endurance yet, consider swapping Trolltunga or Romsdalseggen for an easier day.
Plan Your Trip to Norway
If this Norway fjords road trip has you wanting to explore more of the country, we have you covered.
Our northern Norway itinerary covers Tromsø, Senja, and the Lofoten Islands, a completely different landscape from the fjord region, but every bit as spectacular. And if you’d rather combine both in one trip, take a look at our Norway itinerary that covers both the fjords and the Lofoten Islands.
For a deeper look at planning a trip to Norway from scratch, including how to get around, when to go, and where to start, our Norway Travel Guide pulls together everything we’ve learned across multiple trips.
If you’re weighing the one-car route against the two-car version described above, our guide to renting a car in Europe covers what to expect with one-way rentals, drop fees, and driving on Norwegian roads specifically.
And if the four hikes on this itinerary have you wanting more trail detail than this post covers, the individual trail guides for Pulpit Rock, Kjeragbolten, Trolltunga, and Romsdalseggen Ridge each have full step-by-step detail, current parking and logistics, and tips for hiking with kids.
If you have any questions about this 10 day Norway itinerary, let us know in the comment section below.
Explore More of Norway
20 Best Things to Do in Norway: Fjords, Lofoten & Svalbard
Pinterest Facebook Flipboard Norway is one of our favorite countries in the world, and narrowing down the best things to do in Norway for this list was genuinely hard. There’s just so much worth doing. We’ve been twice so far, and we’re already dreaming about a third trip. Our first visit was a family trip […]
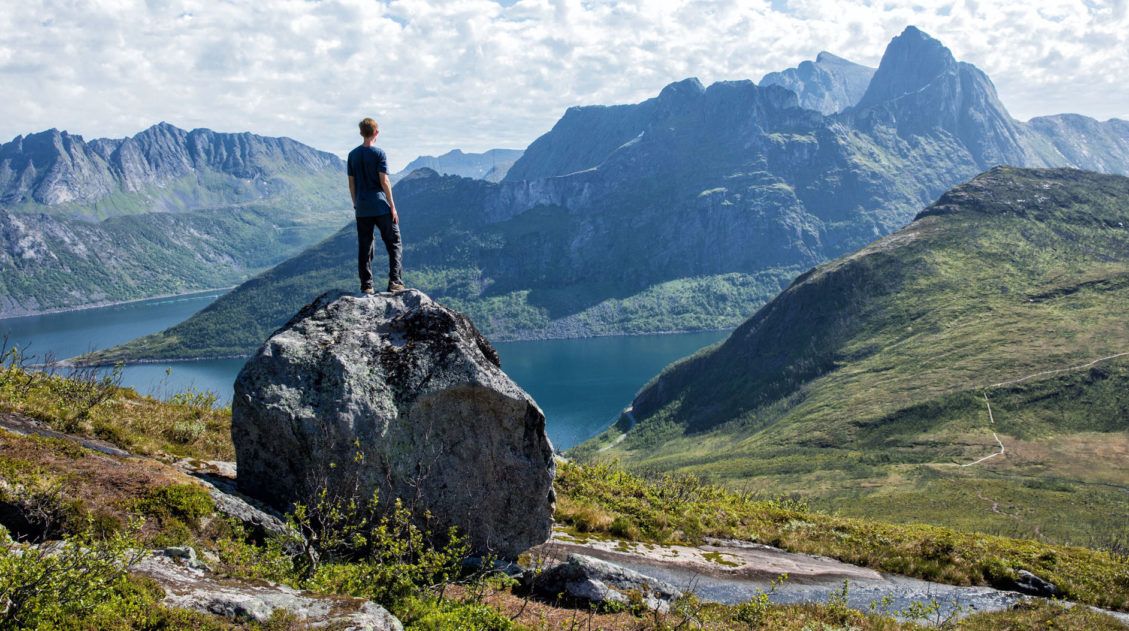
Best Hikes in Norway: 14 Epic Trails for Every Level
For hikers, few places in Europe can match Norway. The hikes in Norway are endlessly varied and genuinely world-class, from the fjords of southern Norway, the jagged peaks of the Lofoten Islands, and the remote coastline of Vesterålen and Senja. Alongside the Dolomites and the Swiss Alps, this is one of our absolute favorite places […]
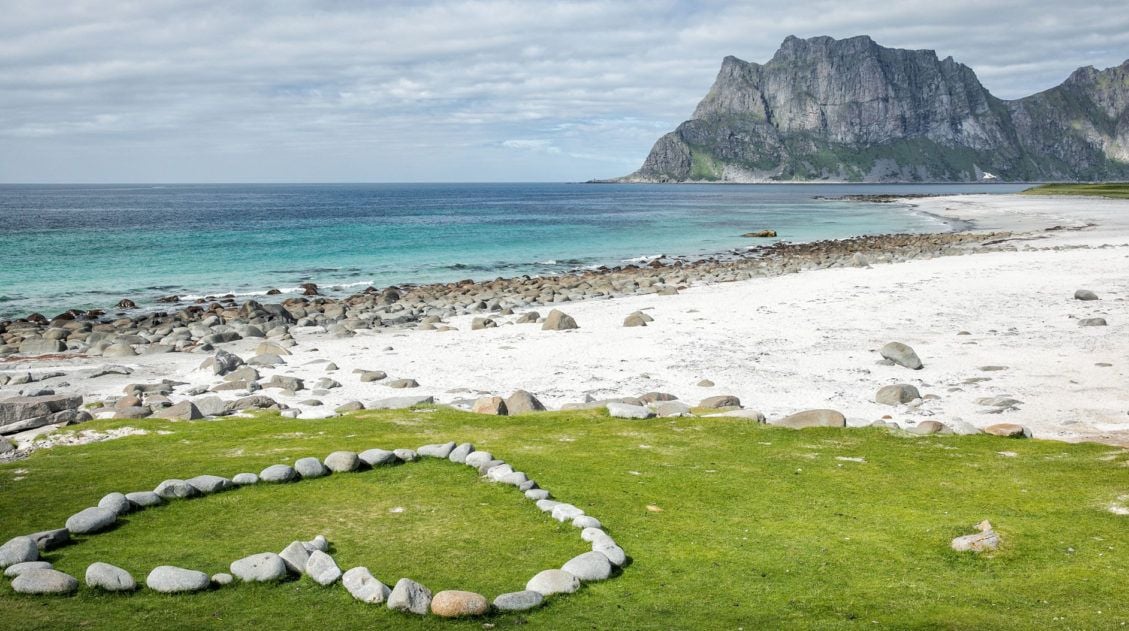
Best Things to Do in the Lofoten Islands: 16 Epic Experiences
We arrived in the Lofoten Islands after driving down from the Vesterålen Islands, and on our very first day, we climbed Svolvaergeita and hiked Svolvaer Fløya. It was a long, exhausting, unforgettable day, and somehow, it set exactly the right tone for everything that followed. By the time we left four days later, we were […]
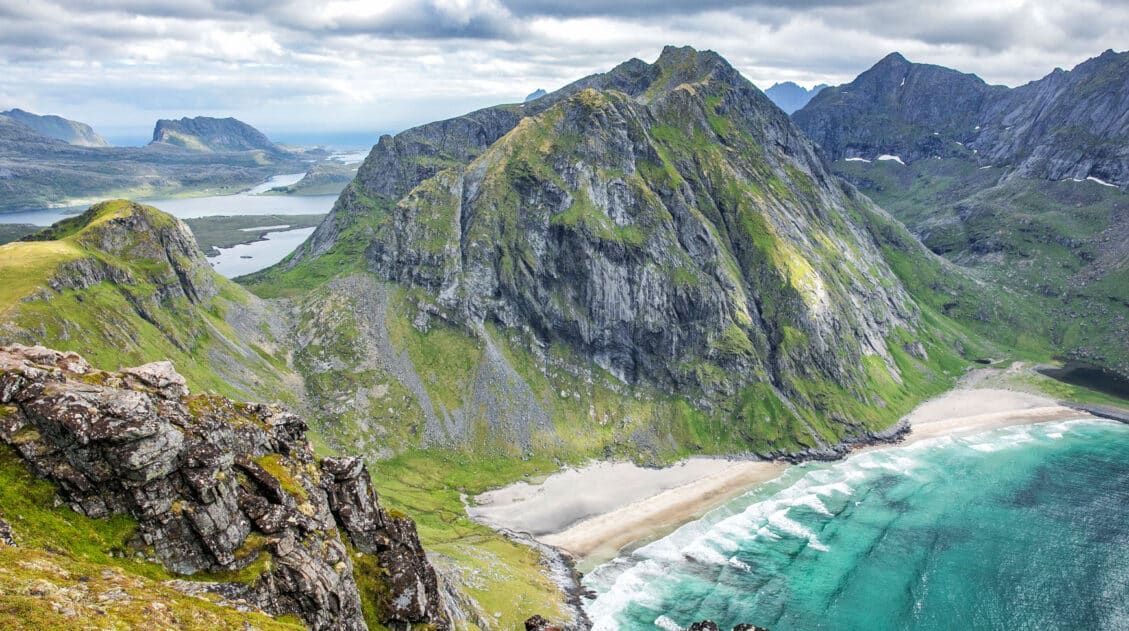
Norway Travel Guide: Fjords, Lofoten Islands & Svalbard
Norway Travel Guide There is nowhere quite like Norway. We’ve been to Norway twice, and both trips rank among the most spectacular we’ve ever taken. On our first visit, we road tripped through the fjord region in summer, hiking Trolltunga, Kjeragbolten, Pulpit Rock, and Romsdalseggen Ridge and cruising past some of the most dramatic scenery […]
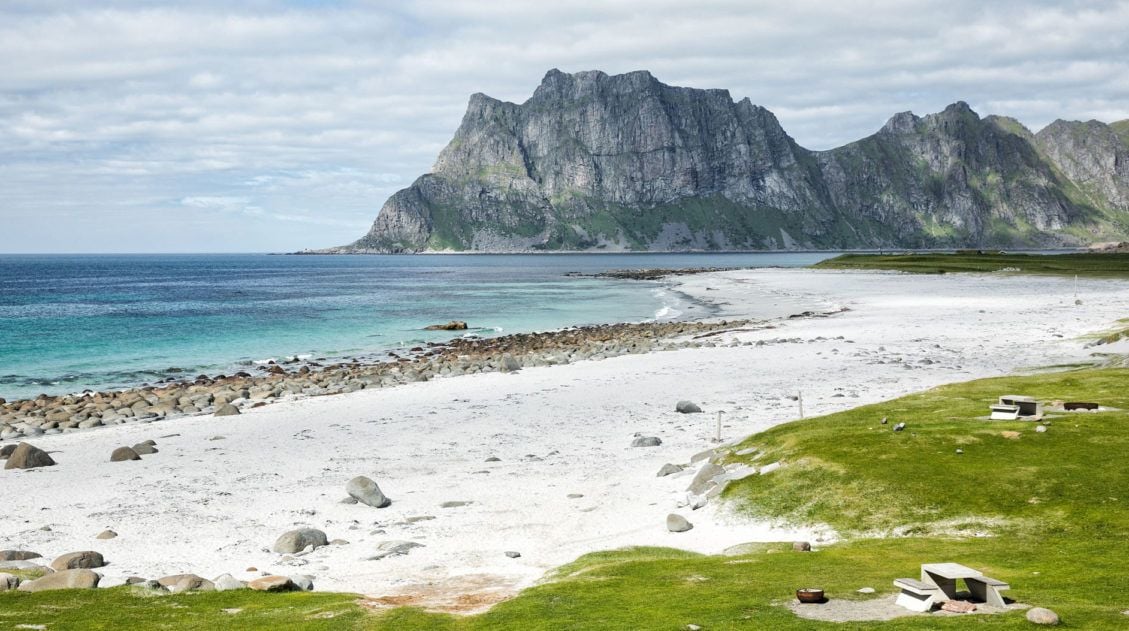
Lofoten Islands Itinerary: 4 to 5 Days in Norway’s Most Spectacular Islands
There are places that stop you in your tracks the moment you arrive. The Lofoten Islands are one of them. We pulled over constantly, not because we planned to, but because we couldn’t drive past another mountain plunging straight into the fjord, another stretch of white sand beach backed by jagged cliffs, or another cluster […]
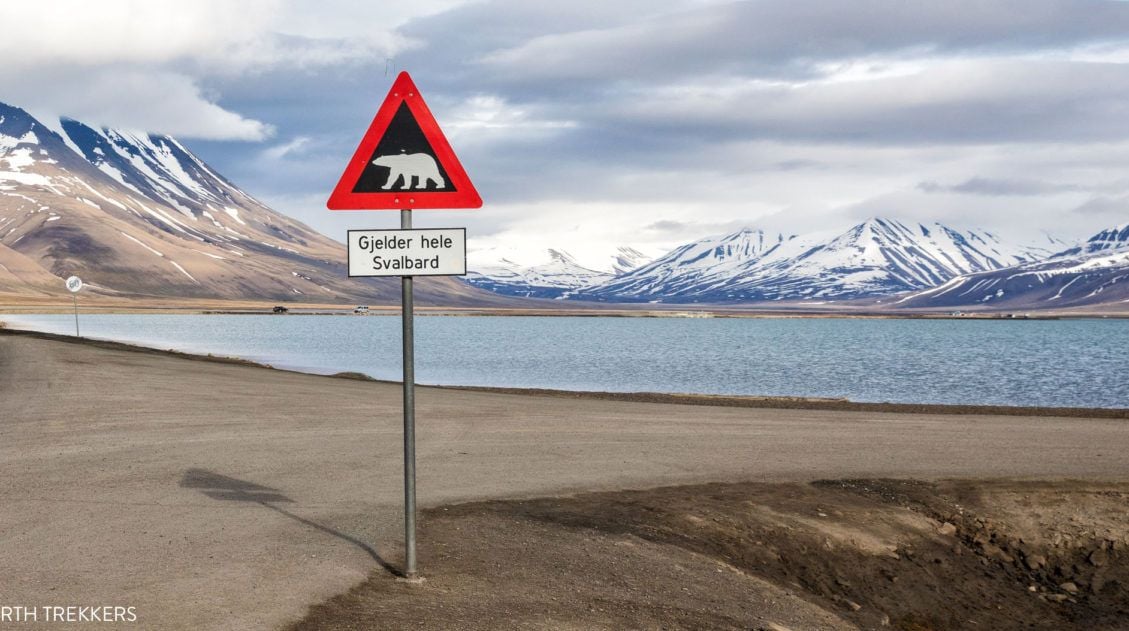
Svalbard Itinerary: 5 Days in the Arctic for First-Time Visitors
Svalbard. An Arctic playground where there are more polar bears than people, filled with glaciers, the Northern Lights, the midnight sun, and frozen tundra. It may look barren from a distance, but it is filled with arctic wildlife like reindeer, walrus, and polar bears. If you like the idea of exploring the great outdoors, your […]
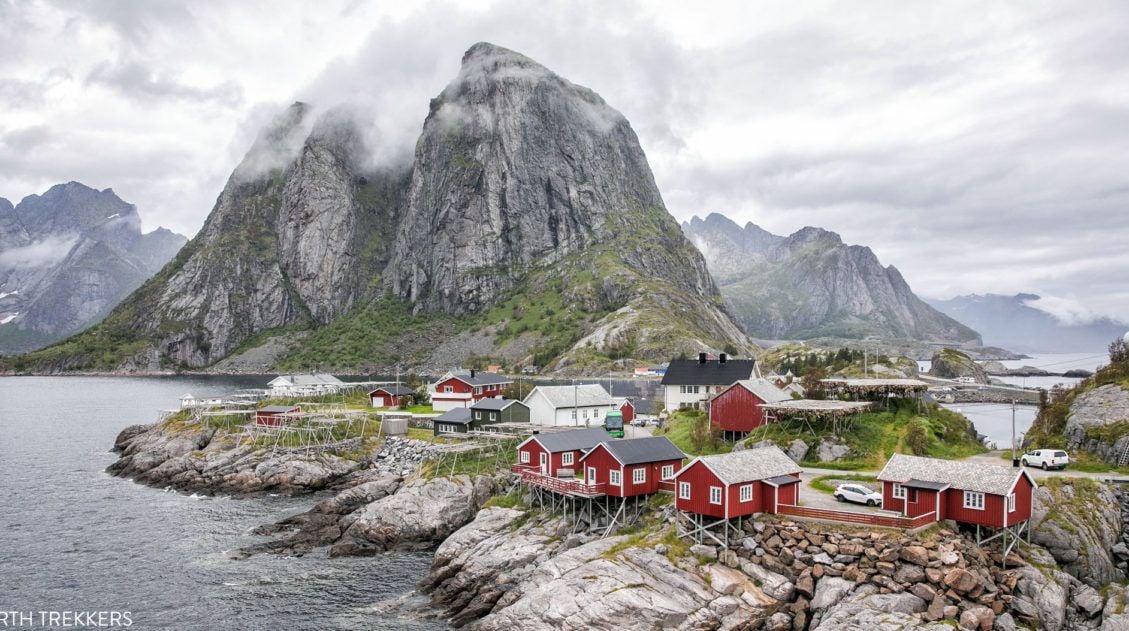
10-Day Northern Norway Itinerary: Tromsø to the Lofoten Islands
We’ve done a lot of road trips in Europe, through the Italian Dolomites, across the Scottish Highlands, and down into the fjord region of southern Norway. This Northern Norway itinerary is one of our all-time favorites. We drove this route in early July, starting in Tromsø and working our way south through Senja and the […]
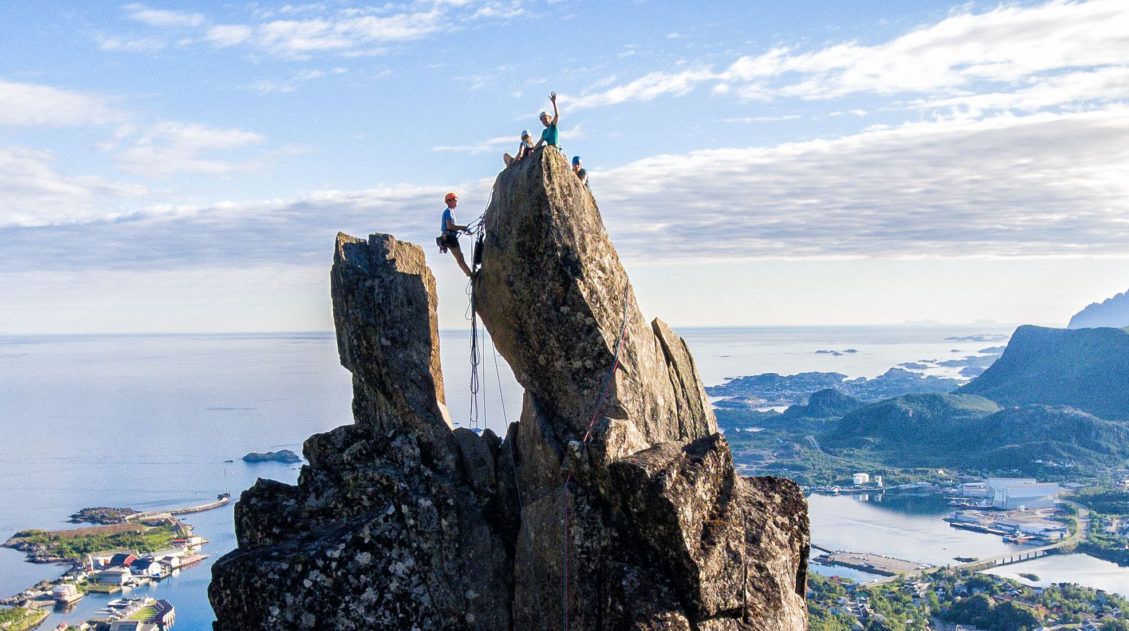
Complete Guide to Climbing Svolvaergeita in the Lofoten Islands
Svolvaergeita, also called “The Goat,” is a pinnacle of rock that is a popular rock climbing spot in the Lofoten Islands. It is named The Goat because of the two horns of rock that sit atop the rock. Those with a sense of adventure can climb to the top of Svolvaergeita and those who are […]
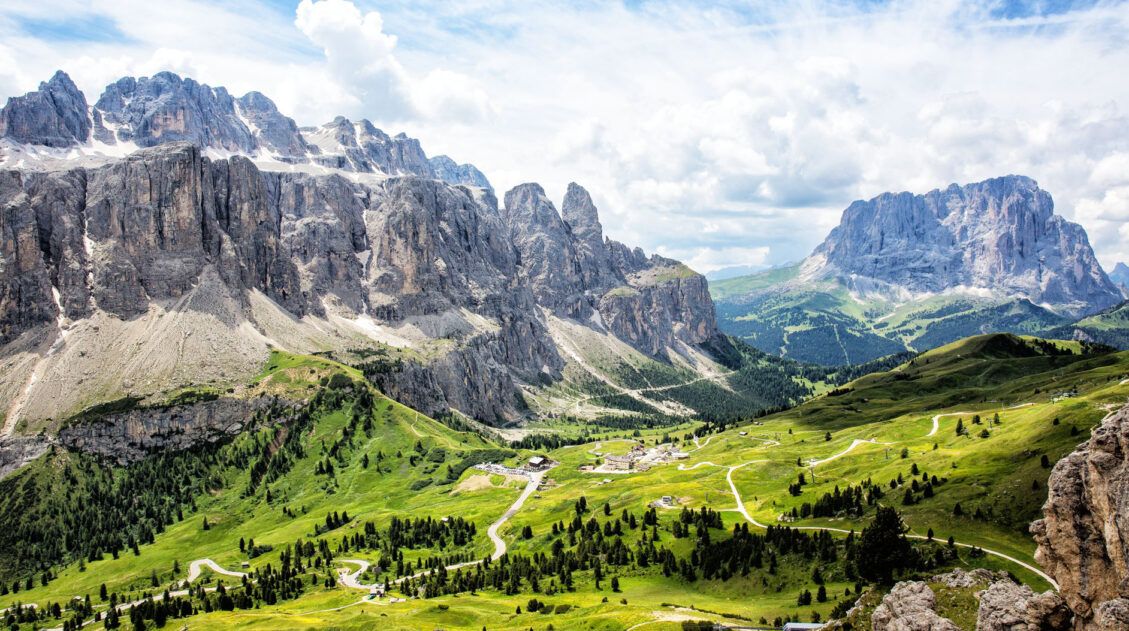
20 Best Day Hikes in the World (+ Map & Photos)
Where can you go to find that perfect day hike? The hike that leaves you breathless as you climb the summit of the mountain. The hike with the awe-inspiring views. The hike that is so enjoyable because the terrain and its views are always changing. The hike that has you saying “Wow!” over and over […]
10 Days in Europe: 10 Amazing Itineraries for Your Next Trip
Europe is a joy to explore. With world-class cities, medieval towns, historical sites, the snowcapped Alps, gorgeous beaches, and some of the world’s most delicious food, you have the perfect ingredients for your next vacation. If you want to spend 10 days in Europe, we have ten amazing itineraries to share with you. In this […]
How to Plan Your First Trip to Europe: Everything You Need to Know
Picture this: you’ve decided you’re finally going to do it. You’re going to Europe. The excitement is real. So is the panic when you open Google and realize there are roughly a million opinions on where to go, what to see, and how to do it all in 10 days. We’ve been traveling to Europe […]

Comments 296