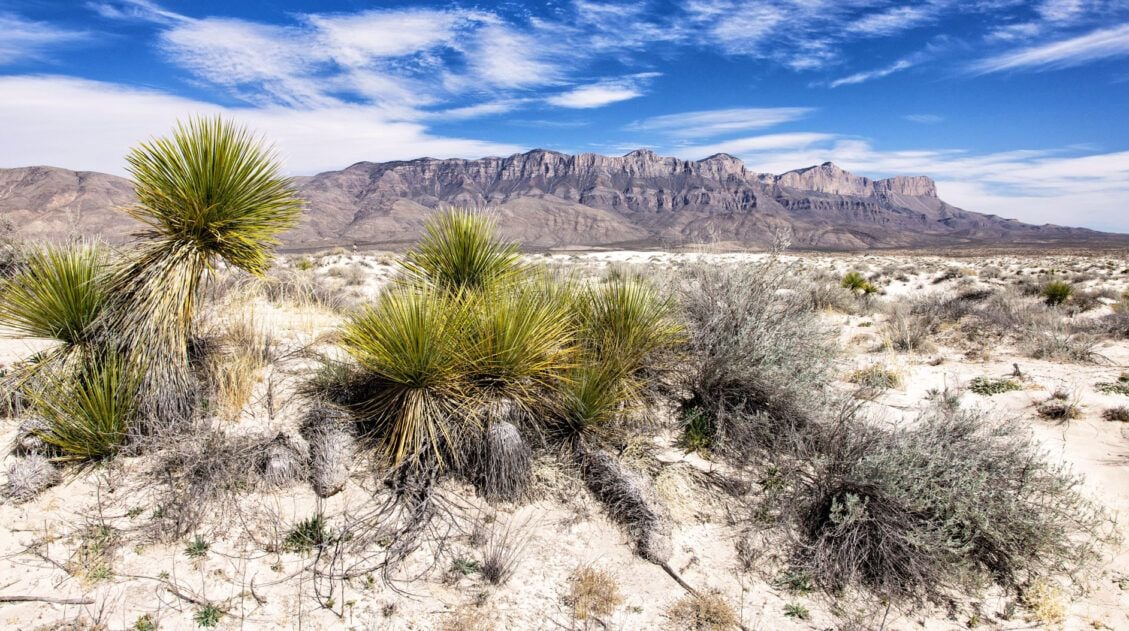
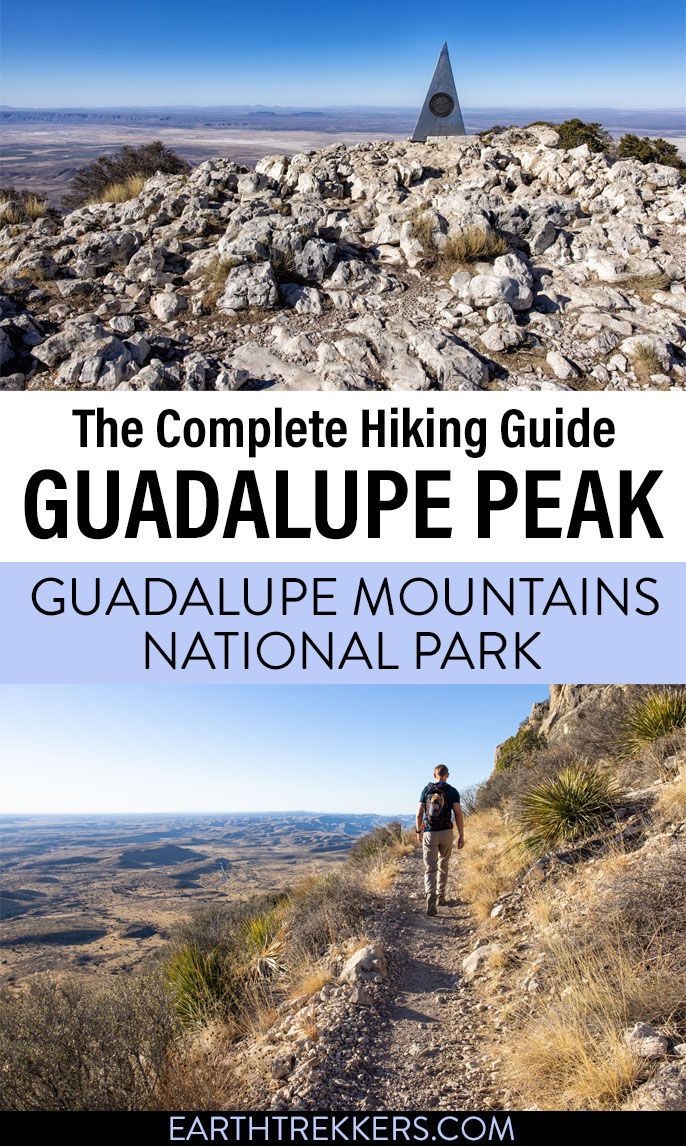
Guadalupe Peak, at 8,751 feet, is the highest point in Texas, and for hikers who make the goal of standing on the highest point in every state they visit, this one is a must.
Tim and I hiked to the summit during Spring Break, arriving at the Pine Springs Trailhead parking lot at 7:30 am to beat the crowds. It worked. The trail was nearly empty on the way up, we shared the summit with just a handful of other hikers, and enjoyed clear skies and cool temperatures that made for great photos at the top.
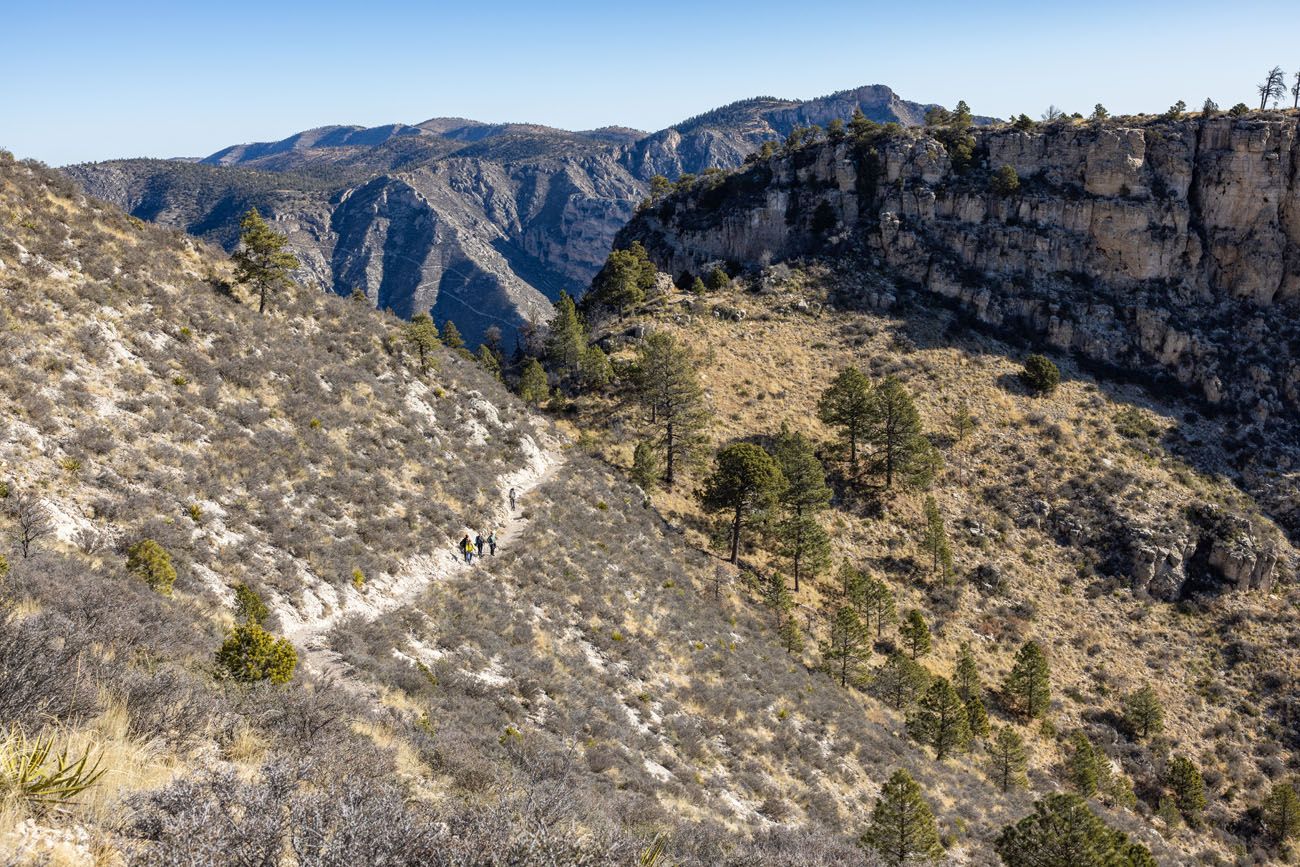
The Guadalupe Peak Trail is a straightforward summit climb: sustained elevation gain, big views over the Chihuahuan Desert, and a real sense of accomplishment when you reach the top. It doesn’t have a lot of landmarks or dramatic scenery along the way. This is a hike defined by the destination, not the journey. On our way back down, we passed a steady stream of hikers heading up, which told us everything about the importance of that early start.
If you’re an avid hiker, this is a must-do. If you’re looking for the most scenic or interesting trail in Guadalupe Mountains National Park, that distinction belongs to Devil’s Hall or McKittrick Canyon. But as the highest peak in Texas, Guadalupe Peak earns its place on any serious hiker’s list.
In this guide, we cover everything you need to know to hike Guadalupe Peak — trail conditions, parking strategy, what to expect mile by mile, and tips to make the most of your visit.
Guadalupe Peak: The Essentials
DISTANCE | 8.4 miles (13.5 km) round trip
TOTAL ASCENT | 3,000 feet (914 meters)
DIFFICULTY | Strenuous
TIME | 4–8 hours (we reached the summit in 2 hours)
TRAILHEAD | Pine Springs Trailhead
PARKING | Fills by 7:30 am in peak season
CROWDS | Heavy, especially spring and fall
HIGHLIGHT | The highest point in Texas at 8,751 feet
April 2026 Update: Expanded the trail guide, added new Best Time to Visit and FAQ sections, and current parking and fee information.
How Hard is the Guadalupe Peak Trail?
Guadalupe Peak is a strenuous hike, and the difficulty is front-loaded. The first mile is the toughest. It’s steep and rocky, with a series of switchbacks and large stone steps that will have your legs burning early. Mile two eases slightly but remains a sustained climb. By mile three the grade mellows a bit, and the final push to the summit is steep again, with a few narrow sections where the trail drops off on one side.
No technical scrambling is required, but this is not a hike for beginners.
Plan for 5 to 8 hours round trip, bring plenty of water, and don’t underestimate the descent — hiking back down 3,000 feet of elevation on a rocky trail is hard on the knees.
Is the Guadalupe Peak Trail Worth It?
For avid hikers, yes. Standing on the highest point in Texas at 8,751 feet, with sweeping views over the Chihuahuan Desert and the Guadalupe Mountains, is a genuine accomplishment. The summit view on a clear day is expansive and memorable.
That said, this is a hike defined by the destination rather than the journey. Unlike Devil’s Hall or McKittrick Canyon, there aren’t many landmarks or dramatic scenery changes along the way. It’s a summit climb, pure and simple.
If bagging the highest point in Texas is on your list, don’t hesitate. If you’re choosing between trails and only have time for one, we’d point most hikers toward Devil’s Hall first (or combine Guadalupe Peak with Devil’s Hall, which we get to later in this guide).
Getting to Guadalupe Mountains National Park
Guadalupe Mountains National Park charges an entrance fee of $10 per person, valid for one day. If you plan to visit multiple times or are a small group, the annual pass is $35 and covers up to four people for one year. You can purchase passes at the Pine Springs Visitor Center (when it is open, which is usually at 8 am) or at the self pay station near the trailhead. Get updated prices and hours of the visitor center on the National Park Service website.
Pine Springs Trailhead & Parking
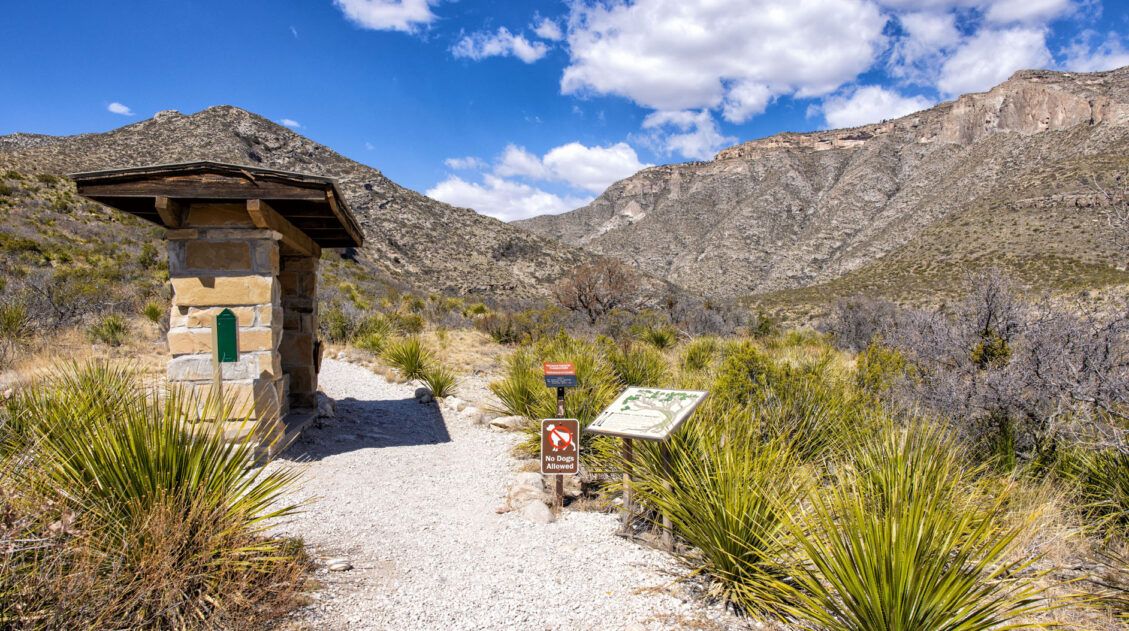
The Guadalupe Peak Trail starts at the Pine Springs Trailhead, located next to a small parking lot just off Highway 62/180. This is the closest parking to the trailhead and the one you want, but it fills up fast. We arrived at 7:30 am during Spring Break and we got one of the last spots. Plan to arrive no later than 7:30 am during busy periods.
If the trailhead lot is full, the next option is the Pine Springs Visitor Center parking lot, about 0.4 miles from the trailhead, which adds 0.8 miles round trip to your hike. If that fills up too, a third overflow lot sits further out on Highway 62, adding 0.8 miles each way, or 1.6 miles round trip to your total distance.
The trailhead has restrooms, information boards, and trash cans. There is no water available at the trailhead, so make sure you are fully stocked before you start hiking.
Before heading out, sign the trail register at the Pine Springs Trailhead kiosk. This is standard practice in Guadalupe Mountains National Park and helps rangers track who is on the trails.
GOOD TO KNOW: This parking lot fills early because it is also the start of the Devil’s Hall Trail, another uber popular hike in Guadalupe Mountains.
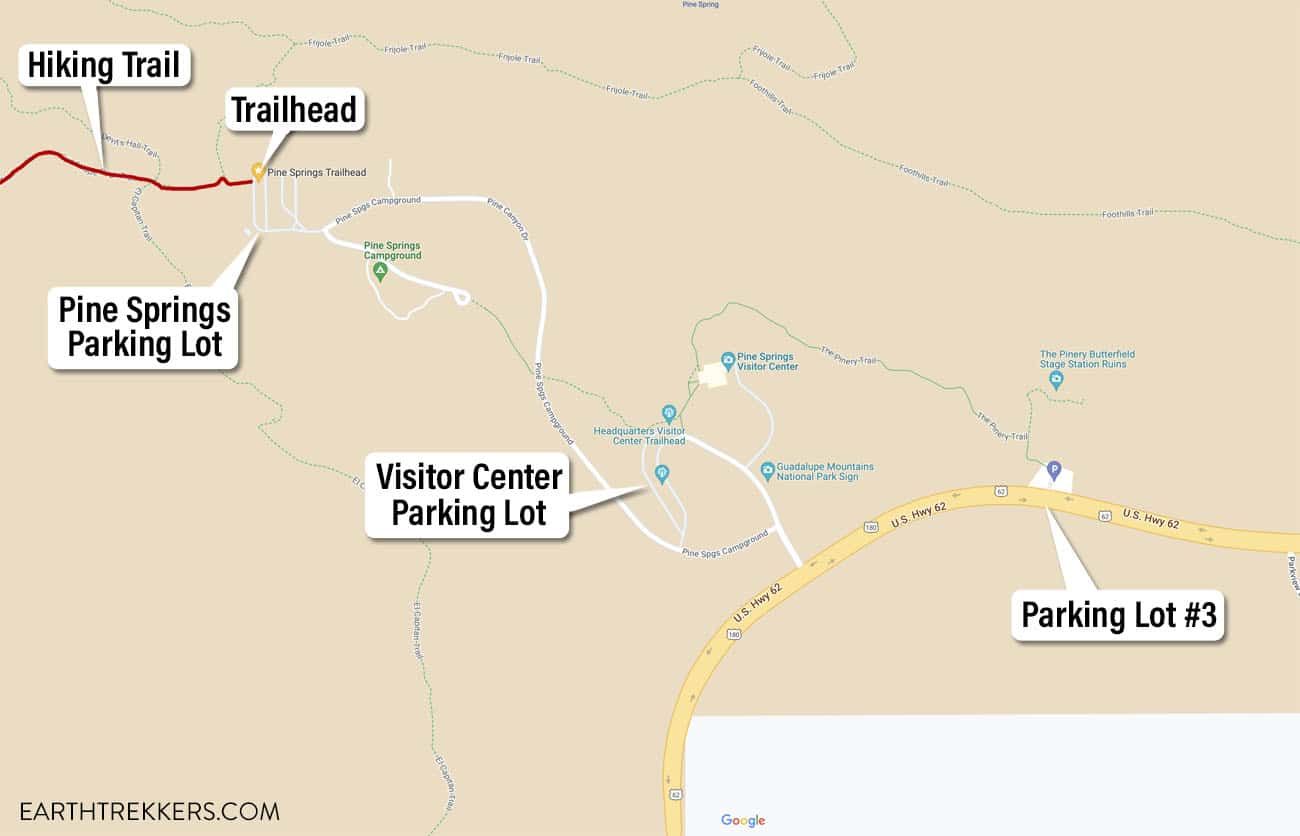
Parking Map
Please practice the seven principles of Leave No Trace: plan ahead, stay on the trail, pack out what you bring to the hiking trail, leave areas as you found them, minimize campfire impacts, be considerate of other hikers, and do not approach or feed wildlife.
Hiking to Guadalupe Peak
We hiked to Guadalupe Peak on March 15, which was during spring break. Since we got an early start, crowds were low on the way up, but we passed lots of hikers on our way back down. Out of all of the trails we hiked in Guadalupe Mountains National Park, this trail was one of the busiest (hiking the McKittrick Canyon Trail to the Notch was also very busy).
It will take most people between 6 to 8 hours to do this hike. It can be done faster (we reached the summit in 2 hours) or longer. For a hike this long, pack a picnic lunch. Guadalupe Peak is a great spot for a picnic and to give your legs a rest before starting the big descent back down the mountain.
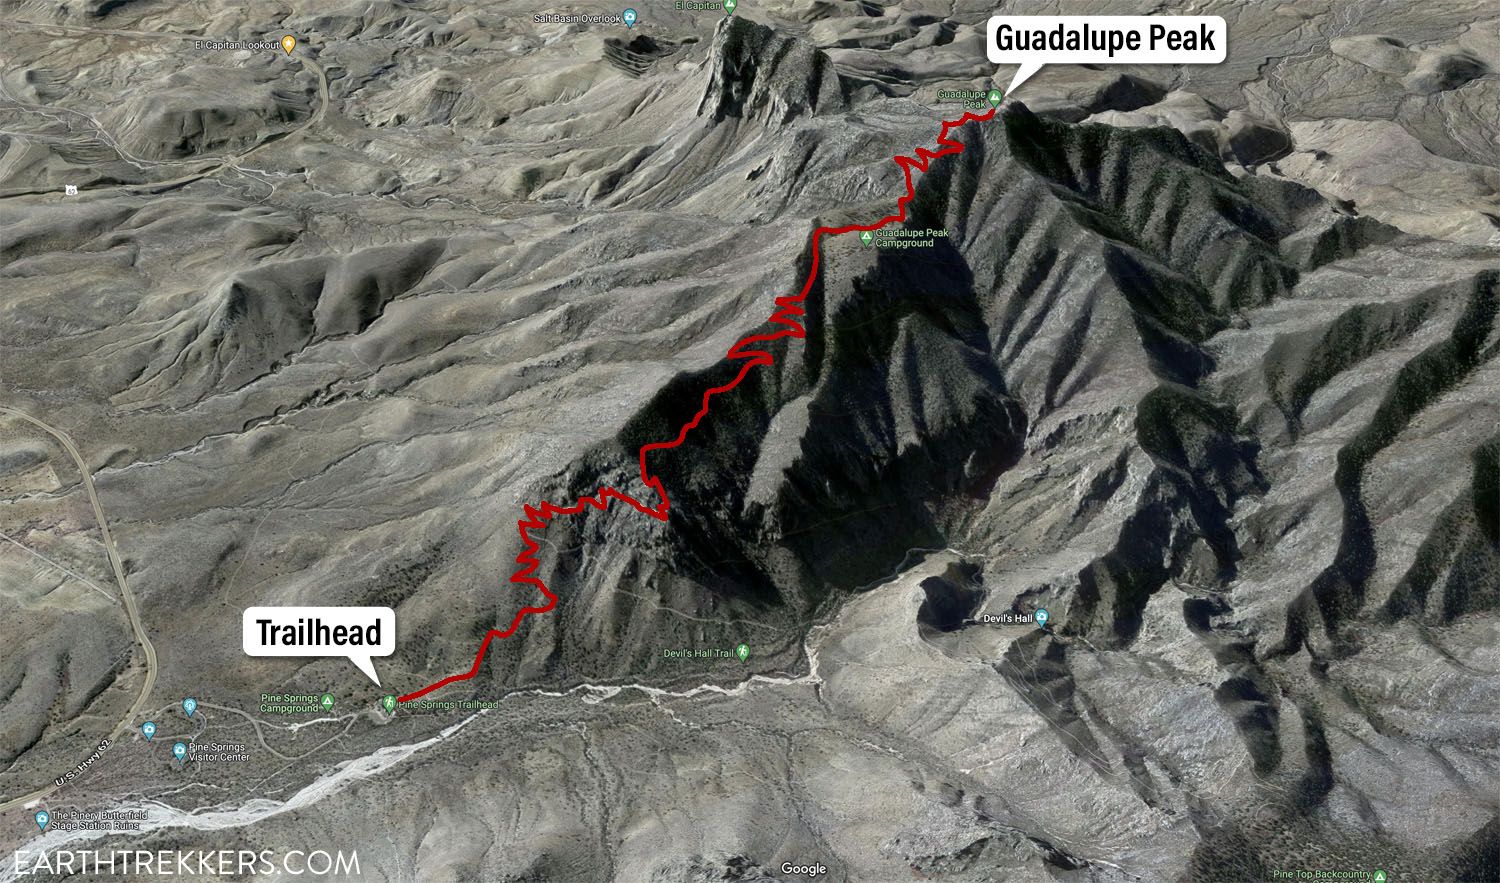
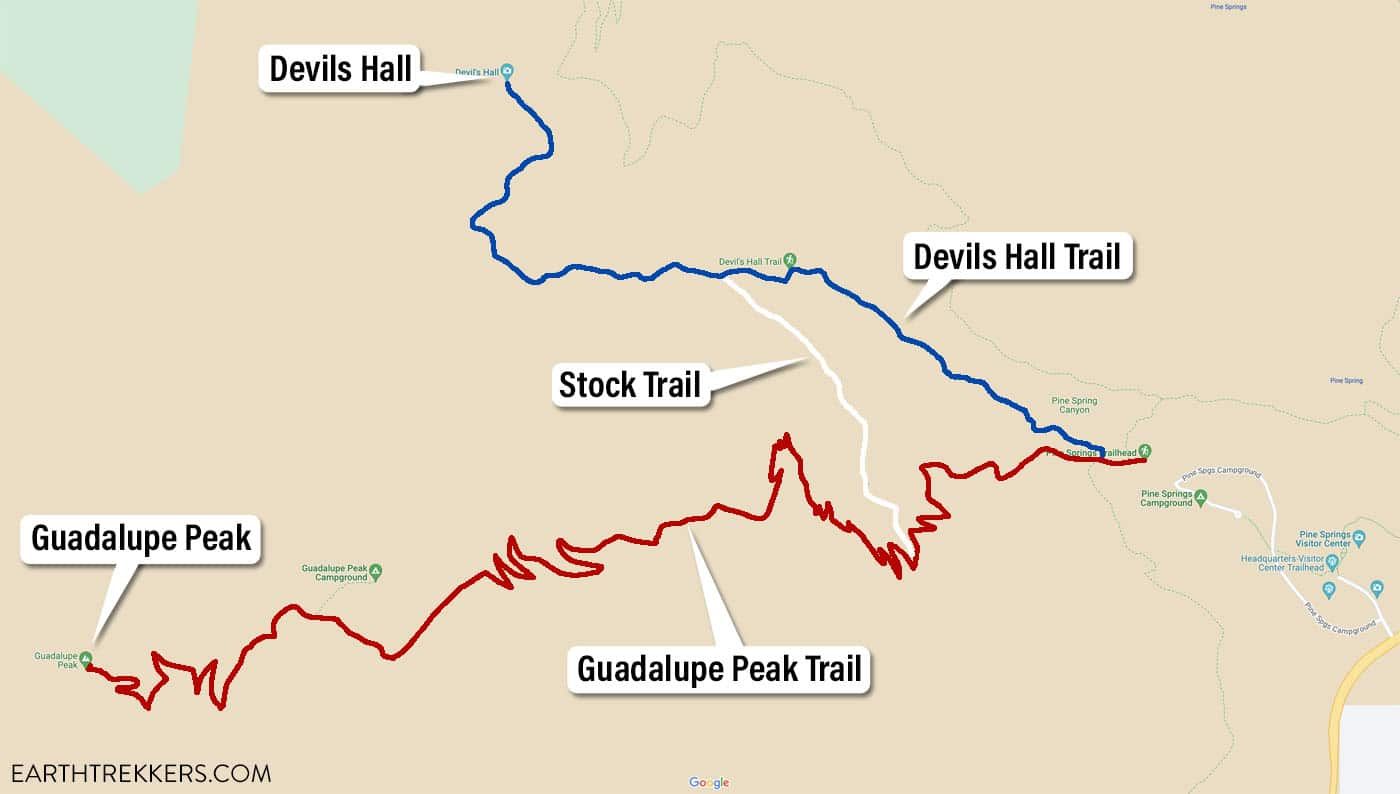
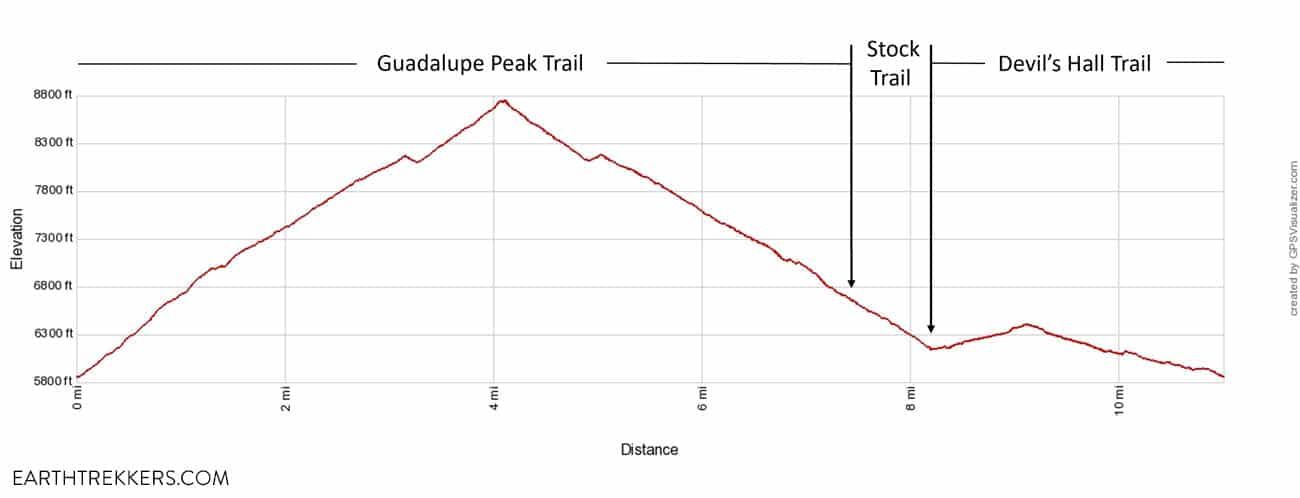
Guadalupe Peak Trail Map
The trailhead is on the northwest corner of the parking lot. Within the first tenth of a mile you’ll reach a trail junction. Take the middle trail, following the sign for the Guadalupe Peak Trail.
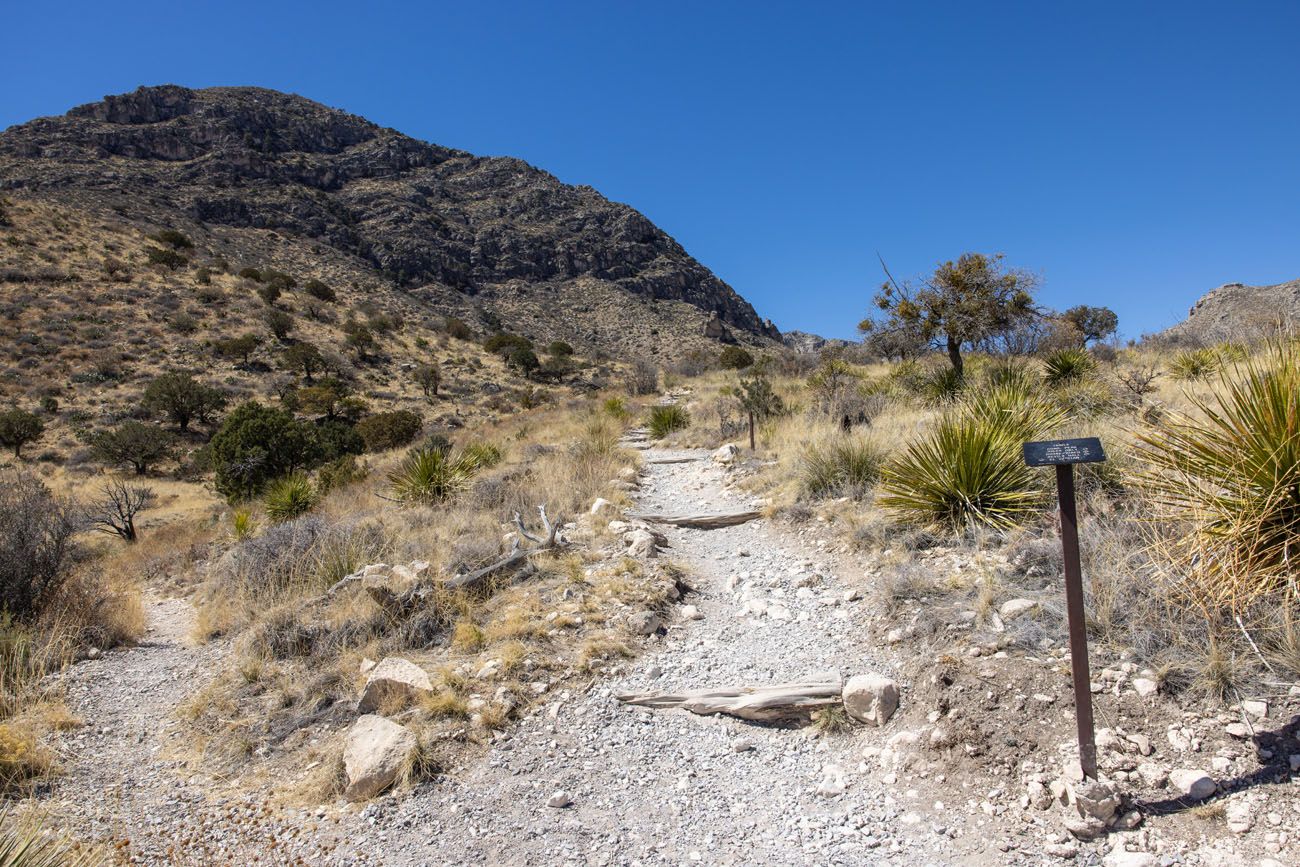
Trail junction. You will hike up and around the mountain in this photo but this is not Guadalupe Peak (you can’t see it yet).
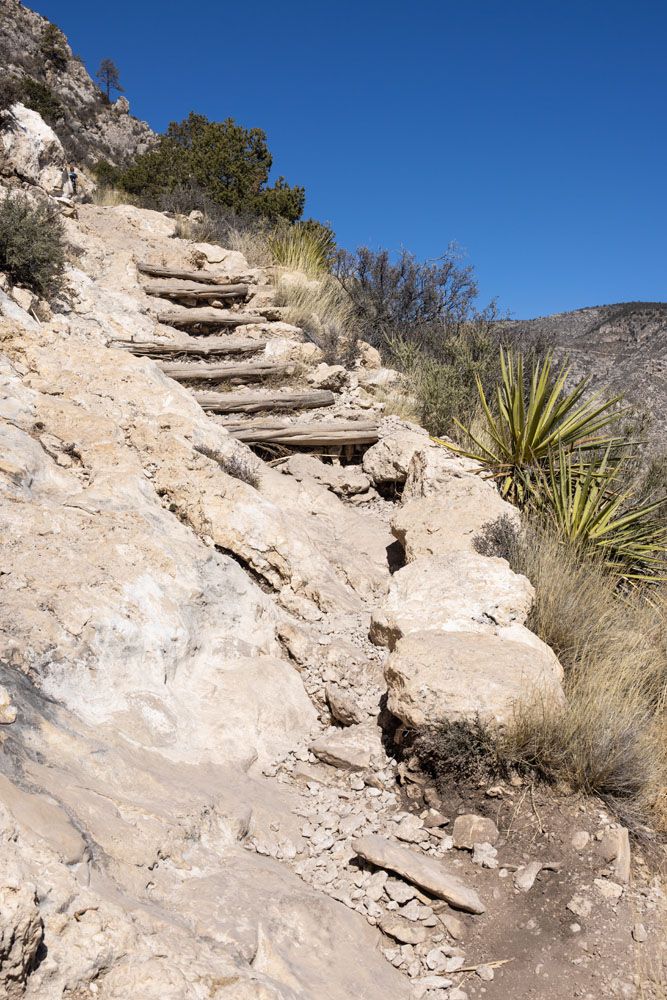
Mile 1
This is the hardest mile of the hike. The trail climbs immediately into a series of steep switchbacks with rocky footing and large stone steps. Don’t be discouraged — this is as tough as it gets, and it won’t last forever.
At 0.8 miles into the hike, you will reach another trail junction. This is marked with a sign that reads “no stock beyond this point.” Continue to follow the steeper trail uphill, to stay on the Guadalupe Peak Trail. If you take the narrower trail that leads back downhill, you will be heading to Devils Hall.

Stock Trail Junction
Mile 2
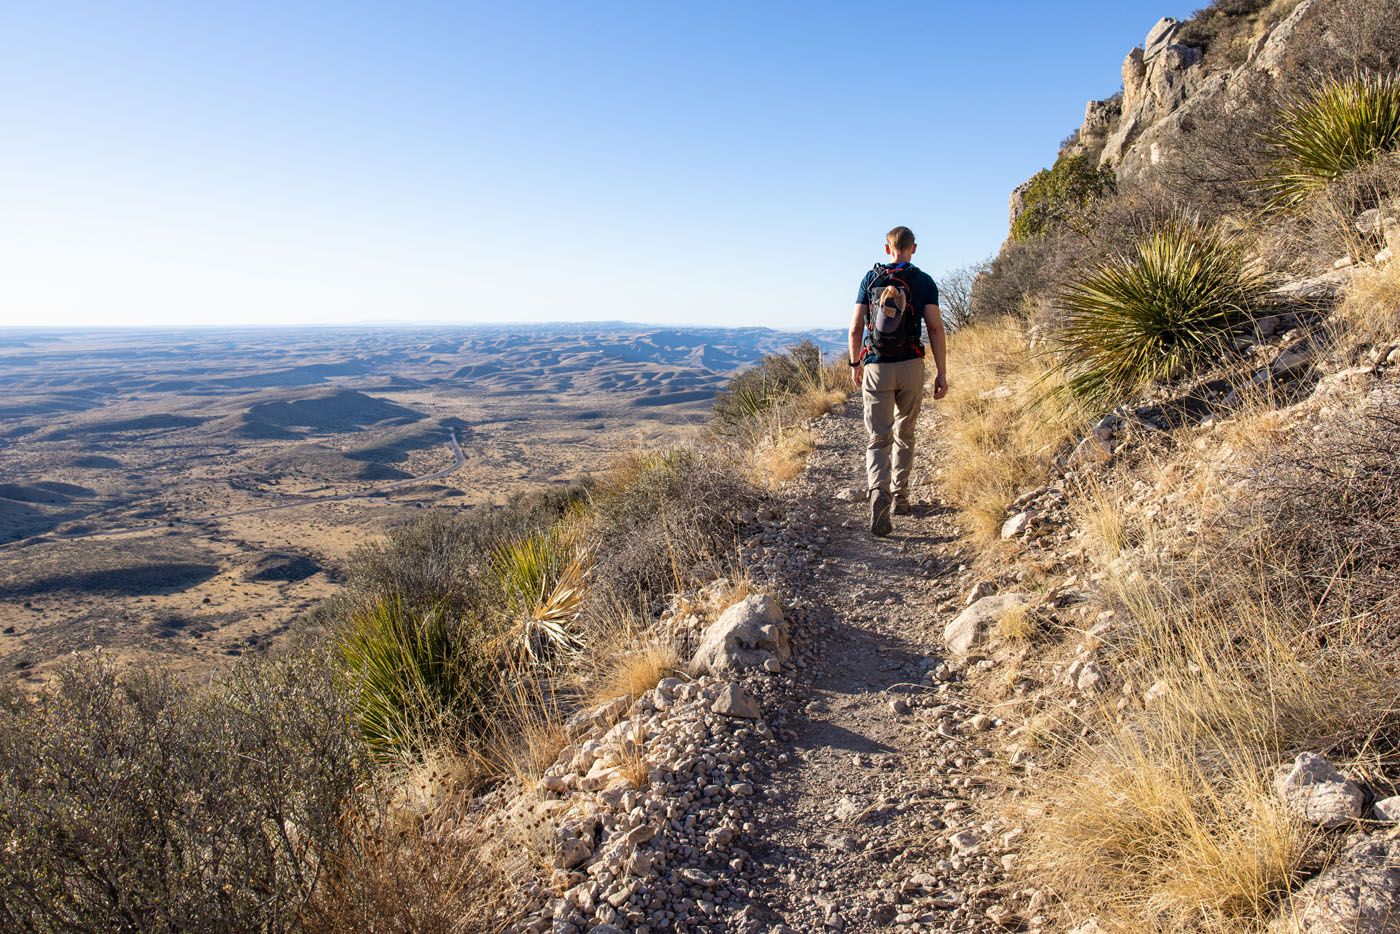
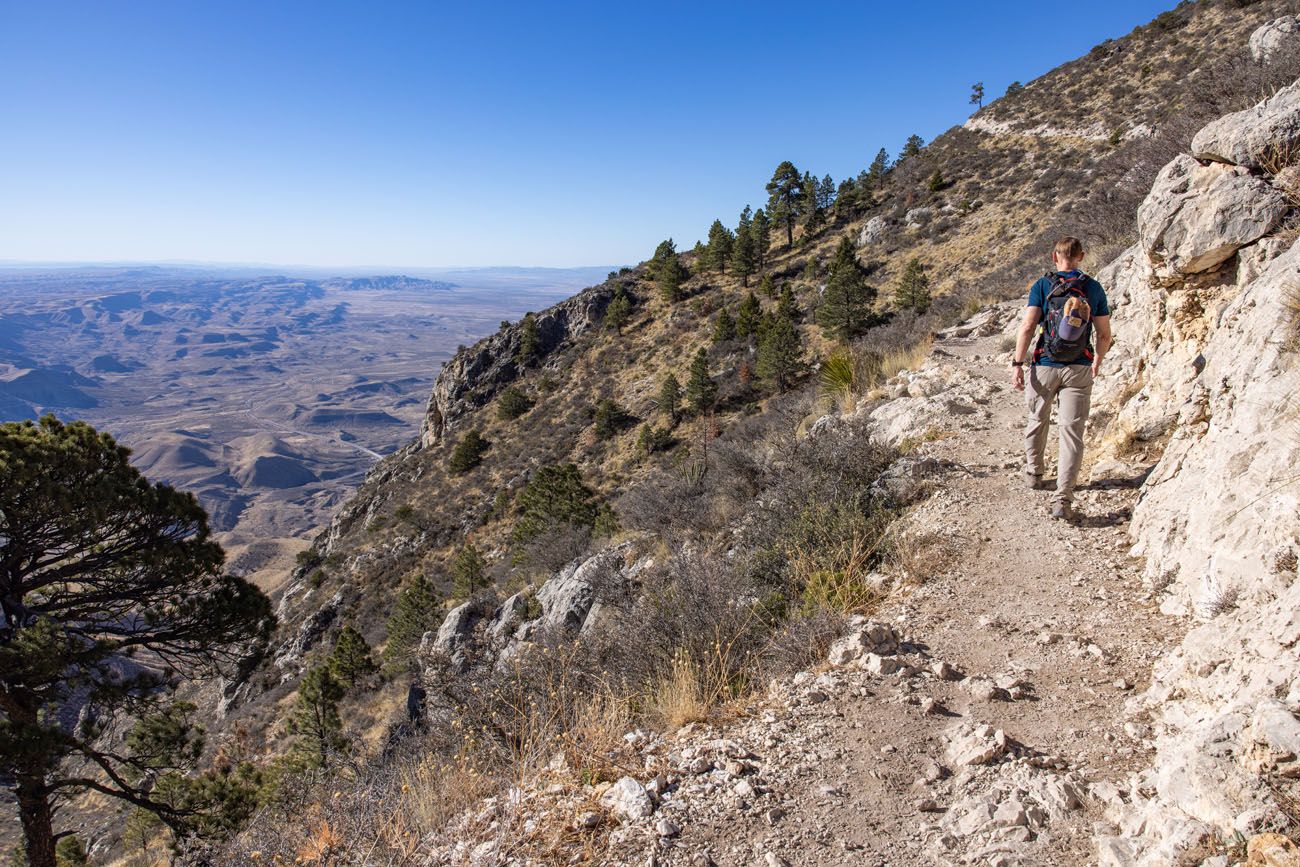
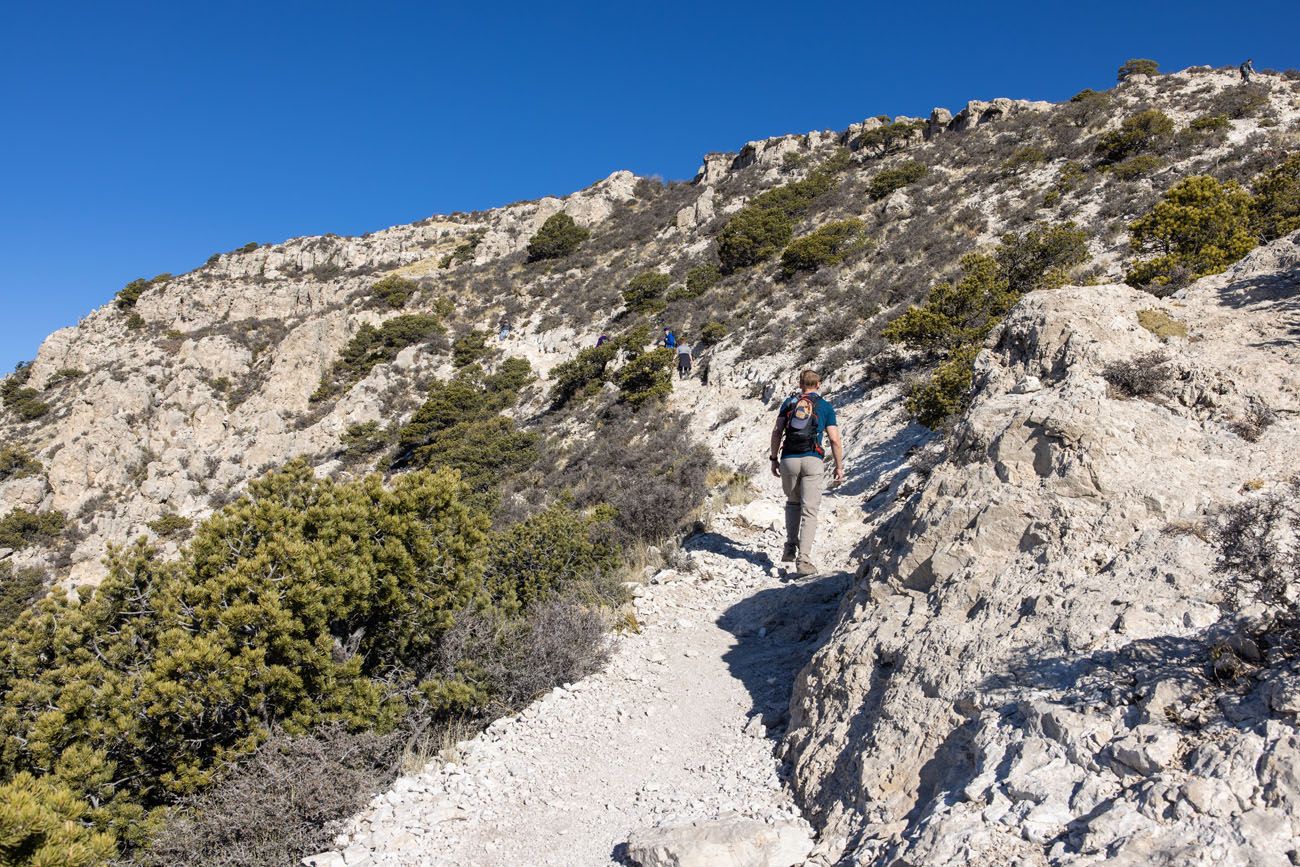
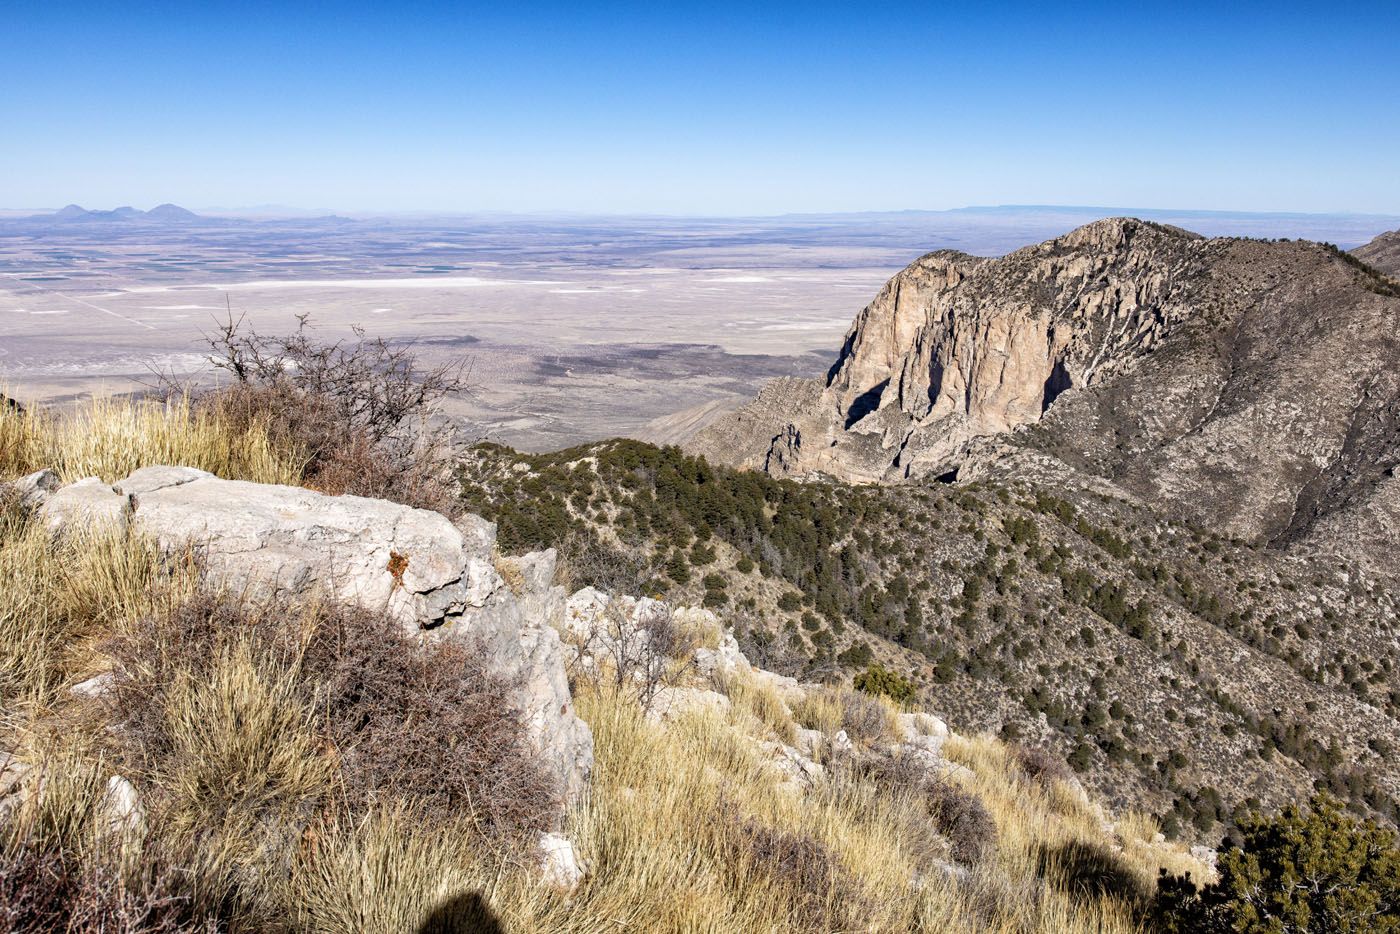
Mile two is still steep, but not quite as bad as the first mile. There will still be sets of stone steps, but there are also a few places where the trail levels out, at least for a little bit, to give you a brief break. But this part of the hike is one of the best. The views of the valley below, the parking lot, and Hunter Mountain are amazing.
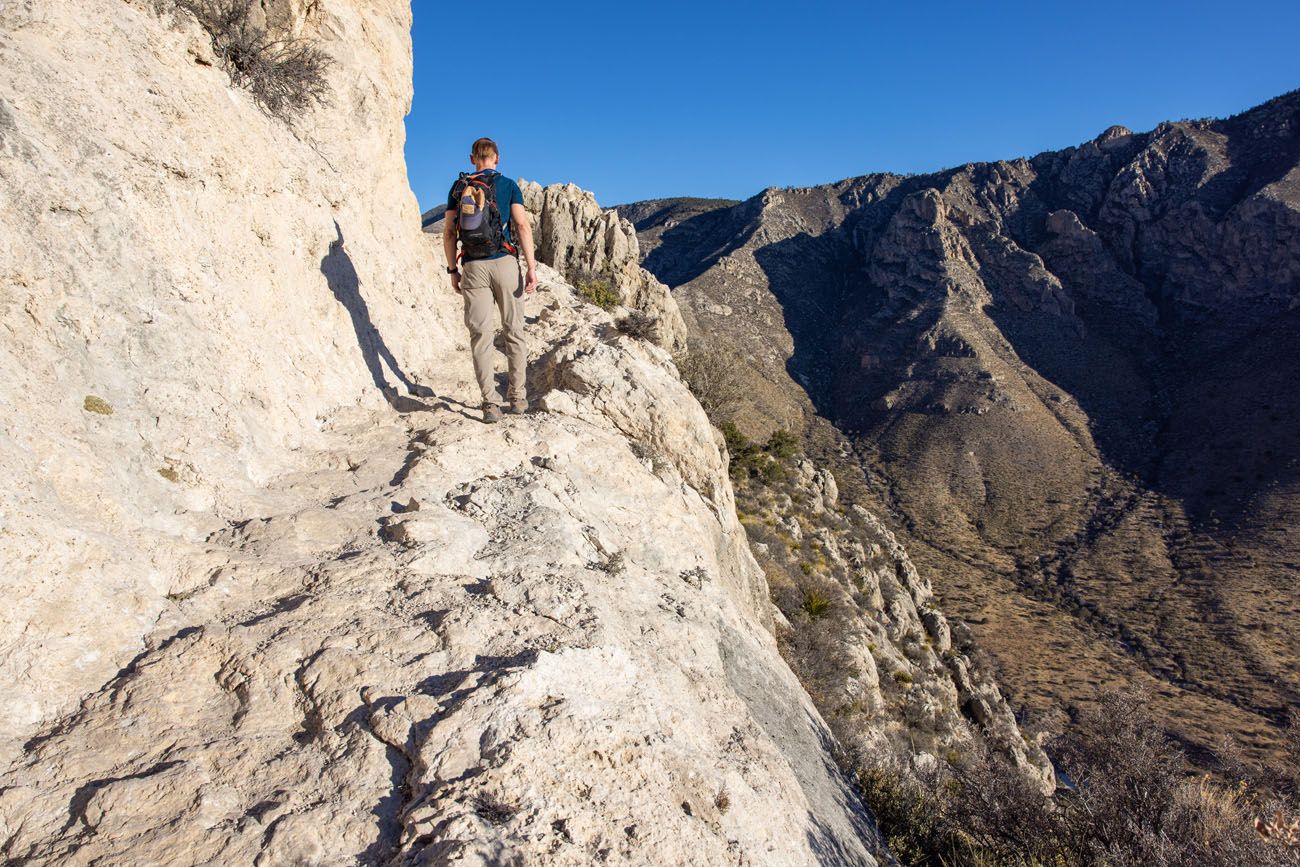
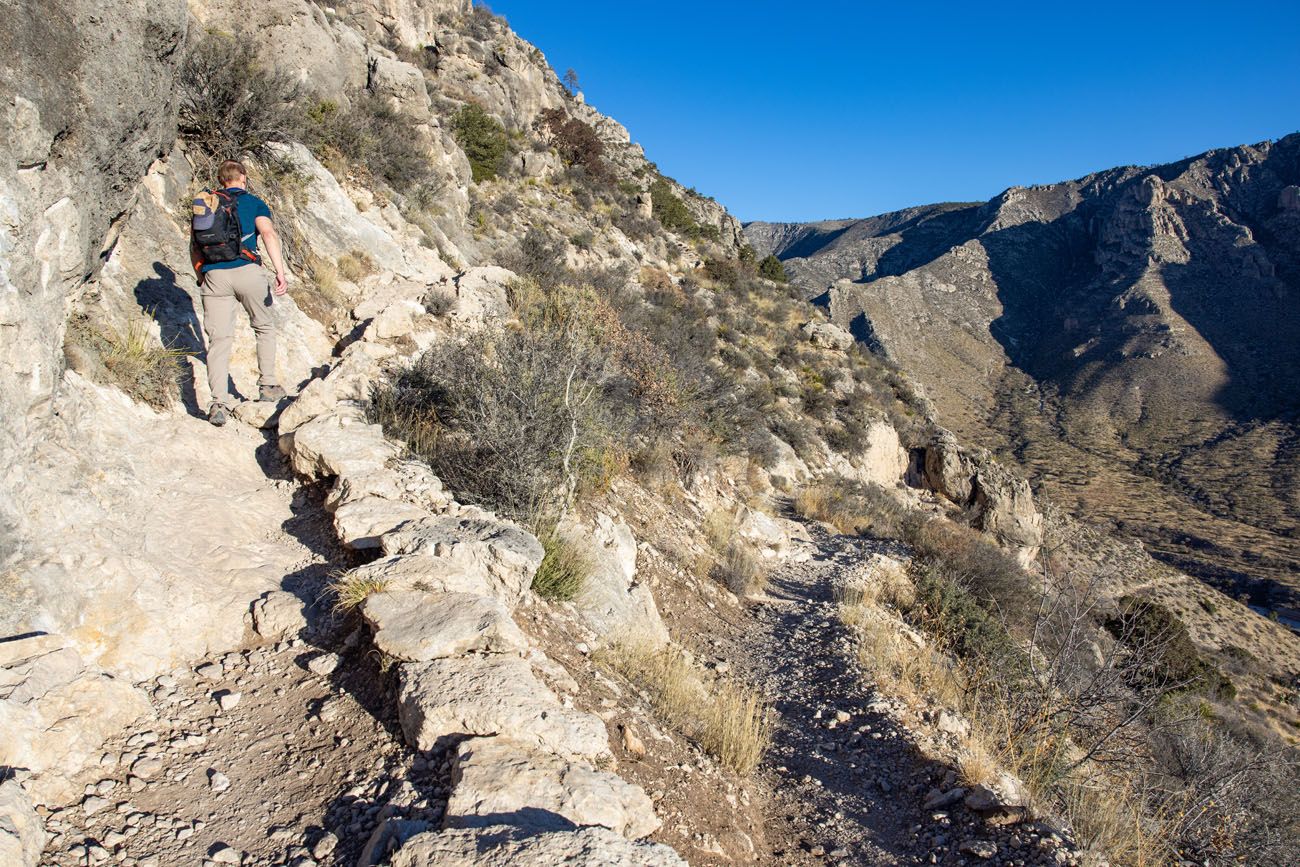
There are spots where the trail gets very narrow with a drop off on one side, as seen here.
During the second mile, the trail winds around the backside of the mountain you’ve been hiking up, and parts of this trail will be shady.

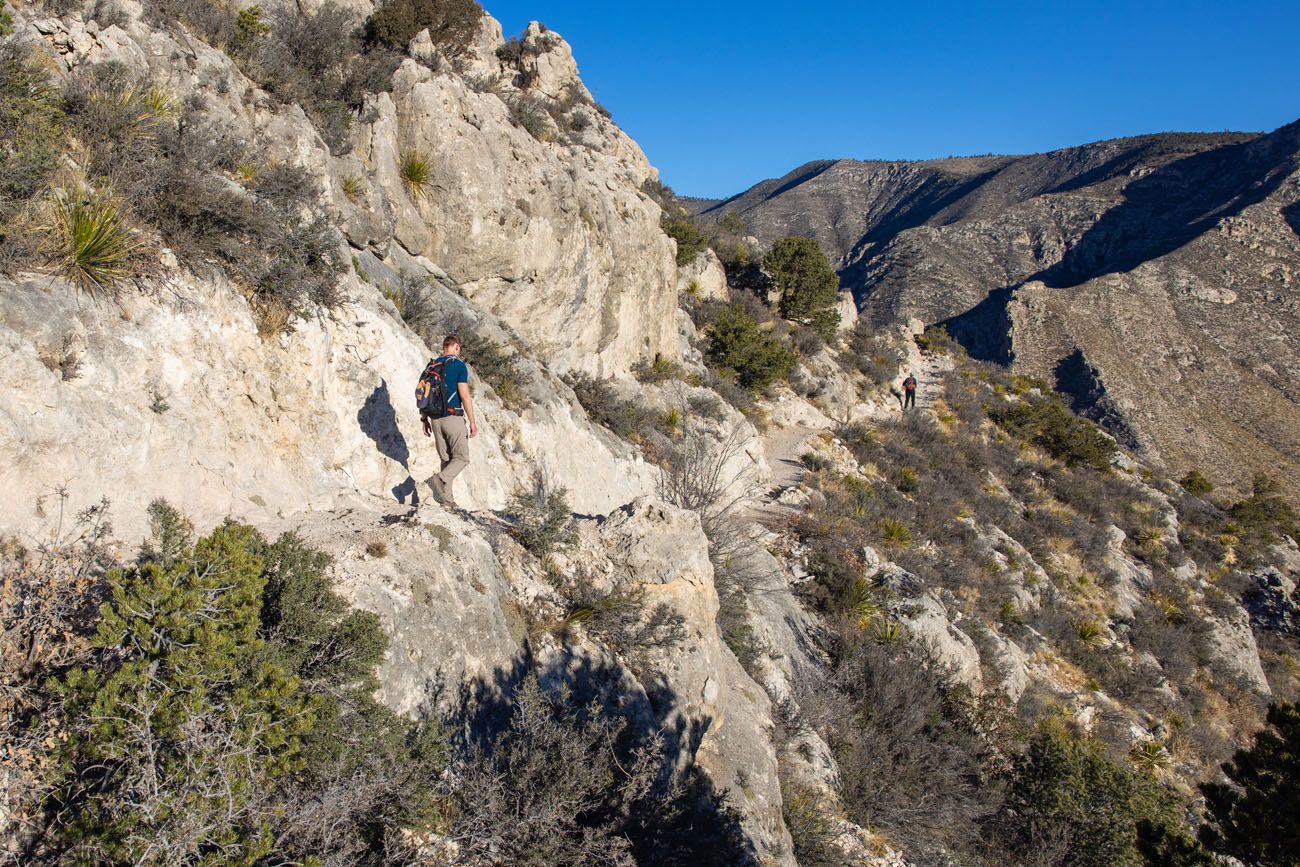
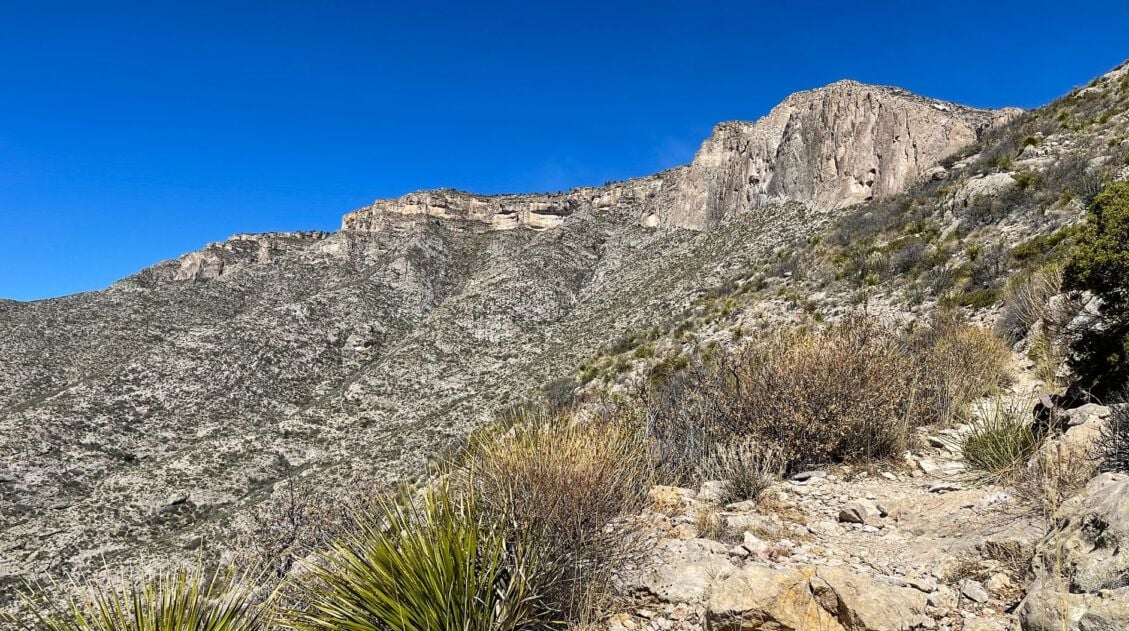
Mile 3
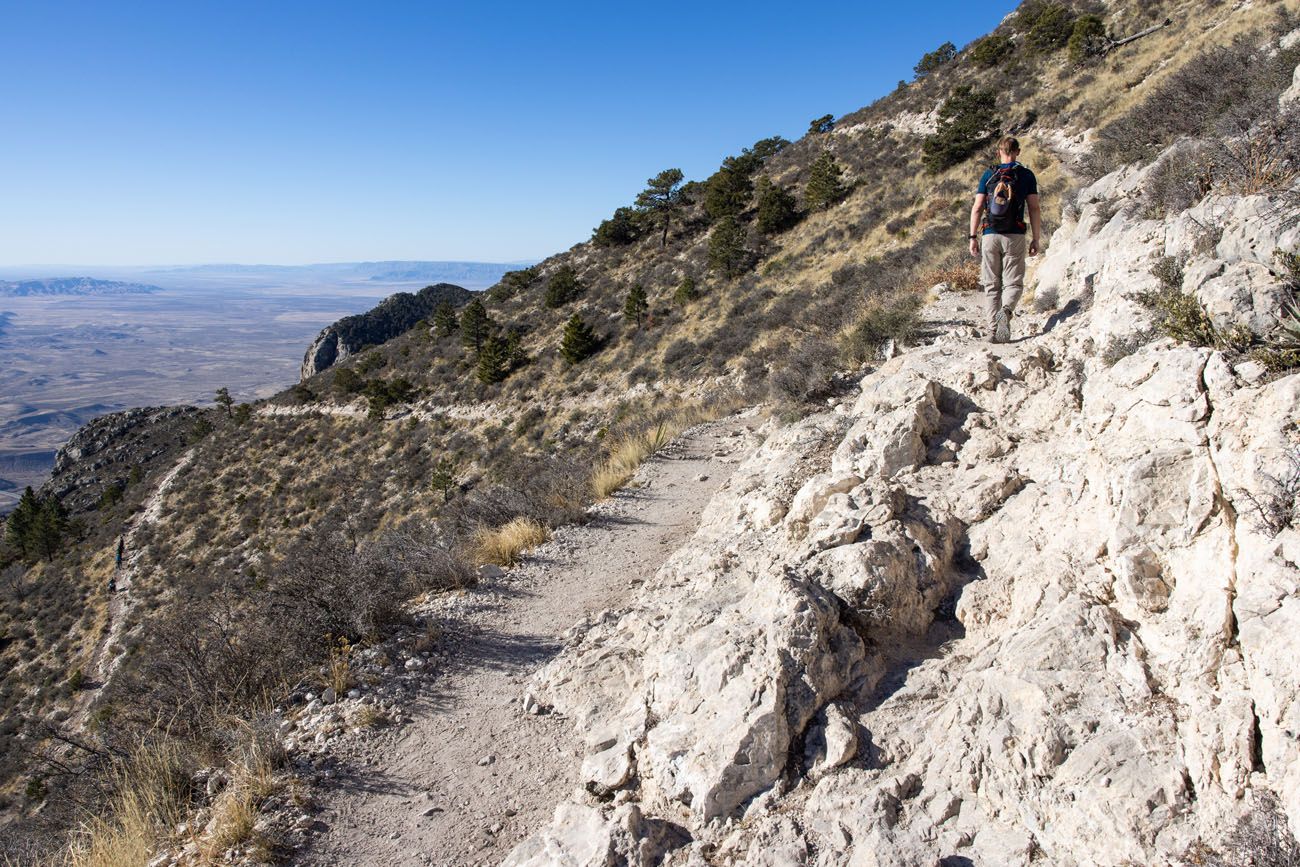
Mile three is the easiest mile on your way up to Guadalupe Peak. You are still hiking uphill, and it’s still challenging, but it’s not as steep as the first two miles. Once you reach the end of the third mile, Guadalupe Peak comes into view.
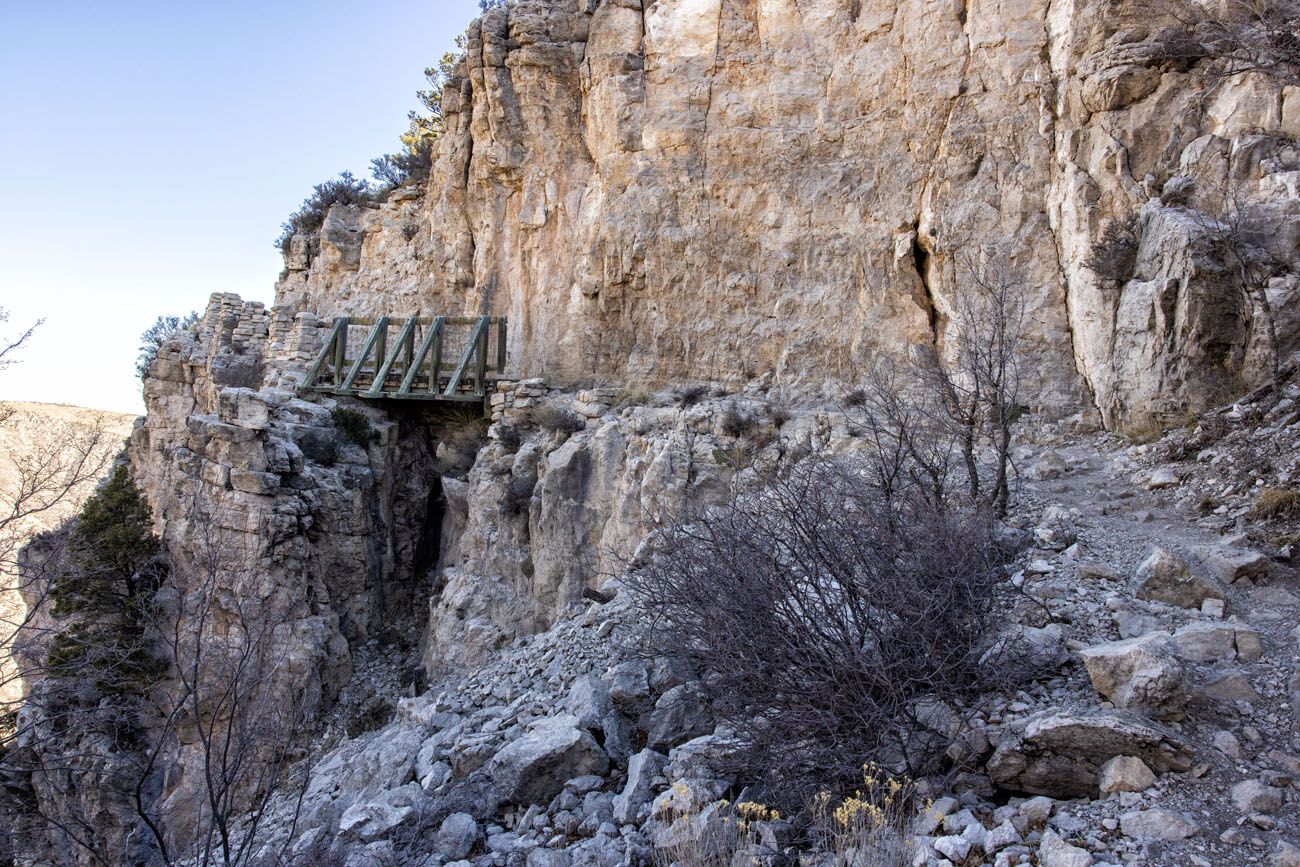
Bridge on the trail
Mile 4
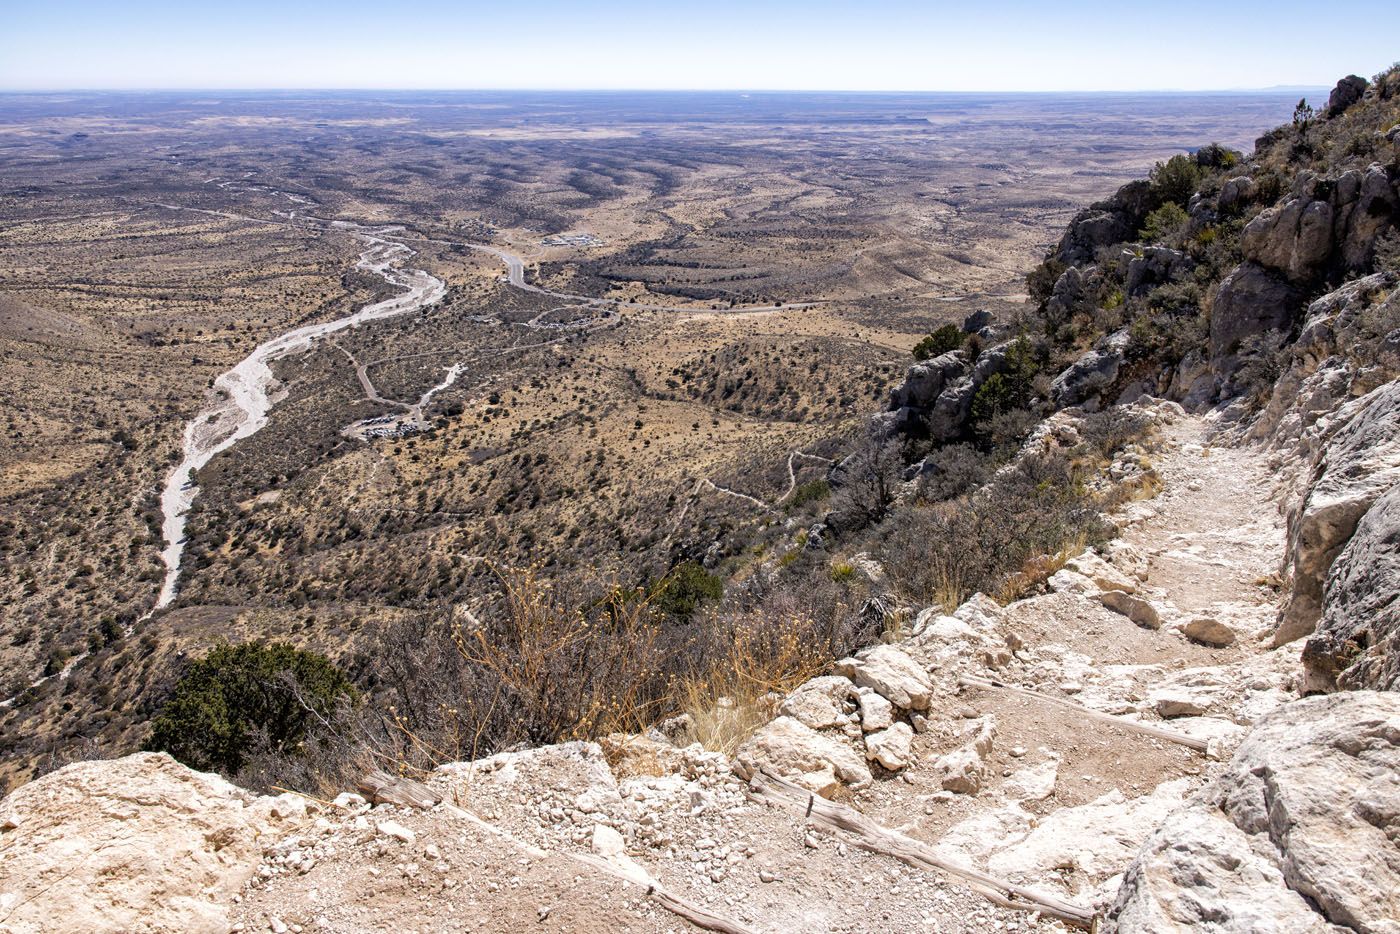
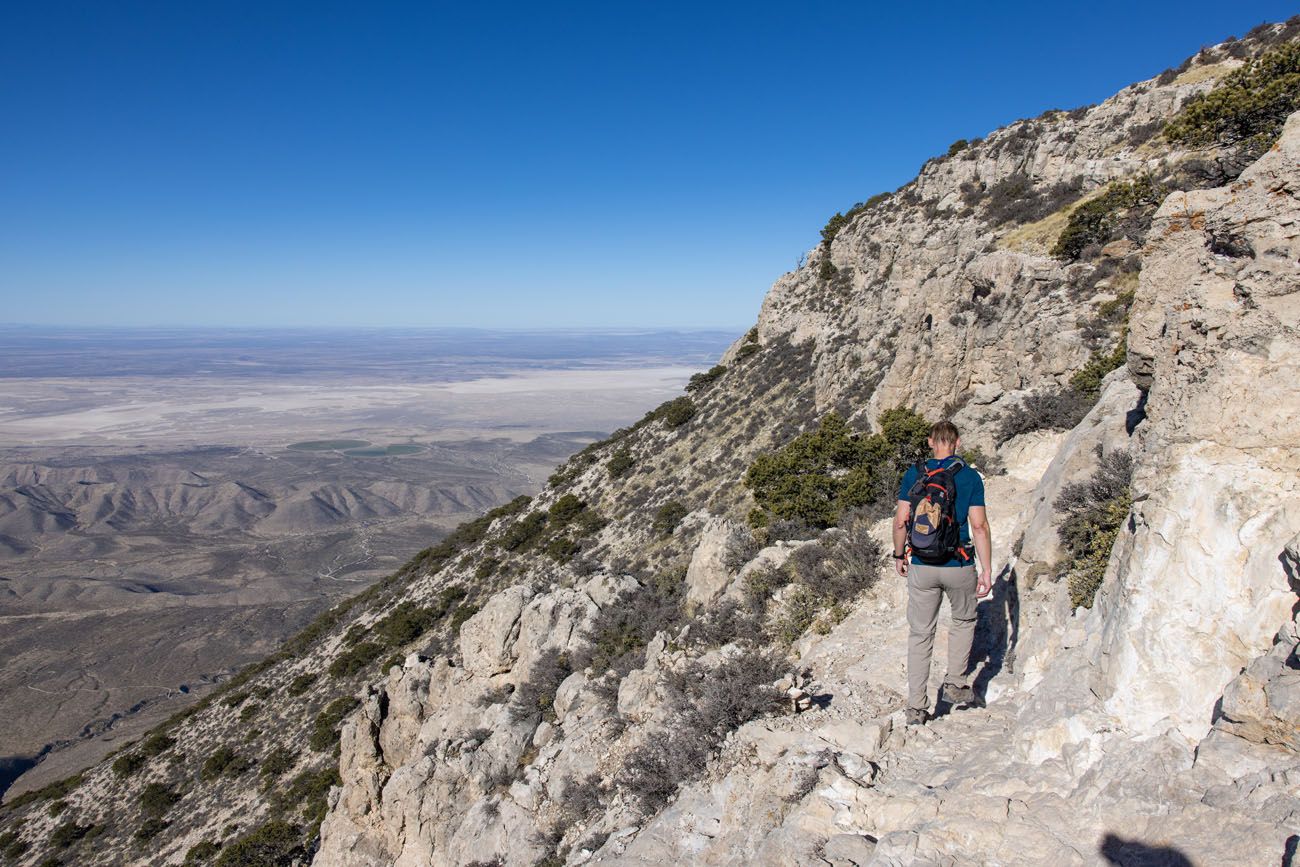
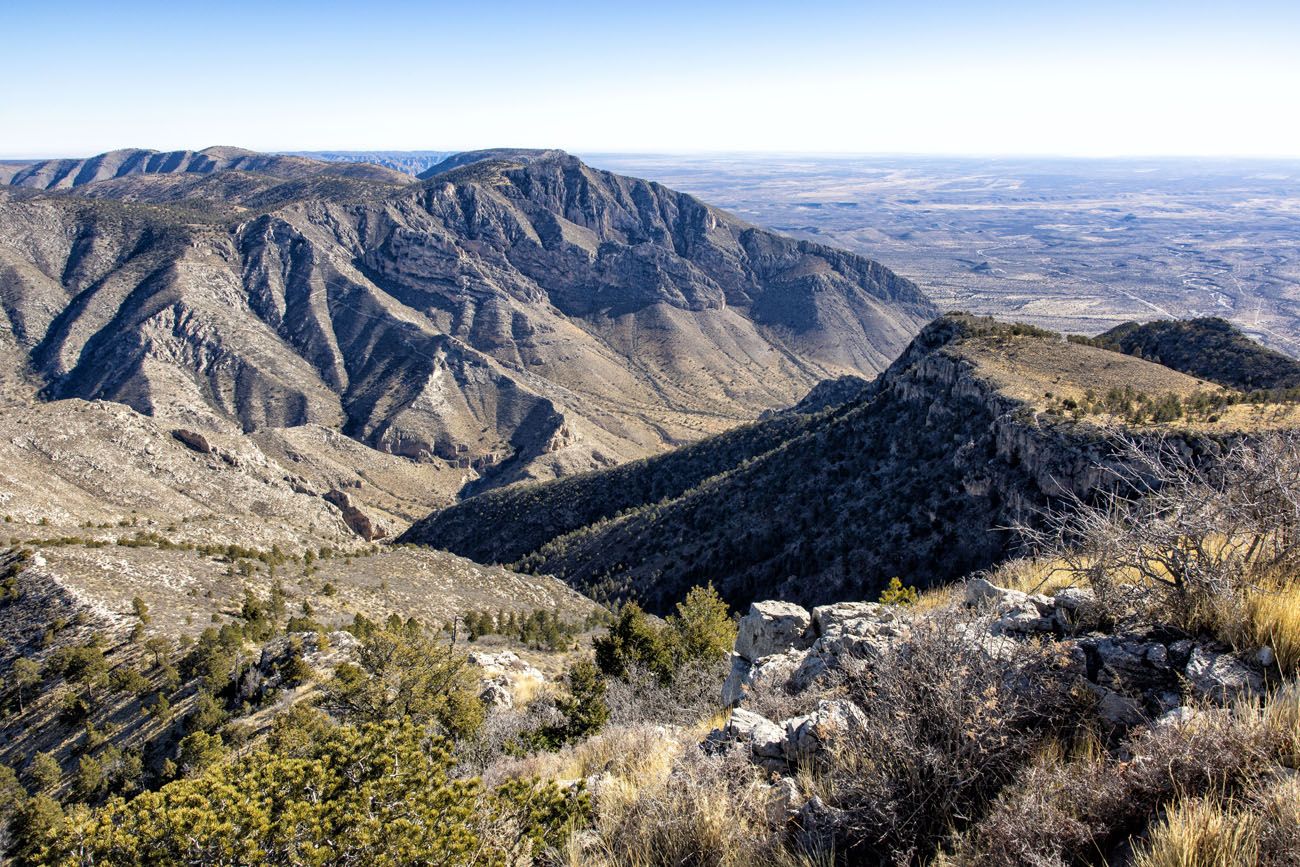
The final mile is beautiful. The views open up again with panoramic sightlines across Guadalupe Mountains National Park and the Chihuahuan Desert.
Just before the summit, the trail steepens again, narrows in a few spots, and has some drop-offs on one side. The trail is about five feet wide here, which is manageable for most hikers, but worth knowing about if you have a fear of heights.
View from the trail
The final switchbacks
One last narrow section of trail, and one last steep climb, and then the summit!
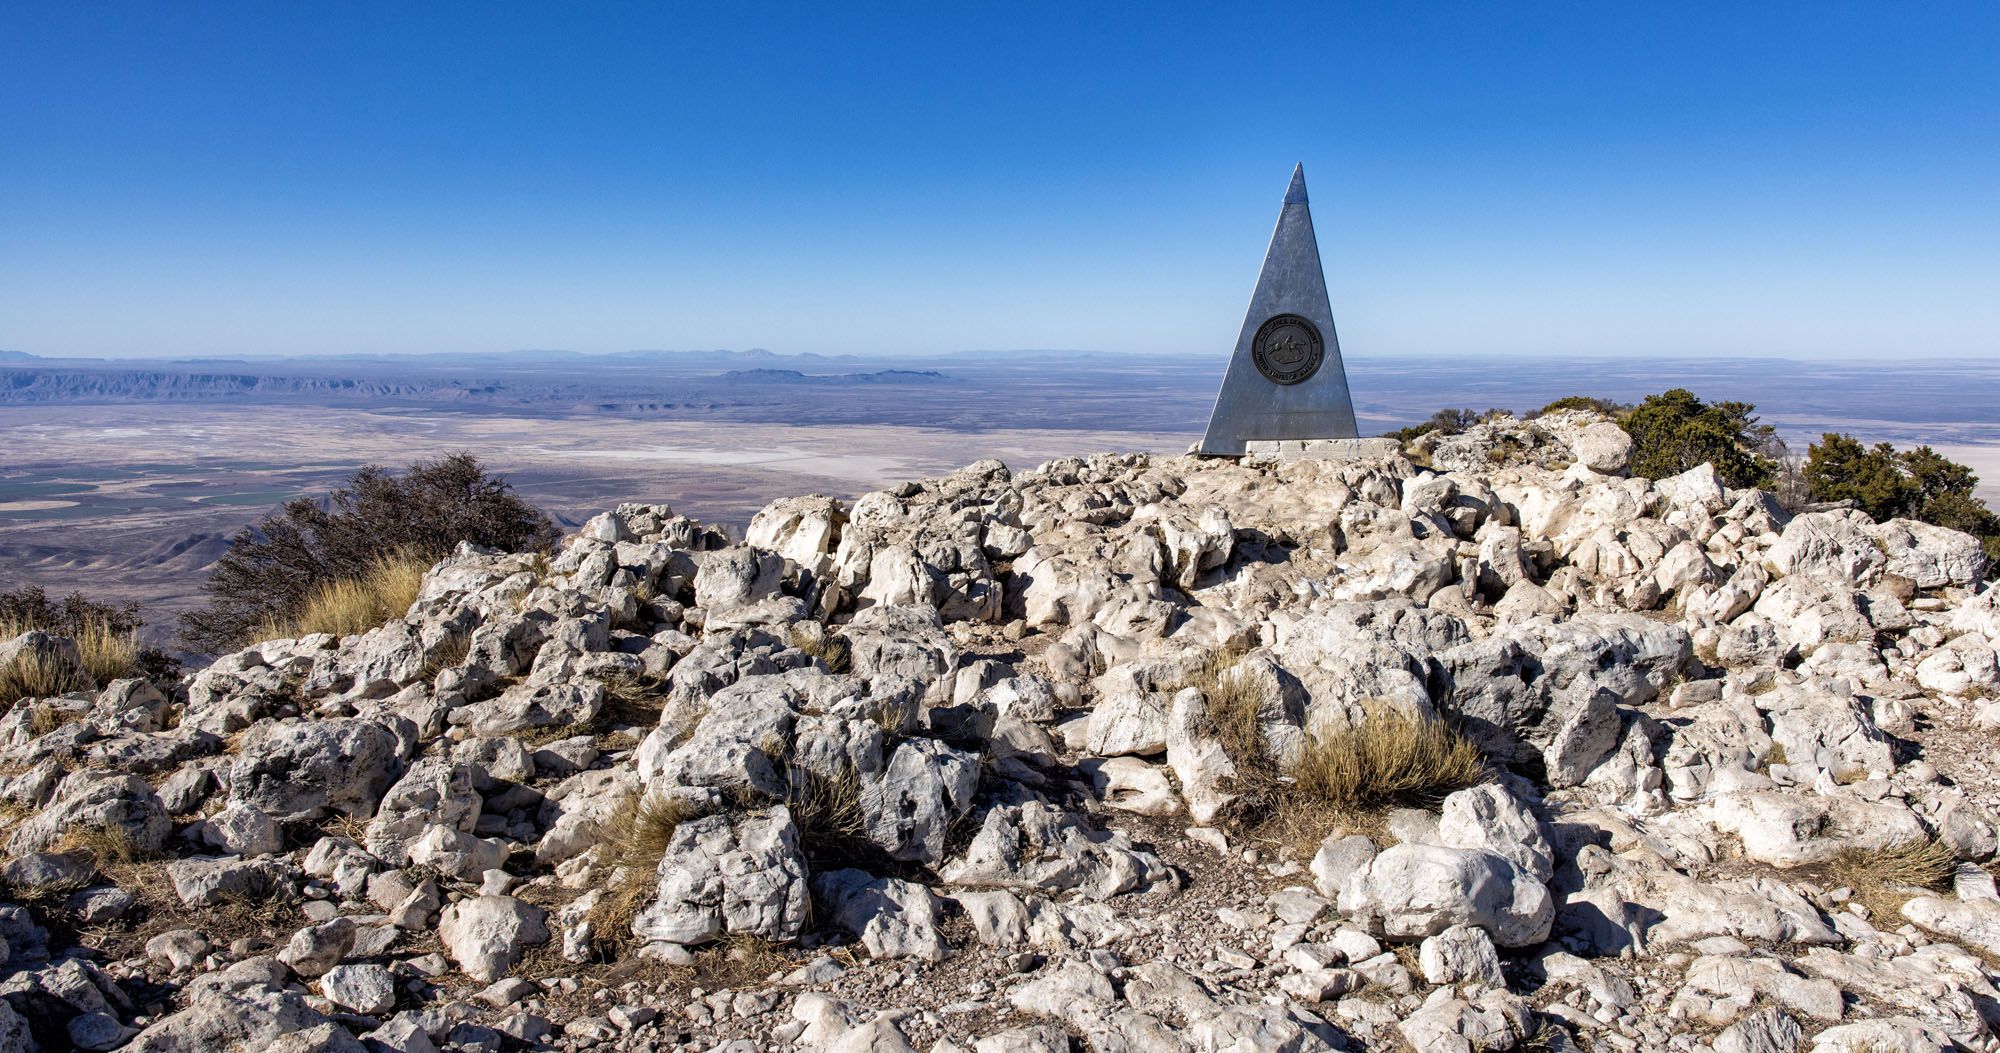
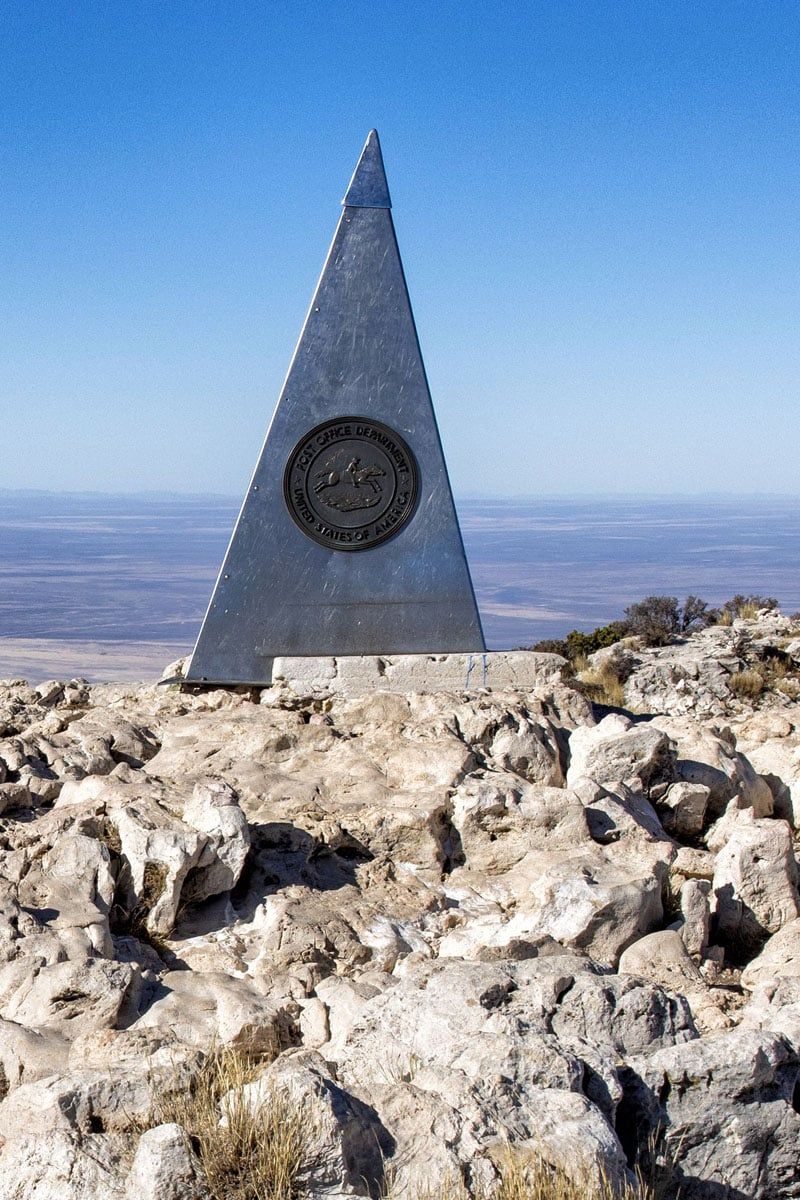
We reached the summit in 2 hours and had it nearly to ourselves. On a clear day the views are expansive, with the desert, mountain ridgelines, and the iconic silhouette of El Capitan below. Take your time up here. It’s a long way back down.
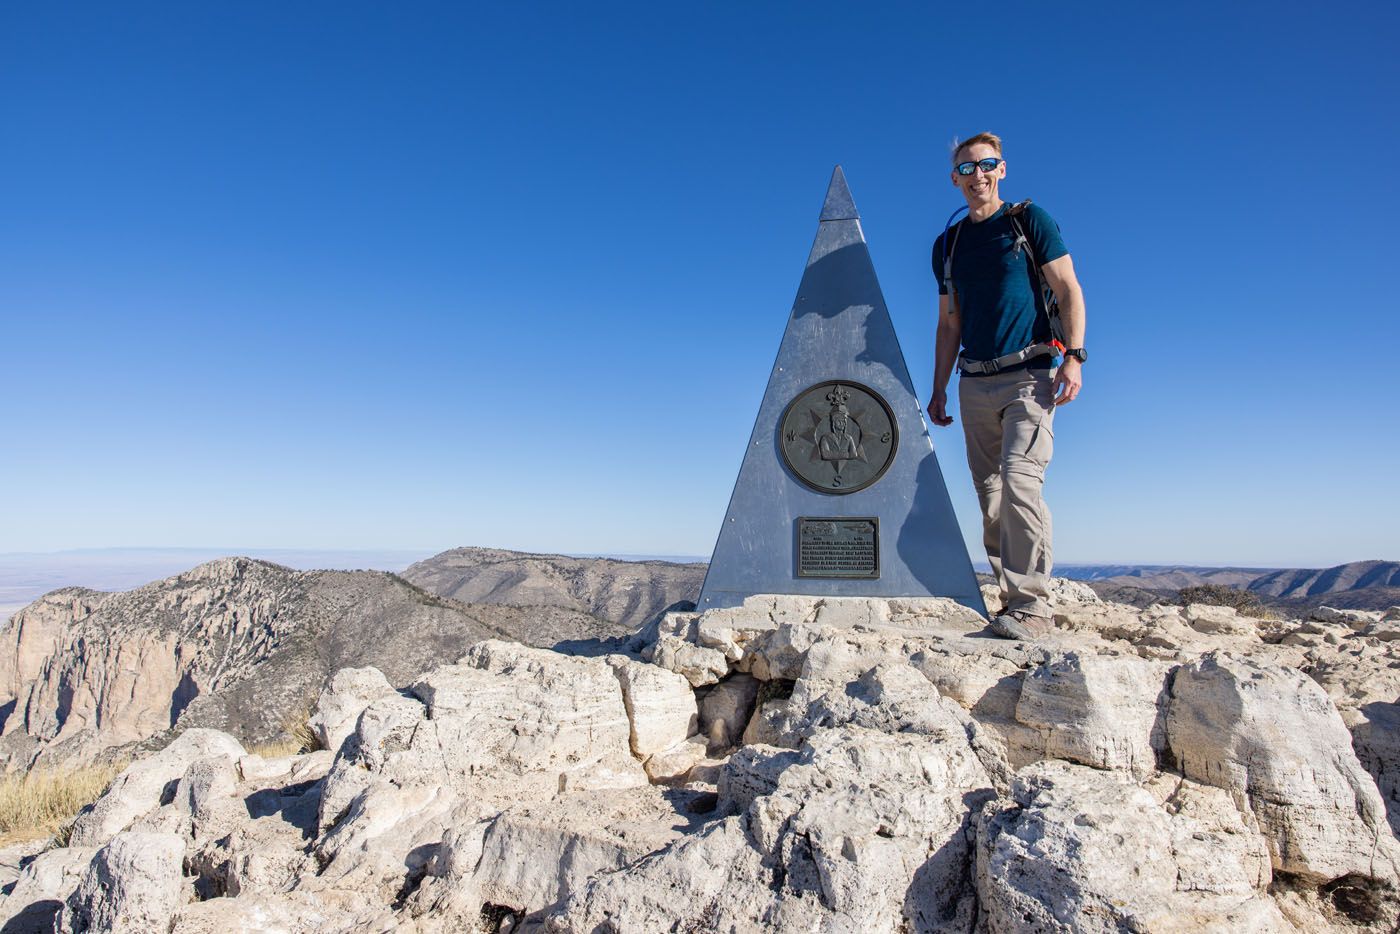
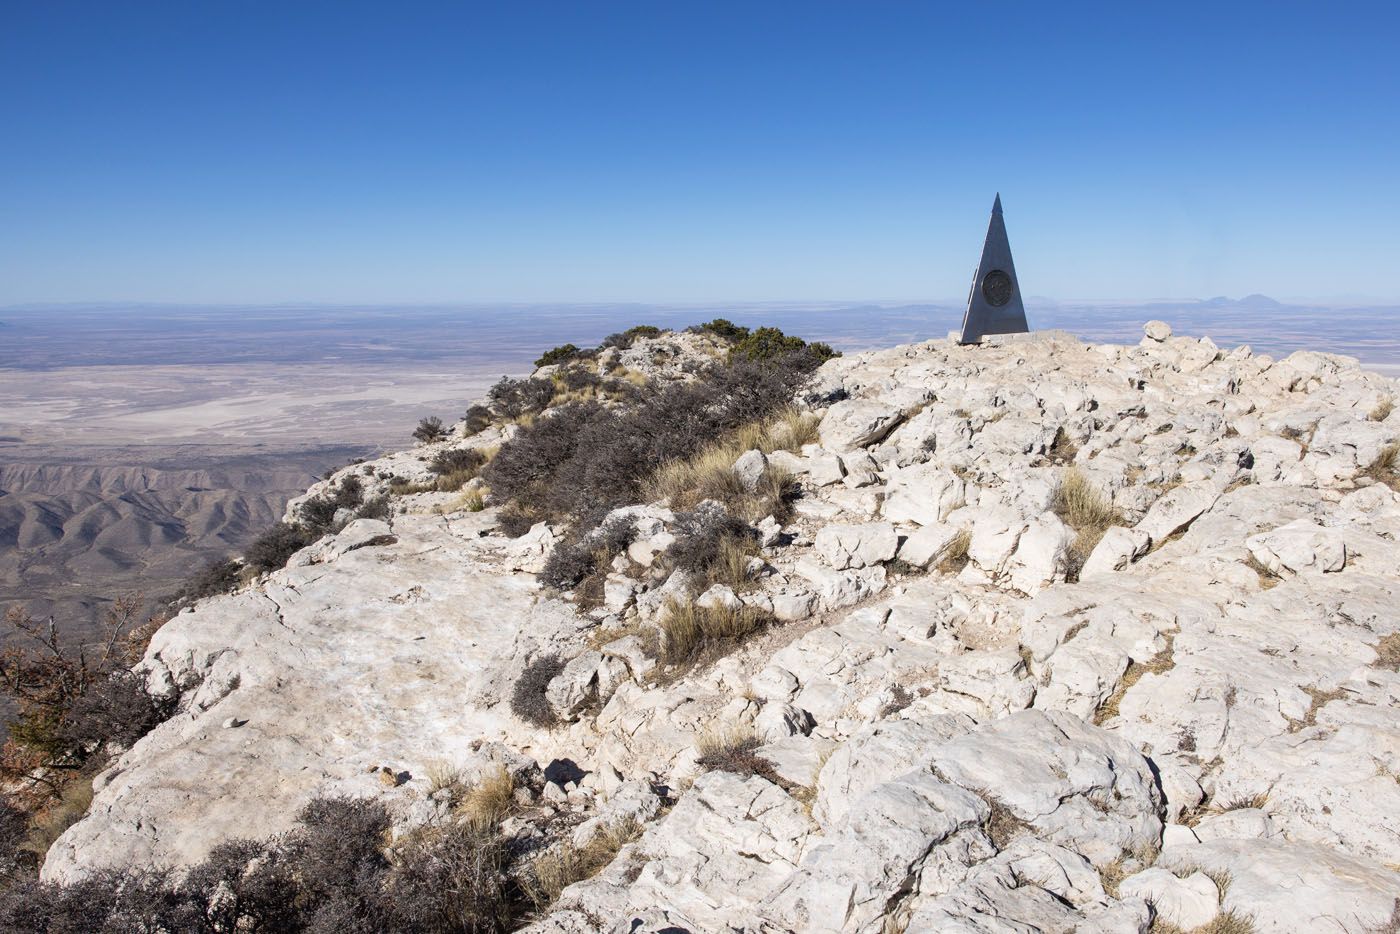
Guadalupe Peak
View from Guadalupe Peak
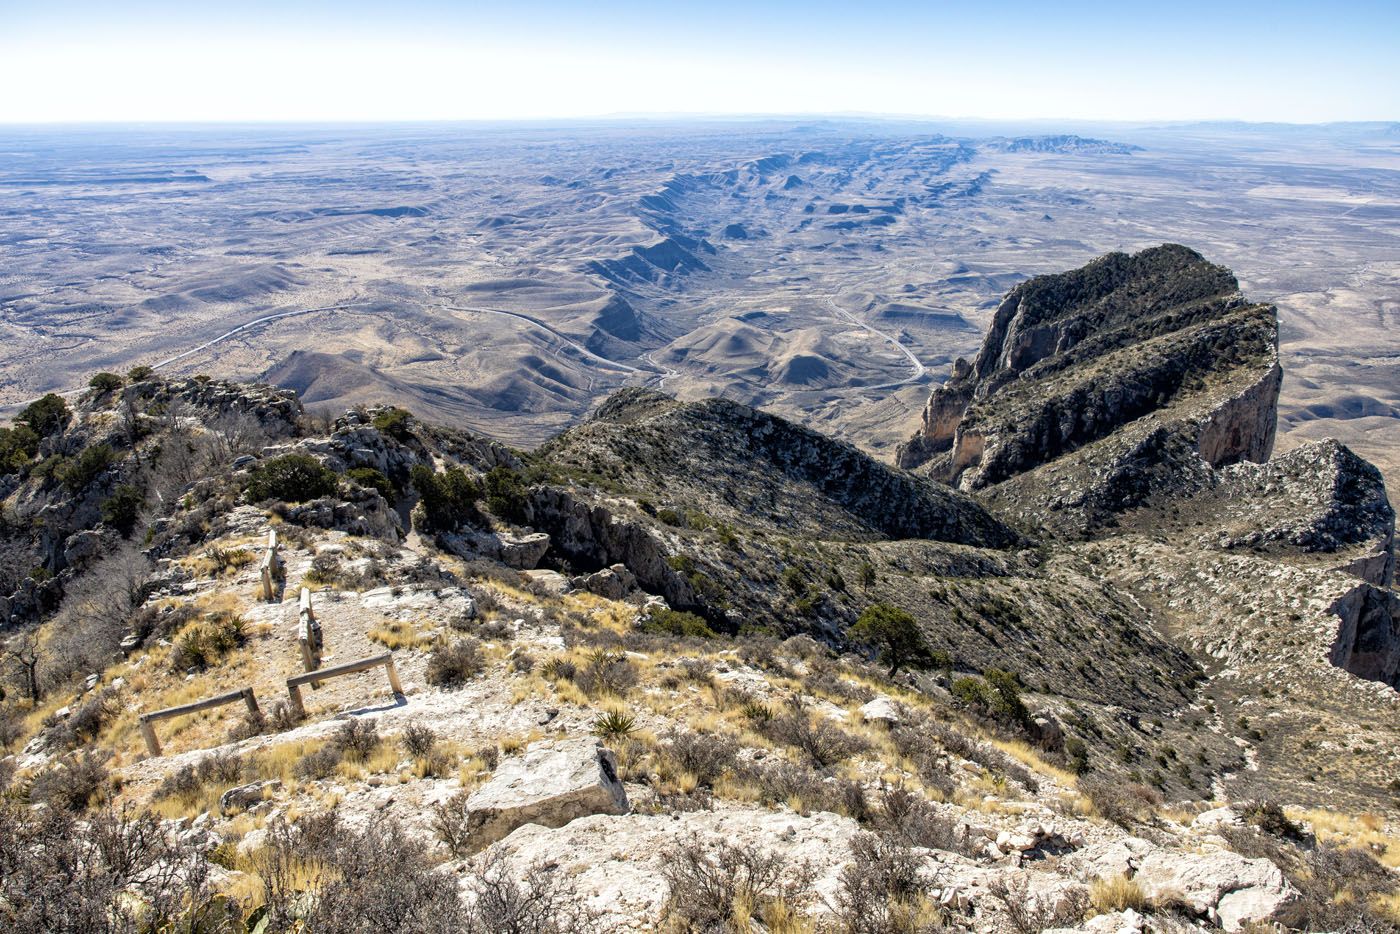
The view of El Capitan from Guadalupe Peak
Hunter Peak
The Return Hike
From Guadalupe Peak, it is an entirely downhill walk to finish the hike. That might sound like a good thing, but hiking downhill, especially on a steep trail like this one, can be very fatiguing. If you have hiking poles, this is a good time to use them. The poles will take some of the stress off of your legs, which can help reduce leg and knee pain.
Combining Guadalupe Peak and Devil’s Hall
Devil’s Hall is another great hike that shares the same trailhead with Guadalupe Peak. If you are very fit, you can add on Devil’s Hall to Guadalupe Peak.
Distance: 11.25 miles (18.1 km) round trip
Total Ascent: 3,450 feet (1,052 m)
Lowest Elevation: 5,850 feet (1,783 m)
Highest Elevation (Guadalupe Peak): 8,751 feet (2,667 m)
Time: 6 to 10 hours
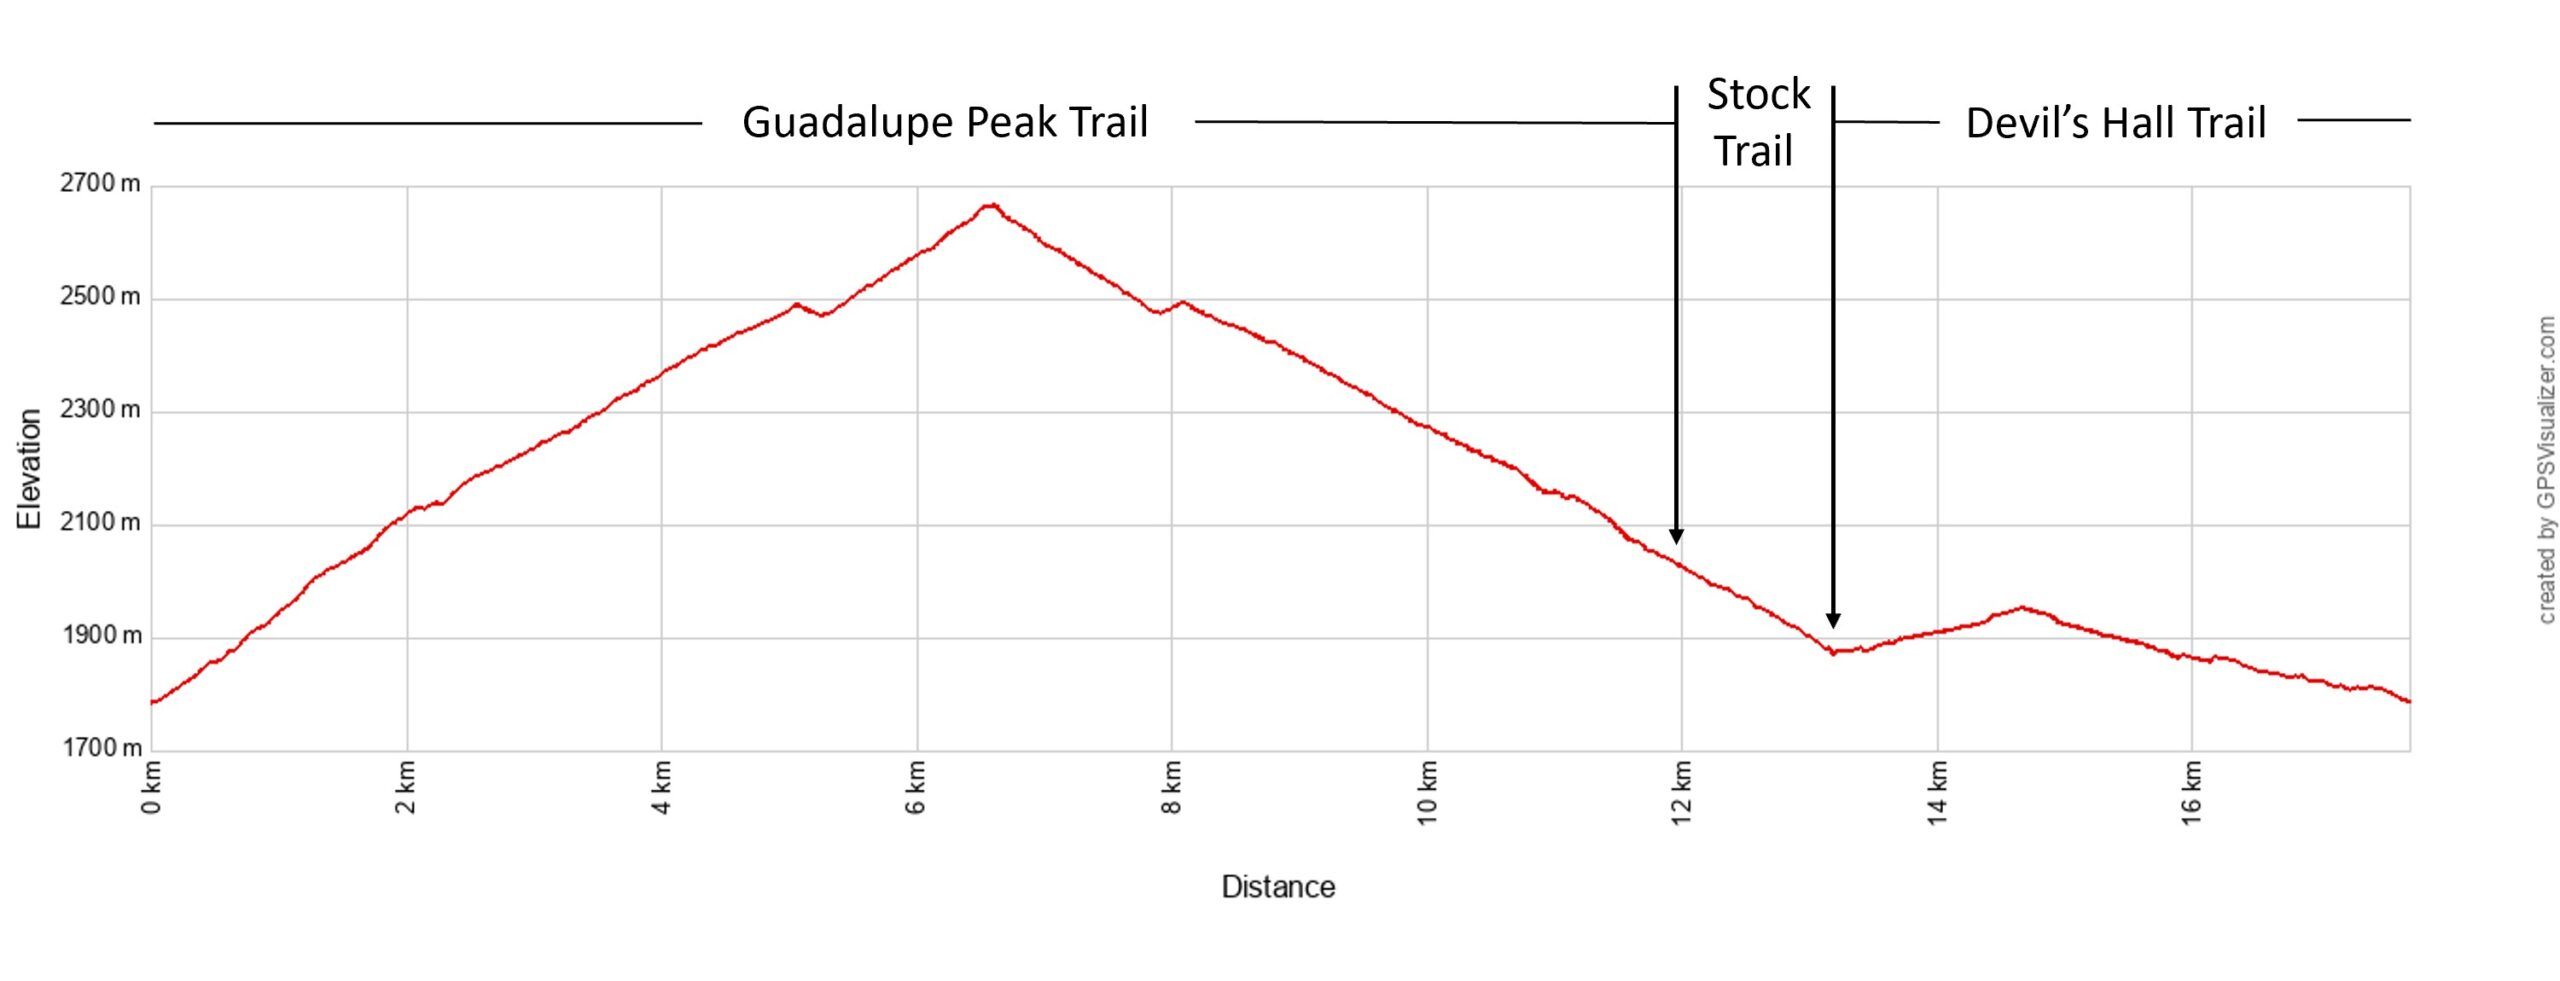
Guadalupe Peak and Devils Hall Elevation Profile
Hike to Guadalupe Peak first.
Then, to get to Devil’s Hall, as you hike back to the trailhead, keep a lookout for the trail junction with the sign that reads “no stock beyond this point.” Take this trail to the left. This stock trail heads downhill for 0.75 miles, joining up with the Devil’s Hall Trail. Basically, it’s a shortcut, so you don’t have to walk to the Pine Springs Trailhead and then start the Devil’s Hall Trail.
Once you reach the Devils Hall Trail, continue it to the end (about 1 mile). Then, to finish this hike, walk the Devil’s Hall Trail back to the trailhead.
We did this and it is exhausting. The rock scrambling on the Devil’s Hall Trail is relatively easy, but by the time we got to this point, both Tim and I were tired. The rocks are slippery and it takes some concentration to watch where you are putting your feet. It’s easy to slip and fall even if you aren’t tired…after Guadalupe Peak, this becomes even more challenging.
I only recommend adding Devil’s Hall onto Guadalupe Peak if you are a very fit hiker.
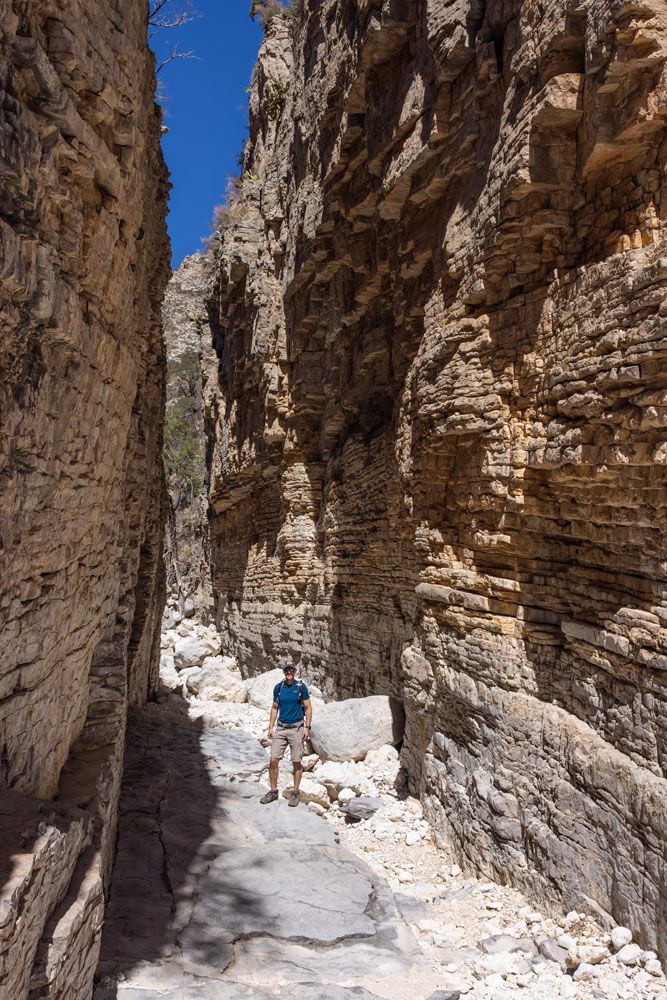
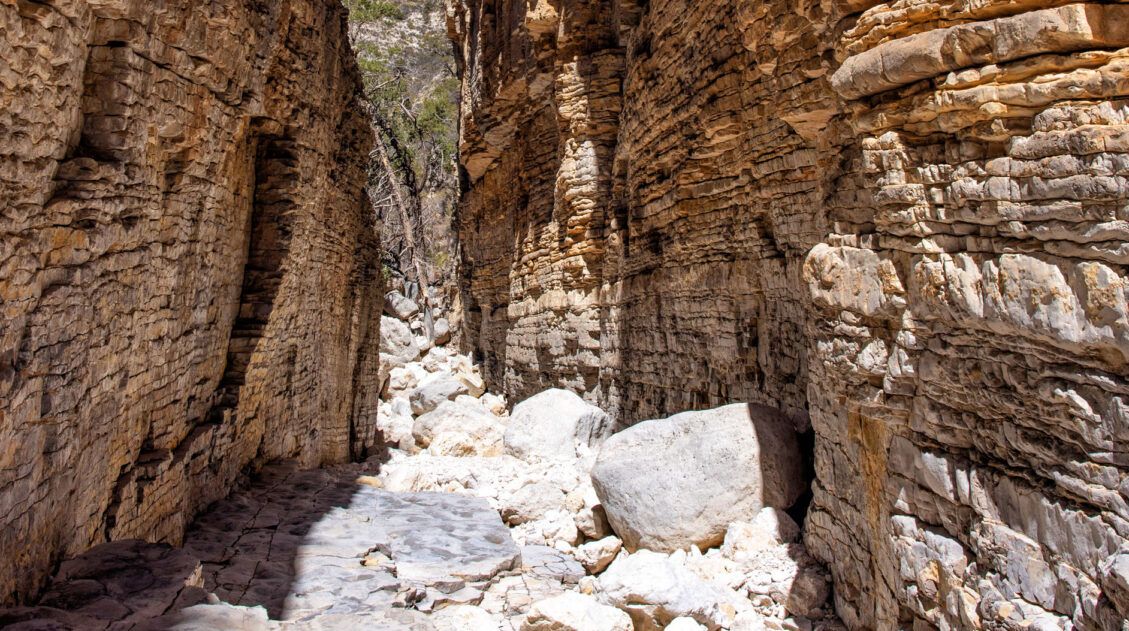
Devil’s Hall
For everything you need to know about Devil’s Hall, including the full trail guide, read our Devil’s Hall Trail Guide ↓
Step-By-Step Trail Guide for Devil’s Hall
Everything you need to know to hike the Devil’s Hall Trail.Best Time to Hike Guadalupe Peak
We hiked Guadalupe Peak in mid-March during Spring Break and hit nearly perfect conditions — clear skies, warm enough for short sleeves and shorts, with a handful of other hikers on the summit and plenty of solitude on the way up. The day before, however, was too windy to attempt the hike safely, and we postponed by one day. Wind is one of the biggest variables at Guadalupe Peak, and gusts can reach 80 mph on the exposed summit, so always check the forecast before you go, regardless of the time of year.
- Spring (March–May): The best time to hike. Temperatures are mild, wildflowers appear in the lower elevations, and the skies are often clear. Spring Break in mid-March brings the biggest crowds of the year, so arrive by 6:30 am or earlier to secure trailhead parking.
- Summer (June–August): Hot in the lower elevations, with afternoon thunderstorms common. Start no later than 6 am to be off the exposed upper trail before midday heat and lightning risks build. The NPS recommends carrying one gallon of water per person in summer.
- Fall (September–November): An excellent time to visit, with cooler temperatures and lighter crowds than spring. October brings reliable mild weather and is considered one of the best months in the park.
- Winter (December–February): Cold and quiet. Snow and ice are possible on the upper trail, and micro-spikes may be necessary. Shorter daylight hours limit your window — plan accordingly. Crowds are minimal.
Tips for Hiking Guadalupe Peak
Start early — no later than 7:30 am. The trailhead parking lot fills fast, especially during spring and fall. We arrived at 7:30 am during Spring Break and got one of the last spots. An early start also means cooler temperatures on the climb and the best chance of having the summit to yourself before the crowds arrive.
Check the wind forecast before you go. Wind is the biggest wildcard on Guadalupe Peak. Gusts can reach 80 mph on the exposed summit and upper trail. We postponed our hike by one day to avoid dangerous wind conditions — it was worth it. If wind speeds look high, don’t push it.
Wear hiking shoes or boots. The trail is rocky and steep, especially in the first two miles. Sturdy footwear with good ankle support and grip makes a real difference on the descent.
Pack a lunch. The summit is the best picnic spot in the park. You’ve earned it, and your legs will thank you for the rest before the long descent.
The descent is harder than it looks. Hiking back down 3,000 feet of elevation on a steep, rocky trail is tough on the knees and ankles. Take your time, watch your footing, and consider hiking poles if you have them.
No cellular service in most of the park — but you’ll have it on the summit. We use Verizon and had a signal at the top. Don’t count on it anywhere else on the trail. Download offline maps before you arrive.
Get updates on road conditions and trail closures, as you plan your trip and just before your visit, on the National Park Service website.
What to Bring on the Hike
- Hiking Shoes
- Water: The National Park Service recommends one gallon of water per person during the summer months. We carried 2 liters of water per person but the temperature when we did this ranged from 40°F to 65°F.
- Sunscreen
- Hat
- Sunglasses
- Lunch and snacks
- Hiking poles
- Camera or smartphone
Essential Hiking Gear: What Should You Bring on a Day Hike?
If you are new to hiking or are curious about what you should bring on a hike, check out our Hiking Gear Guide. Find out what we carry in our day packs and what we wear on the trails.Frequently Asked Questions
How long does it take to hike Guadalupe Peak?
Most hikers should plan for 5 to 8 hours round trip, including time at the summit. Fit, experienced hikers can move faster — Tim and I reached the summit in 2 hours — but the steep, rocky descent takes longer than most people expect. Don’t underestimate the return hike.
Is Guadalupe Peak the highest point in Texas?
Yes. At 8,751 feet, Guadalupe Peak is the highest point in Texas, earning it the nickname “Top of Texas.” A stainless-steel monument at the summit marks the achievement, making it a popular goal for hikers who collect state highpoints.
Is there a fee to enter Guadalupe Mountains National Park?
Yes. The entrance fee is $10 per person, valid for one day. If you’re visiting multiple times or combining this trip with other national parks, the annual pass is $30 and covers up to four people for one year.
Do you need a permit to hike Guadalupe Peak?
No permit is required for the day hike. Just pay the entrance fee and you’re good to go.
How early should you arrive at Pine Springs Trailhead?
Arrive by 6:30 am at the latest during busy periods like Spring Break and fall weekends — and earlier if possible. We arrived at 6:30 am during Spring Break and got one of the last spots in the trailhead lot. Once it fills, you’re looking at an additional 0.8 to 1.6 miles of road walking before you even start the trail.
Plan Your Visit to Guadalupe Mountains National Park
Guadalupe Peak is the crown jewel of Guadalupe Mountains National Park, but it’s far from the only reason to visit.
For a full overview of the park including the top experiences, sights, and planning essentials, start with our Things to Do in Guadalupe Mountains guide.
If you’re deciding between trails, the Devil’s Hall is our top pick for the most unique and scenic hike in the park, and it shares the same trailhead. For the best scenery in the McKittrick Canyon area, the McKittrick Canyon Trail to the Notch is the other must-do hike in the park.
Planning a bigger Southwest road trip? Our 10-Day Texas New Mexico Road Trip Itinerary covers Guadalupe Mountains alongside Big Bend, Carlsbad Caverns, and White Sands.
If you have any questions about how to hike to Guadalupe Peak, or if you want to share your experience, let us know in the comment section below.
More Information for Your Trip to Texas
15 Best Things to Do in Guadalupe Mountains National Park
Pinterest Facebook Flipboard Tim and I have hiked a lot of national parks, and Guadalupe Mountains is one that genuinely surprised us. We expected a remote desert park with a few good trails. What we found instead was a place with incredible variety — a slot canyon, a fossilized coral reef trail with almost no […]
Devil’s Hall Trail Guide: What to Expect | Guadalupe Mountains NP
The Devil’s Hall Trail is one of the most unique hikes in Guadalupe Mountains National Park. It’s a 4.2-mile round-trip route through Pine Springs Canyon that ends at a narrow limestone slot canyon with 50-foot walls and just 15 feet of width at its narrowest point. Along the way, you’ll scramble through a rocky wash, […]
How to Hike the McKittrick Canyon Trail to Pratt Cabin, the Grotto & the Notch
I hiked the McKittrick Canyon Trail to the Notch on a March morning during spring break, one of the busiest weeks of the year in Guadalupe Mountains National Park. I started early, around 8 am, and had the canyon almost entirely to myself. By the time I turned around and headed back, I passed hundreds […]
How to Hike the Permian Reef Trail in Guadalupe Mountains
The Permian Reef Trail is an awesome hike in the McKittrick Canyon section of Guadalupe Mountains National Park. Leave the crowds behind as you ascend to the top of a Wilderness Ridge with spectacular views into McKittrick Canyon and the surrounding area. While everyone else is hiking the other two trails in this area, the […]
Guadalupe Mountains National Park: The Complete Travel Guide
Plan your visit to Guadalupe Mountains National Park. Learn about the best things to do, how to plan your time, where to stay, and more.
10 Day Texas New Mexico National Parks Road Trip Itinerary
On this 10-day Texas New Mexico road trip itinerary, you will visit four national parks plus make a quick detour to a gem of a state park that just might be one of the big highlights of the trip. Go hiking in Big Bend and Guadalupe Mountains, explore the underground wonderland of Carlsbad Caverns, and […]
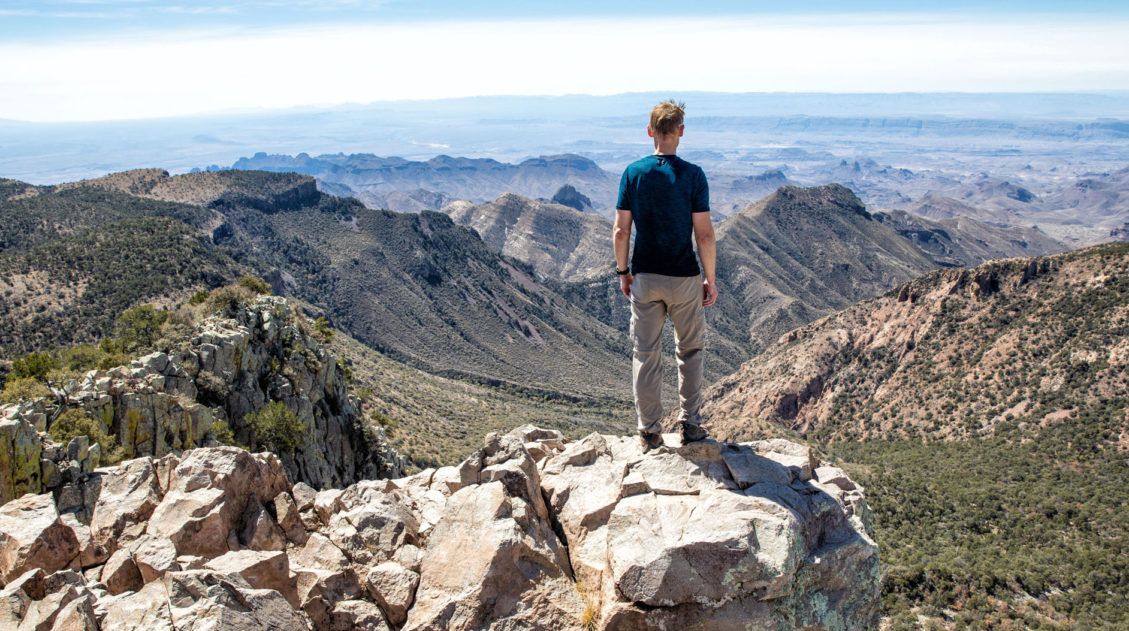
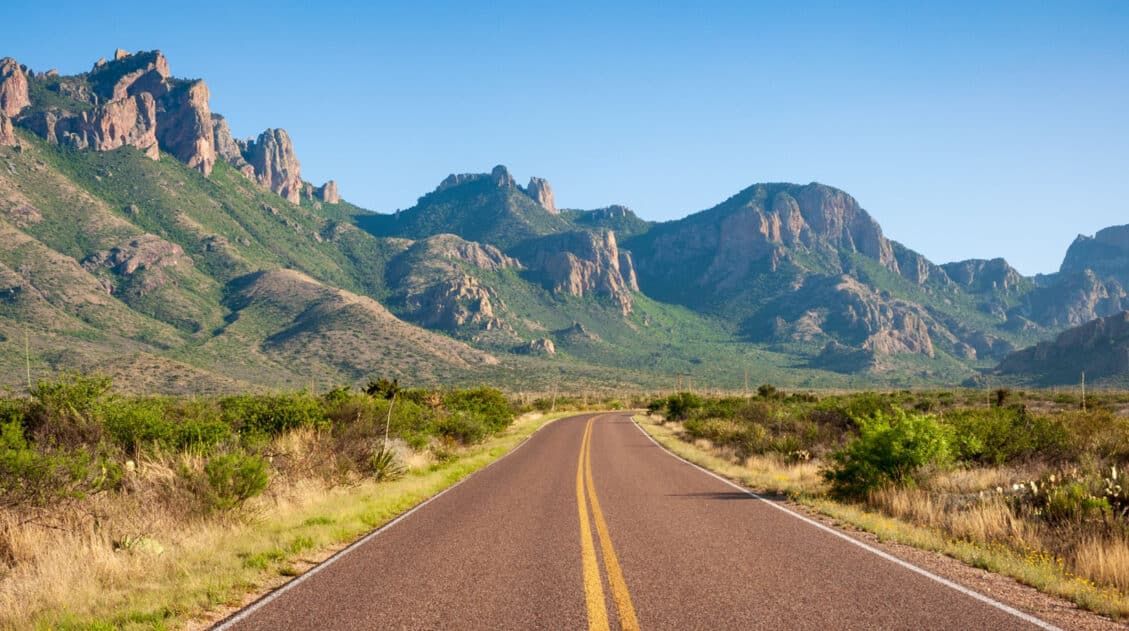
Emory Peak Trail, Big Bend: Everything You Need to Know
Emory Peak is the highest point in Big Bend National Park and the Chisos Mountains, and the hike to the summit is one of the best things you can do in the park. The 10.4-mile out-and-back gains nearly 2,500 feet of elevation and finishes with a short rock scramble to the top, where 360-degree views […]
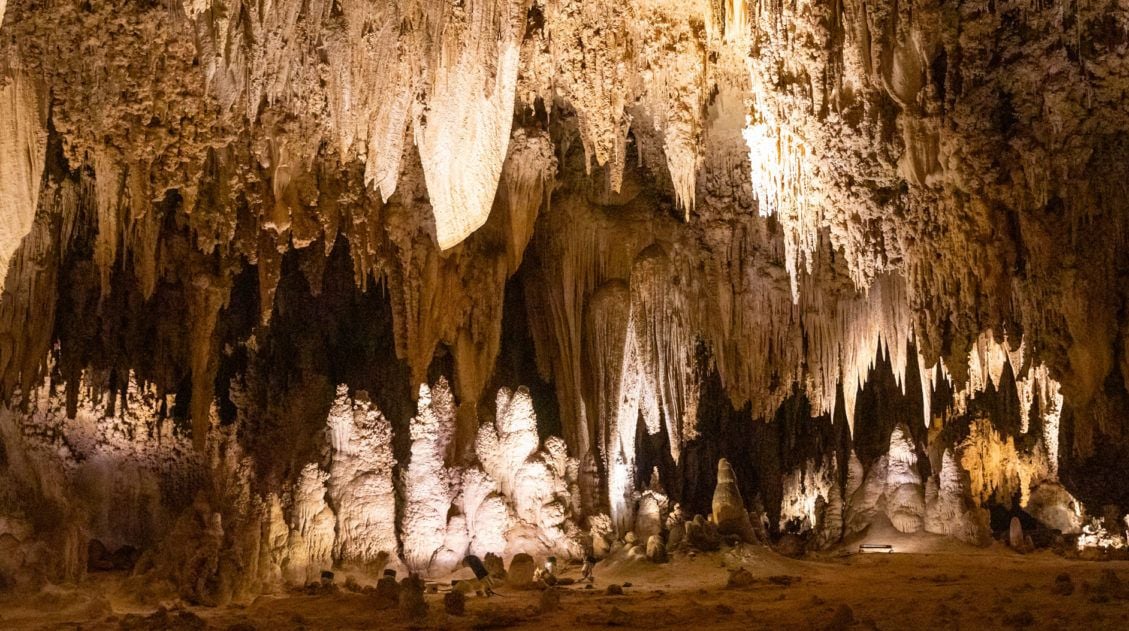
Best Things to Do in Carlsbad Caverns National Park
In this guide, we cover the best things to do in Carlsbad Caverns, tour options (both ranger-guided and self-guided), timed entry reservations, plus lots of helpful information. Located in the Guadalupe Mountains of New Mexico sits an underground fantasy land of limestone chambers, stalactites and stalagmites, and long, twisting tunnels. Carlsbad Caverns is breathtaking in […]
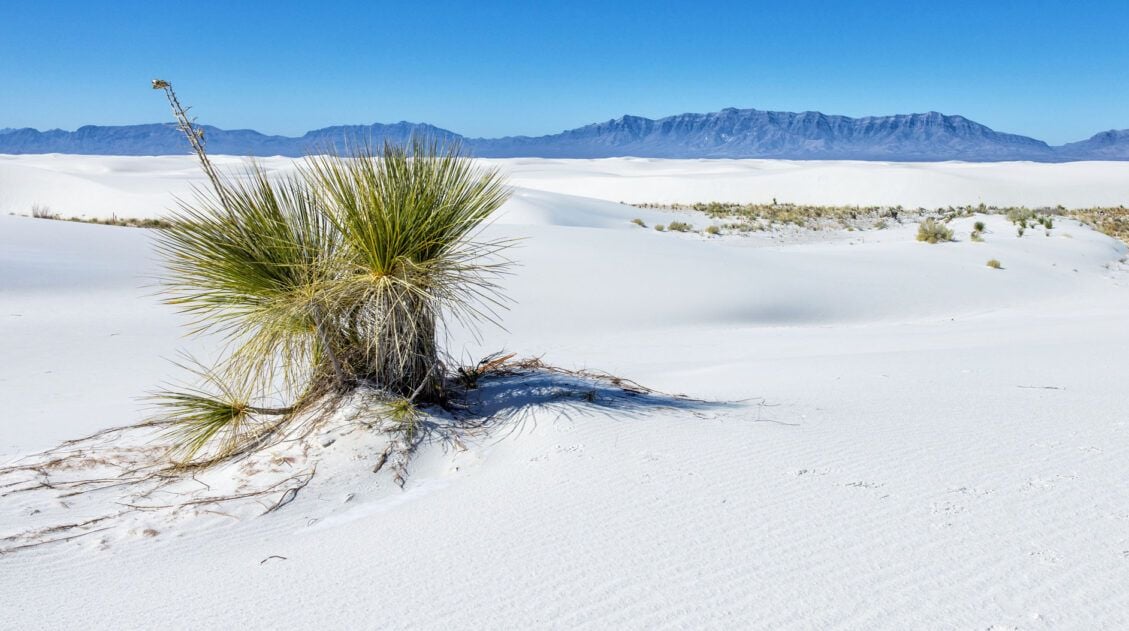
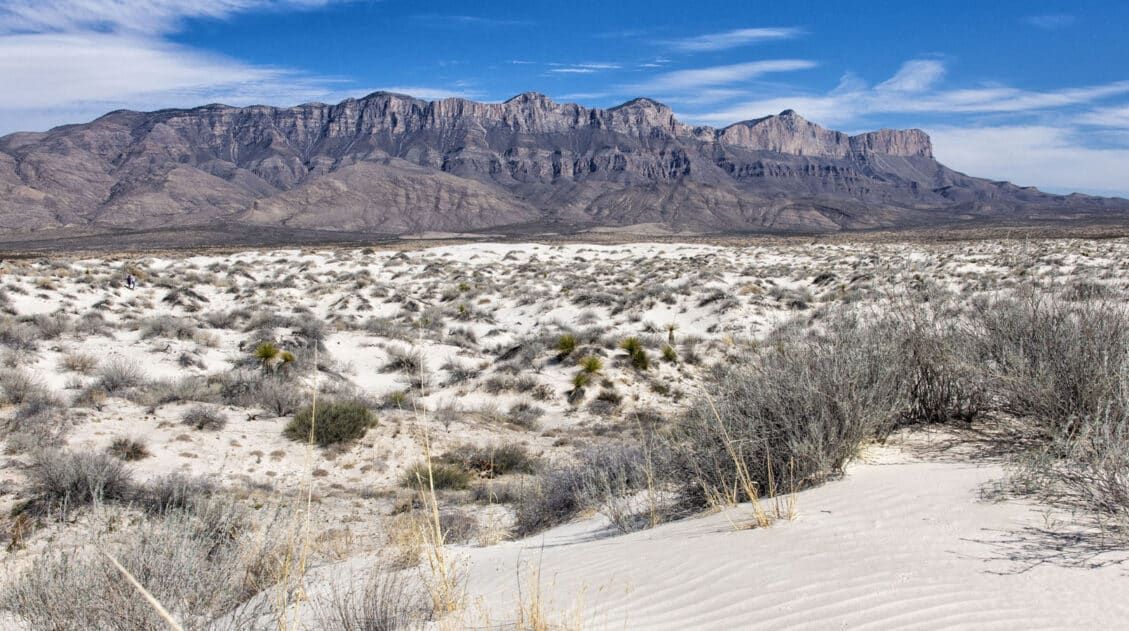
11 Amazing Things to Do in White Sands National Park
White Sands National Park is home to the largest gypsum dunefield in the world. These pure white dunes create a fun place to explore, for both kids and adults. Hike out into the dunes, learn about the wildlife that calls this park home, and go sledding on sand as white as the snow…these are just […]

10 Best US National Parks to Visit in March
Planning a trip to the US national parks in March but don’t know which ones to visit? March brings warmer temperatures to most of the United States. Travel begins to pick up during this month, both because of the warmer weather and because families are hitting the road for spring break. There are a lot […]
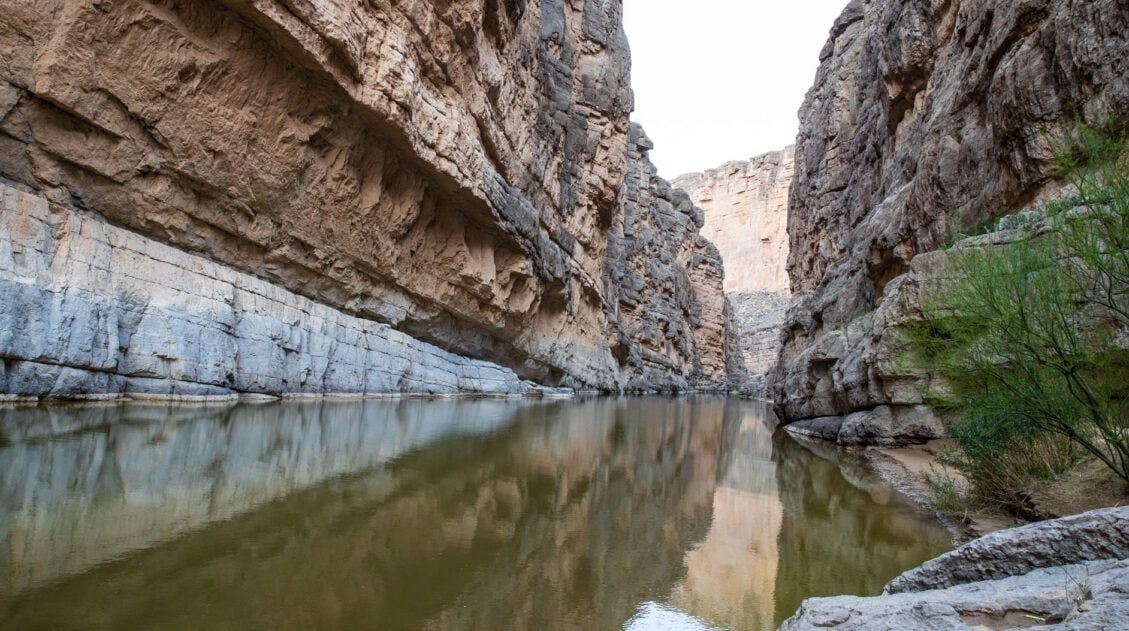
3 Days in Big Bend National Park: The Perfect Itinerary
Three days in Big Bend National Park is the ideal amount of time to experience all three regions of the park: the Ross Maxwell Scenic Drive, the Chisos Basin, and Rio Grande Village. We visited in early March and spent our days hiking slot canyons, crossing the border into Mexico, and standing at the edge […]
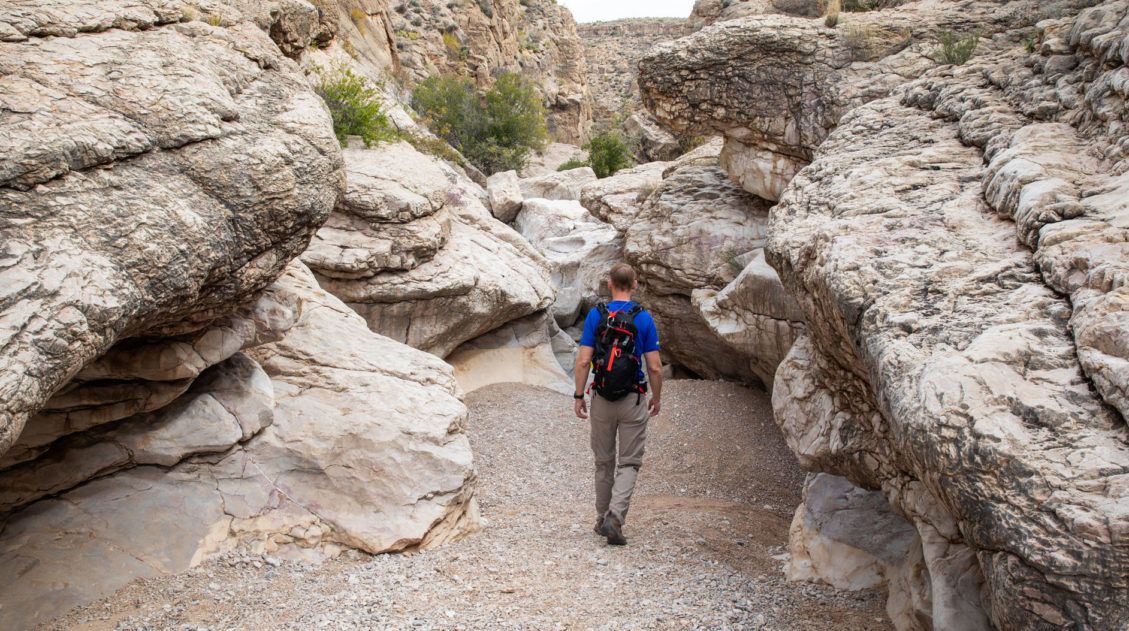
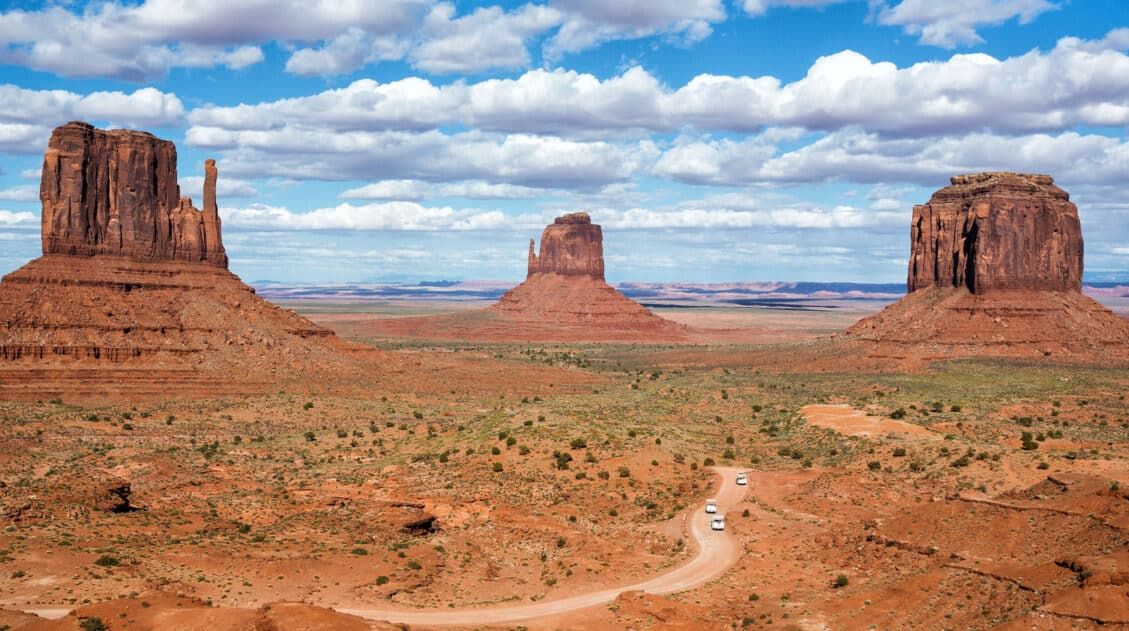
15 Best Hikes in Big Bend National Park (By Area & Difficulty)
Big Bend National Park is one of the most underrated hiking destinations in the United States. Tucked into the southwestern corner of Texas along the Rio Grande, it packs an extraordinary range of terrain into one park — slot canyons, volcanic rock formations, a full mountain range, and miles of river canyon trails. We visited […]
The Ultimate Guide to the 63 US National Parks
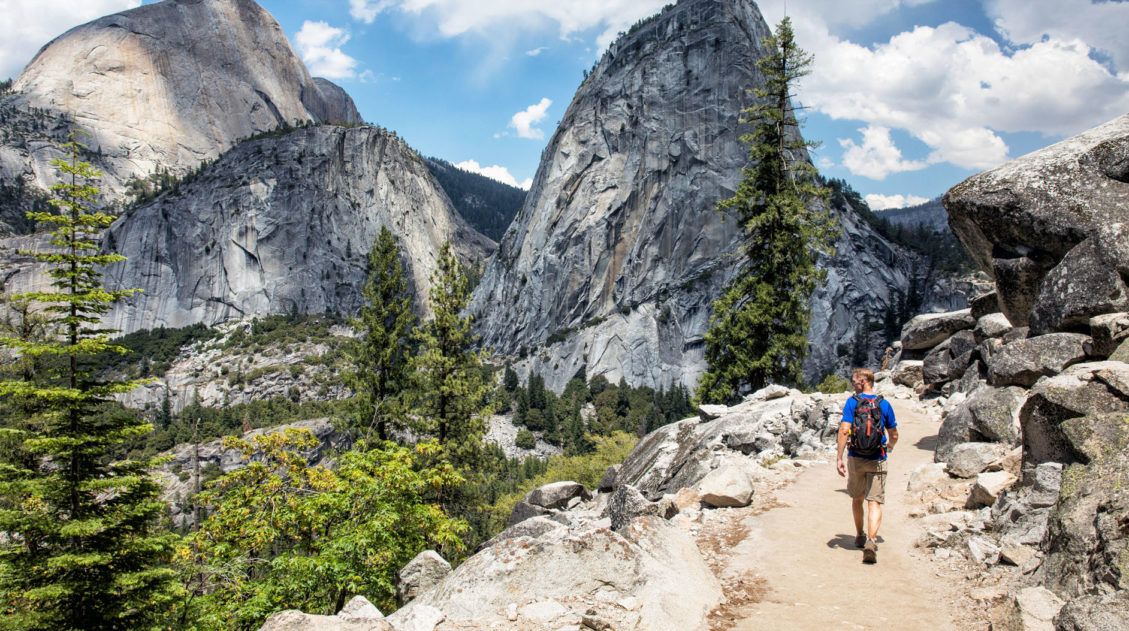
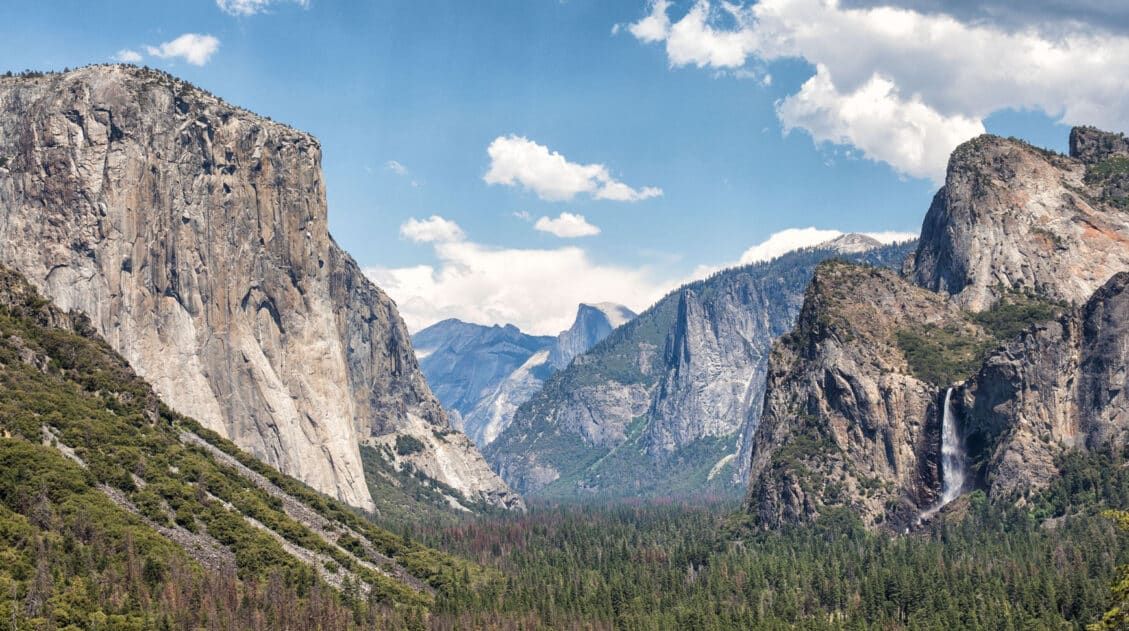
Stretching from the South Pacific, across the United States to the Caribbean, are 63 national parks. These national treasures preserve iconic landscapes, majestic mountains, primordial forests, arid deserts, misty coastlines, immense canyons, wildlife, and historic landmarks. We have visited 56 of the 63 US national parks, from the towering granite walls of Yosemite and the […]
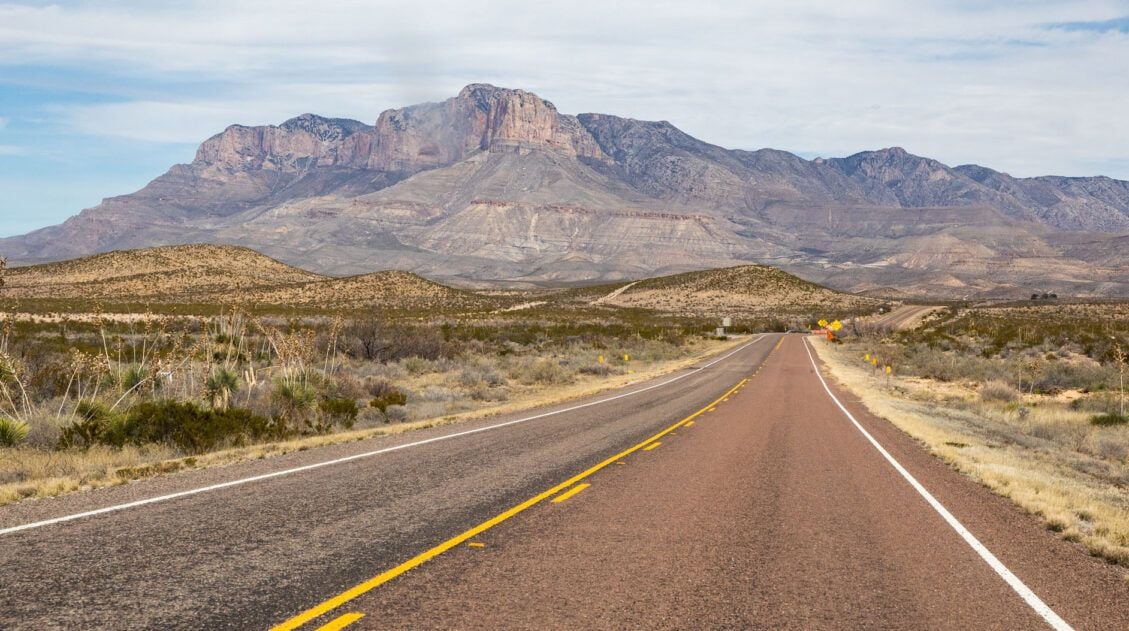
Texas Travel Guide: How to Plan a Trip to Texas
Texas Travel Guide Texas is bigger than most people expect — and more varied. In the same trip, you can hike volcanic rock formations and slot canyons in Big Bend, stand at the highest point in the state in the Guadalupe Mountains, and eat your weight in barbecue in Austin. Tim and I have visited […]
United States Travel Guide: Places to Visit in the USA
Plan your visit to the United States. Learn about the best things to do, how to plan your time, road trip ideas, and sample itineraries.

Comments 7