
Trolltunga was the third hike on our first Norway trip, and by then we had a pretty good read on what Tyler and Kara could handle. They’d already done Pulpit Rock and Kjeragbolten, two hikes that would have been on most adults’ bucket lists, and they hadn’t complained once. Tyler was 10. Kara was 8. We were starting to think we’d underestimated them.
Then came Trolltunga.
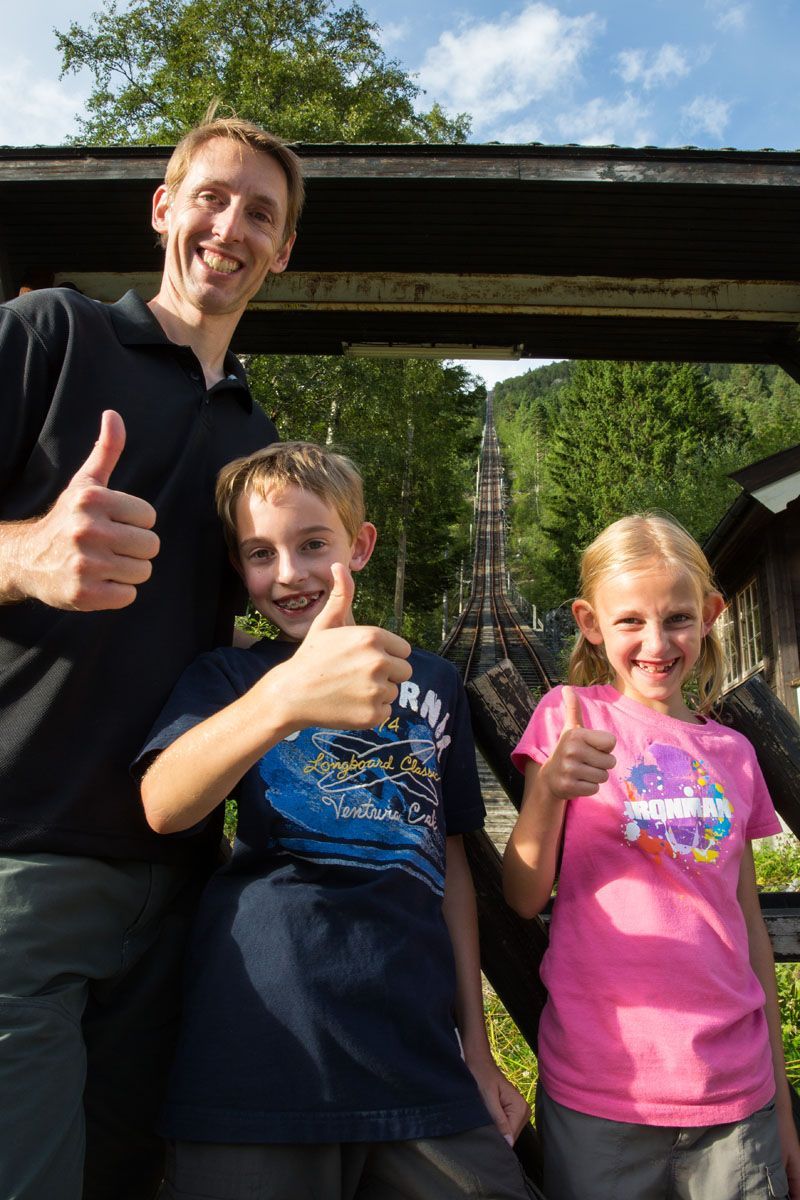
On paper, the hike looked similar to what we’d already done: a long day in the Norwegian mountains, some elevation, a dramatic payoff at the end. What the numbers don’t tell you is that we started at the base of an old funicular track, a near-vertical slog up a steep, rocky slope that, at the time, was the only way up. The funicular itself had been decommissioned and the tracks left in place, and hikers used them as a kind of ladder, hauling themselves up the mountain before the real hike even began. That section has since been replaced by a proper trail, but in 2013, it was the hardest first kilometer either of our kids had ever faced.
And they crushed it.
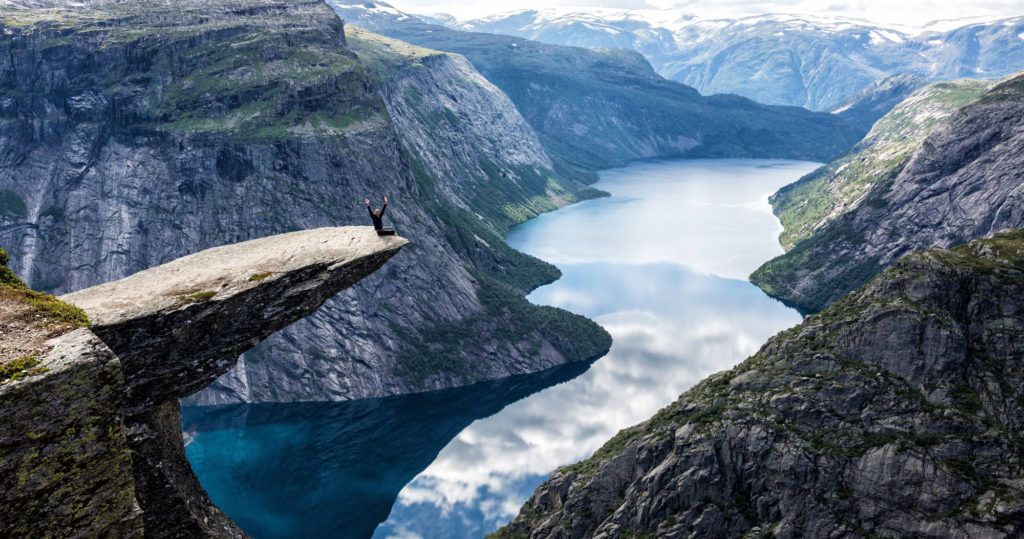
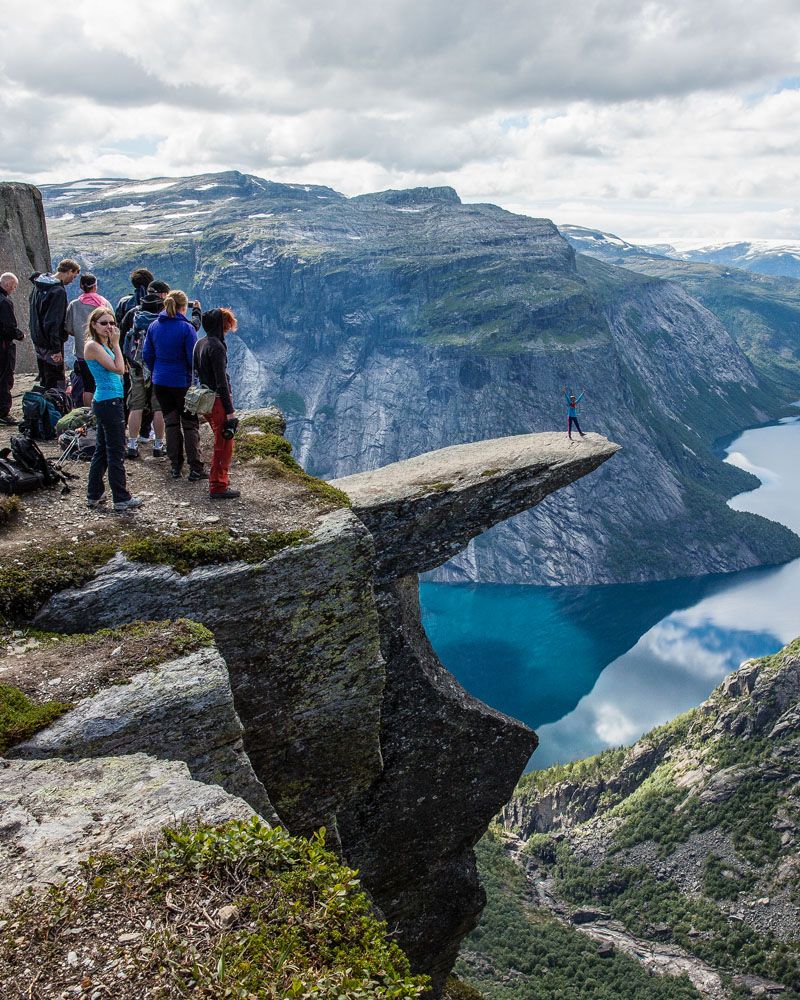
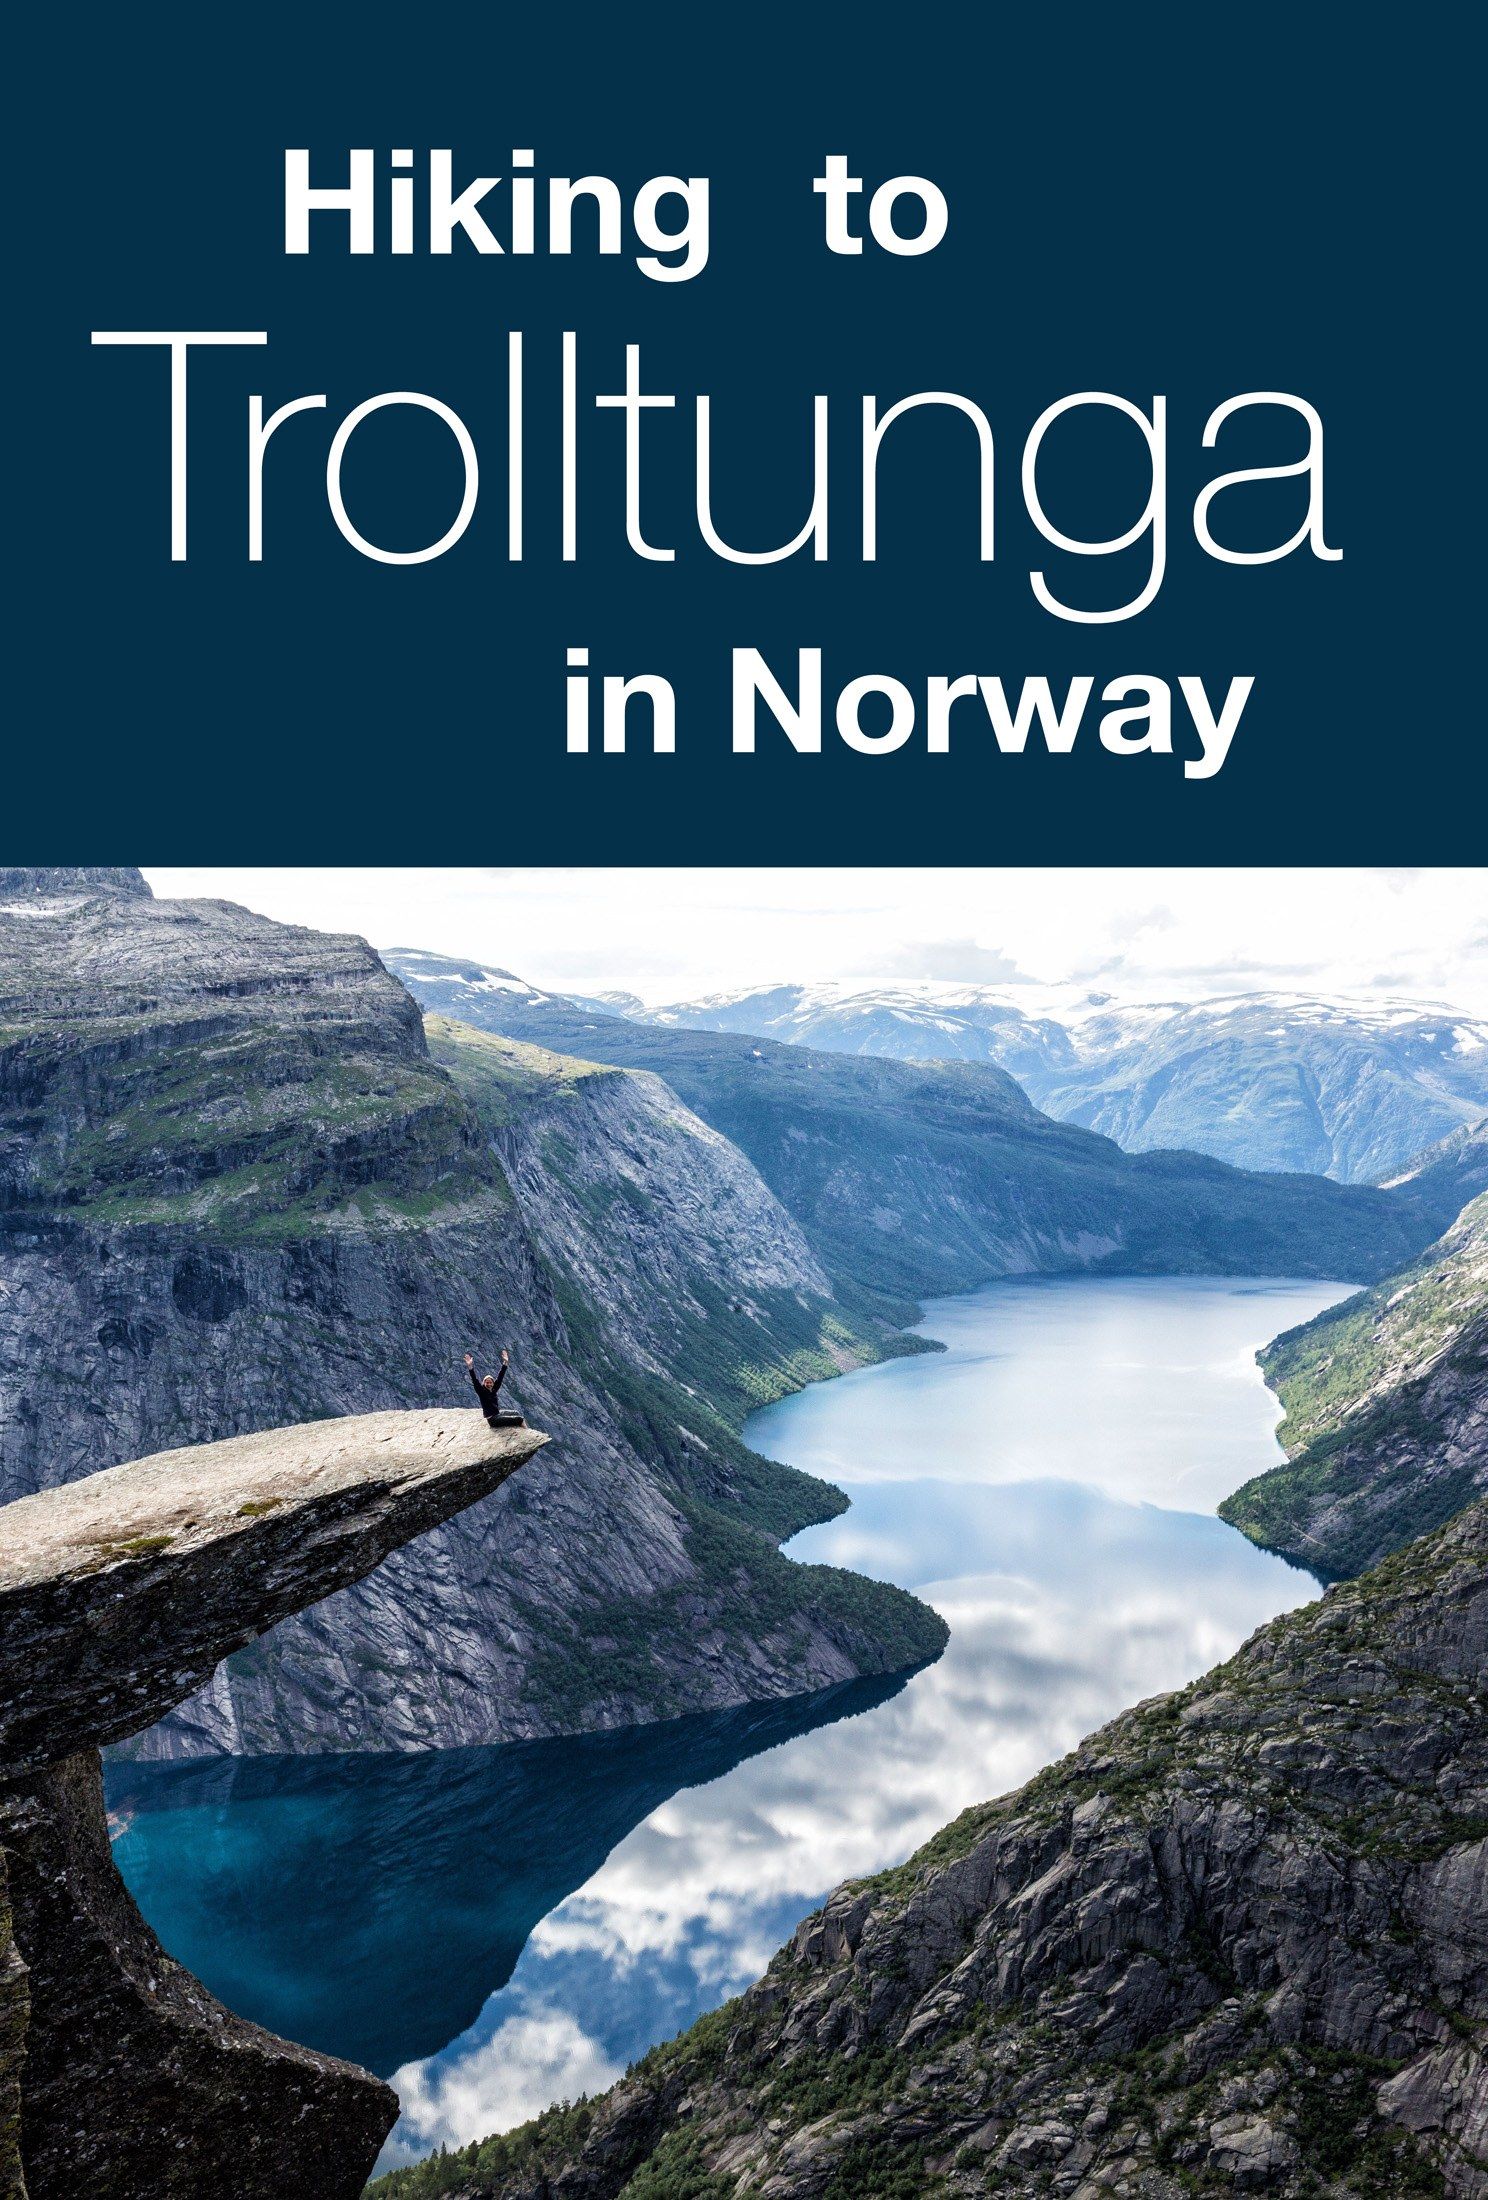
The hike to Trolltunga covers 28 kilometers (17.4 miles) out and back, with 800 meters of elevation gain and 10 to 12 hours on your feet. The payoff is the Troll’s Tongue, a thin, horizontal shelf of rock jutting out over Lake Ringedalsvatnet, 700 meters below. It’s one of those places that looks exactly like the photos and still manages to take your breath away.
We did four hikes on that Norway trip: Pulpit Rock, Kjeragbolten, Trolltunga, and finally Romsdalseggen Ridge, which was the hardest of the four. But Trolltunga was the longest day, and in many ways the one that tested us most as a family. Everyone finished strong.
This guide covers everything you need to plan your own Trolltunga hike: trail conditions, the two parking options, cost, what to bring, and whether it’s realistic to do with kids.
Note: We first hiked Trolltunga in 2013 and have been updating this guide ever since. All trail, parking, and cost information reflects current conditions.
Trolltunga Stats & Things to Know
DISTANCE | 28 km (17.4 miles) out and back from P2 Skjeggedal; 20 km (12.4 miles) from P3 Mågelitopp
ELEVATION GAIN | 800 meters (2,625 feet) from P2; 300 meters (1,000 feet) from P3
DIFFICULTY | Strenuous
HIKING TIME | 10 to 12 hours from P2; 7 to 10 hours from P3
SEASON | June 1 – September 30 (no guide required); October – May (guide required)
TRAILHEAD | Skjeggedal, near Tyssedal
PARKING | P2 Skjeggedal: NOK 500 | P3 Mågelitopp: NOK 600 + NOK 200 toll = NOK 800
GOOD TO KNOW | There is no fee to hike Trolltunga — you only pay for parking
What Makes Trolltunga Special?
Trolltunga is one of the most popular hikes in Norway. Posing for photos on Trolltunga (the Troll’s Tongue) is the main reason for doing this hike, but from start to finish it is a beautiful journey. For hiker’s, Trolltunga just may be the highlight on a visit to Norway. Many people who do this hike say that it is one of their favorite hiking experiences. Maybe you will too.
How Do You Get to Trolltunga?
Trolltunga is located in southern Norway near Hardangerfjord, above the small town of Tyssedal. Most people base themselves in Odda or Tyssedal for the hike.
Distances to Trolltunga:
- From Bergen: 3 hours
- From Oslo: 5 to 6 hours
- From Stavanger: 3.5 hours
The best way to get here is by rental car. This part of Norway is spectacular, and having a car lets you take your time, stop for views, and explore the small towns along Hardangerfjord at your own pace.
We get a lot of questions from people who want to day-trip from Bergen, hike Trolltunga, and drive back the same day. It’s technically possible, but we don’t recommend it. You’re looking at up to 12 hours of hiking plus 6 hours of driving, and the drive back comes after one of the longest days you’ll ever spend on a trail. Stay at least one night near Trolltunga. You’ll be glad you did.
Getting to Odda By Bus
- The Trolltunga-Preikestolen Express bus connects the Trolltunga hike with Pulpit Rock during the summer months.
- From Stavanger, take the Nor-Way bus.
- From Oslo, take the Haukliekspressen bus.
- From Bergen, take bus 930.
Getting to Odda By Train
The Bergensbanen connects Bergen and Odda.
Where to Park at Trolltunga
There are two parking options, and the one you choose has a significant impact on your day, both in cost and in how much you hike.
P2 Skjeggedal (Lower Lot)
This is the main trailhead parking lot, located 7 km from Tyssedal on Skjeggedalsvegen. It has 180 spaces, toilets, and costs NOK 500. From here, the full hike is 28 km with 800 meters of elevation gain.
If you park at P2, you can also take a shuttle bus up to the upper lot (P3 Mågelitopp), which saves you roughly 1.5 hours of hiking time one way. Shuttle prices start at NOK 150. Click here for current shuttle information.
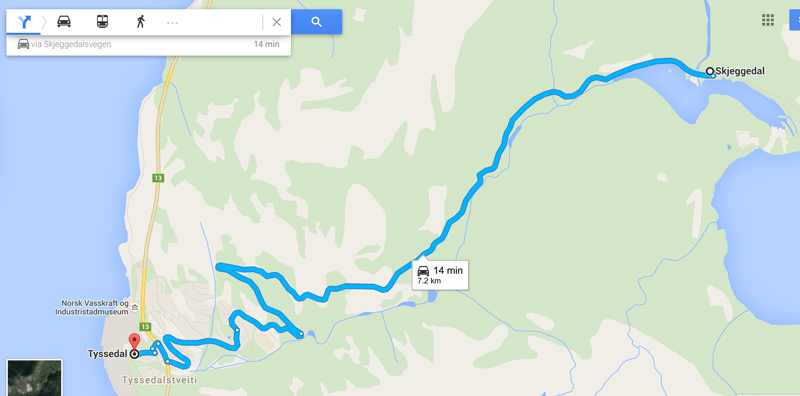
Map of the drive from Tyssedal to the parking lot in Skjeggedal.
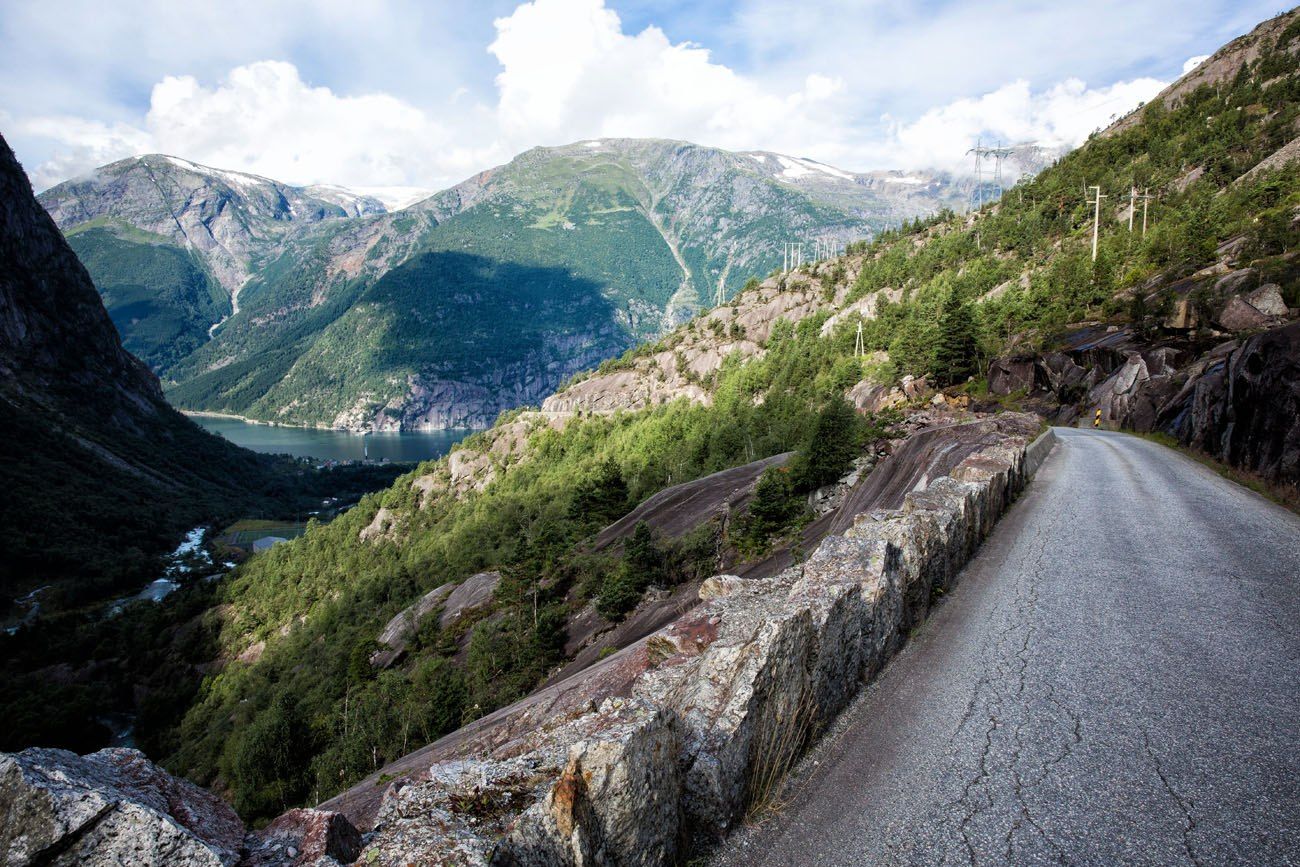
The road from Tyssedal to the car park (looking back towards Tyssedal and Sorfjord).
P3 Mågelitopp (Upper Lot)
This is the upper parking lot, and it’s a game changer if you can get a spot. Parking here eliminates the first big climb and final descent, shaving roughly 3 hours off your day. The hike from P3 is 20 km with only 300 meters of elevation gain.
There are only 30 spaces. The gate opens at 6:30 am and spots go fast, so arrive early or book in advance. Parking costs NOK 600 plus a NOK 200 toll road fee, for a total of NOK 800.
The road up to P3 is steep with tight hairpin turns, but it is now paved and no longer requires a 4×4. Good driving skills and comfort with mountain roads are still recommended.
Reserve your P3 parking spot here.
For a full map of parking areas and current pricing, visit the official Trolltunga website.
Trolltunga Hike: Trail Guide
The First Big Climb
The trailhead starts at the Skjeggedal car park (P2). The first kilometer is the hardest of the entire hike, a relentless, steep climb on stone steps and rocky trail that gains most of its elevation in a very short distance. There’s no warm-up. You’re just climbing.
This is the section that separates hikers who’ve prepared from those who haven’t. Take it slow, find your rhythm, and don’t burn yourself out here. You have a very long day ahead.
If you park at P3 Mågelitopp, you skip this climb entirely and begin on the plateau above.
Trail to Trolltunga
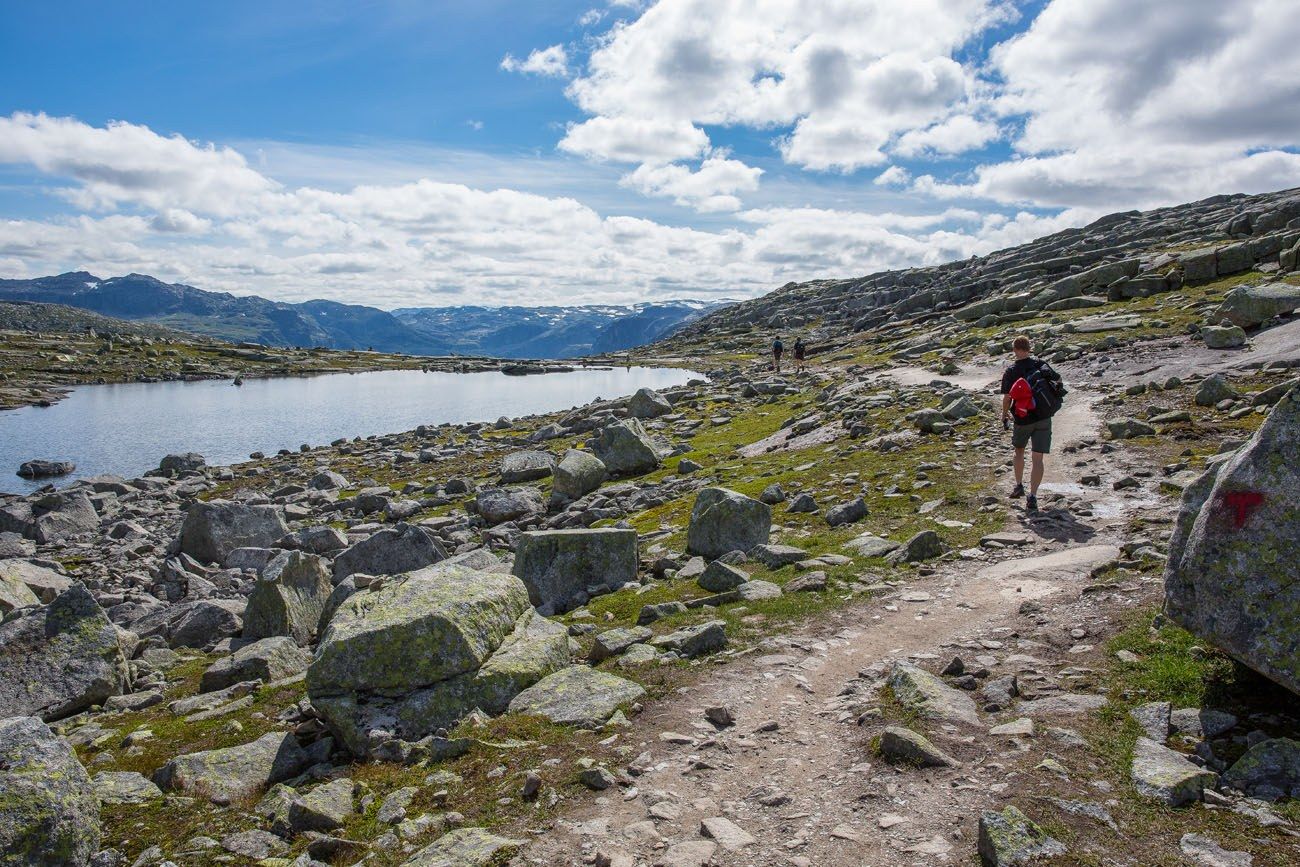
Once you conquer the first 1 km climb, things get easier. The trail levels out, for just a little bit, and then you will have several smaller climbs. However, these are nothing like what you just did.
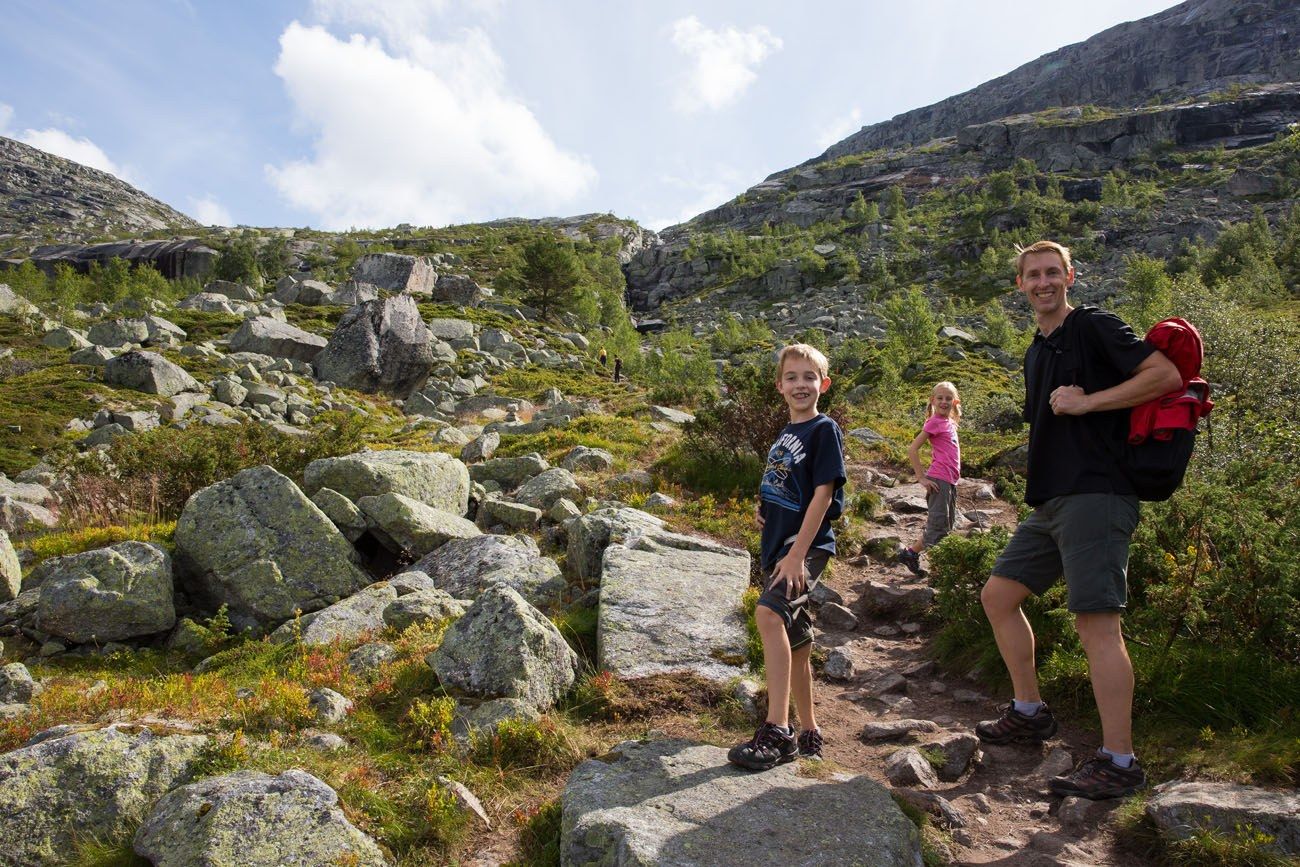
Just before the start of the another climb.
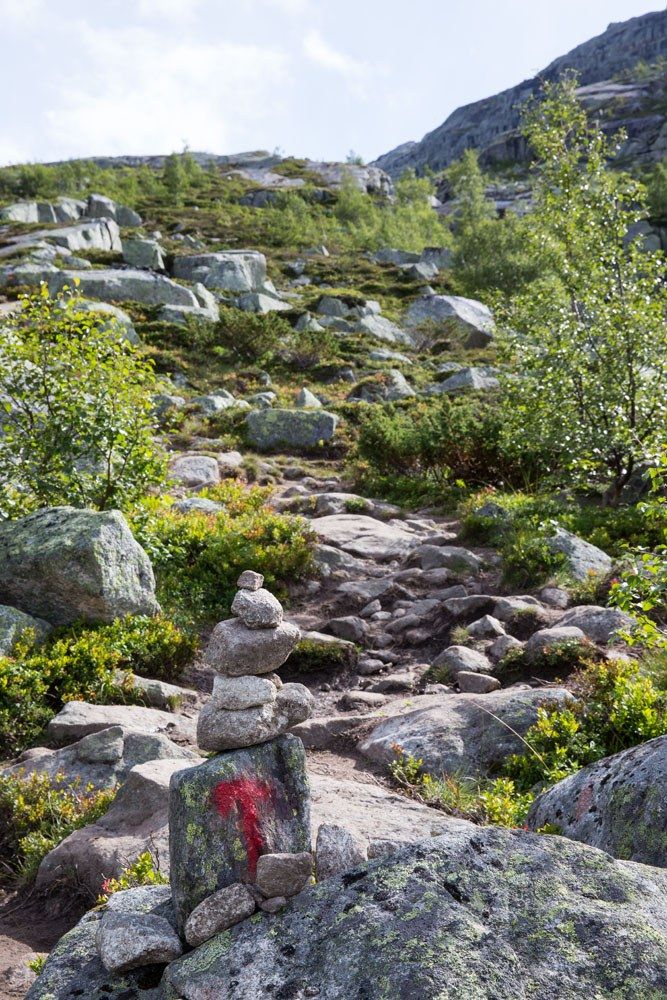
Follow the red T’s to get to Trolltunga.
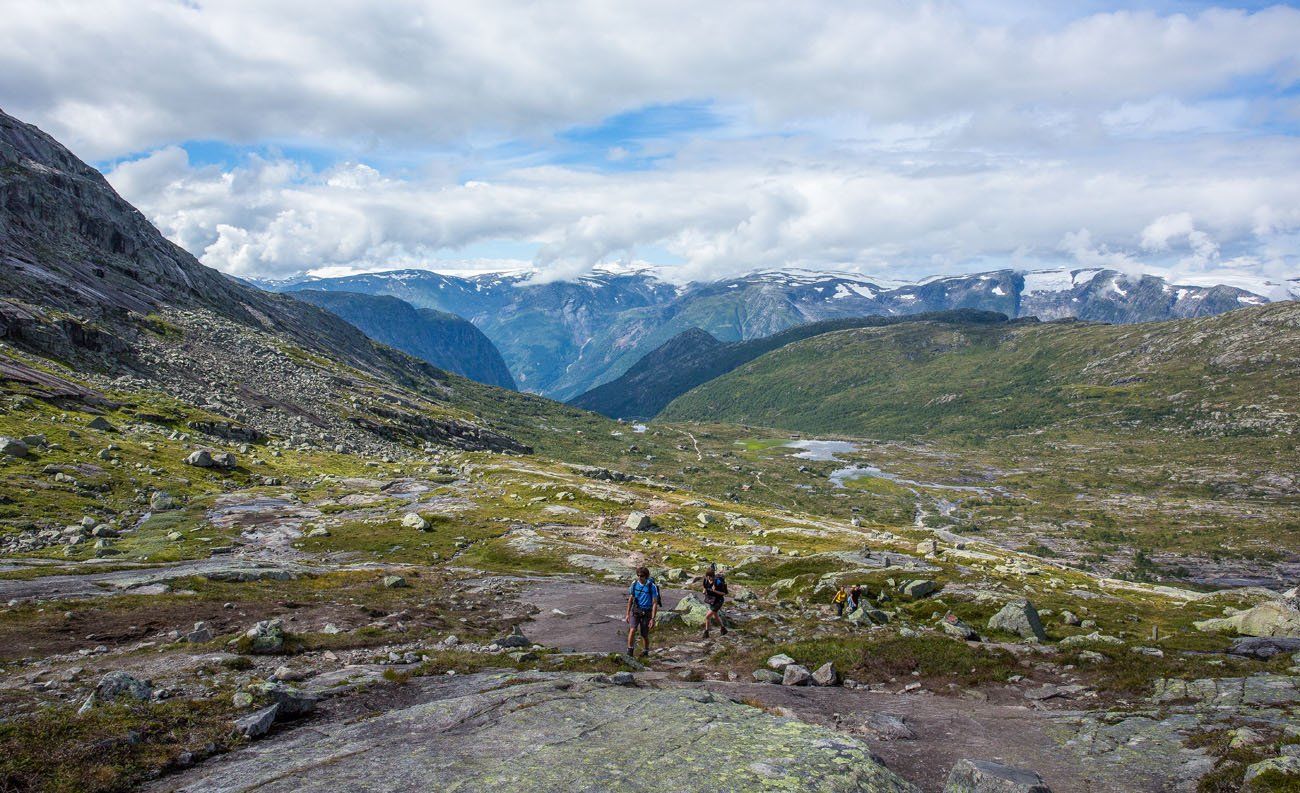
Looking out over the valley and what we just hiked. If you look closely, you can see the faint line of the hiking trail.
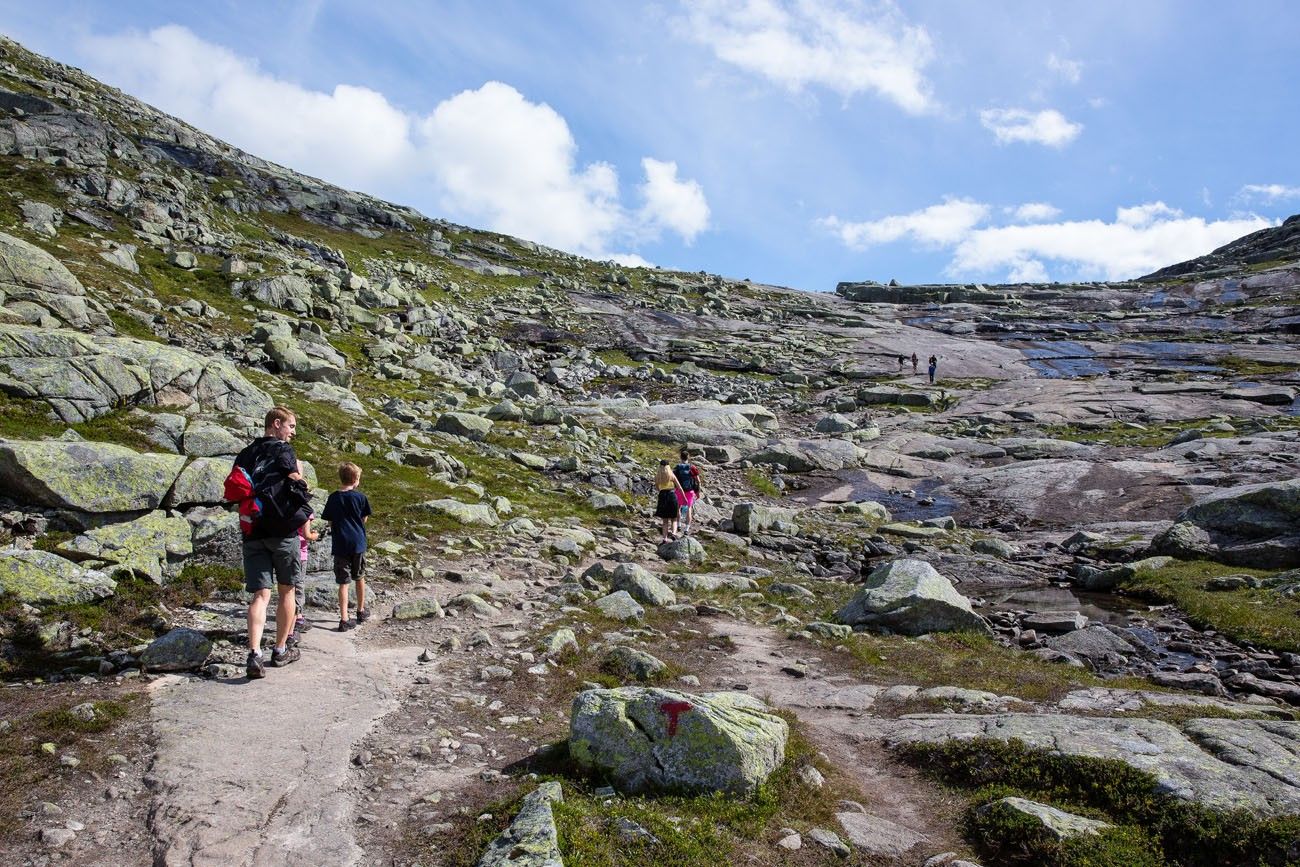
One more climb. After this, the trail levels out for awhile.
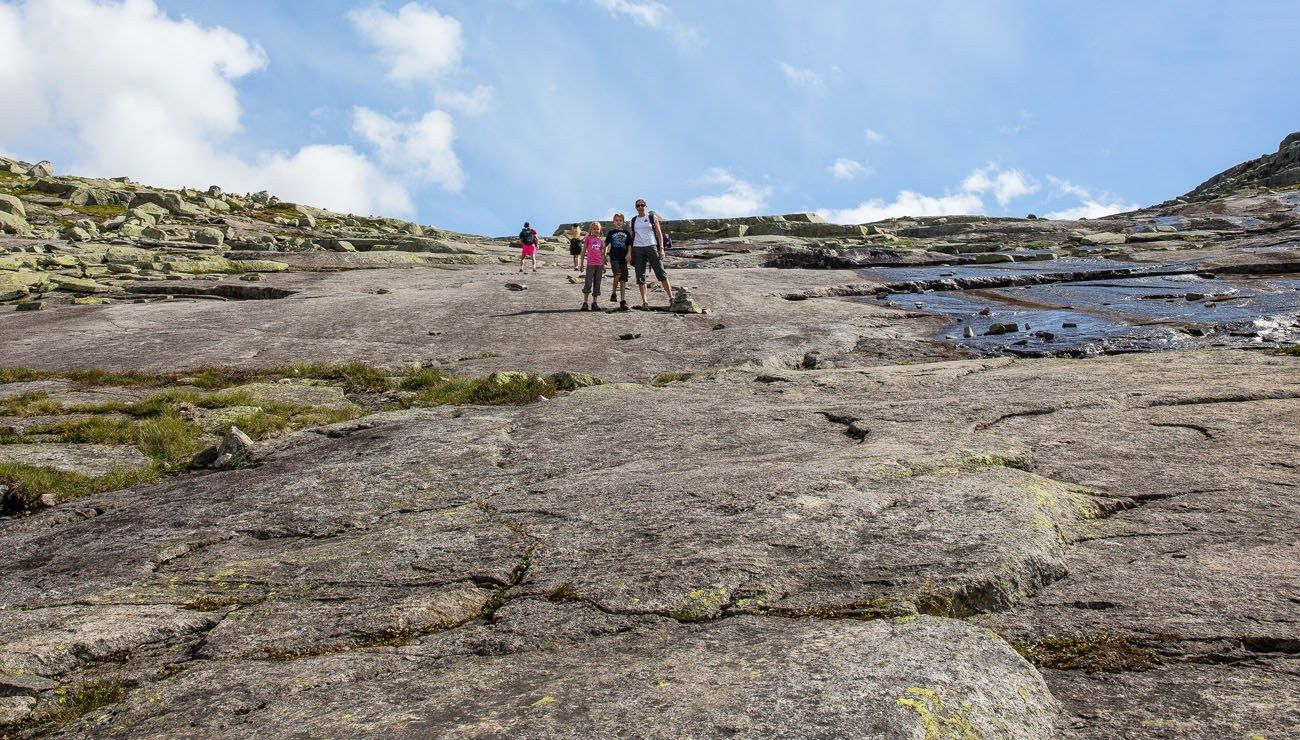
Standing on the granite face of the trail.
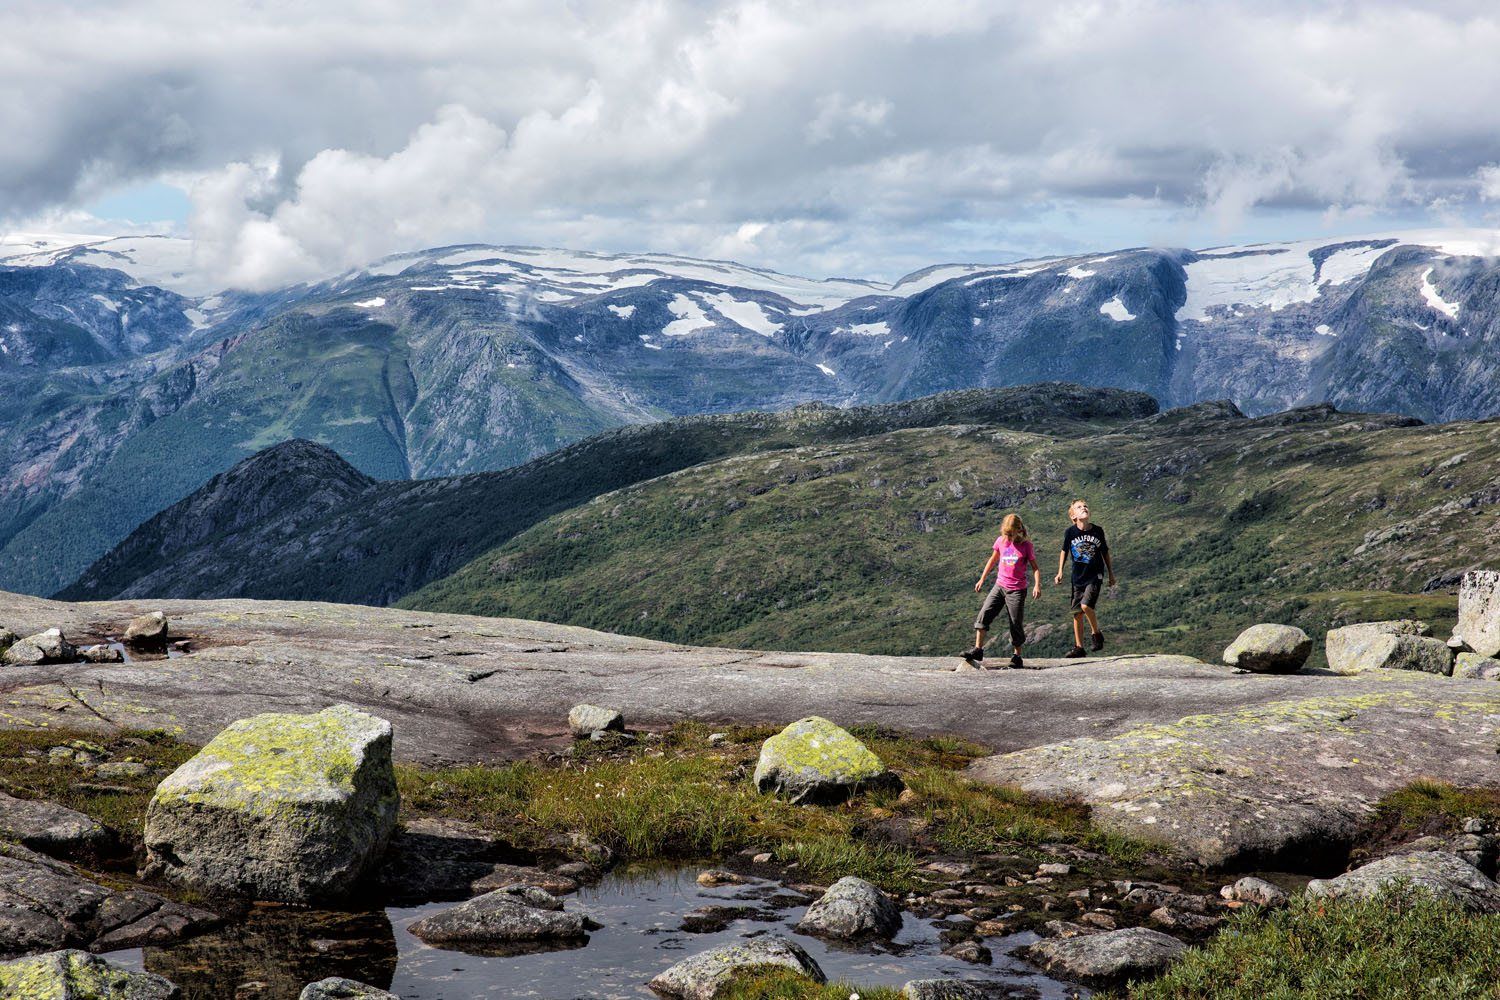
This is the view from the top of that last climb.
One of the tricks to having a good experience is to take breaks along the way. From this altitude, you have amazing panoramic views of Norway. Sure, getting to Trolltunga is the goal but enjoy this whole journey…it’s awesome!
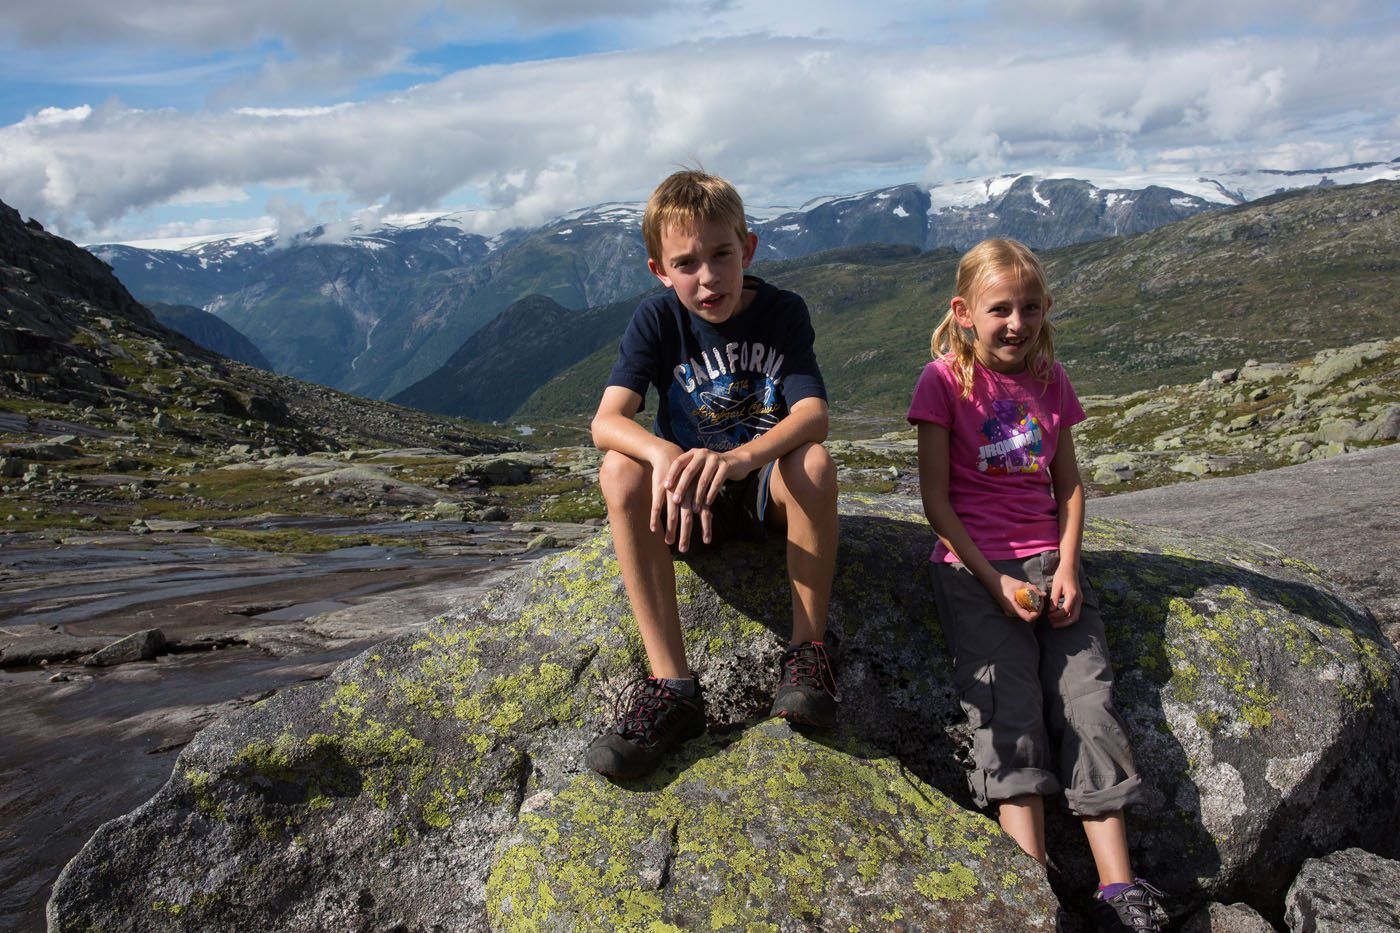
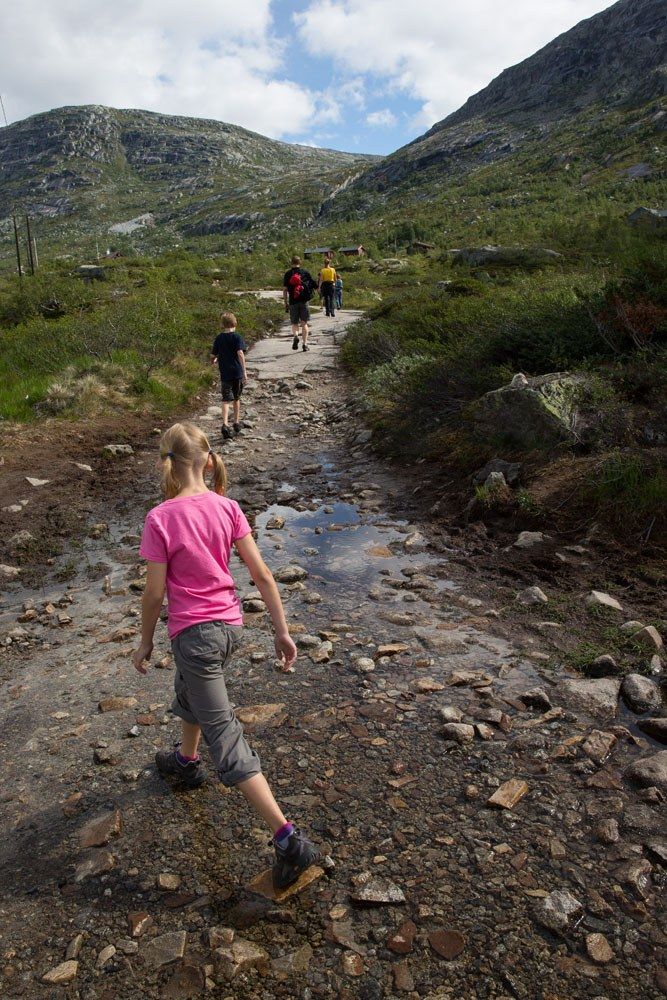
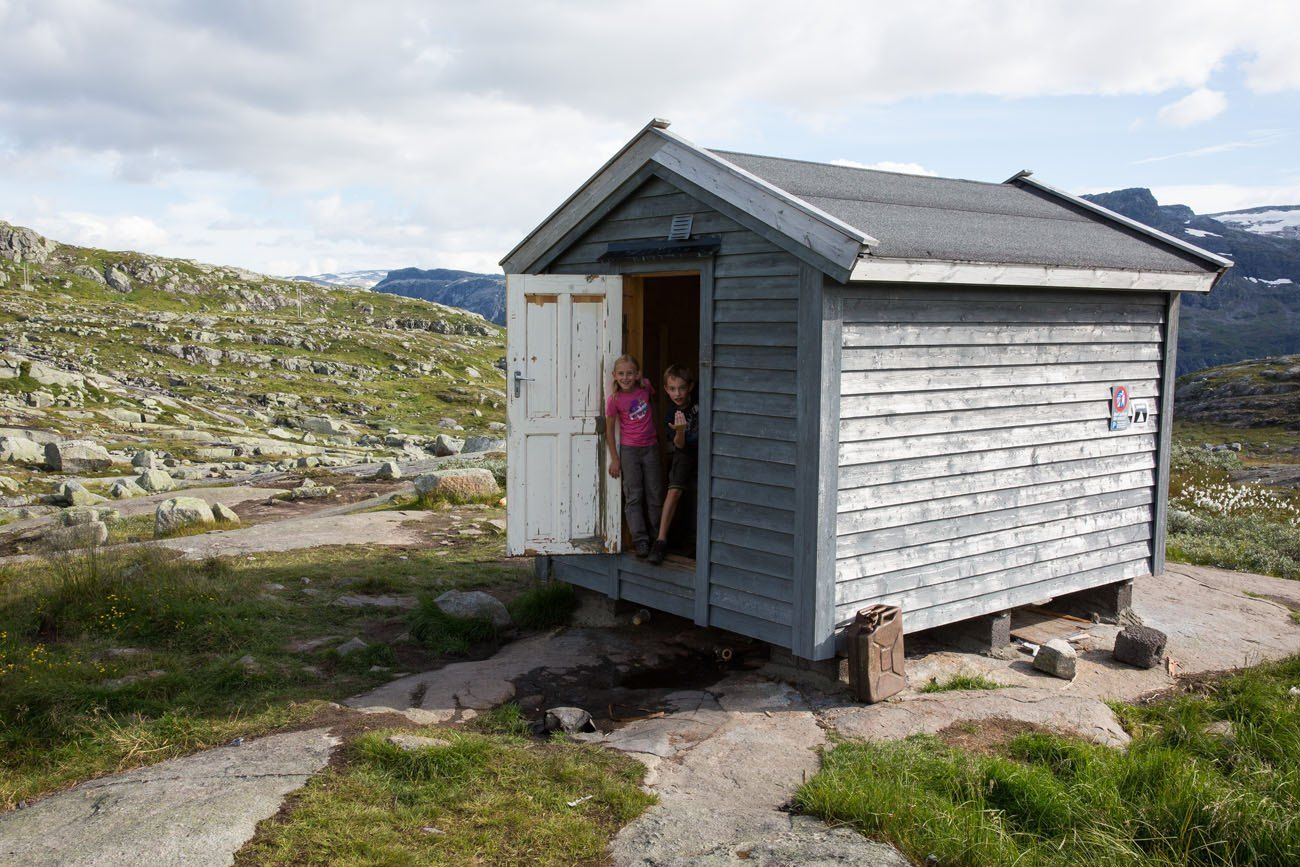
We continued our trek, dodging mud puddles, climbing over boulders, and crossing numerous streams and creeks. Once you climb that granite face, the hike levels out, for the most part. There are several small climbs but nothing too difficult. Here are more photos of the trail until you get to Trolltunga.
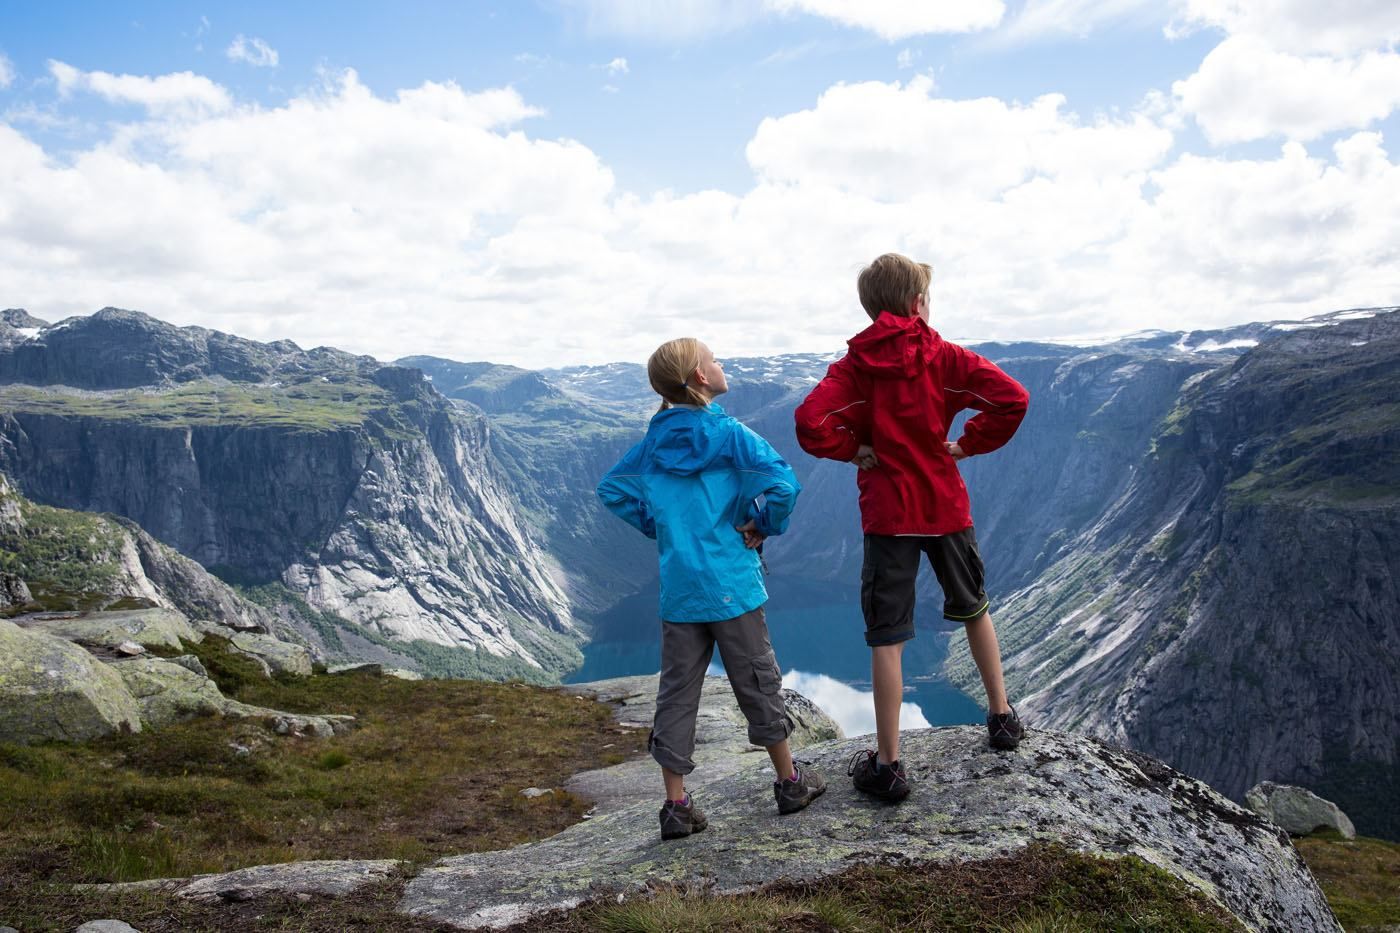
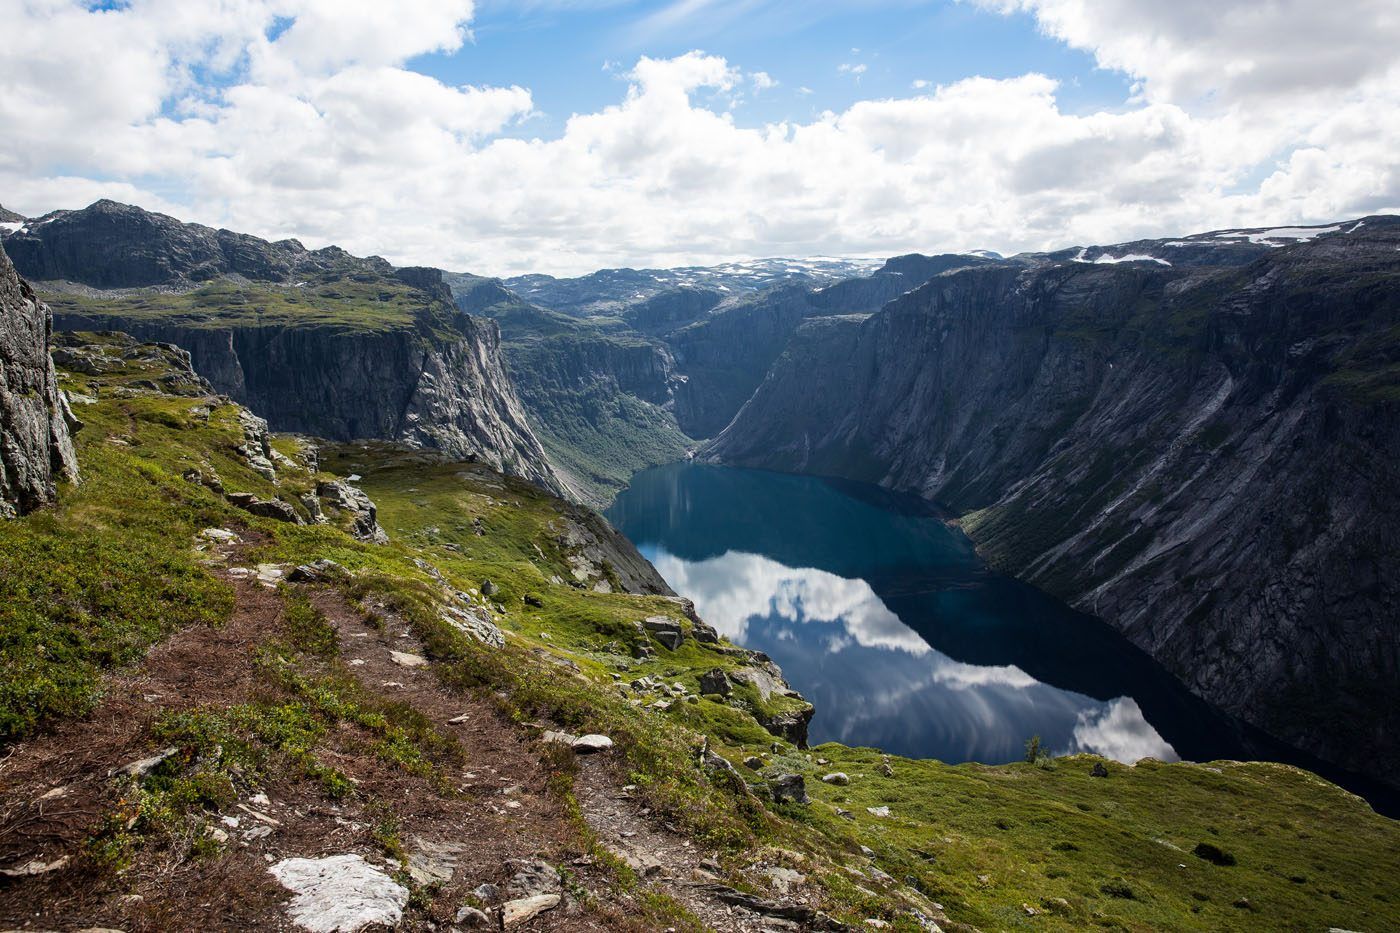
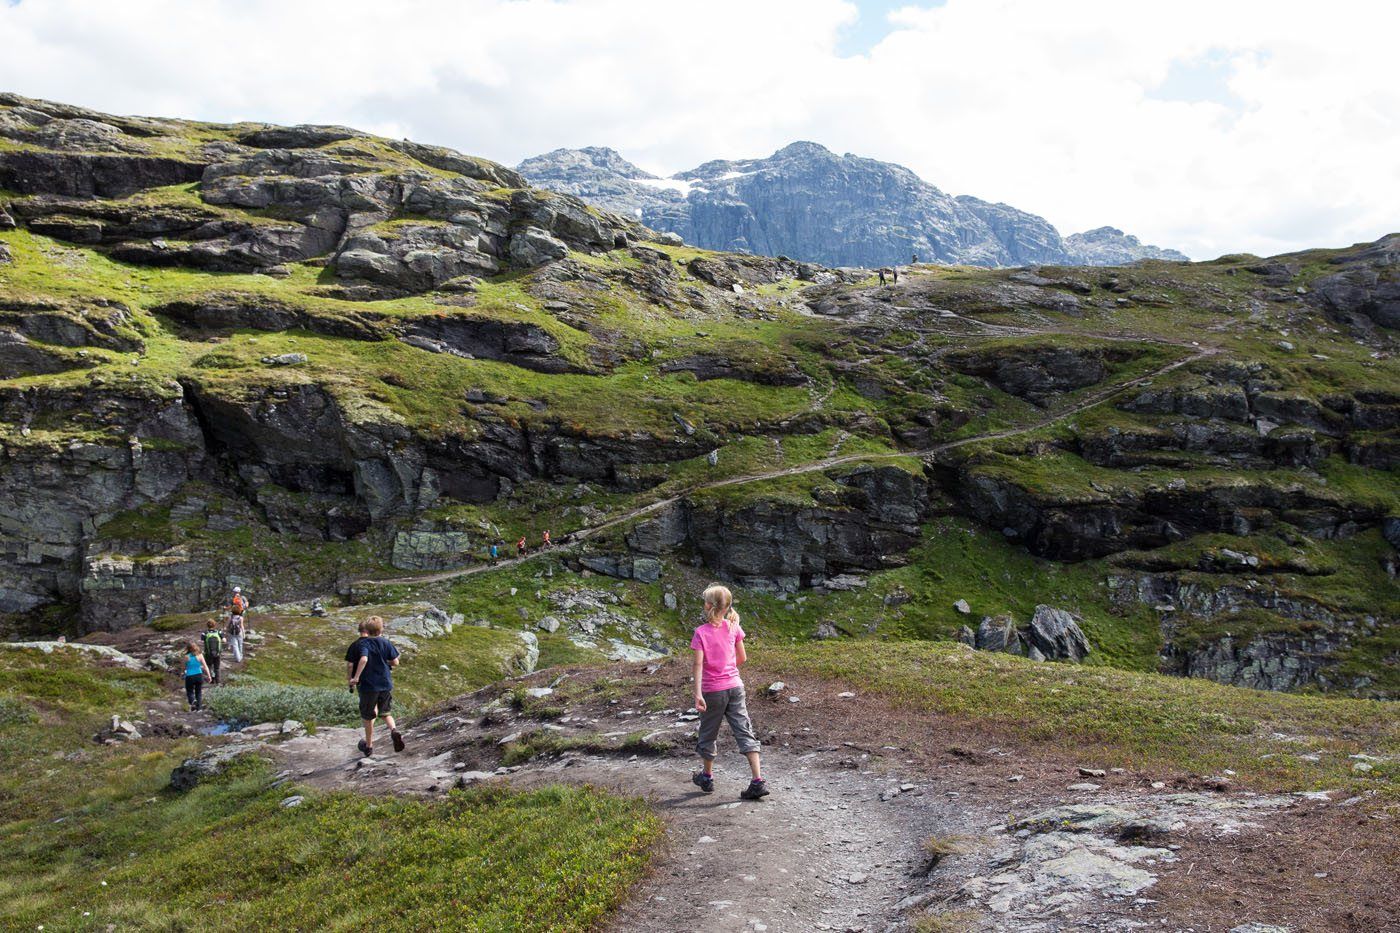
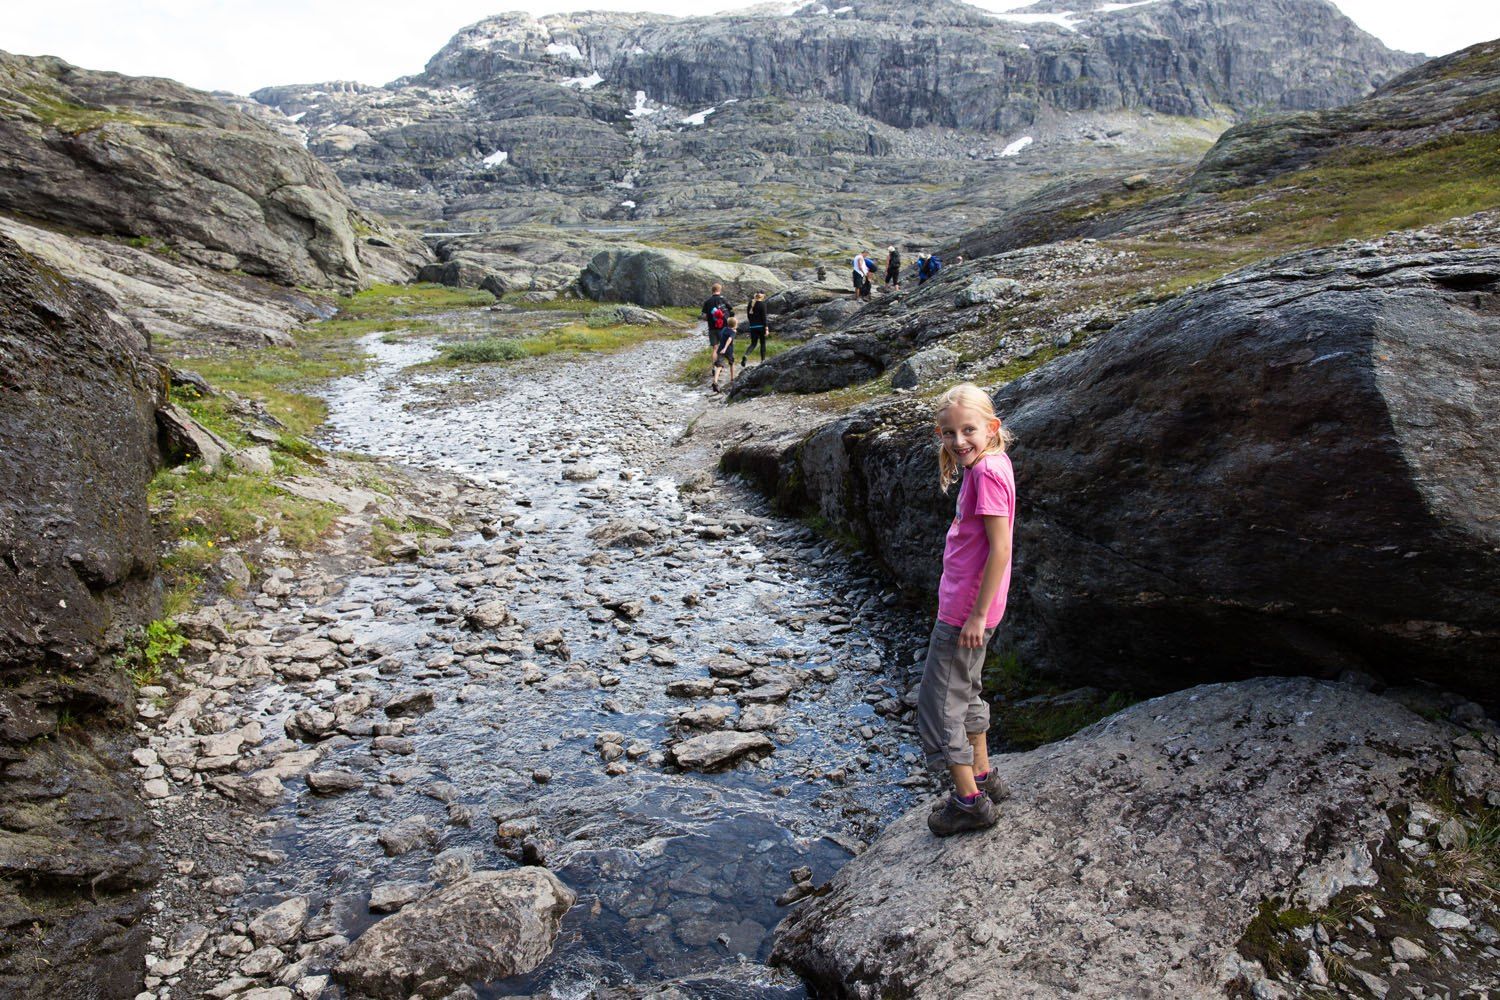
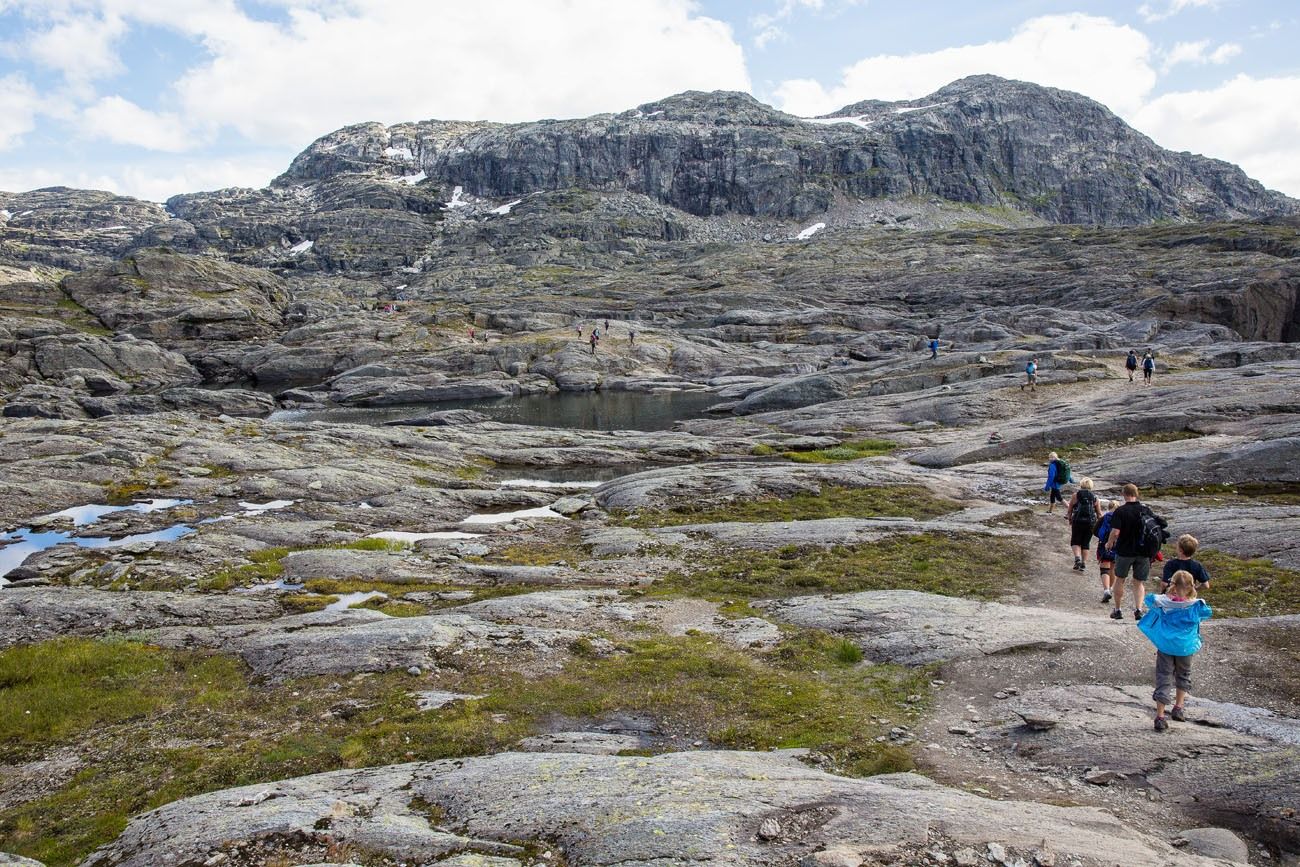
Stepping out onto Trolltunga
It took us three and a half hours to hike from the carpark to Trolltunga.
The views over Trolltunga and out over the lake were awesome. There were tons of people here, some waiting in line to step out onto the ledge and others were waiting to take their photos. Tyler and Kara were two of the three kids we saw during the entire hike. Go kiddos!
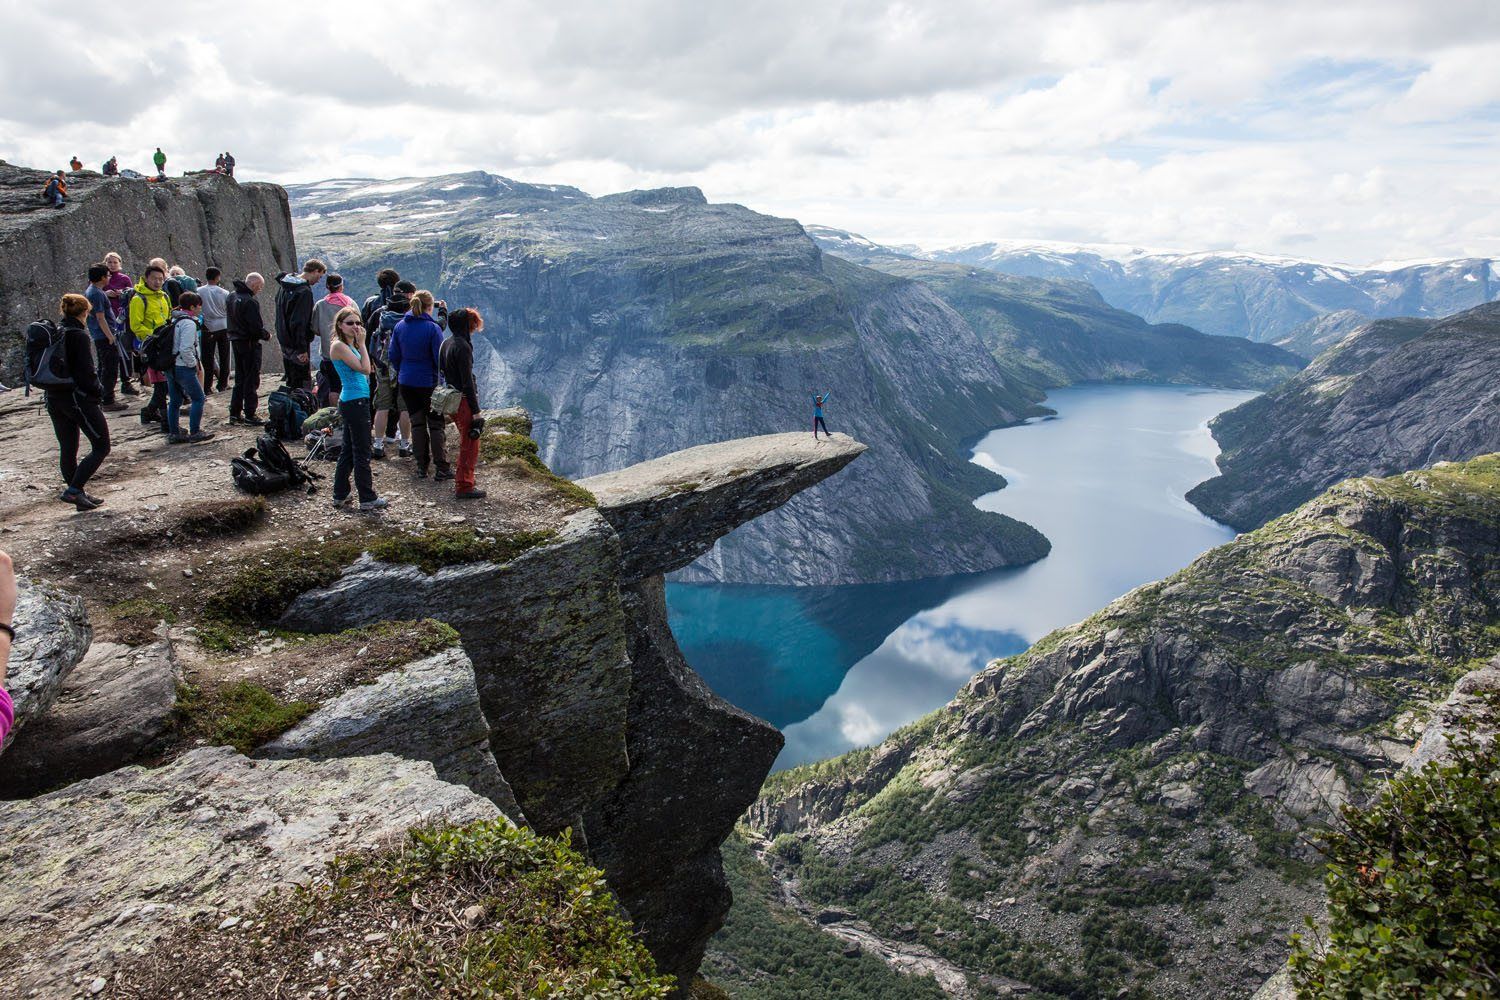
Kara and I went first onto the tongue (after 45 minutes of waiting in line). After stepping out onto Kjeragbolten this did not seem scary at all. Kara and I did a few poses, then I took her back to sit on a rock and wait for me. I went back out to the tip of the tongue to sit with my feet hanging over the side.
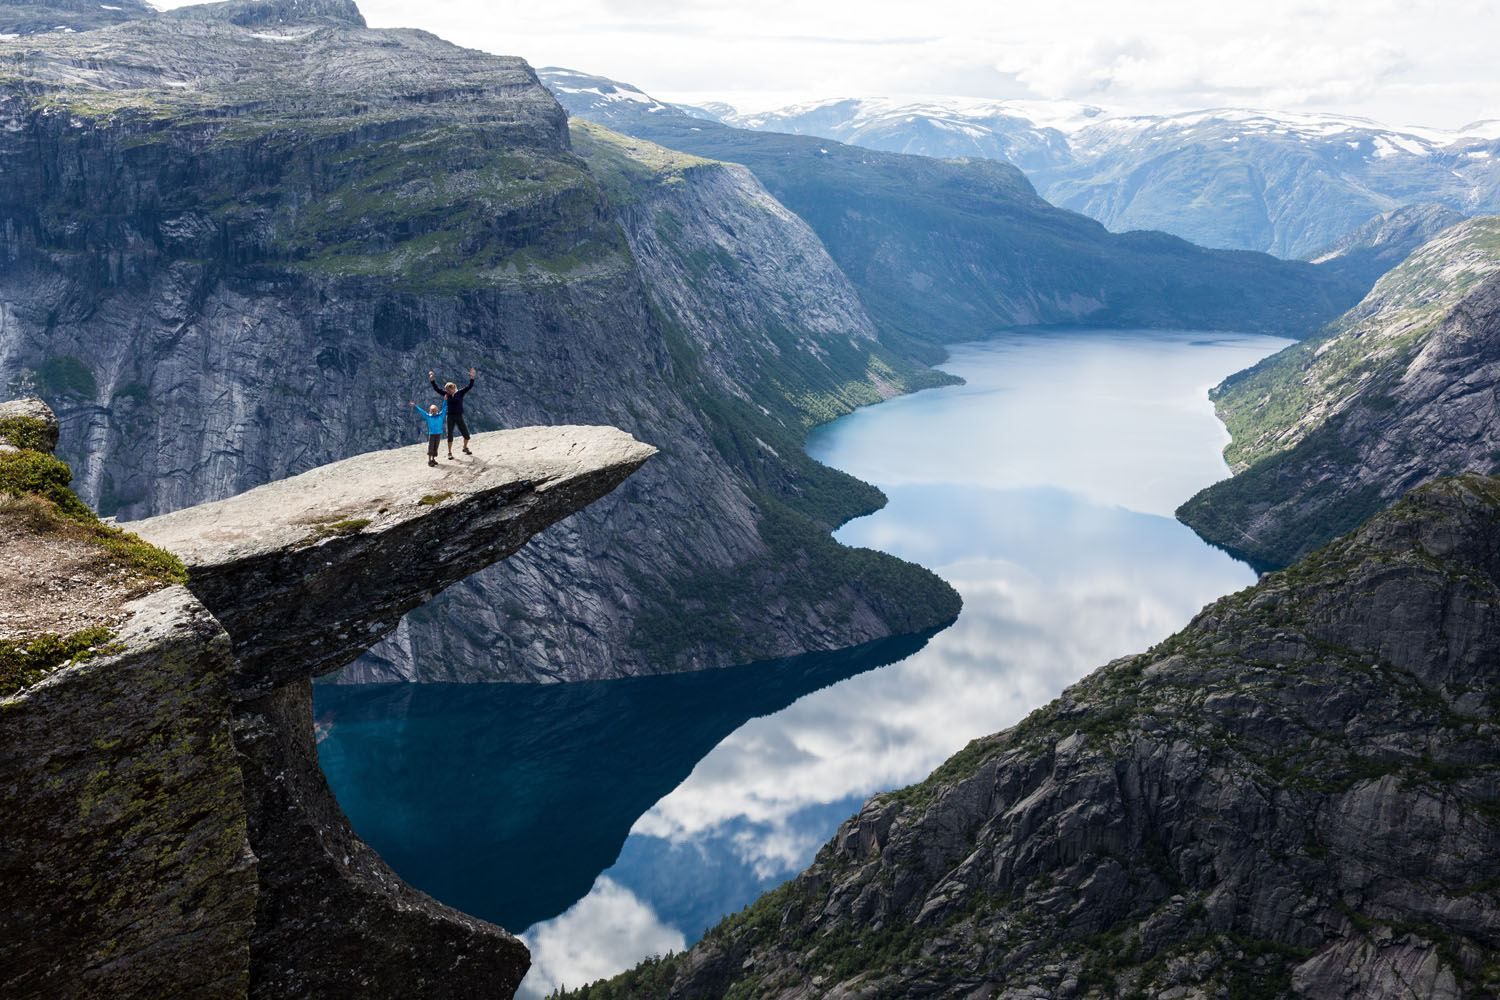
Next it was Tim and Tyler’s turn. By now we were all getting quite cold. Temperatures were in the high 40’s (8 – 9°C) and it was early August.
Fortunately, the line was a little shorter for Tim and Tyler. Here they are, posing for the camera.
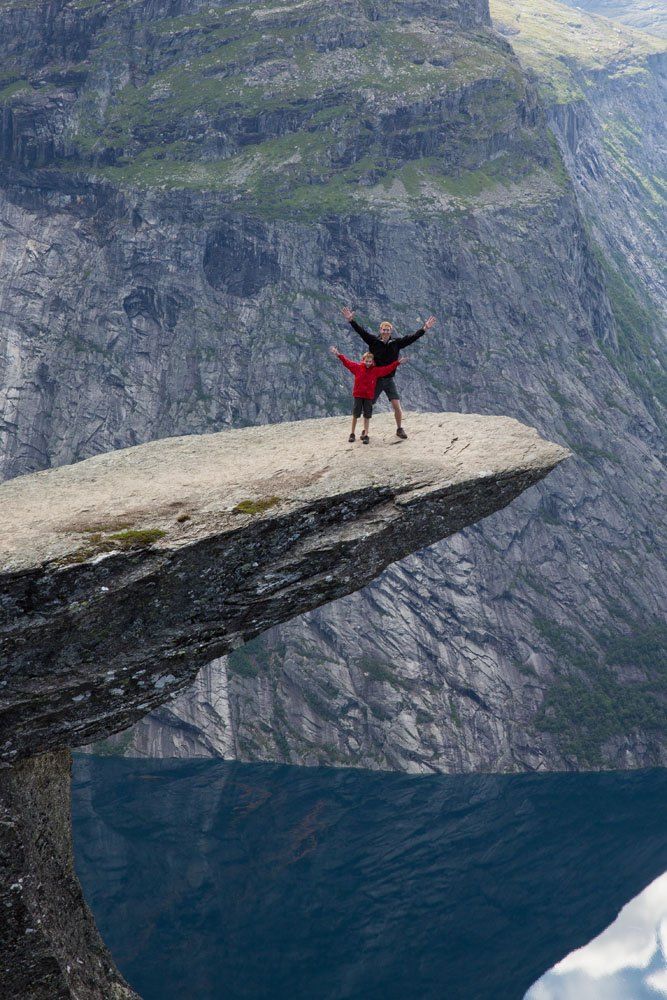
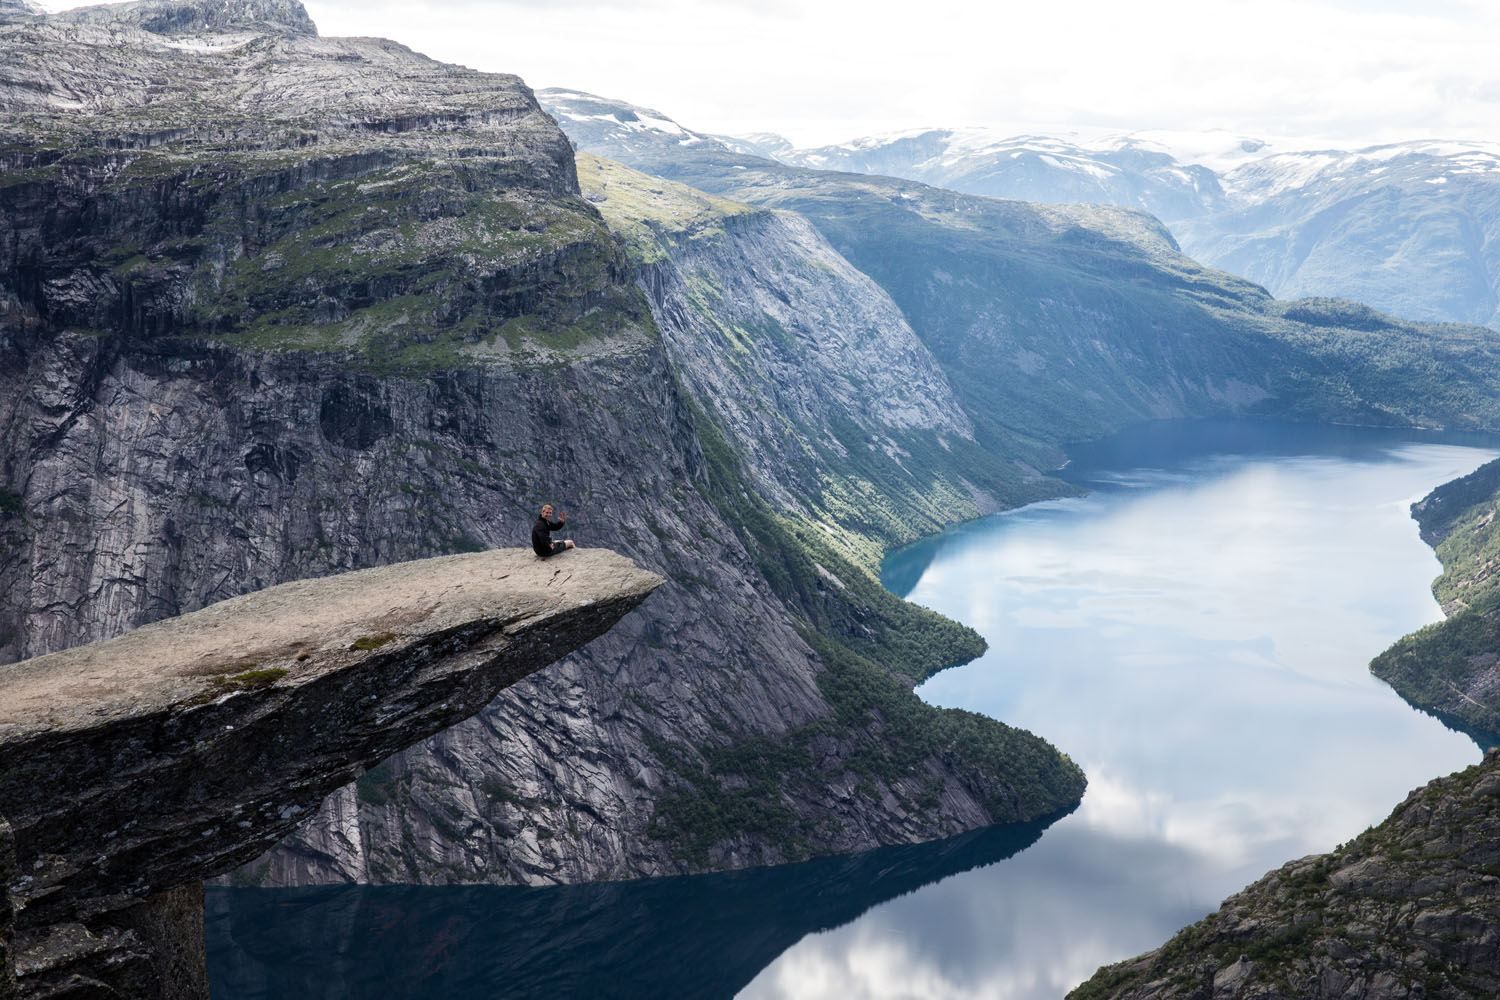
It took an hour and a half for all of us to have our photos taken. By now we were very chilly and already somewhat tired. All four of us were hoping the walk back to the car would be quicker than the walk out.
The Return Hike
The walk back was slightly faster. We did not need to stop for sunscreen, photos, or much food now. The signs counting down the kilometers kept us going, and we snacked on lots of cookies. It took us three hours to hike back to a car, shaving off about a half hour from the hike to get to Trolltunga.
Can You Hike Trolltunga with Kids?
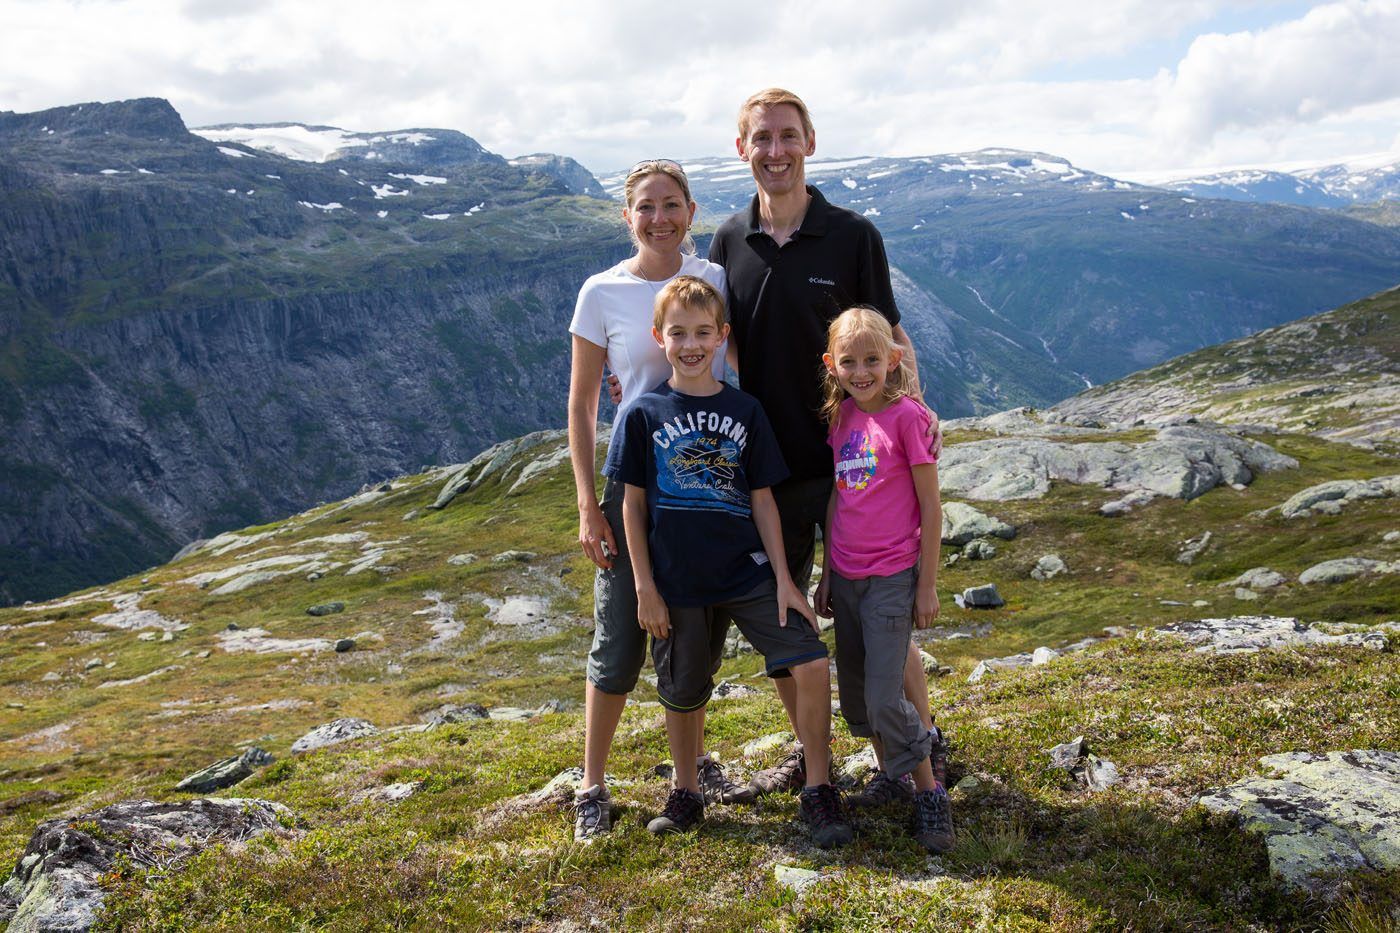
When we did this hike, Tyler was 10 and Kara was 8. They both finished strong and were proud of themselves at the end, as they should have been. Trolltunga is a serious hike for adults, and they kept pace with us the entire day.
That said, we want to be honest: this is not a hike for most kids. The distance alone, 28 km from the lower lot, is a genuine challenge for adults in good shape. The elevation, the length of the day, and the exposure on the upper plateau all add up. We saw very few children on the trail, and the ones we did see were clearly experienced young hikers.
If you’re considering bringing kids, here’s our honest assessment:
Age: We wouldn’t bring a child younger than 8. Kara was 8, just a month shy of turning 9, and she handled the hike well, but it did challenge her. However, age alone isn’t the deciding factor, as fitness and trail experience matter far more.
Experience: Your child should already be comfortable with full-day hikes of 10 or more miles. If they’re not, Trolltunga is not the place to find out their limits.
Starting point matters: If your kids are strong hikers but you’re not sure they can handle 28 km, seriously consider parking at P3 Mågelitopp. Cutting the distance to 20 km and eliminating the first brutal climb makes this a more realistic day for younger hikers.
Temperament: Eight hours on a trail is a long time to stay motivated. Tyler and Kara were genuinely happy for almost the entire day. Know your kids.
If your children are adventurous, experienced, and up for a genuine challenge, Trolltunga is an incredible experience to share with them. It was one of the most memorable days we’ve ever had as a family on a trail.
When Can You Hike Trolltunga?
The official hiking season runs from June 1 through September 30. We hiked in early August and had perfect weather, with blue skies, good visibility, and dry trails, but even then, temperatures at the top were in the high 40s Fahrenheit (8–9°C) with a sharp wind. Dress in layers no matter when you go.
July and August are peak season, which means the trail is busy and the line for photos on the tongue can stretch to 45 minutes or more. If crowds bother you, aim for June or September. You’ll get quieter trails and the same dramatic scenery. June can still have snow on the upper plateau, so check conditions before you go. September is stunning, with the first hints of autumn color in the landscape, but the days are getting shorter and the weather more unpredictable.
Outside of June through September, Visit Norway requires you to hike with a certified guide. The terrain becomes genuinely dangerous in winter conditions, and rescues are common. Don’t skip the guide.
- October–May — Guide required; suitable only for experienced winter hikers with proper gear
- June — Quieter trails, possible snow on the upper plateau, long daylight hours
- July–August — Peak season, best weather, longest days, expect crowds and lines at the tongue
- September — Fewer crowds, beautiful autumn color, shorter days and higher chance of rain
Helpful Tips for the Trolltunga Hike
Start early. The gate at P3 Mågelitopp opens at 6:30 am and those 30 spots fill fast. Even if you’re parking at P2, aim to be on the trail no later than 7 or 8 am. This is a long day and you want every hour of daylight you can get.
Don’t underestimate this hike. It’s a long, tiring hike. And yes, it really can take 12 hours. Over the course of the day, you will essentially be hiking a half marathon with lots of elevation gain. You wouldn’t just plan on rolling out of bed one day to go run a half marathon, right? 🙂 You need to be in good shape to do this.
There is no fee to hike Trolltunga. Your only costs are parking and, if you use it, the shuttle.
Use the bathroom at the car park before you start. There are no toilets on the trail until you return to the parking lot.
The trail is well marked. Follow the red T’s. Between June 1 and September 30 there are enough hikers on the trail and the markers are clear enough that you won’t need a guide. Outside of that window, hire one. Every year, there are numerous rescues for people who got in over their heads. Don’t be one of these statistics.
Dress for cold. Even in July and August, temperatures on the upper plateau can drop into the 40s Fahrenheit (single digits Celsius) with wind. We were cold standing at Trolltunga in early August. Layers are not optional.
Book P3 parking in advance. If you want the upper lot, don’t assume you’ll find a spot by arriving early enough. Reservations are available and worth making. Book here.
Pack more food than you think you need. You are going to be out there a long time. Snacks are morale. We lived on cookies on the return hike and have zero regrets.
Please practice the seven principles of Leave No Trace: plan ahead, stay on the trail, pack out what you bring to the hiking trail, leave areas as you found them, minimize campfire impacts, be considerate of other hikers, and do not approach or feed wildlife.
What to Bring on the Trolltunga Hike
- Waterproof hiking shoes
- Plenty of food and water
- Sunscreen
- First Aid Kit
- Rain jacket and warm clothing (the weather can change rapidly!)
- Camera
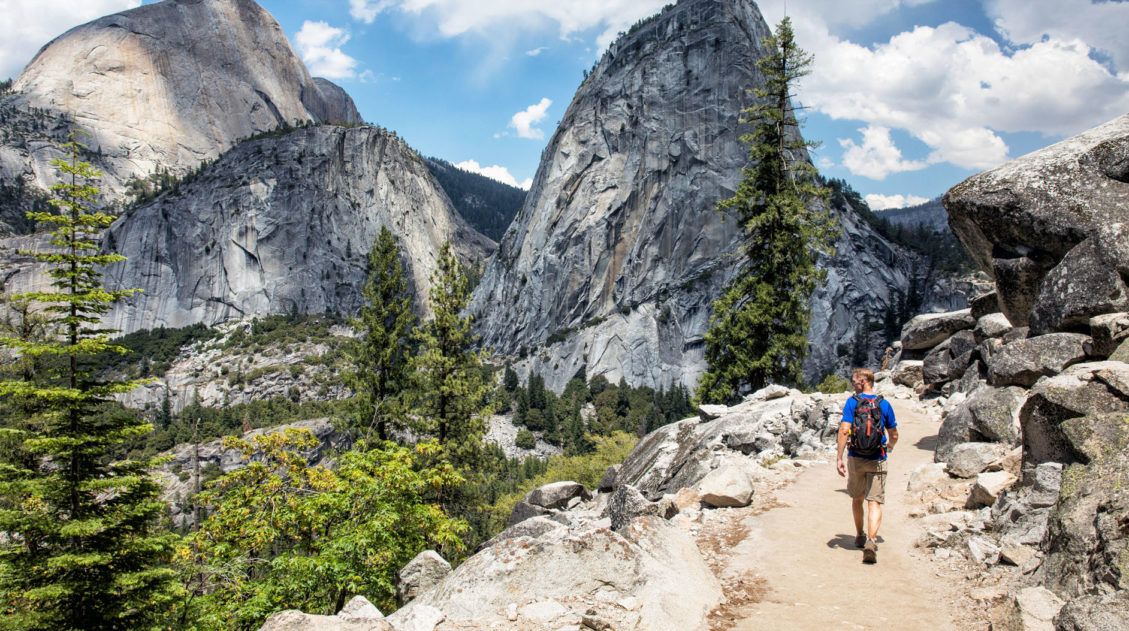
Essential Hiking Gear: What Should You Bring on a Day Hike?
If you are new to hiking or are curious about what you should bring on a hike, check out our Hiking Gear Guide. Find out what we carry in our day packs and what we wear on the trails.Best Places to Stay Near Trolltunga
Don’t make the mistake of trying to day trip from Bergen. After 10 to 12 hours on the trail, the last thing you want is a 3-hour drive back to the city. Stay at least one night near Trolltunga. You’ll sleep better, start earlier, and enjoy the experience far more.
The best bases are Tyssedal, Odda, Kinsarvik, and Eidfjord. Each has a different feel: Tyssedal is the closest to the trailhead, Odda is the largest town with the most amenities, and Kinsarvik and Eidfjord sit along Hardangerfjord with beautiful scenery and a quieter atmosphere.
For our full breakdown of the best hotels, apartments, and guesthouses in each town, including specific recommendations at every budget, read our dedicated guide:
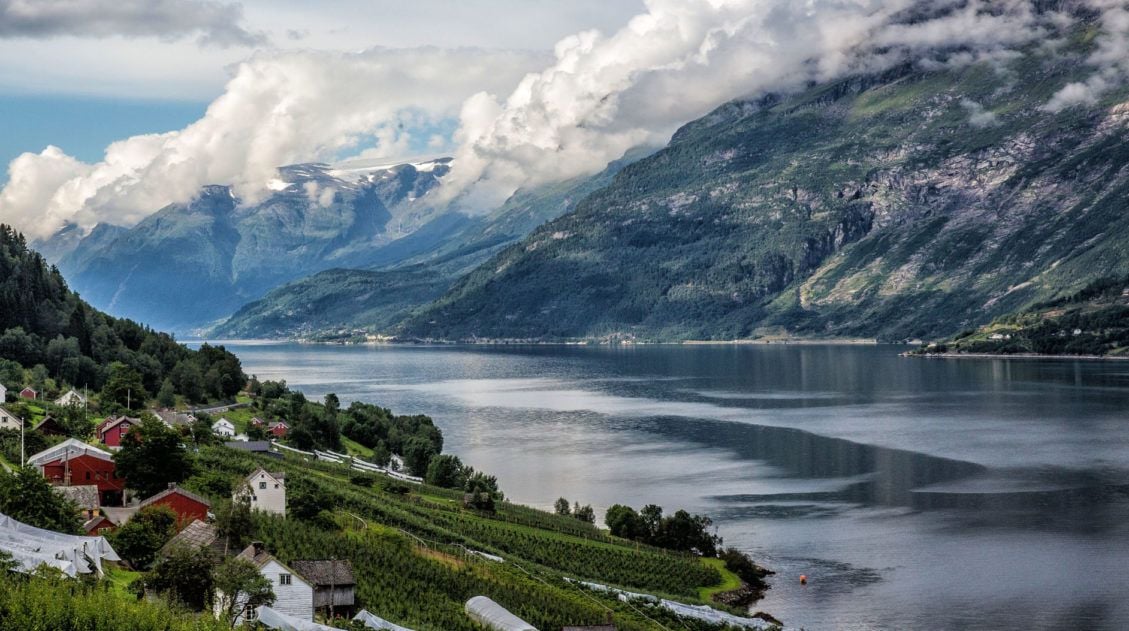
Where to Stay Near Trolltunga: Budget Hotels to Apartments with a View
Best locations near Trolltunga with recommended hotels.Alternative Route to Trolltunga
If you do not like the idea of the hike, there is a combination cycle trip and Via Ferrata climb to get you to Trolltunga. The Via Ferrata was not option when we did the hike so we do not have much information about it. For more information on the Via Ferrata click here.
Frequently Asked Questions About the Trolltunga Hike
Is there a fee to hike Trolltunga?
No. There is no fee to hike Trolltunga. Your only costs are parking (NOK 500 at P2 Skjeggedal or NOK 800 at P3 Mågelitopp including the toll road fee) and, if you choose to use it, the shuttle from P2 to P3 starting at NOK 150.
Do I need to book parking in advance?
For P3 Mågelitopp (the upper lot), yes. There are only 30 spaces and they go fast. You can reserve your spot at trolltunganorway.com. For P2 Skjeggedal (the lower lot, 180 spaces), advance booking is not required but arriving early is still strongly recommended in peak season.
Can I day trip to Trolltunga from Bergen?
Technically yes, but we don’t recommend it. Bergen to the trailhead is about 3 hours each way, and the hike itself takes 10 to 12 hours. You’re looking at an 18-hour day at minimum, and the drive back comes after a very tough hike. Stay at least one night near Trolltunga.
How hard is the Trolltunga hike?
It is strenuous. The full hike from P2 is 28 km (17.4 miles) with 800 meters of elevation gain and takes 10 to 12 hours. The first kilometer is the hardest section, a steep, relentless climb on stone steps with no warm-up. If you park at P3 Mågelitopp, you skip that climb and reduce the total distance to 20 km with 300 meters of elevation gain, which makes for a significantly more manageable day.
Can kids hike Trolltunga?
Yes, but it’s not suitable for most children. Our kids did it at ages 10 and 8, but they were experienced hikers who had already completed multiple long-distance mountain hikes. We’d recommend a minimum age of 8 for very fit, experienced young hikers, and strongly suggest parking at P3 Mågelitopp to reduce the distance if you’re bringing children.
Can I camp at Trolltunga?
Yes. Wild camping is legal in Norway under the right to roam (allemannsretten), and some hikers choose to camp near Trolltunga to avoid the crowds and catch sunrise or sunset on the tongue. If you plan to camp, bring a full kit for cold, wet conditions and be prepared for temperatures well below what you’d expect in summer.
Plan Your Trip to Norway
- Figuring out where Trolltunga fits in a bigger Norway trip → Our 10-Day Norway Itinerary through the fjord region combines Trolltunga with three other iconic hikes across southern Norway.
- Discover more hikes in Norway → Our Best Hikes in Norway guide covers 14 epic trails from the fjords to the Lofoten Islands.
- Starting your Norway planning from scratch → Our Norway Travel Guide covers everything from the best time to visit to how to get around the country.
- Explore Norway beyond the hiking trails → Our Best Things to Do in Norway rounds up the top experiences from the fjords to the far north.
- Making sure you’re geared up for a long mountain day → Our Hiking Gear Guide covers everything we pack for strenuous, full-day hikes.
If you have any questions about how to hike Trolltunga, let us know in the comment section below.
Where Are You Going Next?
To help you plan your trip, here are more articles about Norway.
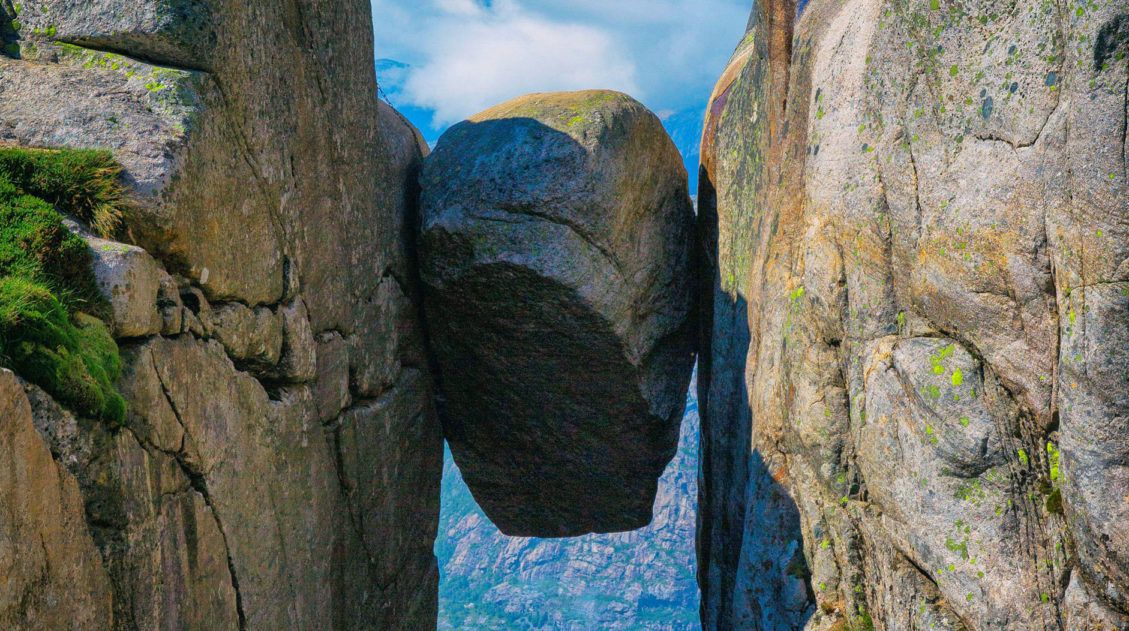
Kjeragbolten: Our Favorite Hike in Norway
Pinterest Facebook Flipboard Kjeragbolten is one of Norway’s most iconic and nerve-wracking hikes: a boulder wedged 1,000 meters above Lysefjord, reached by a strenuous 12 km trail from the Stavanger area. When Tim and I first researched Norway as a travel destination, we repeatedly saw photos of what looked to be crazy people standing on […]
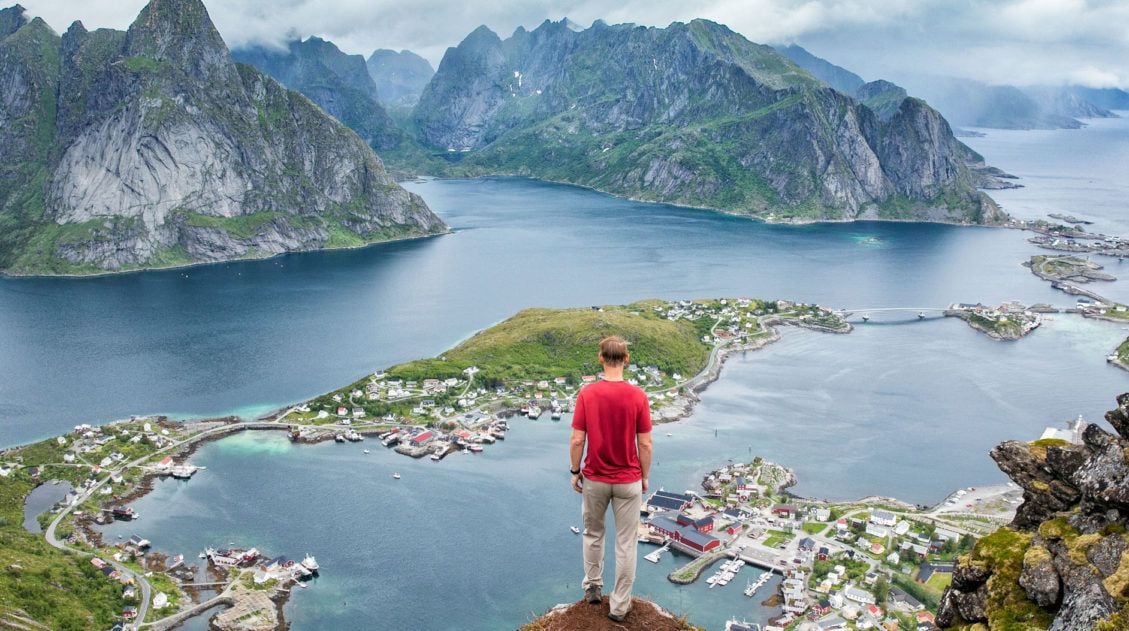
How to Hike Reinebringen (+ Where to Park)
Reinebringen, with its dazzling view over the fishing villages of Reine, Sakrisøy, and Hamnøy, is the most popular hike in the Lofoten Islands, and one look at the panorama from the top tells you exactly why. We hiked Reinebringen in 2018 with our kids, who were 13 and 15 at the time, before most of […]
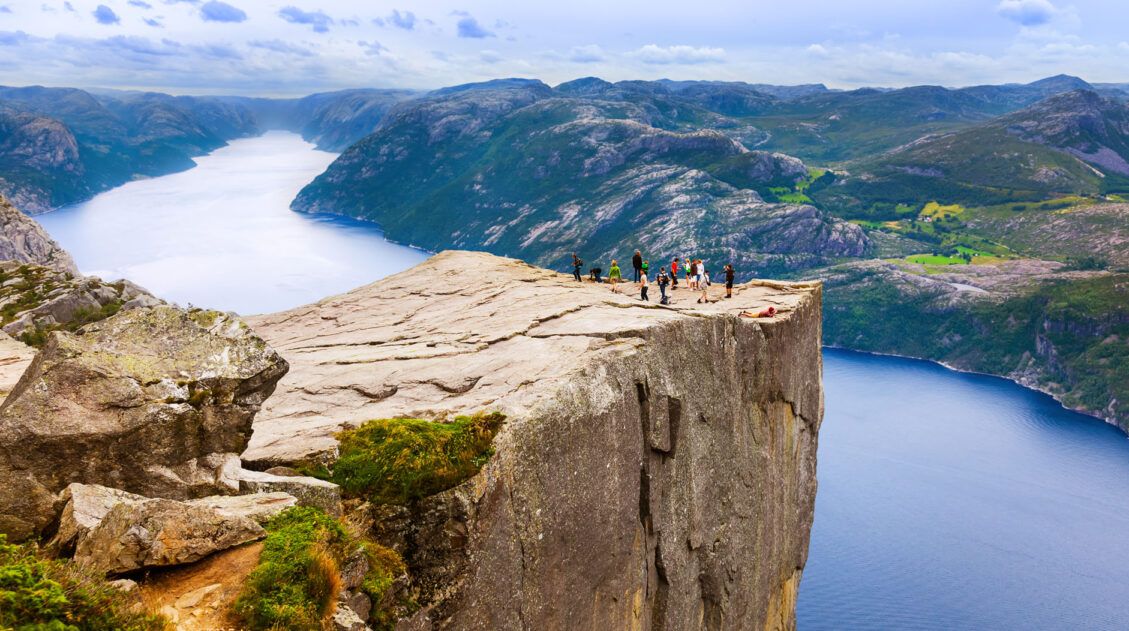
Hiking Pulpit Rock (Preikestolen): What to Expect, Trail Guide & Tips
The hike to Pulpit Rock (Preikestolen) was the first hike our kids ever did in Norway and it set the bar high. Tyler was 10, Kara was 8, and we’d spent the previous months wondering whether they were really ready for Norwegian hiking. We’d taken them on Old Rag in Shenandoah as a test run, […]
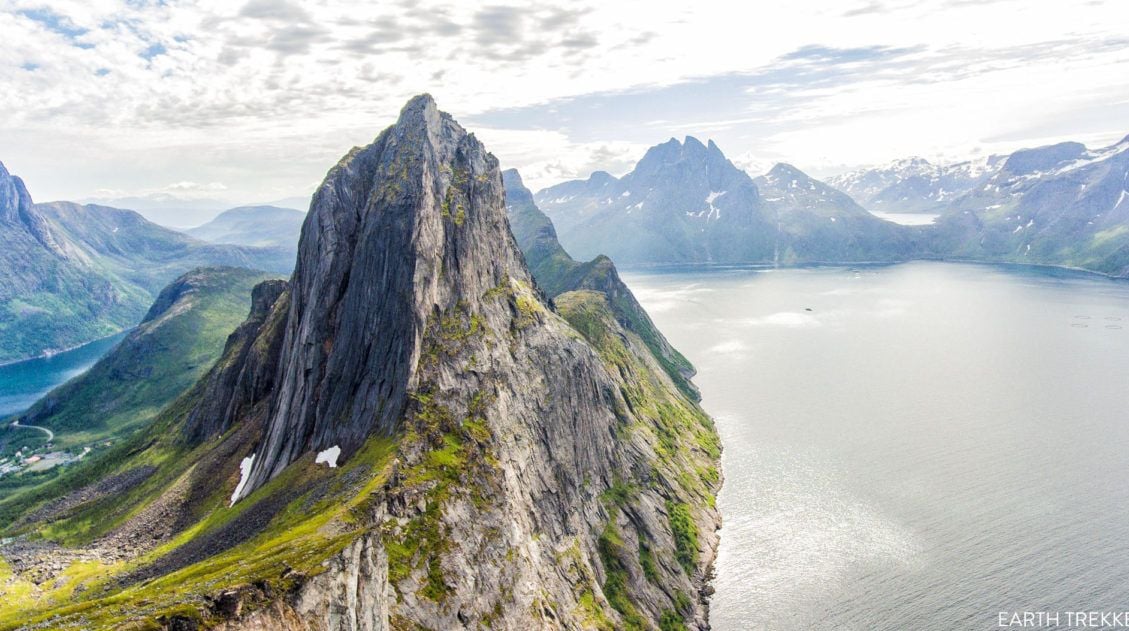
How to Hike Segla, An Iconic Peak in Senja, Norway
The hike up to the summit of Segla is one of Senja’s most popular hikes. And this was our main reason for visiting Senja. Many visitors skip past Senja, heading directly to the Lofoten Islands. But those people are missing out seeing a gorgeous part of Norway and some hidden gems. That’s fine…that means less […]
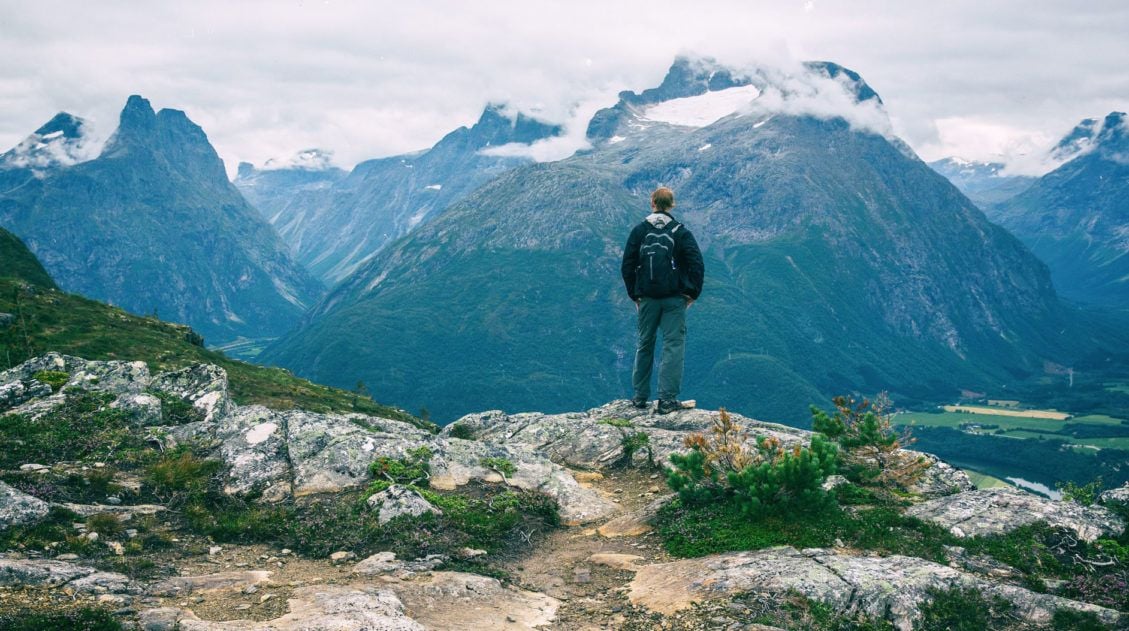
Hiking Romsdalseggen Ridge in Norway (+ Photos & Helpful Tips)
The Romsdalseggen hike is a point to point hike that traverses the Romsdalseggen Ridge, with views over the fjords, the town of Åndalsnes, and even out to the western coastline of Norway to the Atlantic Ocean. On our first trip to Norway, this was the hike that I was looking forward to the most. The […]
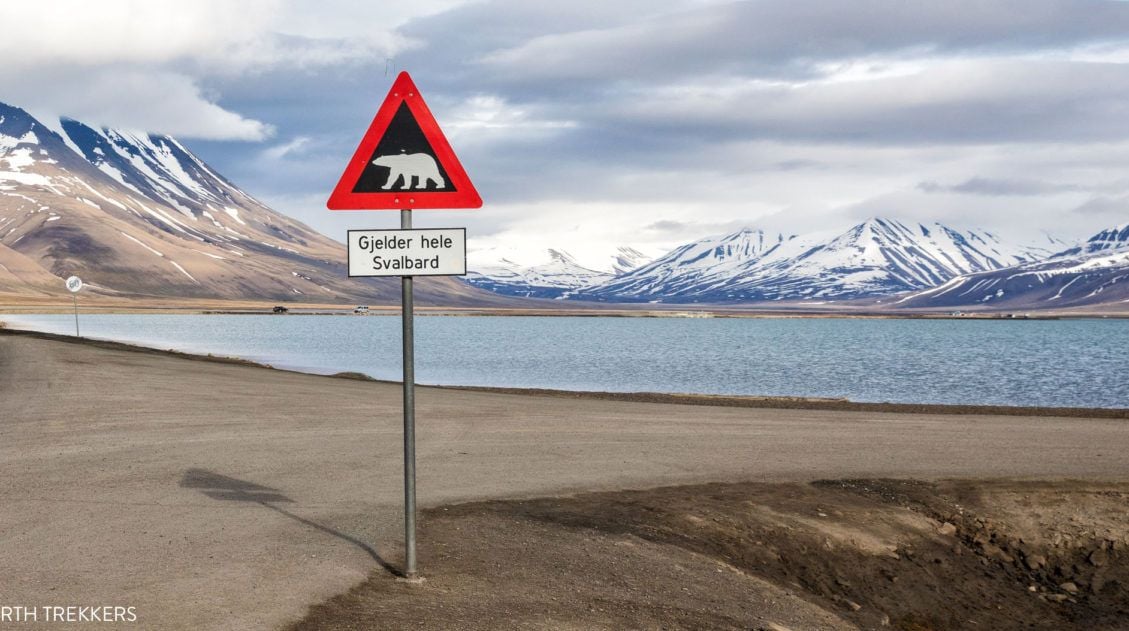
Svalbard Travel Guide & Itinerary for First Time Visitors
Svalbard. An arctic playground where there are more polar bears than people. This is a land of glaciers, the northern lights, the midnight sun, and frozen tundra. Svalbard may seem barren, but it is filled with arctic wildlife like reindeer, walrus, and polar bears. If you like the idea of exploring the great outdoors, your […]
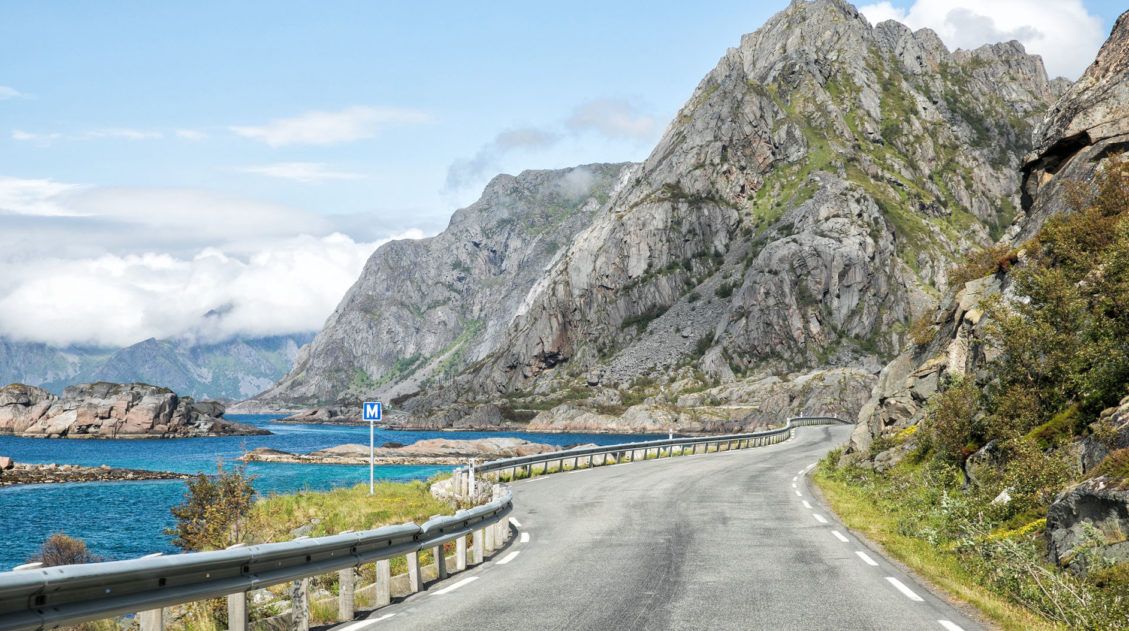
10 Days in Norway: How to Combine the Fjords and the Lofoten Islands
After two trips to Norway, one through the fjord region, one through the far north, we started getting the same question over and over in our comments: Can we combine both into one trip? How do we do the fjords AND the Lofoten Islands in 10 days? That’s exactly what this post is for. We’ve […]
Norway Travel Guide: Fjords, Lofoten Islands & Svalbard
Norway Travel Guide There is nowhere quite like Norway. We’ve been to Norway twice, and both trips rank among the most spectacular we’ve ever taken. On our first visit, we road tripped through the fjord region in summer, hiking Trolltunga, Kjeragbolten, Pulpit Rock, and Romsdalseggen Ridge and cruising past some of the most dramatic scenery […]
Norway Bucket List: 20 Epic Things to Do in Norway
Norway is the land of fjords, quaint fishing villages, Vikings, trolls, the northern lights, the midnight sun, scenic drives, and some of the best hikes in the world. If you are planning a visit to this amazing country, here are 20 of the best things to do in Norway. So far, we have visited Norway […]
Lofoten Islands Itinerary: 4 to 5 Days in Norway’s Most Spectacular Islands
There are places that stop you in your tracks the moment you arrive. The Lofoten Islands are one of them. We pulled over constantly, not because we planned to, but because we couldn’t drive past another mountain plunging straight into the fjord, another stretch of white sand beach backed by jagged cliffs, or another cluster […]
20 Best Day Hikes in the World (+ Map & Photos)
Where can you go to find that perfect day hike? The hike that leaves you breathless as you climb the summit of the mountain. The hike with the awe-inspiring views. The hike that is so enjoyable because the terrain and its views are always changing. The hike that has you saying “Wow!” over and over […]
Ørnfløya, A Short but Sweet Hike in Sommarøy, Norway
Sommarøy doesn’t get the attention it deserves. Most visitors drive straight past it on their way to Tromsø or the Lofoten Islands, never realizing what they’re missing. We visited it as part of a road trip through northern Norway, and it immediately became one of the highlights of that trip. The hike up Ørnfløya is […]


Comments 159